
Gluten free roux seems tricky. Most people mess it up. Their gravies turn lumpy. Cheese sauces break. Soups never thicken right.
Here’s the thing – it’s actually simple once you know what works. Need the best flour? Want roux that acts like the real deal? Got you covered.
Right technique, right ingredients. That’s it. Perfect base for gravy, cheese sauce, whatever you need. Works for everyone, gluten-free or not.
Understanding Gluten-Free Roux

Image Source: gfreedeliciously.com
Traditional roux is fat and flour cooked together. Creates the base for béchamel, gumbo, all the classics. Simple thickening agent that dissolves into liquid for smooth textures.
Gluten free roux works the same way. Same concept – fat plus flour. Just swap wheat flour for gluten free alternatives. Opens up all those classic techniques for people with celiac or gluten sensitivity.
Here’s where it gets different. Traditional roux uses 1:1 ratio, but gluten free flours behave differently. They’re starch-based, so they thicken faster once heated. I’d use slightly less flour than fat – maybe 2:3 ratio instead of the standard 1:1.
For fat, you’ve got options. Butter gives rich flavor. Also bacon drippings, lard, various oils depending on what you’re making. The fat choice really impacts your final flavor.
Colors work the same – white to blonde to brown. Each gives different flavor intensity. But don’t cook gluten free roux past “peanut butter” color. Burns easier than wheat flour. Creates bitter flavors.
Know these differences and you’ll succeed. Right ingredients, right technique.
Choosing the Best Gluten-Free Flour
Image Source: Dr. Ax
Flour choice makes or breaks your roux. Not all gluten-free flours work the same.
Sweet rice flour works great for light roux. Creates smooth texture, measures like regular flour. Burns easily though – skip it for dark roux.
Store-bought gluten-free blends are solid choices. Look for ones with tapioca, potato, or corn starch. Xanthan gum doesn’t matter for roux.
Want grain-free? Cassava flour handles both light and dark roux perfectly. Plantain flour only works for light versions – turns bitter when cooked longer.
Skip these completely:
- Plain rice flour (gets grainy)
- Rice flour mixed with tapioca (thick, unappetizing mess)
- Nut flours (won’t thicken right)
Ratios matter too. Traditional 1:1 doesn’t always work with gluten-free flours. I’d try 2:3 flour to fat instead. For cassava and plantain, 1 part fat to 1.5 parts flour works better.
Butter tastes great in light roux. Use oil for darker ones – butter burns too fast. Need dairy-free? Vegan butter or oil works fine.
Test different flours with your recipes. Each one behaves differently.
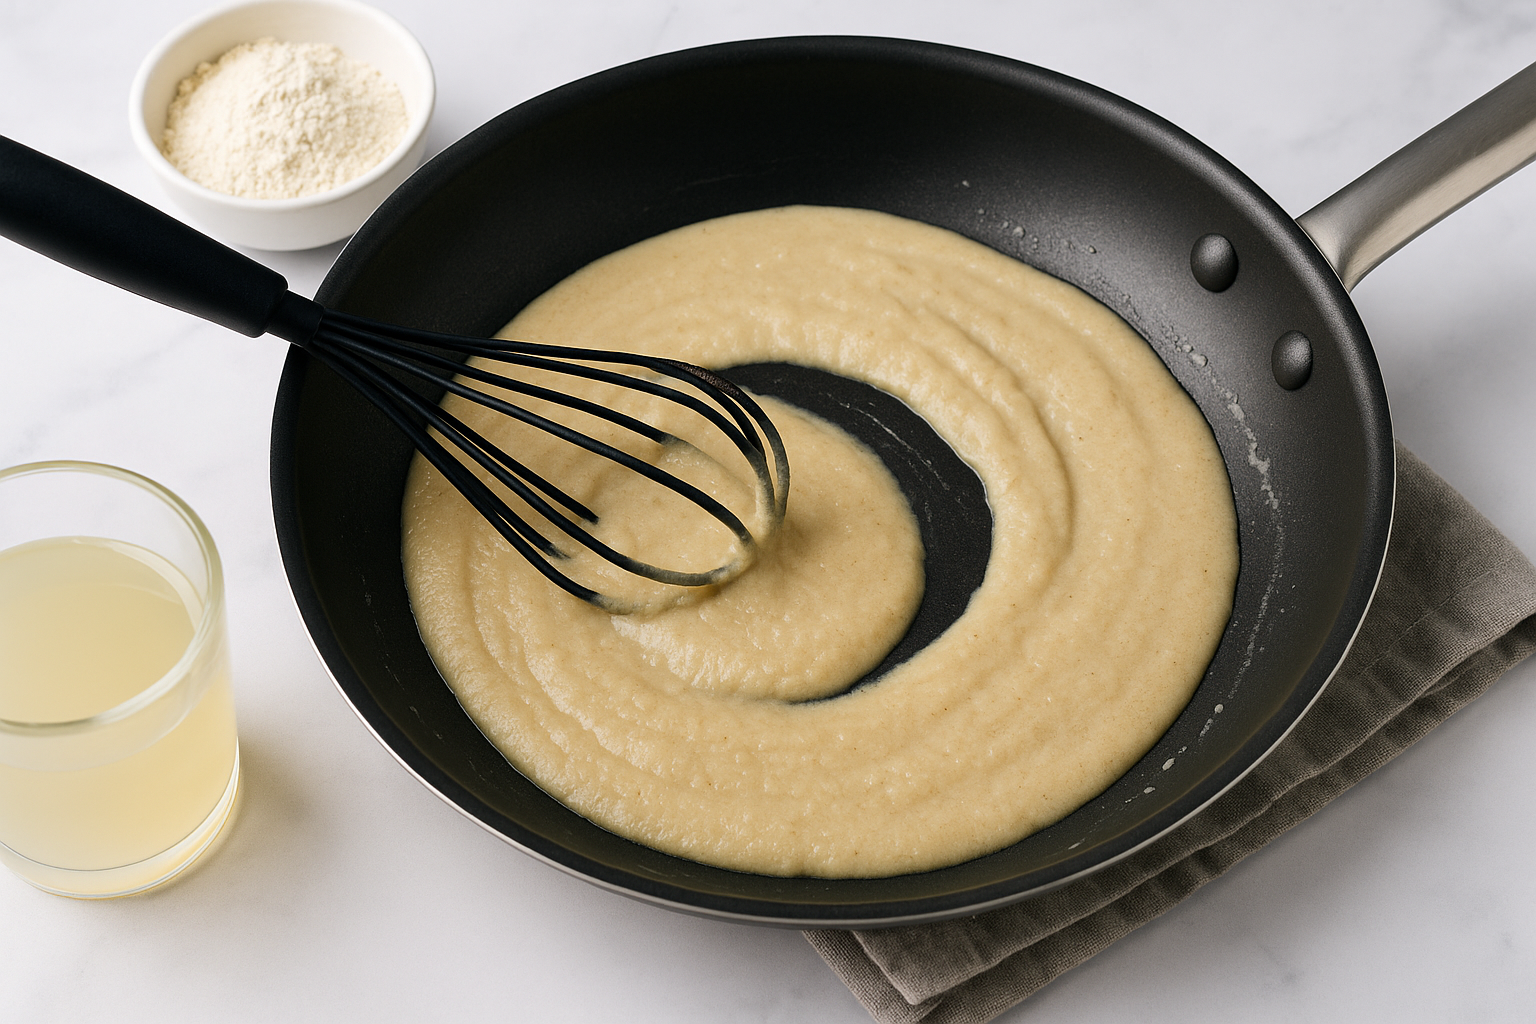
How to Make a Gluten-Free Roux Step-by-Step

Image Source: gfreedeliciously.com
Start with your fat. Butter works great for light roux. Oil for darker ones since butter burns easier.
Here’s what I do:
Melt 3-4 tablespoons fat in a heavy pan. Medium-low heat only. Add equal amount flour, whisking constantly. No lumps.
Keep stirring. Figure-eight motion works best.
Cook times:
- White roux: 2-5 minutes
- Blonde roux: 5-10 minutes
- Brown roux: 8-15 minutes
- Dark brown: 15-20 minutes
Never go past peanut butter color. Burns fast and tastes bitter.
For sauce, add warm liquid slowly. Keep whisking. Cold liquid makes it seize up.
Store leftovers in the fridge for two weeks. Freeze in ice cube trays for longer. About 2-3 tablespoons thickens one cup liquid.
Don’t walk away from it. Burns quick.
Conclusion
No culinary school needed. No fancy equipment either.
Flour choice matters most. Sweet rice flour works great for light roux. Commercial blends handle everything. Cassava flour does it all.
Patience helps too. Low heat, keep stirring. Don’t walk away.
Once you get it right, everything opens up. Soups, mac and cheese, gravies, gumbo. All possible now.
First batch might not be perfect. Each one gets better. You’ll figure out your flour, get the feel for it.
Next time a recipe calls for roux, just grab your gluten-free flour. It works.
FAQs
Q1. Can I make a gluten-free roux?
Yes, you can make a gluten-free roux. Use a 1:1 ratio of gluten-free flour to fat, such as butter or oil. Cook it over medium-low heat, stirring constantly until it reaches a light golden color and smooth consistency.
Q2. What are the best gluten-free flour options for making roux?
Sweet rice flour and commercial gluten-free flour blends work well for lighter roux. Cassava flour is excellent for all types of roux, including darker varieties. Avoid plain white or brown rice flour, as they can create a grainy texture.
Q3. How do I prevent my gluten-free roux from burning?
Cook your roux over low to medium-low heat and stir constantly. Gluten-free flours can burn more easily than wheat flour, so it’s important to stay attentive throughout the cooking process. Avoid cooking beyond the “peanut butter” color stage to prevent bitterness.
Q4. Can I make a dairy-free gluten-free roux?
Absolutely. You can use vegetable oil, olive oil, or vegan butter instead of regular butter to make a dairy-free gluten-free roux. The process remains the same, and you can achieve similar results in terms of texture and thickening power.
Q5. How long can I store leftover gluten-free roux?
Leftover gluten-free roux can be stored in an airtight container in the refrigerator for up to two weeks. For longer storage, freeze it in ice cube trays for up to six months. This allows you to thaw and use individual portions as needed.

Mindfulness & Emotional Wellness Specialist
I never thought I’d leave my career as a corporate litigation attorney, but a panic attack in a courthouse bathroom changed everything. After struggling with emotional eating for over a decade—starting in college and getting worse through the stress of law school—I realized that no diet could fix what was really going on inside me.
My breakthrough came through mindfulness meditation training. Working with Jon Kabat-Zinn’s protocols, I discovered that my relationship with food reflected deeper patterns of anxiety and perfectionism that I’d been avoiding for years. That’s when I understood that sustainable eating changes require internal transformation, not just external rules.
Now I treat meal preparation as meditation practice. My “Mindful Kitchen” workshops help people transform ordinary cooking into opportunities for self-awareness and emotional healing. I’ve developed over 180 recipes designed for slow, mindful preparation—complex enough to keep you present, simple enough not to overwhelm your nervous system.
I believe food becomes medicine when we approach it with presence rather than reactivity. The kitchen can be our monastery if we choose to enter it with reverence.