
Man, those mornings. You know the ones – alarms blaring, you’re simultaneously trying to find matching socks and figure out what on earth you’re going to eat before you bolt out the door? I totally get it. My tiny studio apartment used to be a whirlwind of rush-hour chaos before I started prepping my breakfasts ahead of time. As a Visual Culinary Artist & Aesthetic Designer, I approach food like I do photography – thinking about vibrant colors and satisfying textures. So, one weekend, I decided to tackle this morning madness head-on with a culinary project, and that’s how I landed on these legendary Effortless & Tasty Freezer Breakfast Burritos. They were a total game-changer, making my mornings so much smoother. Now, when I grab one from the freezer, it feels like I’m serving myself a special, delicious meal, even on the busiest days! You can even see more freezer-friendly breakfast burritos for inspiration.
Why You’ll Love These Effortless & Tasty Freezer Breakfast Burritos
Seriously, these aren’t just *any* breakfast burritos. These Effortless & Tasty Freezer Breakfast Burritos are designed to rescue your mornings! They’re a total lifesaver for meal prep, meaning you can whip up a batch and have breakfast sorted for the entire week. Plus, they’re bursting with flavor – not some bland, frozen excuse for a meal. And the best part? They’re crazy easy to make and even easier to reheat. You’ll wonder how you ever survived those frantic mornings without them!
Gather Your Ingredients for Effortless & Tasty Freezer Breakfast Burritos
Alright, let’s get our kitchen prepped! To make these amazing Effortless & Tasty Freezer Breakfast Burritos, you’ll want to round up these goodies. They’re pretty standard pantry and fridge staples, so chances are you might already have most of them lying around!
- For the Burritos
- 1/3 cup oil (Avocado, olive, or canola work great!)
- 20-ounce package frozen hash browns
- 1 lb ground pork sausage (or turkey sausage if you prefer!)
- 1 bell pepper, diced
- 1 small onion, diced
- 6 large eggs
- 2 Tablespoons water (or milk, whatever you have!)
- Salt and pepper, to your taste
- 1 1/2 cups shredded cheese (Cheddar, Monterey Jack, or a mix – yum!)
- 10 flour tortillas (Burrito-sized ones are best for gettin’ stuffed!)
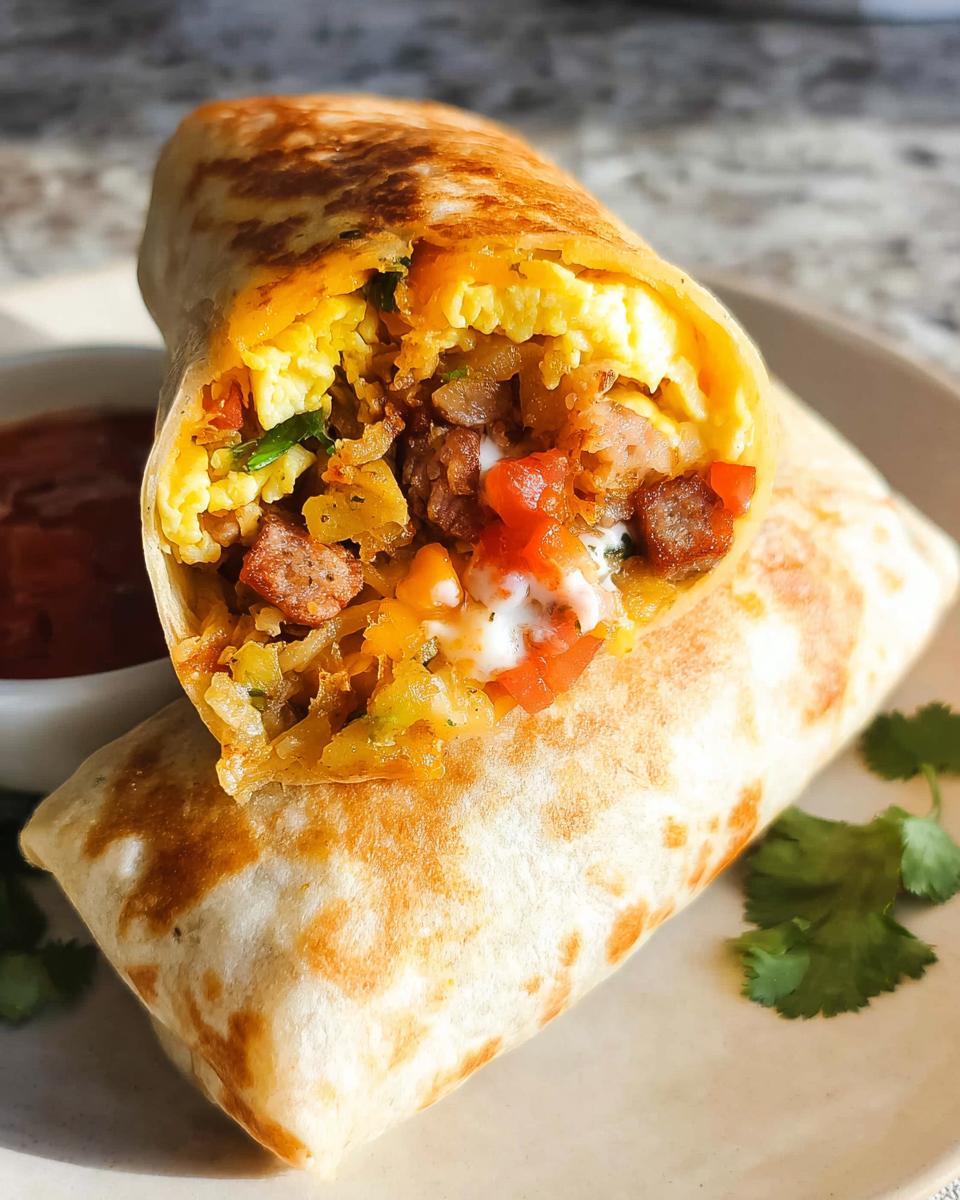
- For serving, if you fancy: Hot sauce, sour cream, salsa, or avocado
Step-by-Step Guide to Making Your Freezer Breakfast Burritos
Alright, let’s get down to business on bringing these Effortless & Tasty Freezer Breakfast Burritos to life! This is where the magic happens, and trust me, it’s way easier than you might think. We’re going to break it down into simple steps so you can master this in no time. Remember those extra-large skillets we talked about? Now’s their time to shine! For more awesome breakfast prep ideas, check out these breakfast meal prep egg cups.
Preparing the Hash Browns
First up, let’s get those hash browns going. Pop them in that preheated skillet with a bit of oil. Let them get nice and golden and crispy on the bottom – resist the urge to stir them too much at first! Season them with salt and pepper as they cook. Once they’re looking good on one side, flip ’em and do the same on the other. Set these golden beauties aside for assembling your burritos.
Sautéing the Veggies
Now, in the same skillet (don’t worry about washing it, that’s flavor!), add a touch more oil if needed, then toss in your diced bell pepper and onion. Cook ’em for a few minutes until they’re nice and tender. You want them soft but not mushy. Scoop those out and join them with the hash browns. Easy peasy!
Cooking the Sausage
Next, it’s sausage time! Add your ground sausage to that skillet. Grab your meat chopper or a sturdy wooden spoon and get to work breaking it up into nice, small pieces. Cook it all the way through until it’s beautifully browned. If there’s a lot of grease, you might want to carefully drain some of it off before adding it to your veggie and hash brown mix.
Scrambling the Eggs
For the eggs, crack them into a bowl with your water or milk. Give ’em a good whisk with a fork and season with salt and pepper. Pour them back into the skillet over medium heat. Use that wooden spoon to gently stir and break them up as they cook. The key here is *soft* scrambled – don’t overcook them! We want them moist and tender, not rubbery.
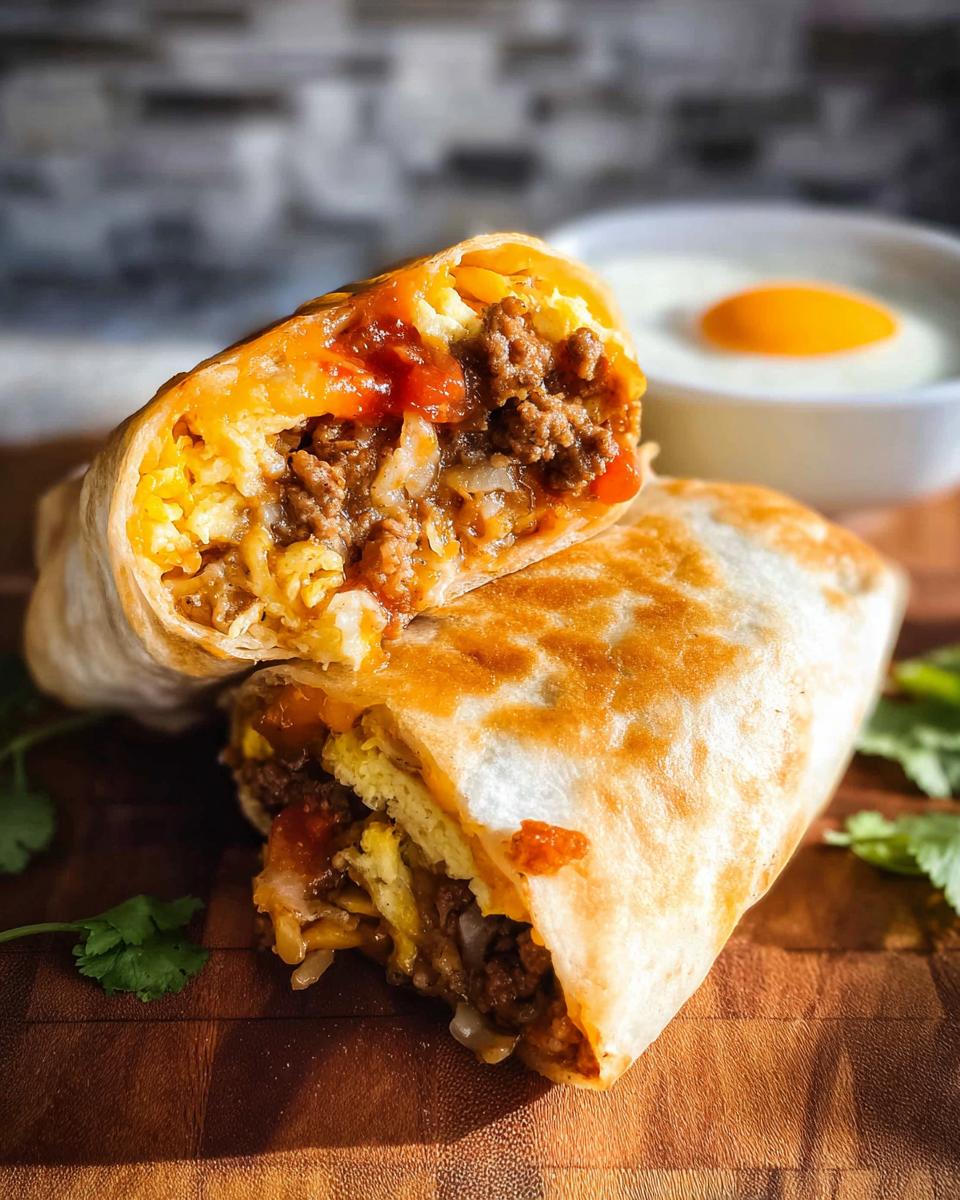
Assembling and Folding the Burritos
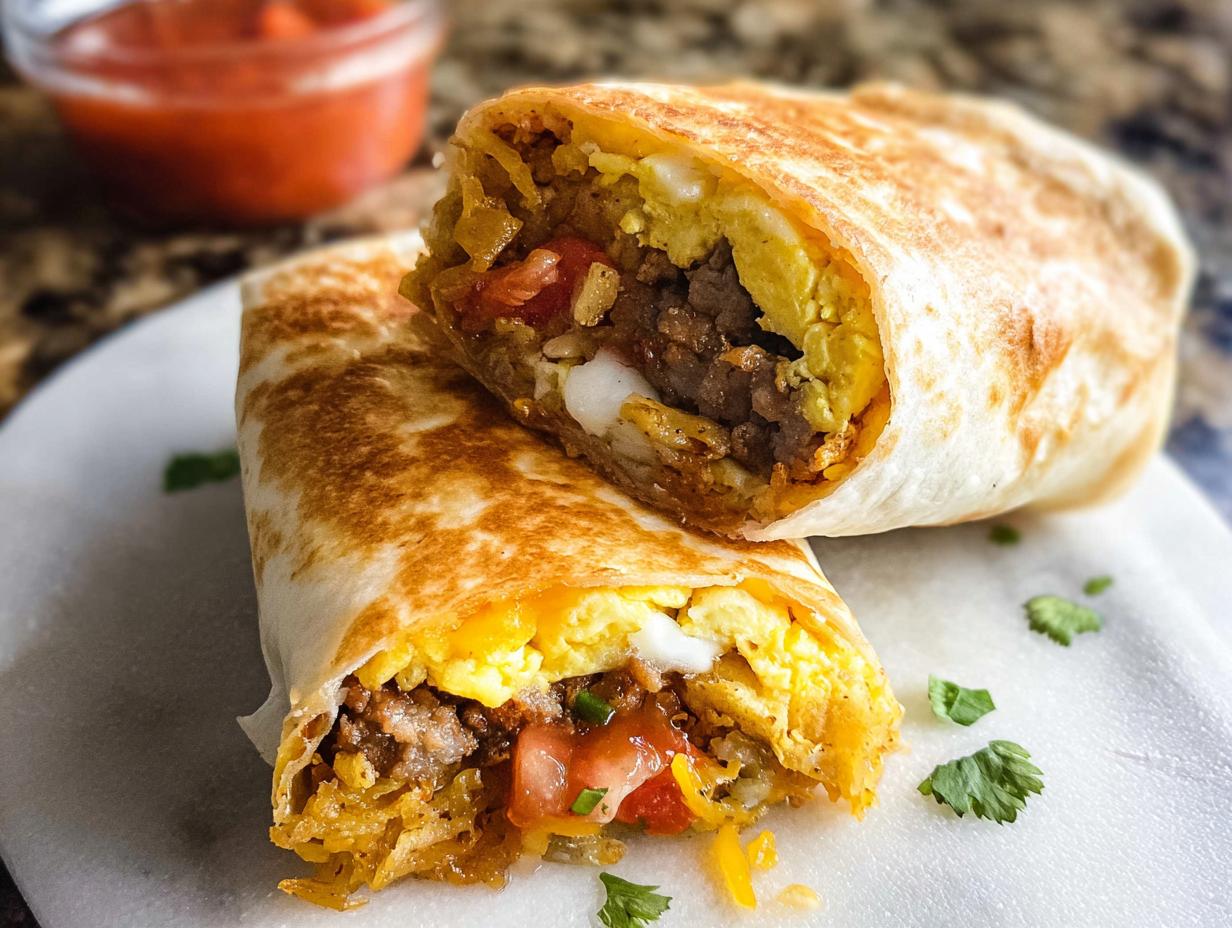
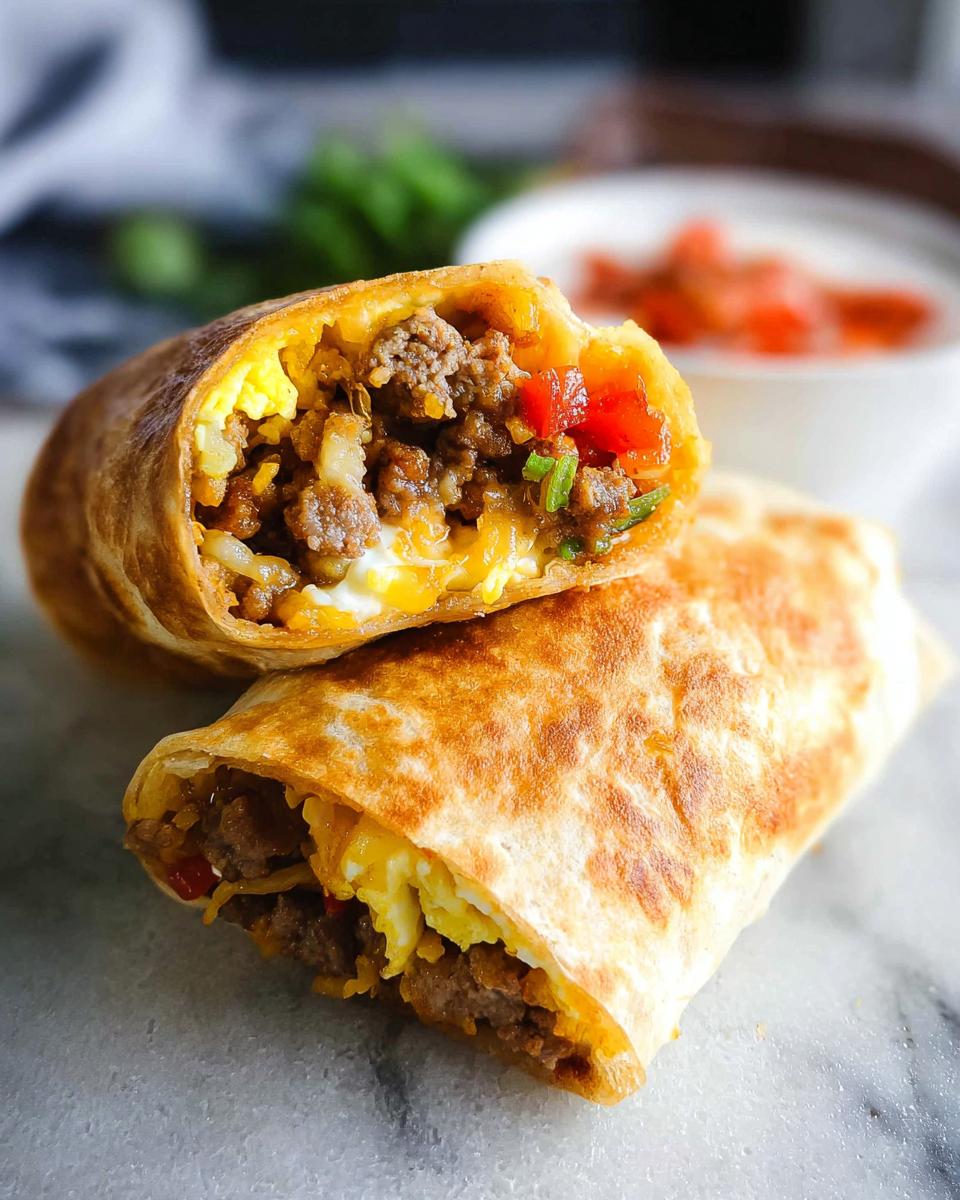
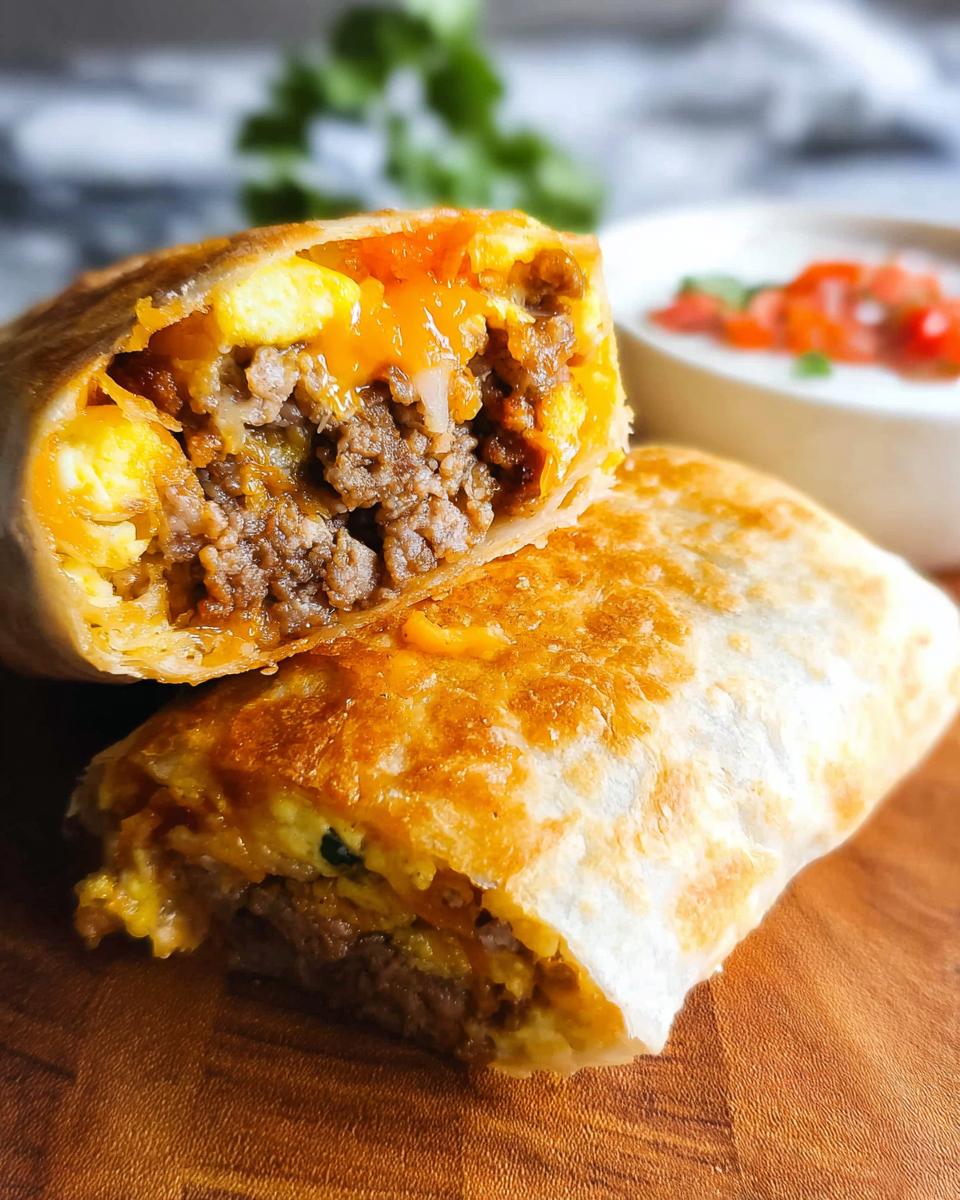
Okay, the grand finale! Lay a tortilla flat. Sprinkle a generous amount of that shredded cheese right in the middle. Now pile on some hash browns, sausage, and veggies, followed by a good scoop of those soft scrambled eggs. Fold the sides in first, then tuck the bottom up and roll it all up as tightly as you can. This is super important to keep everything inside! If you’re eating one right away, now’s the time to toast it in a lightly greased, hot skillet until it’s golden brown and crisp on all sides. Just look at that!
Tips for Making Perfect Freezer Breakfast Burritos
Alright, let’s talk about making these Effortless & Tasty Freezer Breakfast Burritos not just good, but *perfect* every single time. A few little tricks up your sleeve make all the difference, trust me! First off, warming those tortillas slightly before you assemble is a game-changer. It makes them so much more pliable and less likely to crack when you’re folding them. You can do this on a dry skillet for a few seconds per side, or even pop them in the microwave for about 15-20 seconds. Also, don’t go overboard with the filling! It’s tempting to stuff them to the brim, but too much can make folding a nightmare and lead to messy leaks. Keep those ingredient ratios balanced, and make sure you’re folding them nice and tight. A little effort here goes a LONG way for leak-proof burritos. For even more meal prep genius, check out these protein-packed breakfast burritos!
Storing and Reheating Your Freezer Breakfast Burritos
Now for the crucial part – making sure these delicious Effortless & Tasty Freezer Breakfast Burritos stay amazing even after they’ve been frozen! Grab some plastic wrap. Wrap each burrito snugly, like a little present. This helps keep out any freezer air that might make them taste… well, freezer-y. Then, pop them into a freezer-safe bag or container. They’ll stay perfectly good for up to 2 months. When you’re ready to dive in, you can thaw them in the fridge overnight (that’s the best way if you have time!). Then, just zap ’em in the microwave for about 45-60 seconds. For that awesome crispy tortilla crunch like they were just made, give them a quick toast in a hot, greased skillet for a couple of minutes on each side. You can also do a whole batch in the oven at 350°F (175°C) until they’re heated all the way through – probably about 15-20 minutes if thawed, a bit longer if straight from frozen.
Frequently Asked Questions About Freezer Breakfast Burritos
Got questions about whipping up these Effortless & Tasty Freezer Breakfast Burritos? I’ve got you covered! It’s awesome how versatile these can be, so here are a few things people often ask.
Can I use different kinds of meat?
Absolutely! While ground pork or turkey sausage is fantastic, feel free to experiment. Cooked bacon bits, chorizo, or even shredded chicken or beef would be delicious additions. Just make sure whatever meat you choose is fully cooked before adding it to your burrito filling.
How do I make these vegetarian?
Going meatless is super easy! Just skip the sausage altogether. You can amp up the veggies – maybe add some mushrooms, spinach, or black beans. A sprinkle of smoked paprika can give it a nice savory depth that mimics some of the smokiness you get from sausage. These burritos are super adaptable!
How long do these last in the freezer?
These Effortless & Tasty Freezer Breakfast Burritos are pretty sturdy! If you wrap them well and keep them in an airtight container or freezer bag, they’ll be good for up to 2 months. I’ve honestly had them last a little longer, but the texture is usually best within that two-month window. For more awesome breakfast prep ideas, check out these breakfast meal prep egg cups!
Nutritional Information
Just a heads-up, the nutritional info below is an estimate for one of our Effortless & Tasty Freezer Breakfast Burritos. Since we can all get a little creative with our ingredients sometimes, your exact numbers might vary a bit! It’s a good ballpark for a balanced, satisfying start to your day.

Effortless & Tasty Freezer Breakfast Burritos
Ingredients
Equipment
Method
- Add oil to an extra large skillet with high sides, over medium-high heat. Once hot, add hashbrowns and cook for several minutes, undisturbed, until golden and crisp on the bottom. Season with salt and pepper. Flip and repeat on the other side. Set aside for burrito assembly.
- Add a little more oil to the pan and add diced bell peppers and onion and cook for a few minutes, until tender. Remove and set aside.
- Add ground sausage to the same pan and cook, breaking it into small pieces with a meat chopper or wooden spoon, until browned and cooked through. Remove and set aside.
- Meanwhile, add eggs and water to a bowl and whisk well with a fork. Season with salt and pepper. Cook, stirring with a wooden spoon until they are soft scrambled. Do not overcook them.
- Place a tortilla on the counter in front of you. Sprinkle a big handful of shredded cheese on it. Add a spoonful of hashbrowns, sausage, veggies, and eggs. Fold it tightly into a burrito. If serving immediately, toast them in a hot greased skillet until the tortilla is golden and crisp on all sides. Serve immediately.
Nutrition
Notes
Tried this recipe?
Let us know how it was!
Dual-Restriction Recipe Engineer & Cross-Contamination Specialist
Everything changed when my teenage son got hit with celiac disease and Type 1 diabetes diagnoses within six months of each other. Suddenly, pizza and pasta were off the table, and most “diabetic-friendly” foods contained gluten. I went from regular mom cooking to navigating what I call “compound restriction cooking”—and I had a kid’s appetite and taste buds to satisfy.
Lucky for us, my background in pharmaceutical quality control gave me the systematic mindset this level of precision requires. My kitchen now operates under pharmaceutical-grade protocols adapted for home use: dedicated prep surfaces, separate storage systems, and testing procedures that verify both carb counts and gluten absence before any recipe gets published.
I’ve developed over 220 recipes that clear multiple dietary hurdles simultaneously—finding gluten-free thickeners that don’t spike blood sugar, creating bread alternatives that meet both keto ratios and celiac safety, and developing desserts that actually taste good to a teenager despite impossible restrictions.
Through my “Safe Kitchen Certification” program, I teach other parents that managing multiple dietary restrictions isn’t about multiplying limitations—it’s about systematic thinking that reveals unexpected possibilities. When you engineer solutions instead of making compromises, restriction becomes innovation rather than deprivation.