
Oh, you know those days when only the most decadent dessert will do? I sure do! And when that craving hits, I think there’s nothing quite like a perfect marriage of a rich, fudgy brownie and a light, airy chocolate mousse. That’s exactly what we’ve got here with these amazing Chocolate Mousse Brownies. I still remember the first time I decided to whip these up – it was a rainy afternoon, and I just wanted something absolutely divine but a little bit different. As the ingredients came together, there was this lovely sense of mindfulness, you know? It reminded me how beautiful it is to just be present and creative in the kitchen. When I finally took that first bite, with the moist brownie meeting that cloud-like mousse on top? Pure magic! It felt like finding a little taste of treasure. Sharing them with friends that day was so special; it really ignited a new passion for mindful baking in my kitchen. I’m Jolie Taylor, by the way, and as a Mindfulness & Emotional Wellness Specialist, I truly believe that baking can be such a wonderfully grounding experience!
Why You’ll Love These Chocolate Mousse Brownies
Seriously, why wouldn’t you love these? These Chocolate Mousse Brownies are a total showstopper, but they’re surprisingly easy to make!
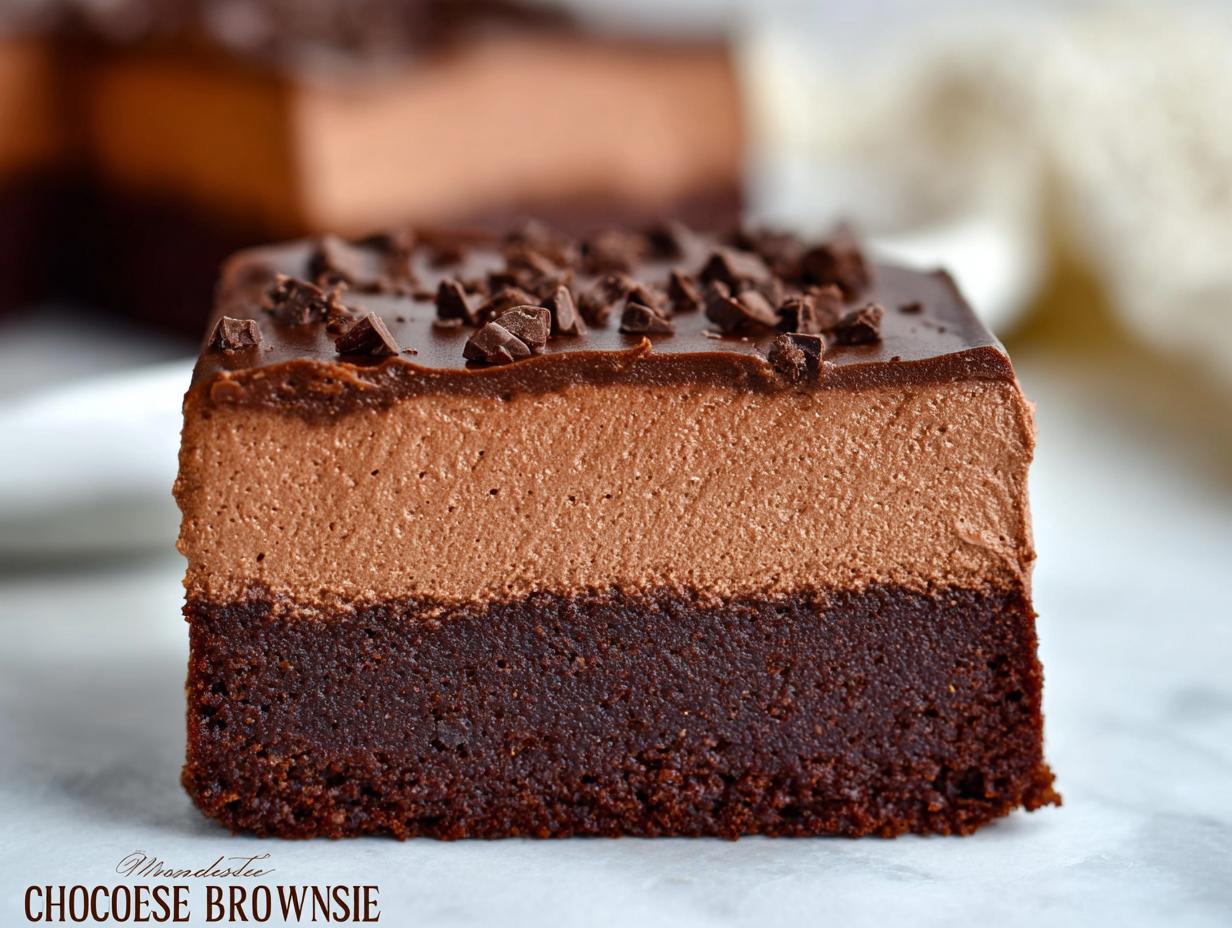
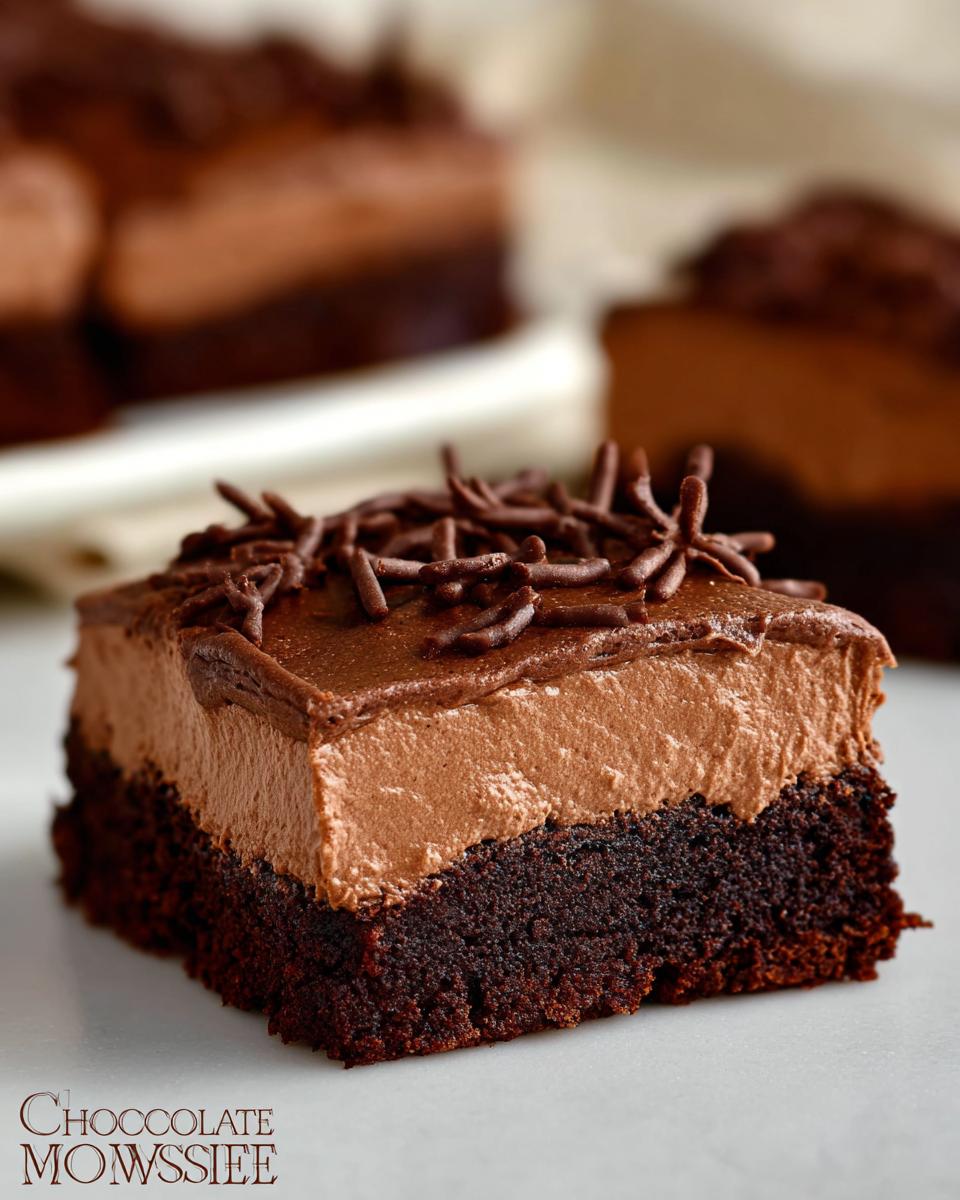
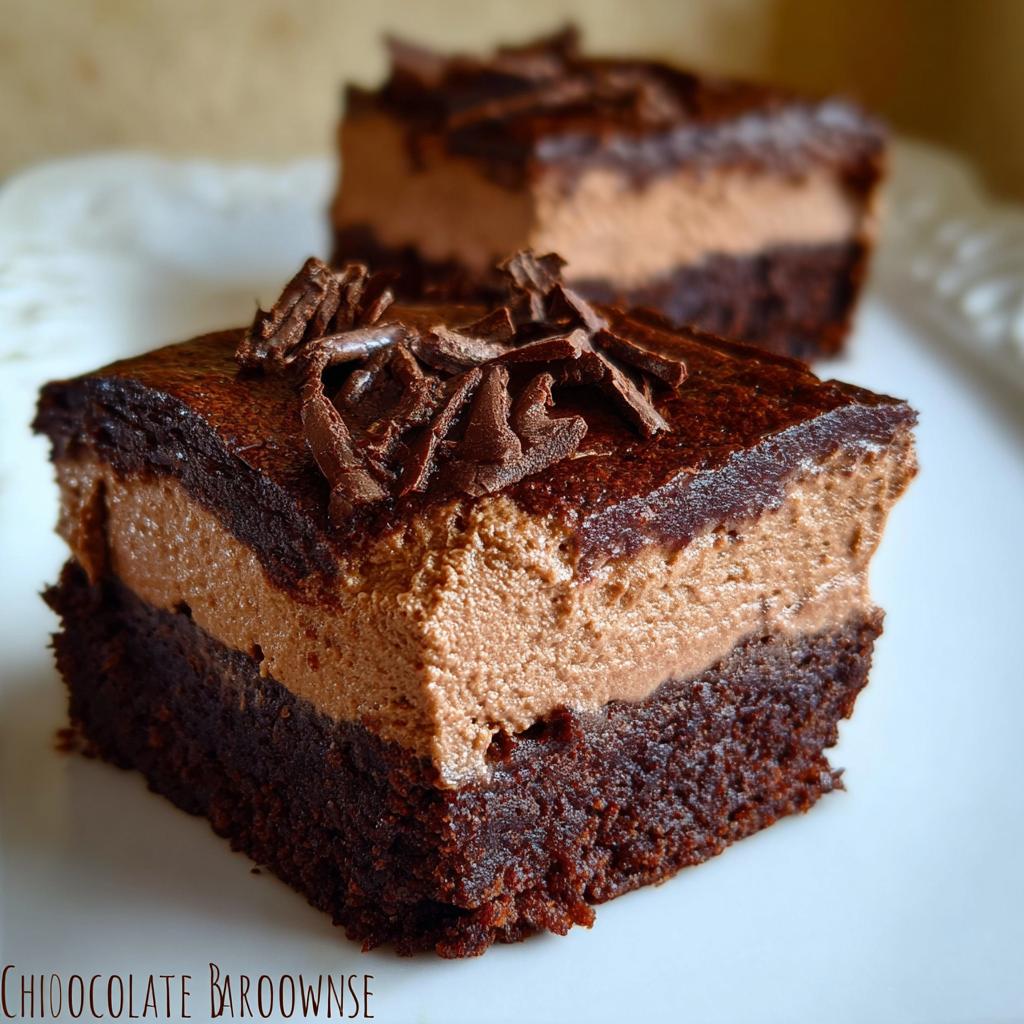
- Double the Chocolate, Double the Fun: You get that rich, fudgy brownie base AND a super light, airy chocolate mousse on top. It’s chocolate heaven.
- Texture Dream Team: The contrast between the dense brownie and the fluffy mousse is just divine. Every bite is a little bit different!
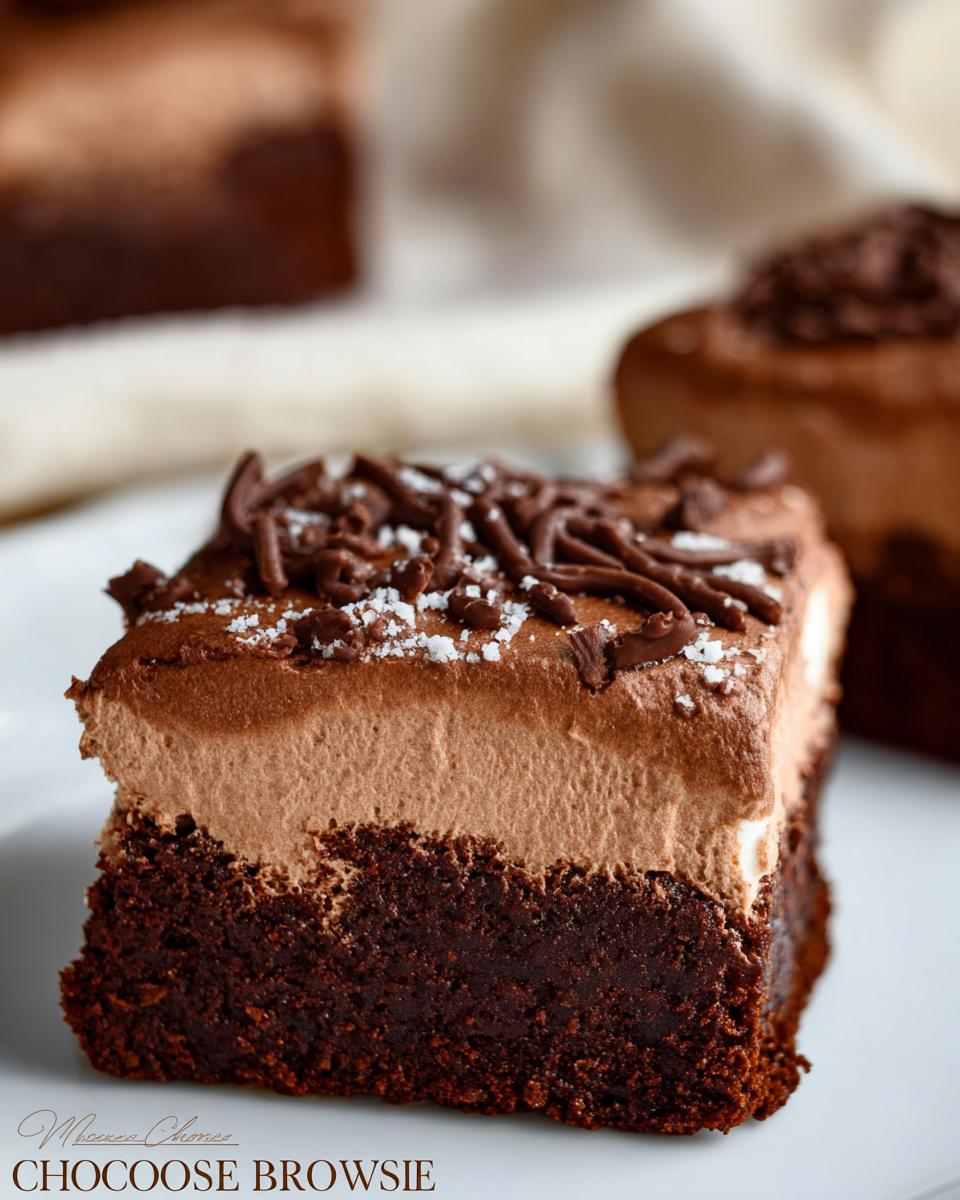
- Impressive (But No One Needs to Know!): They look so fancy, right? Perfect for special occasions or just when you want to feel like a baking pro without all the fuss.
- Seriously Satisfying: These hit that perfect spot between a classic brownie and a delicate dessert. Trust me, they’ll disappear fast!
Gather Your Ingredients for Chocolate Mousse Brownies
Alright, let’s get down to business! To whip up these incredible Chocolate Mousse Brownies, you’ll want to have everything ready to go. It makes the whole process so much smoother, just like a well-loved recipe!
For the Brownies:
- 1/2 cup butter, melted (Make sure it’s cooled a bit!)
- 1 1/2 cups sugar
- 1 teaspoon vanilla extract
- 2 large eggs (Room temperature is best, trust me!)
- 1/2 cup unsweetened cocoa powder
- 1/2 teaspoon salt
- 3/4 cup all-purpose flour
For the Mousse:
- 3/4 cup miniature marshmallows (They melt like a dream!)
- 4 ounces semi-sweet chocolate, chopped (Good quality chocolate really makes a difference here.)
- 1/4 cup milk
- 1 cup heavy whipping cream (Make sure this is nice and cold for whipping!)
And for that extra little bit of flair, you can have some chocolate ganache ready for drizzling. It’s totally optional, but oh-so-pretty!
Step-by-Step Guide to Making Chocolate Mousse Brownies
Alright, deep breath! Making these amazing Chocolate Mousse Brownies is totally doable, and honestly, half the fun is in the process. It’s like a little baking adventure!
Baking the Perfect Brownie Base
First things first, let’s get that chocolatey foundation going. You’ll want to preheat your oven to 350°F (that’s 175°C for my friends across the pond!). Grab a 9×9 inch baking pan and line it with foil, letting it hang over the sides. Give that foil a quick spray with cooking spray – this is my little trick for easy cleanup, no sticking crisis here!
In a big bowl, whisk together that melted butter and sugar until it’s nice and smooth. Then, crack in your eggs one by one, mixing well after each one. Stir in the vanilla. Now, add in the cocoa powder, salt, and flour. Just mix until it all comes together into a soft, lovely batter. Don’t overmix it!
Pour this gorgeous batter into your prepared pan, spreading it out evenly. Pop it in the oven for about 22-25 minutes. You’re looking for a toothpick to come out clean or with maybe a few moist crumbs. Let those brownies cool *completely*. This is super important for the next step!
Crafting the Airy Chocolate Mousse
Now for the magic part – the mousse! Grab a medium saucepan and toss in your miniature marshmallows, chopped semi-sweet chocolate, and milk. Put it over low heat and stir, stir, stir. Keep stirring until everything is melted and super smooth. Once it looks glossy and glorious, take it off the heat and let it cool down completely. This usually takes about 15 to 20 minutes. Patience is key here!
While that chocolatey goodness is cooling, get your stand mixer ready. Pour in that cold heavy whipping cream and whip it up until you get lovely stiff peaks. You know, when you lift the whisk and the cream stays put? That’s what you’re aiming for.
Once your chocolate mixture is totally cool, gently fold it into that whipped cream. Be gentle! You want to keep all that airiness. Fold until it’s just combined and looks like a beautiful, smooth chocolate mousse.
Assembling and Chilling Your Chocolate Mousse Brownies
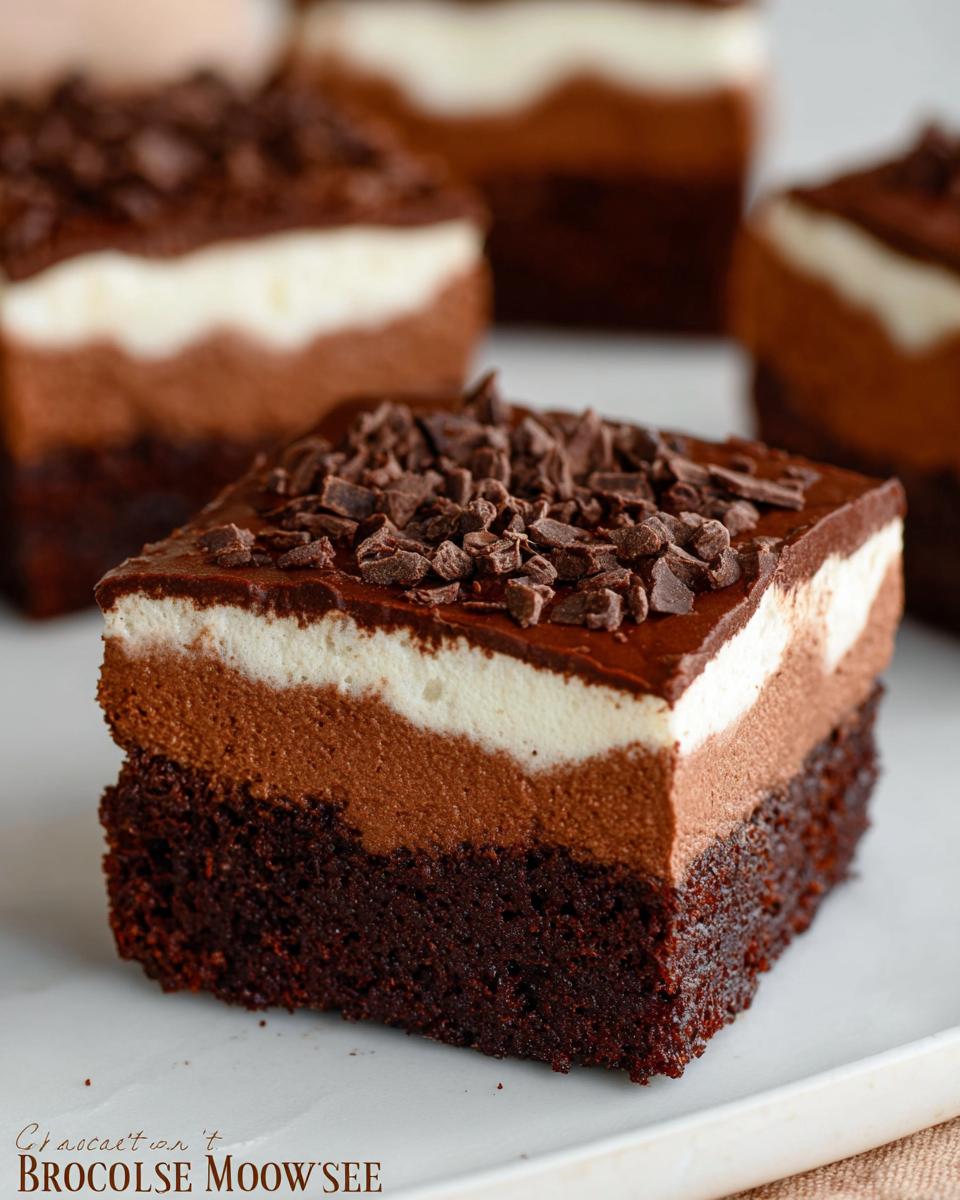
Okay, we’re almost there! You’ve got your completely cooled brownie base and your fluffy chocolate mousse. Now, carefully spread that mousse evenly over the top of the brownies. Take your time to get it nice and smooth. This is where your gorgeous Chocolate Mousse Brownies really start to take shape!
Here’s the crucial part: into the refrigerator it goes! You’ll want to let these chill for at least 1 hour. This allows the mousse to set up perfectly, giving you those clean lines when you slice them later. Don’t rush this step – it’s worth the wait for that perfect texture!
Once they’re nicely chilled and set, you can slice them up into squares. And if you’re feeling fancy, that optional chocolate ganache drizzle goes on now. It’s a beautiful finishing touch!
Tips for Baking Success
Alright, let’s talk about making these Chocolate Mousse Brownies absolutely perfect. A few little tricks up my sleeve can really make a difference!
- Room Temp is Your Friend: For the brownies, make sure your eggs are at room temperature. They incorporate so much better into the batter, giving you that lovely texture.
- Don’t Overmix! Seriously, once you add the flour to the brownie batter, just mix until it’s *barely* combined. Overmixing can make your brownies tough, and nobody wants that.
- Cool Completely, I Mean It! You *have* to let the brownies cool down completely before you put the mousse on top. If they’re still warm, the mousse will melt right into them, and you won’t get that glorious layered effect. Patience, my friend!
- Cold Cream for Fluffy Mousse: For the mousse, make sure your heavy whipping cream is super cold. This is key to getting those beautiful, stiff peaks when you whip it.
- Gentle Folding is Key: When you fold the cooled chocolate mixture into the whipped cream, be gentle. You want to keep all that airiness in the mousse, so it stays light and fluffy, not dense.
Ingredient Notes and Substitutions
Let’s chat about these ingredients for our amazing Chocolate Mousse Brownies! Sometimes you might not have exactly what the recipe calls for, and that’s totally okay. A little tweak here and there can still lead to something delicious.
For the chocolate in the mousse, if you don’t have semi-sweet, milk chocolate works too, but it might make the mousse a bit sweeter. Dark chocolate is also an option if you like a richer, less sweet mousse! And if you need a dairy-free option for the milk, almond or oat milk will do the trick just fine. Just remember, the butter in the brownie batter really is best at room temperature for creaming; it makes all the difference for that perfect texture!
Frequently Asked Questions about Chocolate Mousse Brownies
Got questions about these dreamy Chocolate Mousse Brownies? I totally get it! We all want our baking to turn out perfectly.
How should I store my Chocolate Mousse Brownies?
Because of that lovely mousse layer, these brownies *must* be stored in the refrigerator. Just pop them into an airtight container. They’ll stay delicious for about 3-4 days. Honestly, they might not even last that long!
Can I make these ahead of time?
Yes! This is a great recipe to make ahead. You can bake the brownies one day, let them cool completely, and then whip up the mousse and assemble them. Then, just let them chill overnight. They’re often even better the next day!
Can I use a different kind of chocolate for the mousse?
You sure can! While semi-sweet is my go-to for that perfect balance, you could use milk chocolate for a sweeter mousse or even dark chocolate if you prefer something a little more intense. Just keep in mind it might change the sweetness level!
What if I don’t have miniature marshmallows?
No worries! You can use regular-sized marshmallows, just cut them up a bit so they melt a little more easily. You’ll need about the same amount by volume. They work just the same to create that smooth mousse texture.
Can these be made dairy-free?
You could adapt them! For the brownie part, use a good quality dairy-free butter substitute and plant-based milk. For the mousse, you’d need to experiment with dairy-free marshmallows and a dairy-free chocolate, and use a plant-based milk. Heavy whipping cream is trickier to substitute for the mousse’s airy texture, but some coconut cream or a good vegan whipping cream might work with some testing!
Nutritional Information
Just a friendly heads-up, the nutritional info for these decadent Chocolate Mousse Brownies is an estimate, okay? It can totally change depending on the brands you use and how you divide them up. But generally, you’re looking at around 350-400 calories, 20-25g of fat, 30-35g of carbs, and about 4-5g of protein per serving. Enjoy!
Share Your Chocolate Mousse Brownies Creations!
I just LOVE hearing from you! If you make these amazing Chocolate Mousse Brownies, please, please tell me all about it! Leave a comment below, give it a star rating if you can, or even better, tag me in your pics on social media. Seeing your delicious creations is the best part!
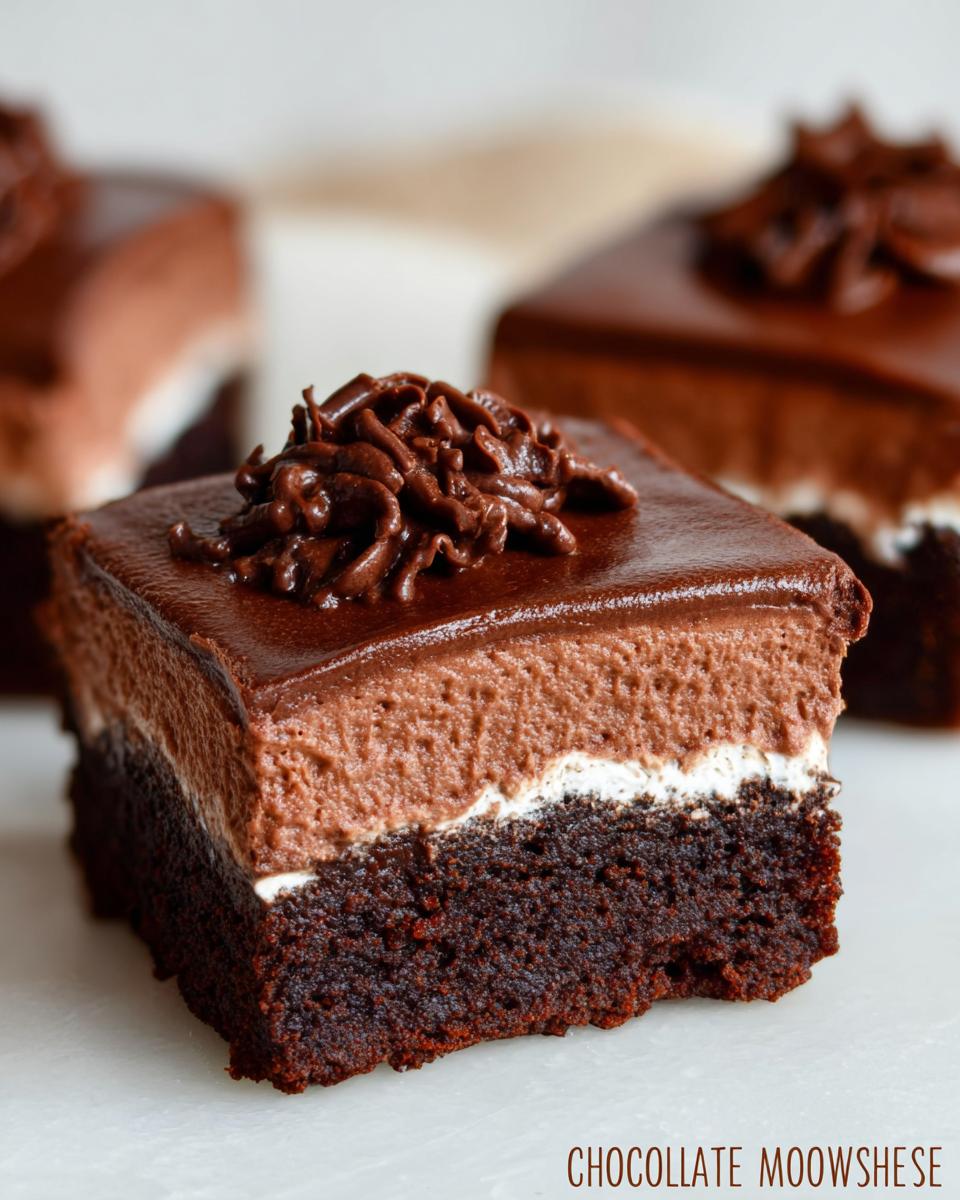
Chocolate Mousse Brownies
Ingredients
Equipment
Method
- Preheat your oven to 350 degrees F. Line a 9×9″ square baking pan with foil, letting the foil extend over the edges. Spray the foil with cooking spray and set aside.
- In a large bowl, mix the melted butter and sugar until smooth. Add the eggs one at a time, mixing well after each addition. Stir in the vanilla extract. Finally, add the cocoa powder, salt, and flour, mixing until a soft batter forms.
- Pour the batter into the prepared pan and spread it evenly. Bake for 22-25 minutes, or until a toothpick inserted near the center comes out clean or with moist crumbs. Let the brownies cool completely.
- To make the mousse: In a large saucepan, combine the miniature marshmallows, chopped chocolate, and milk over low heat. Stir often until the ingredients melt and the mixture is smooth. Let it cool completely, about 15-20 minutes.
- After the chocolate mixture has cooled, whip the heavy cream in a stand mixer until stiff peaks form. Gently fold the cooled chocolate mixture into the whipped cream until combined. Spread this mousse evenly over the cooled brownies. Refrigerate for at least 1 hour to allow the mousse to set.
- Just before serving, drizzle with chocolate ganache if you like. Store any leftovers in the refrigerator.
Notes
Tried this recipe?
Let us know how it was!
Visual Culinary Artist & Aesthetic Designer
When the pandemic killed my career as a luxury hotel photographer overnight, I was stuck in my studio apartment with nothing but time and vegetables. That’s when I started treating meal prep like photography projects—and discovered that the same principles that made five-star dishes camera-ready could turn humble zucchini noodles into social media gold.
My fine arts degree from Parsons taught me that people eat with their eyes first. After years behind the lens capturing haute cuisine, I realized that successful dieting often depends more on visual satisfaction than pure nutrition. When your food looks amazing, you actually want to stick with your eating plan.
My recipe development feels more like an art studio than a test kitchen. I use color theory to guide ingredient selections—purple cabbage with golden cauliflower, emerald herbs against ivory cheese. My “Edible Landscapes” series transforms standard low-carb ingredients into miniature scenic compositions that make vegetables feel aspirational rather than obligatory.
I spend evenings exploring art galleries and practicing watercolor painting, always looking for inspiration. My philosophy is simple: make low-carb food visually irresistible, and dietary compliance becomes an aesthetic choice rather than a health sacrifice.