
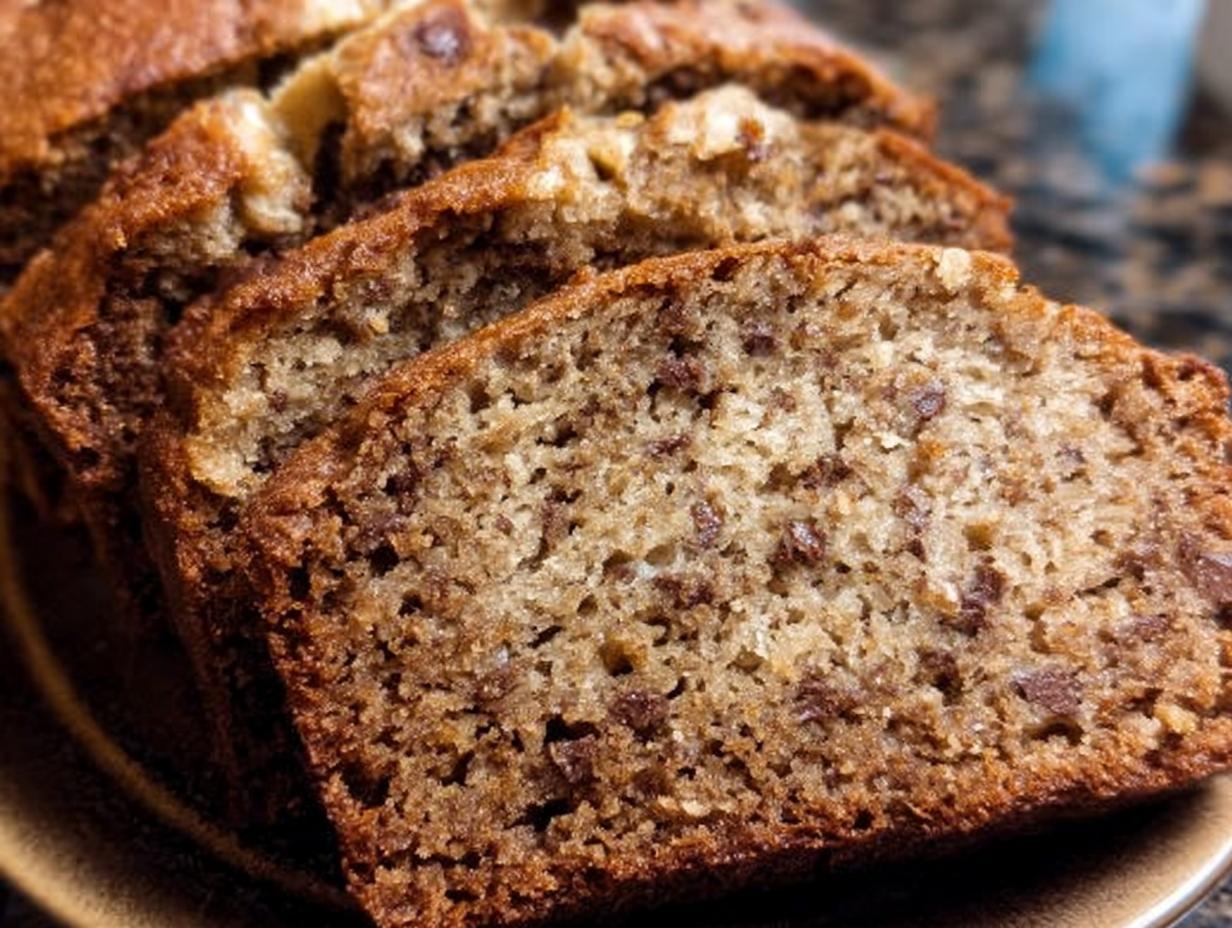
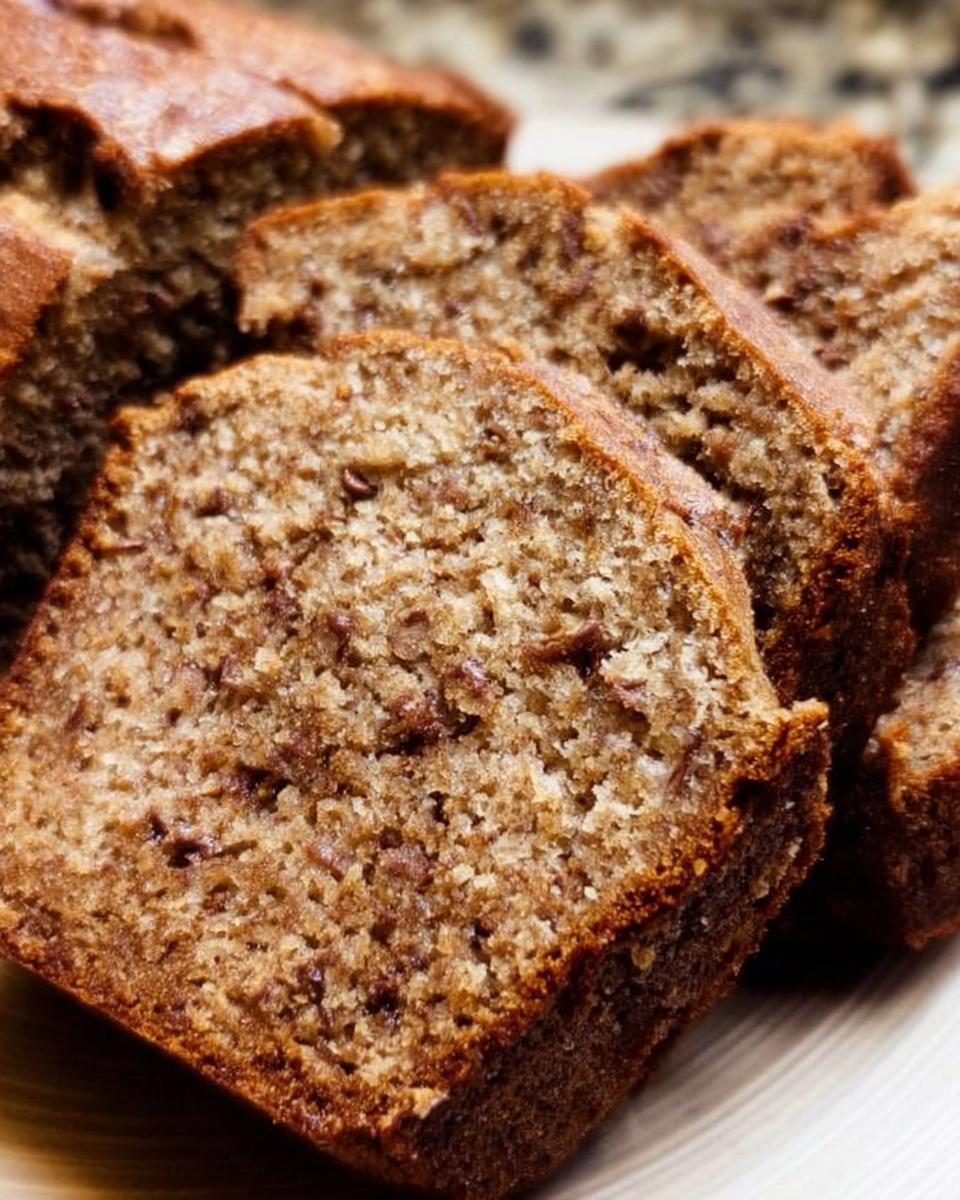
Oh, you are going to LOVE this recipe! When life gets hectic, and you’re craving something yummy without a sink full of dishes, you absolutely HAVE to try my One-Pan Banana Bread (Minimal Cleanup). Seriously, the name says it all! I remember the day this whole idea sparked – my son had just been diagnosed with celiac disease and Type 1 diabetes, and suddenly my kitchen felt like a minefield of special flours and sweeteners. I looked at those sad, overripe bananas, and thought, “There HAS to be a way to make something delicious and safe for him, without turning my kitchen into a disaster zone!” That’s when this magical one-pan wonder was born. As a Dual-Restriction Recipe Engineer & Cross-Contamination Specialist, I worked hard to make this recipe accessible, and trust me, it’s a lifesaver for busy parents and anyone navigating dietary needs who just wants a fuss-free, amazing treat. We’re talking simple, delicious, and barely any cleanup – a true win-win!
Why You’ll Love This One-Pan Banana Bread (Minimal Cleanup)
Seriously, why wouldn’t you love this recipe? It hits all the right notes for a busy cook:
- Seriously Speedy: Prep is a breeze, get it in the oven fast!
- Minimal Mess: We’re talking *one* pan and maybe a bowl or two max. Less washing up means more relaxing!
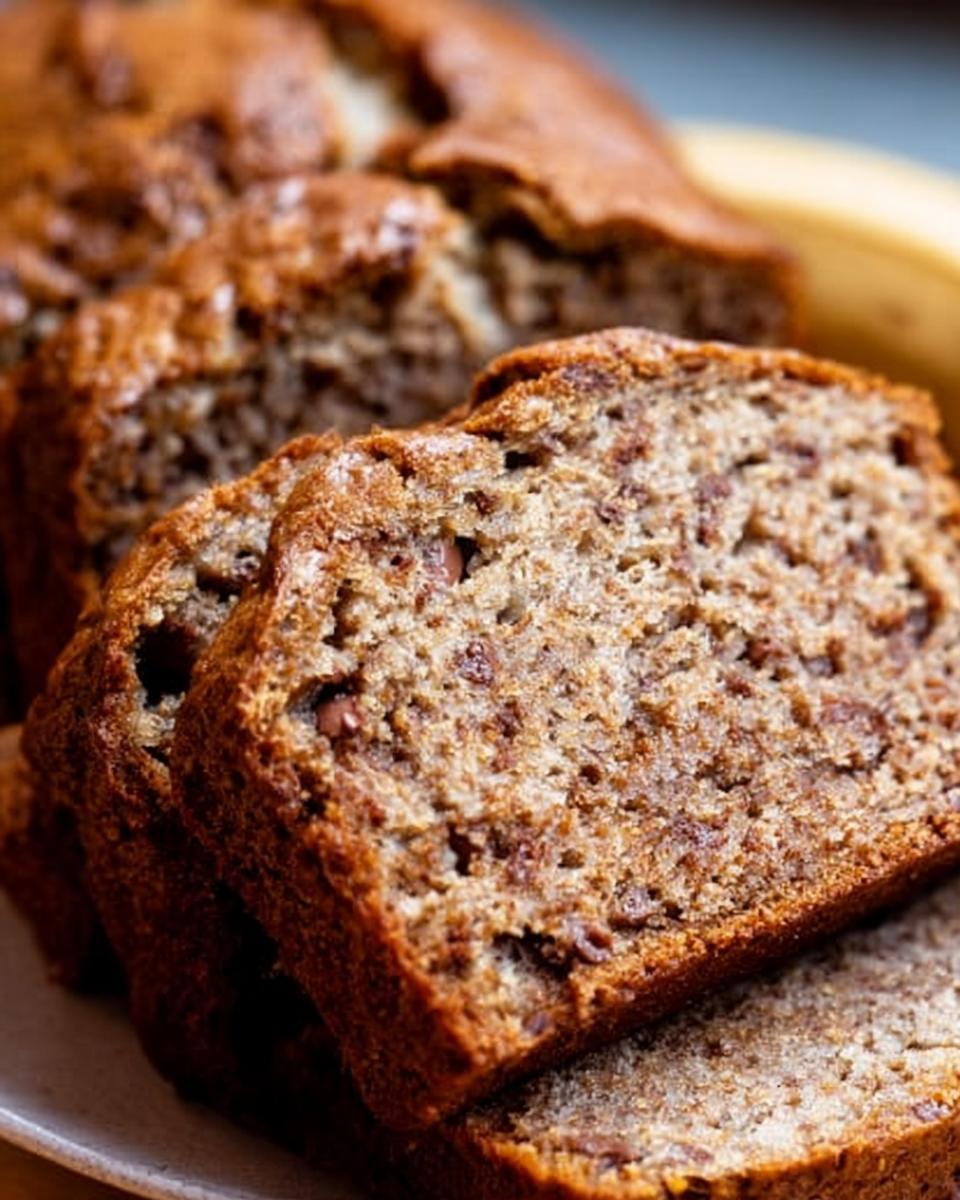
- Crazy Moist & Flavorful: Those ripe bananas and a few secret ingredients make it unbelievably tender and delicious.
- No Fancy Equipment Needed: Forget the mixer; your trusty spoon will do the trick.
- Dietary Friendly: Perfect for those with gluten or sugar restrictions, but tastes amazing for everyone!
- Freezer Friendly: Make a loaf one day, enjoy slices for snacks all week (or month!).
Ingredients for Your One-Pan Banana Bread (Minimal Cleanup)
Okay, let’s talk about what you’ll need to whip up this amazing banana bread. The beauty is, most of it is probably already in your pantry! We’ve got our dry bits, our wet bits, and some fun extras.
Dry Ingredients
- 2 cups all-purpose flour, spooned & leveled
- 1 teaspoon baking soda
- 1/4 teaspoon salt
- 1/2 teaspoon ground cinnamon
Wet Ingredients
- 1/2 cup unsalted butter, softened to room temperature
- 3/4 cup packed light or dark brown sugar
- 2 large eggs, at room temperature
- 1/3 cup plain Greek yogurt or full-fat sour cream, at room temperature
- 1.5 cups mashed bananas (about 3–4 super ripe bananas)
- 1 teaspoon pure vanilla extract
Optional Add-ins
- 3/4 cup chopped pecans or walnuts
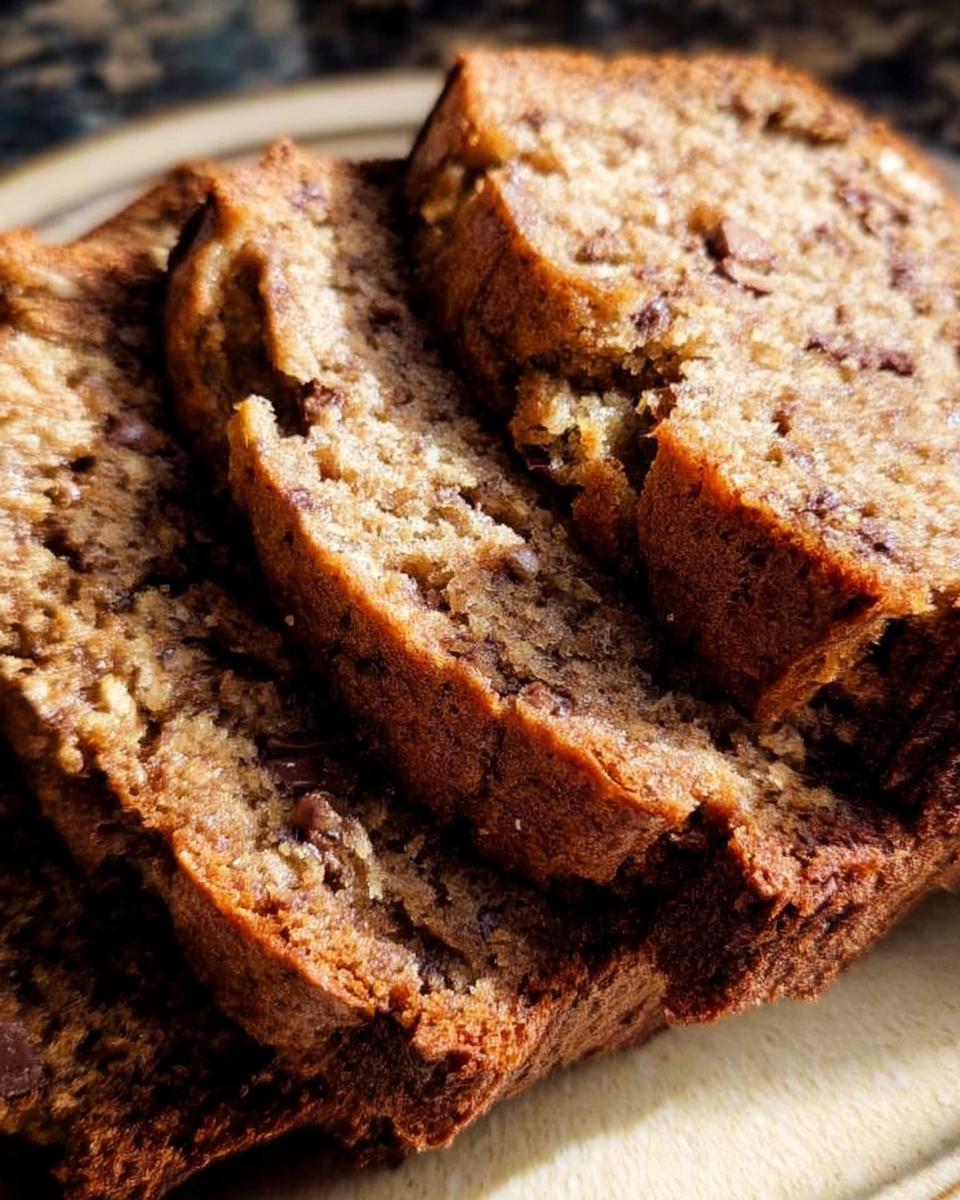
- 1 cup semi-sweet chocolate chips
Easy Steps to Make One-Pan Banana Bread (Minimal Cleanup)
Alright, let’s get baking! This is where the magic happens, and trust me, it’s ridiculously simple. The whole point is to keep things fuss-free, right?
-
First things first, pop your oven rack down to the lower third – this helps the bottom get nice and golden. Then, crank that oven up to 350°F (177°C). Grab your trusty 9×5-inch loaf pan and give it a good greasing. You want things to slide out like a dream later!
-
In a medium bowl (see, we’re already keeping dishes to a minimum!), whisk together your flour, baking soda, salt, and cinnamon. Just give them a good swirl until they’re all friends. Set that aside for a moment.
-
Now, for the big bowl! Cream together that softened butter and brown sugar. You want it to get nice and light and fluffy. Then, add your eggs, one at a time, beating well after each. Next comes the moisture party: stir in that Greek yogurt (or sour cream!), vanilla, and those lovely mashed bananas. Mix it all up until it’s happy and combined.
-
Time to bring those dry ingredients into the wet party! Add them to the big bowl and beat on low speed *just* until they’re combined. Seriously, don’t go crazy here. Overmixing is the enemy of moist banana bread! If you’re adding nuts or chocolate chips, gently fold them in now. You can find some more amazing tips on how to get that perfect texture here.
-
Pour all that glorious batter into your prepared loaf pan. Spread it out evenly. Now, pop it into the preheated oven and let it bake for about 60–65 minutes. Here’s a little trick: around the halfway mark, loosely tent the pan with aluminum foil. This stops the top looking like it’s getting too brown before the inside is cooked through. For more baking tips like these, Sally’s Baking Addiction is always a great spot.
-
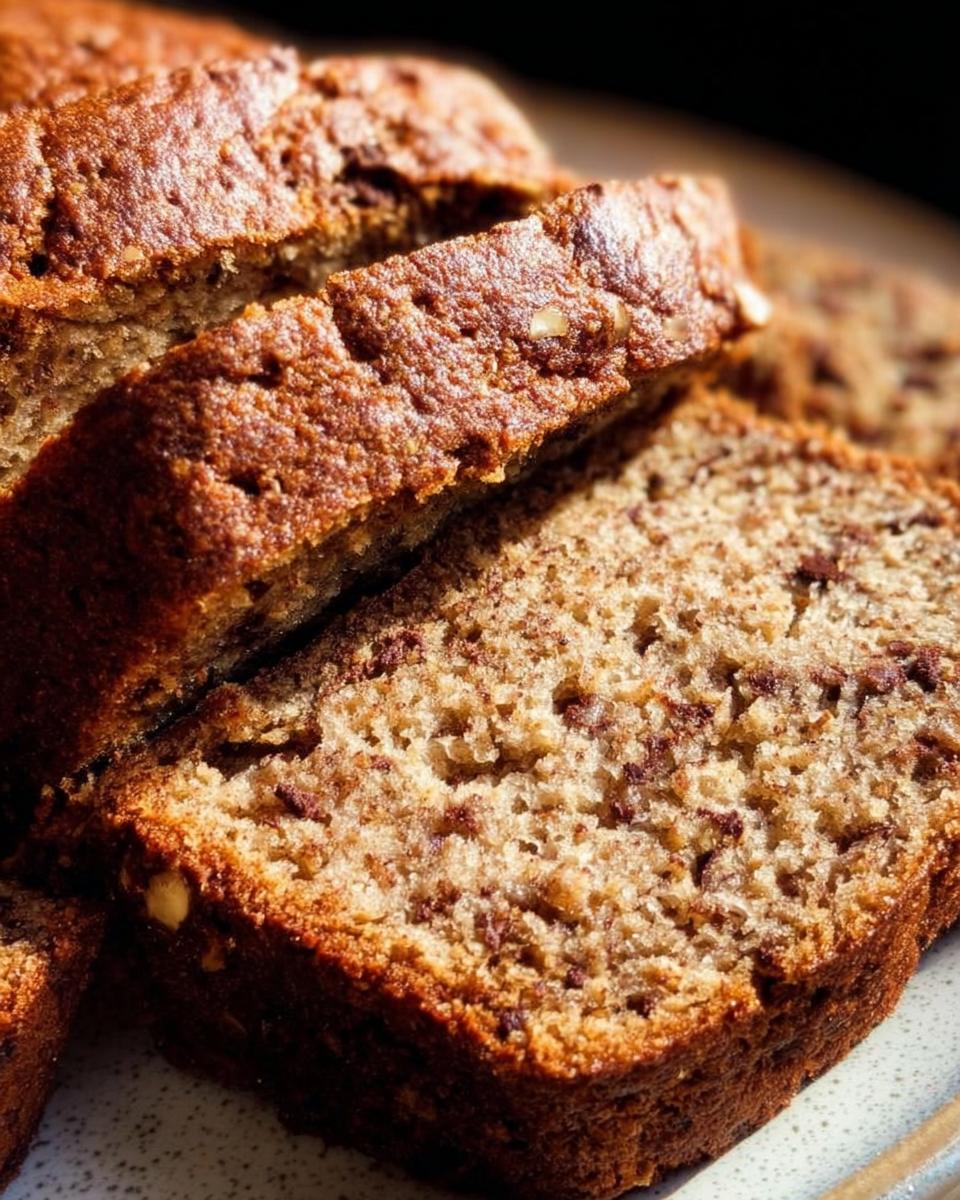
How do you know it’s done? The toothpick test is your best friend! Stick one right into the center. If it comes out clean with just a few moist crumbs clinging to it (not wet batter!), it’s ready. Let the bread cool in the pan on a wire rack for a whole hour – this is important for it to set up properly. Then, carefully remove it from the pan and let it cool completely right on the rack.
Tips for the Best Moist Banana Bread
Want to make sure your banana bread is perfectly moist every single time? It’s all about a few simple tricks! Here at Low Carb Gluten Free Dishes, we’ve figured out what works best, especially when you’re dealing with dietary needs.
- Banana Power: Use bananas that are speckled and spotted, almost black! The riper they are, the sweeter and more moist your bread will be. These are your secret weapon for natural sweetness and texture.
- Don’t Overmix! This is probably the BIGGEST tip for moist banana bread. Mix the dry ingredients into the wet *just* until they disappear. A few little streaks of flour are okay; they’ll disappear in the oven. Overmixing develops gluten, making your bread tough and dry.
- Bake it Right: Keep an eye on that baking time! If the top starts to brown too quickly, tent it loosely with foil. This helps the inside finish cooking without burning the outside. And remember to let it cool in the pan for at least an hour – it needs that time to firm up.
Ingredient Notes and Substitutions for One-Pan Banana Bread
Sometimes you might be missing an ingredient, or maybe you want to tweak things a bit! Don’t sweat it, this recipe is pretty forgiving. For that creamy moisture, if you don’t have Greek yogurt or sour cream, a good quality full-fat coconut cream works wonders, especially if you’re keeping things dairy-free. And those optional nuts? Walnuts are awesome, but pecans add that little extra something. If nuts aren’t your jam, just leave them out, or maybe swap in some extra chocolate chips—you do you! For even more great ideas for specific dietary needs, check out this list of easy low-carb and gluten-free recipes!
Making Your One-Pan Banana Bread Freezer-Friendly
The best part about this banana bread? It’s totally freezer-friendly! If you bake a loaf and suddenly realize you’ve got too much (which, let’s be honest, rarely happens in my house!), just wrap it up tight. Make sure it’s completely cooled first, then wrap it really well in plastic wrap, followed by a layer of aluminum foil or a freezer-safe bag. This keeps any freezer burn away. When you’re ready for a slice, just let it thaw on the counter for a few hours. If you want it warm, a few minutes in a low oven or even the microwave can bring back that just-baked goodness!
Frequently Asked Questions about One-Pan Banana Bread
Got questions? I’ve got answers! Baking should be fun, not stressful, so let’s clear up anything you might be wondering about this easy One-Pan Banana Bread.
Can I use frozen bananas in this recipe?
Yes, absolutely! Frozen bananas work great. Just make sure they’re fully thawed and mashed before you add them to the batter. You might get a little extra liquid from them, but that actually helps make the bread extra moist. It’s a fantastic way to use up those bananas you squirreled away in the freezer!
Why is my banana bread tough or dry?
The most common culprit is overmixing! Once you add the dry ingredients to the wet, just mix until *barely* combined. A few streaks of flour are perfectly fine; they’ll disappear during baking. Also, make sure you’re using ripe bananas – they add so much natural moisture and sweetness. For more on getting that perfect texture, check out our recipe collection.
Can I make this recipe gluten-free or dairy-free?
You sure can! For a gluten-free version, swap the all-purpose flour for a good quality 1-to-1 gluten-free baking blend. For dairy-free, use a dairy-free margarine or coconut oil instead of butter, and opt for a plant-based yogurt (like coconut or almond) or even applesauce instead of Greek yogurt/sour cream. It’s super adaptable!
How do I know when the banana bread is fully baked?
The best way is the toothpick test! Insert a toothpick or a thin knife into the center of the loaf. If it comes out clean or with just a few moist crumbs attached (not wet batter!), it’s ready to go. Baking time can vary a bit depending on your oven, so always do the toothpick test. Don’t forget that cooling time is super important too – it helps set the bread!
Estimated Nutritional Information
Just a heads-up, the nutritional info for homemade goodies can totally change depending on the brands you use and exact measurements! But generally, a slice of this delicious banana bread will have around 300-350 calories, with about 15-20g of fat, 4-6g of protein, and 35-45g of carbs. It’s a pretty tasty way to get your banana fix!
Share Your One-Pan Banana Bread Creations!
Okay, now it’s YOUR turn to shine! Did you make this amazing One-Pan Banana Bread? Let me know in the comments below how it turned out! I absolutely love seeing your creations, so feel free to share pics or tell me how you customized it. You can even rate the recipe right here! For any extra questions or to get in touch, you can always reach out!
One-Pan Banana Bread (Minimal Cleanup)
Ingredients
Equipment
Method
- Adjust the oven rack to the lower third position and preheat the oven to 350°F (177°C). Grease a 9×5-inch loaf pan.
- In a medium bowl, whisk the flour, baking soda, salt, and cinnamon together. Set aside.
- In a large bowl, beat the softened butter and brown sugar together until light and creamy. Add the eggs one at a time, beating well after each addition. Beat in the yogurt, vanilla, and mashed bananas until combined.
- Add the dry ingredients to the wet ingredients and beat on low speed just until combined. Do not over-mix. Fold in the nuts or chocolate chips, if using.
- Pour and spread the batter into the prepared baking pan. Bake for 60–65 minutes. Loosely cover the pan with aluminum foil halfway through baking to prevent the top from browning too much.
- The bread is done when a toothpick inserted in the center comes out clean with only a few small moist crumbs. Cool the bread in the pan on a cooling rack for 1 hour. Remove the bread from the pan and cool it directly on the rack until ready to slice and serve.
Notes
Tried this recipe?
Let us know how it was!
Mindfulness & Emotional Wellness Specialist
I never thought I’d leave my career as a corporate litigation attorney, but a panic attack in a courthouse bathroom changed everything. After struggling with emotional eating for over a decade—starting in college and getting worse through the stress of law school—I realized that no diet could fix what was really going on inside me.
My breakthrough came through mindfulness meditation training. Working with Jon Kabat-Zinn’s protocols, I discovered that my relationship with food reflected deeper patterns of anxiety and perfectionism that I’d been avoiding for years. That’s when I understood that sustainable eating changes require internal transformation, not just external rules.
Now I treat meal preparation as meditation practice. My “Mindful Kitchen” workshops help people transform ordinary cooking into opportunities for self-awareness and emotional healing. I’ve developed over 180 recipes designed for slow, mindful preparation—complex enough to keep you present, simple enough not to overwhelm your nervous system.
I believe food becomes medicine when we approach it with presence rather than reactivity. The kitchen can be our monastery if we choose to enter it with reverence.