
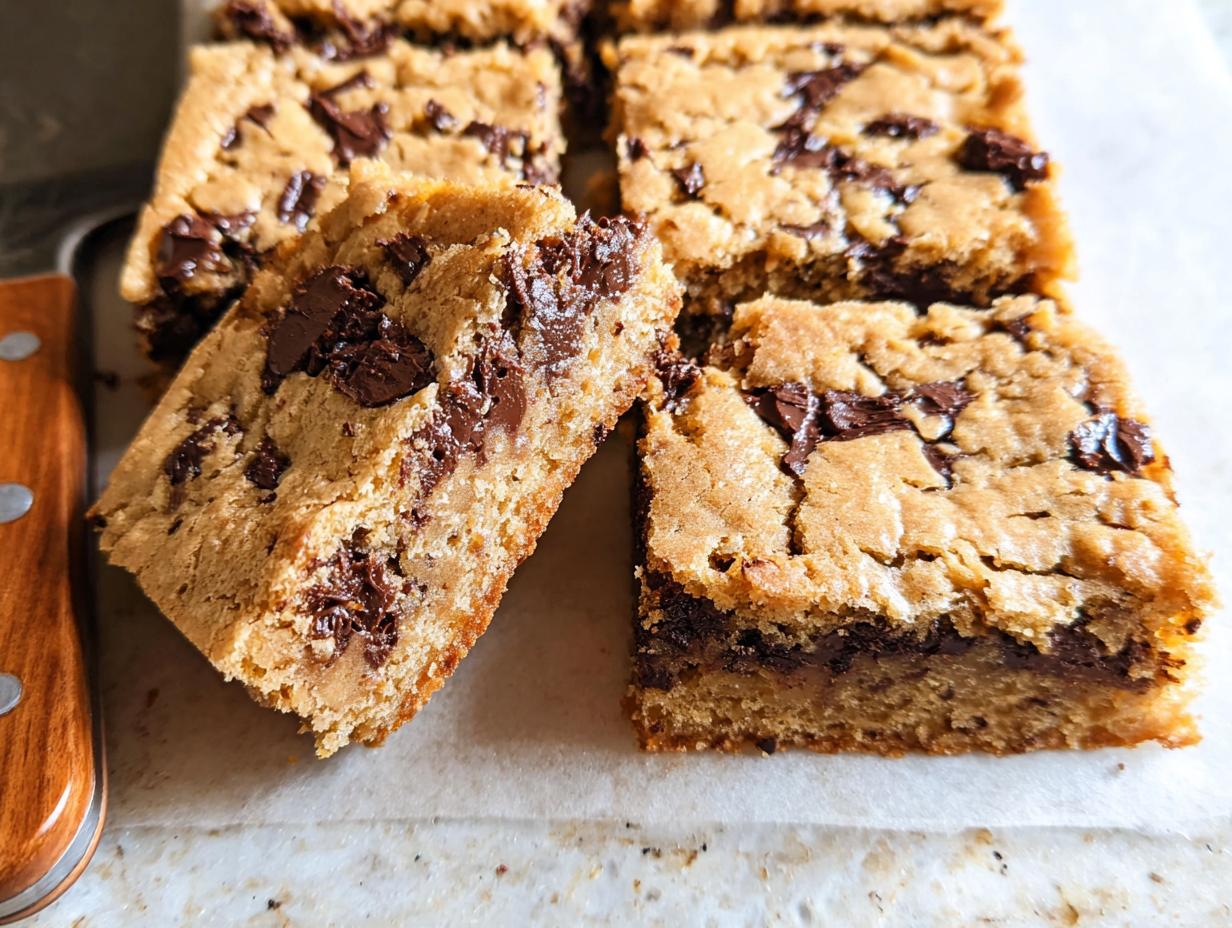
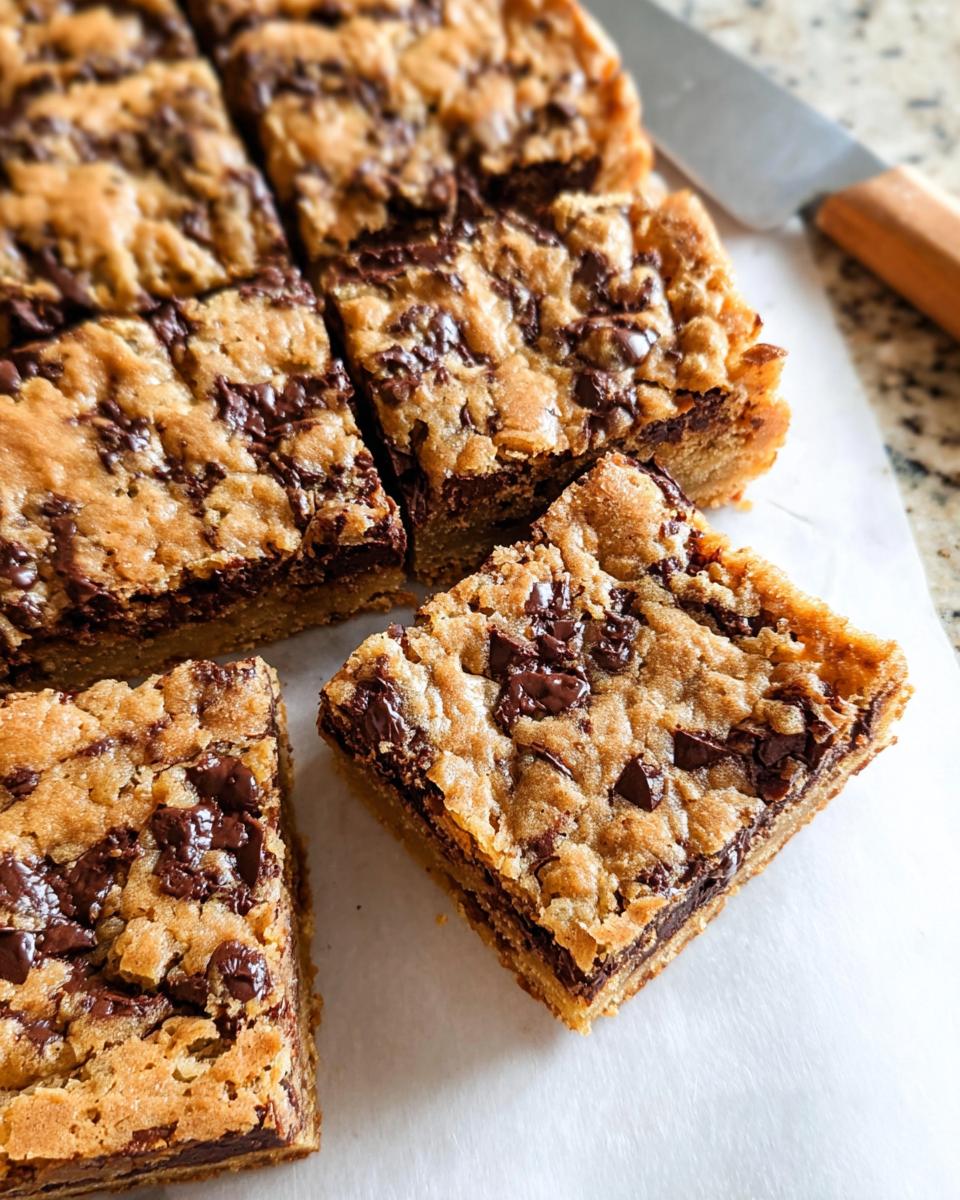
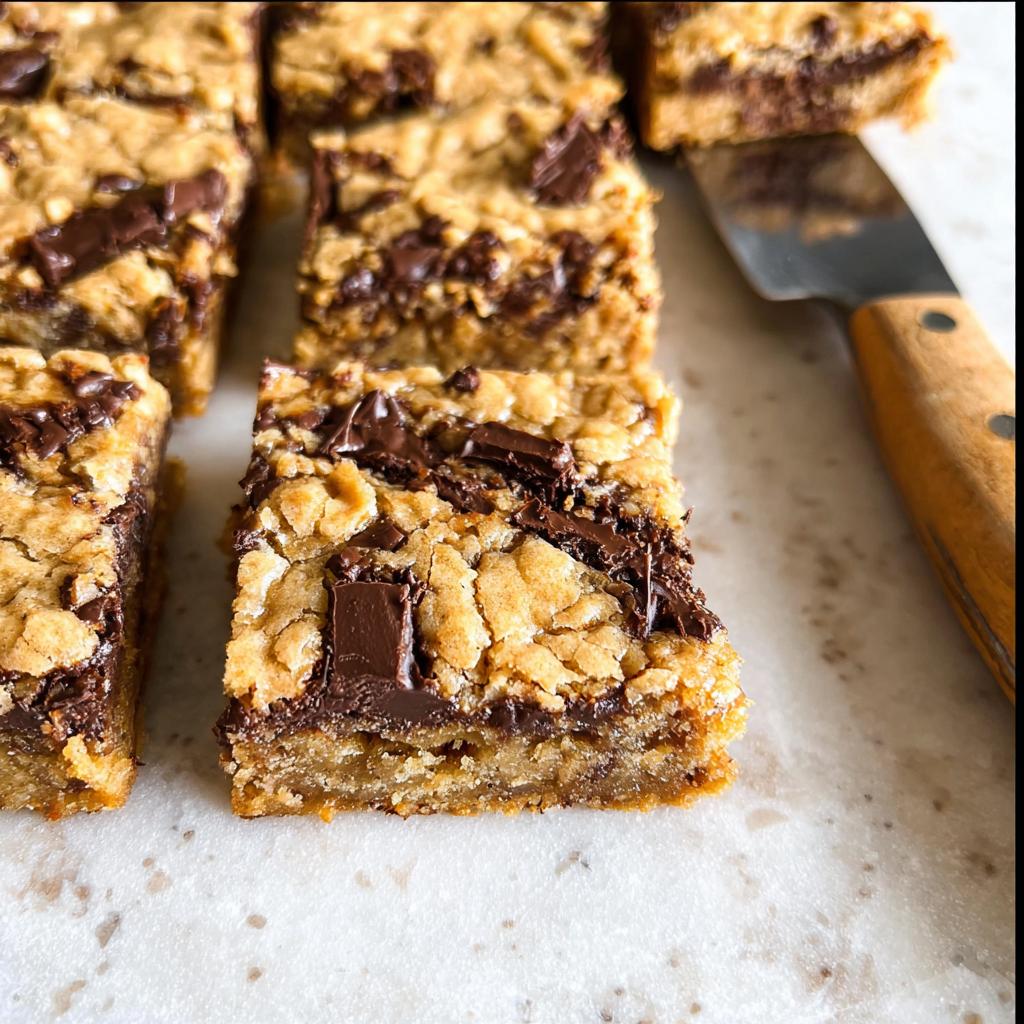
Oh, let’s be honest, sometimes you just need a dessert that doesn’t require a fussy layer cake assembly or twenty different cookie scoops. When the doorbell rings unexpectedly, or you’re invited to a potluck and realize you forgot dessert (again!), you need something reliable that feeds a ton of people with minimal effort. That is why I love these deeply rich, nutty, chocolate-loaded treats, which I call my ultimate Bar Cookies for a Crowd. They are sturdy, they travel beautifully, and they don’t crumble the moment you try to serve them.
This recipe actually became legendary in my house purely by necessity one chaotic summer evening when I threw together a big neighborhood barbecue. My son had recently started navigating life with Celiac disease and Type 1 diabetes, and suddenly, my go-to desserts weren’t options for him. I needed a seriously inclusive, crowd-friendly treat that didn’t taste like a compromise. Guess what? These bars were the answer! When I pulled that sheet pan cookie out, the whole backyard smelled incredible, and watching everyone—dietary restrictions or not—grab seconds was the best feeling. That moment is why I engineer recipes like this; baking should bring everyone to the table. I’m Laila Stone, and as a Dual-Restriction Recipe Engineer, making sure dishes like these reliable Bar Cookies for a Crowd work for everyone is my passion!
Why These Bar Cookies for a Crowd Are Your New Go-To Dessert
Honestly, these are the secret weapon for anyone who bakes for groups, and they’re perfect for making ahead! You don’t have to worry about dozens of cooling cookies or messy plating when you choose a Sheet Pan Cookie format like this. We get maximum flavor with minimal fuss.
Here’s why you’ll start using them for every single get-together:
- They are seriously Crowd Friendly—just bake, cool, and slice!
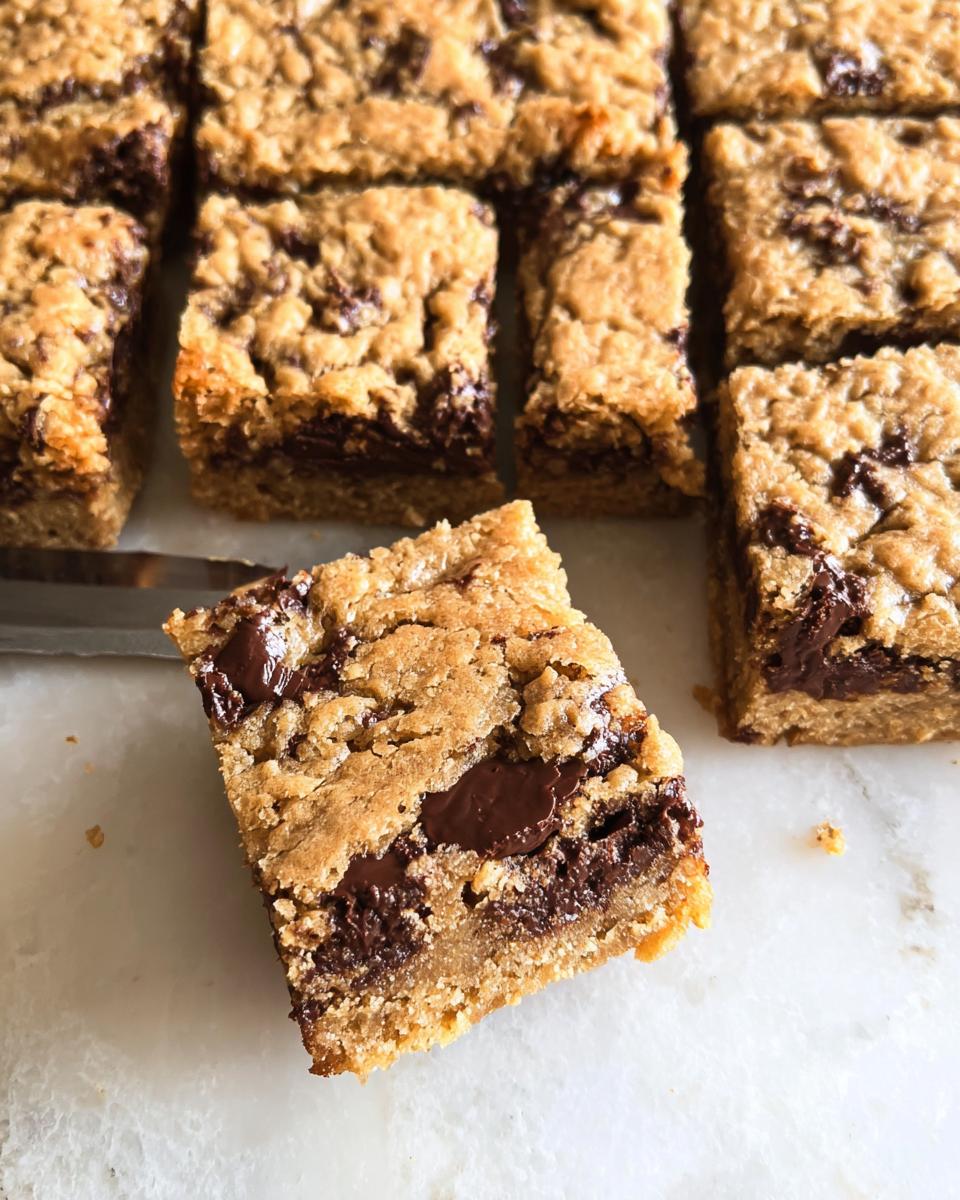
- The brown butter base adds this incredible, nutty depth that tastes so much more complicated than it is.
- They hold together beautifully, making them perfect for packing up and taking to potlucks.
- We load them up with dark chocolate, which keeps everyone happy. If you’re looking for more reliable staples for your baking arsenal, check out all the great options over here!
Essential Ingredients for Perfect Bar Cookies for a Crowd
When we talk about recipes built for sharing, the ingredients you choose matter even more because you might be balancing a few different needs at the table. Trust me, the richness in these bars comes straight from using high-quality starting materials, especially that butter!
For the base of these treats, you’ll want to make sure you have everything noted down right. We are using 150g of *cold* unsalted butter, which we handle a little delicately later on. Then we sweeten things up with 100g of light or dark brown sugar and 60g of granulated sugar. We only need one large egg (about 50g) and ½ teaspoon of the best vanilla bean paste or extract you have. For the dry stuff, grab 150g of all-purpose flour, ¼ teaspoon of baking powder, and 3g (that’s about 1 teaspoon) of salt.
The showstopper, though, is the chocolate. You need 220g of dark chocolate, and please, chop it yourself! We want those varied chunks melting throughout. The reason brown butter is key? It toasts the natural sugars in the butter, giving the whole bar a deep, almost caramel-like complexity that regular melted butter just can’t touch. It’s what elevates these from simple Cookie Bars to something special.
Ingredient Notes and Substitution Options for Crowd Friendly Baking
Since I bake for folks with different needs all the time, I know how important swaps are. For the flour, you absolutely can swap that 150g of AP flour for a good 1:1 gluten-free blend. Just make sure it contains xanthan gum so your bars don’t crumble apart!
When it comes to sugar, this is where you can make the biggest difference for diabetic guests. You can substitute the 160g of total sugar (brown + white) with a high-quality granular monk fruit or erythritol blend. You might need to use slightly less, so start by swapping 75% of the sugar weight, then check the dough consistency. Using those substitutions keeps these treats Crowd Friendly without sacrificing that classic chewiness!
Step-by-Step Instructions for Large Batch Baking Bar Cookies for a Crowd
Okay, this is where the magic happens! While this is a Sheet Pan Cookie, we need to treat the initial butter with a bit of respect to get that deep, restaurant-quality flavor. Since we are cooking down butter, we start with more than the recipe needs because some of that weight is just water that boils off. Don’t worry about the math; just follow these steps for perfect Bar Cookies for a Crowd.
- First thing: heat your oven up to 350°F (180°C). Get that 8-inch non-stick pan ready by greasing it lightly and lining it with parchment paper. Make sure you leave a ‘sling’ of paper hanging over the sides—that handy overhang is what lets you pull the whole pan out later!
- Next, the critical part: melt that cold butter in a saucepan on medium heat. Keep cooking it, swirling often, until it starts splashing, foams up, turns a gorgeous golden brown, and smells wonderfully nutty. That’s your cue!
- Quickly weigh out 110g of that beautiful brown butter into a medium bowl. You have to let it cool down for about 15 to 20 minutes now so it doesn’t scramble your egg when you add it in phase two.
- Whisk your brown sugar and granulated sugar into the cooled brown butter until they are nicely combined.
- Now, whisk in that single egg for a full minute or two until the mixture lightens up and looks a little thicker. Stir in your vanilla.
- Gently fold in the flour, baking powder, and salt using a rubber spatula. Stop mixing the second you see most of the white streaks disappear—a few flour bits are totally fine. Overmixing equals tough bars!
- Fold in all those chopped dark chocolate chunks until they are just evenly distributed throughout the dough.
- Press that dense dough evenly into your prepared pan. If you have extra chocolate chips, sprinkle them across the top now for pretty presentation later.
- Bake for about 20 to 22 minutes. They should look golden brown on top and completely set around the edges. If you like them chewy, pull them closer to the 20-minute mark.
- Let them cool completely in the pan on a wire rack. This is crucial—it needs that 20 minutes of cooling time to firm up before you slice them! Check out some great examples of how other bakers manage this type of bake!
Remember, if you are planning big one-pan meals for cleanup later, prepping your baking right the first time saves so much time later on. For more tips on easy cleanups, you can look here.
Mastering the Brown Butter for Superior Bar Cookies for a Crowd
That initial measurement of butter seems big, right? We weigh out 150g because a lot of the original weight is water that evaporates while cooking! You need to watch that saucepan like a hawk once it starts smelling like toasted nuts; that nutty aroma and golden color are your signals that it’s ready. Once the butter shifts from pale gold to deep amber brown, pull it off the heat immediately so it doesn’t burn. Letting it rest for that cooling time is non-negotiable, or you’ll end up with scrambled egg bits instead of a smooth base!
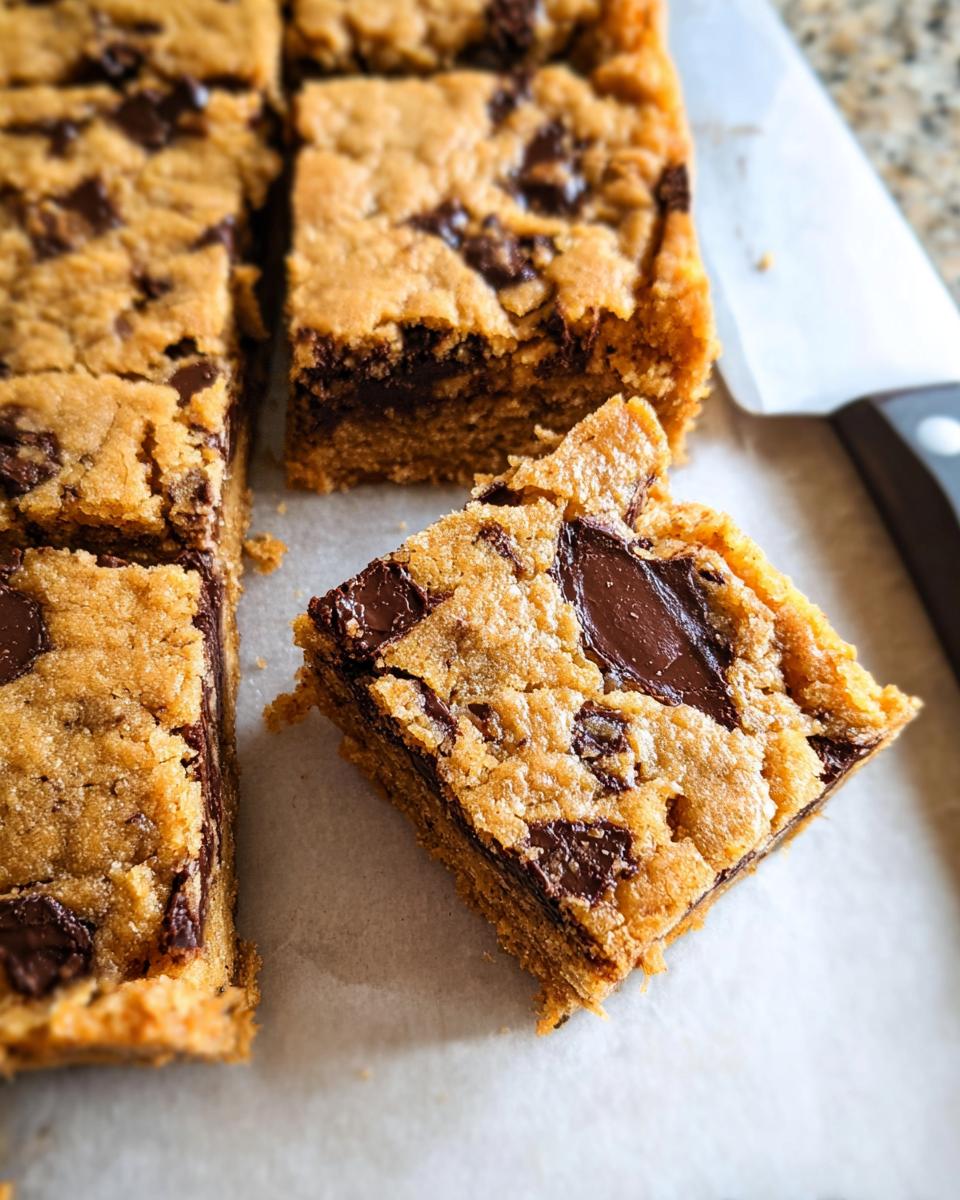
Baking and Cutting Tips for Easy Dessert Presentation
When checking doneness, don’t rely just on sight! The edges should look firm, but the very center might look a tiny bit soft—they continue cooking as they cool. After that mandatory 20-minute cooling period on the rack, grab that parchment sling and lift the whole block out of the pan onto your cutting board. Use a sharp, long knife to cut them into neat squares. This is the secret to a perfect, no-mess Easy Dessert presentation every single time!
Tips for Success When Making Bar Cookies for a Crowd
Baking a big batch means you need a few tricks up your sleeve so everything turns out perfect. My number one tip when dealing with a big pan of these Bar Cookies for a Crowd is pan prep. If you don’t use that parchment sling, you are setting yourself up for tears and frustration when trying to get the cooled slab out!
Also, please listen to me about taking them out of the oven a minute too soon rather than too late. Because these bars are dense, they are easy to dry out, and nobody wants a hockey puck! You want that slight wobble in the center when you gently shake the pan. They firm up beautifully while cooling, just trust the process.
For an even bake across that large surface area, make sure you press the dough down with equal pressure everywhere. Don’t have a thick edge and a thin middle! For deeper insights into getting your gluten-free ingredients mixed just right, I have some thoughts on creating a perfect roux that might help your flour blends right here.
Make-Ahead and Storage for Your Bar Cookies for a Crowd
This is truly what makes these bars so incredibly Crowd Friendly—you can bake them almost entirely ahead of time! Once they are completely cooled (and this cannot be rushed, remember that 20-minute minimum!), it’s time to stash them away.
I store my Bar Cookies for a Crowd in a simple airtight container at room temperature, and they stay perfectly fresh and chewy for a good three days. If you have leftovers after a big party, don’t panic about waste! They freeze like a dream. Just stack them with a piece of wax paper between the layers. This stops them from sticking together, which is key for easy grab-and-go treats later on. If you need more ideas on baking ahead for busy times, check out my meal prep friendly strategies here!
Equipment Needed for Making Bar Cookies for a Crowd
Getting ready for Large Batch Baking means having your tools lined up before you start heating that butter! For these Bar Cookies for a Crowd, you really only need the basics. You absolutely must have that 8-inch non-stick baking pan ready, complete with parchment paper installed. Then grab a small saucepan for browning your butter and a medium bowl for mixing everything up.
Don’t forget your whisk for that crucial butter-sugar incorporation, and a rubber spatula is essential for gently folding in the flour and chocolate. Finally, have a sharp knife and a wire rack standing by—the knife for clean cutting and the rack for proper cooling before you slice them into perfect squares!
Frequently Asked Questions About These Crowd Friendly Cookie Bars
It’s so common to have a few little questions when scaling a dessert up for a big group, especially when you’re trying to keep things delicious and easy! These Cookie Bars are fantastic once you have the hang of them. Here are the things I get asked most often about making sure this recipe is a success for your next big event.
Can I easily double this recipe for Bar Cookies for a Crowd?
Yes, this recipe scales up really well! If you double everything, your 8-inch pan won’t work anymore, obviously. I recommend moving up to a standard 9×13 inch pan for a double batch. Just remember when you switch to a bigger pan, the batter spreads out thinner, so the baking time will likely be shorter—maybe around 18 to 20 minutes instead of 22. Keep an eye on those edges!
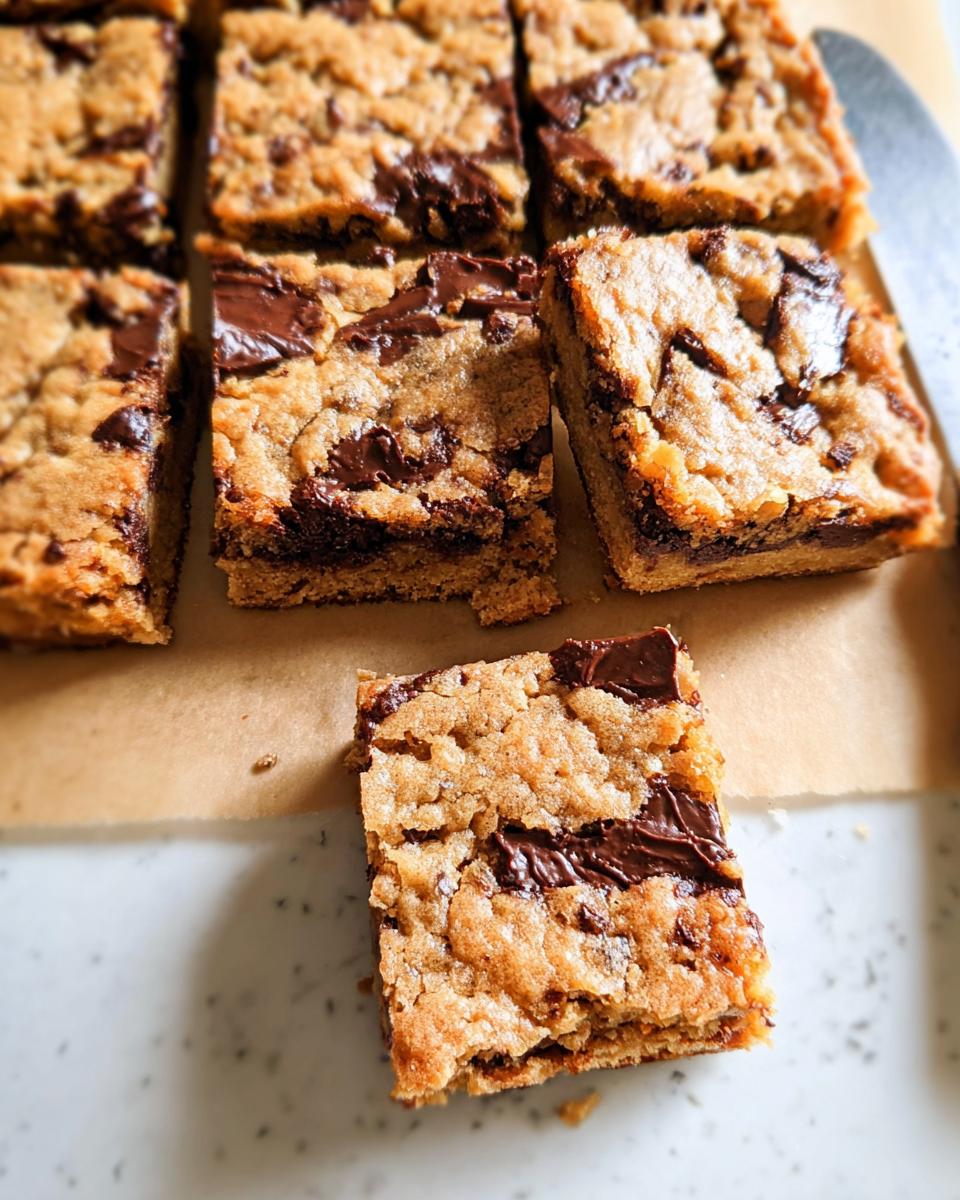
How do I ensure these Cookie Bars are chewy, not cakey?
This is all about avoiding overmixing the flour! As soon as you add the flour, you switch to a light touch with your spatula. You want to stop mixing the moment you see most of the white streaks disappear—that means you’ve developed just enough gluten to hold the bar together without making it tough or cakey. Also, pulling them out when the center still looks a tiny bit moist is key to getting that perfect chew. These truly are an Easy Dessert if you follow that one rule!
If you are looking for five-ingredient ideas that keep things simple for an unexpected crowd, check out some of my quick inspiration right here!
Estimated Nutrition for These Bar Cookies for a Crowd
Now, I have to give you the usual disclaimer because every ingredient selection—especially that dark chocolate—makes a difference! These numbers are estimates based on 24 servings and using standard ingredients rather than low-carb swaps. But overall, for a rich, fudgy Cookie Bar, the breakdown is fantastic:
Per Bar (Estimated for 24 servings):
- Calories: Approximately 210
- Fat: 13g
- Protein: 2g
- Carbohydrates: 22g
Remember, if you use low-carb sugars or sugar substitutes, these numbers will change dramatically! That’s the beauty of tailoring your Bar Cookies for a Crowd.
Share Your Experience Making Bar Cookies for a Crowd
I truly hope these rich, simple bars become a staple at your house like they are at mine! This recipe is always better when shared. If you whipped up a batch of these Bar Cookies for a Crowd, please stop by and leave a star rating below—it helps other bakers know it’s worth their time!
I’m dying to hear about any fun variations you tried, especially if you used those low-sugar swaps! Drop a detailed comment so we can all learn together, or feel free to reach out through my contact page to share a photo of your beautiful squares!
Bar Cookies for a Crowd
Ingredients
Equipment
Method
- Preheat your oven to 350°f (180°c). Grease and line an 8″ (20cm) non-stick baking pan. Leave the parchment extending over the sides to form a sling. You can secure it with binder clips if you wish.
- Place the butter in a medium saucepan over medium heat. Cook until melted, then continue cooking, swirling the pan often and stirring with a whisk, until the butter foams, turns golden brown, and has a nutty aroma. This should take 3-4 minutes.
- Weigh out 110g of the brown butter into a medium bowl. Let it cool for 15-20 minutes so it does not scramble the eggs.
- Add the brown sugar and granulated sugar to the bowl with the brown butter and mix to combine.
- Add the egg and whisk well for 1-2 minutes, or mix with an electric mixer, until the mixture has lightened in color and thickened.
- Add the vanilla and mix well.
- Add the flour, baking powder, and salt. Mix with a rubber spatula until some flour streaks remain. This prevents overworking the dough.
- Add the chocolate and mix to incorporate with a rubber spatula.
- Press the dough into the prepared pan, smoothing it down with an offset spatula. You can add extra chocolate chunks to the top if desired.
- Bake for 20 to 22 minutes, until the top is golden brown and set, and the edges have started to firm up. For crispier edges, bake a little longer.
- Remove the bars from the oven and let them cool in the pan on a wire rack. Use the parchment paper sling to lift them out of the pan. Cut into pieces with a sharp knife.
- Store cookie bars in an airtight container at room temperature for up to 3 days.
Notes
Tried this recipe?
Let us know how it was!
Dual-Restriction Recipe Engineer & Cross-Contamination Specialist
Everything changed when my teenage son got hit with celiac disease and Type 1 diabetes diagnoses within six months of each other. Suddenly, pizza and pasta were off the table, and most “diabetic-friendly” foods contained gluten. I went from regular mom cooking to navigating what I call “compound restriction cooking”—and I had a kid’s appetite and taste buds to satisfy.
Lucky for us, my background in pharmaceutical quality control gave me the systematic mindset this level of precision requires. My kitchen now operates under pharmaceutical-grade protocols adapted for home use: dedicated prep surfaces, separate storage systems, and testing procedures that verify both carb counts and gluten absence before any recipe gets published.
I’ve developed over 220 recipes that clear multiple dietary hurdles simultaneously—finding gluten-free thickeners that don’t spike blood sugar, creating bread alternatives that meet both keto ratios and celiac safety, and developing desserts that actually taste good to a teenager despite impossible restrictions.
Through my “Safe Kitchen Certification” program, I teach other parents that managing multiple dietary restrictions isn’t about multiplying limitations—it’s about systematic thinking that reveals unexpected possibilities. When you engineer solutions instead of making compromises, restriction becomes innovation rather than deprivation.