
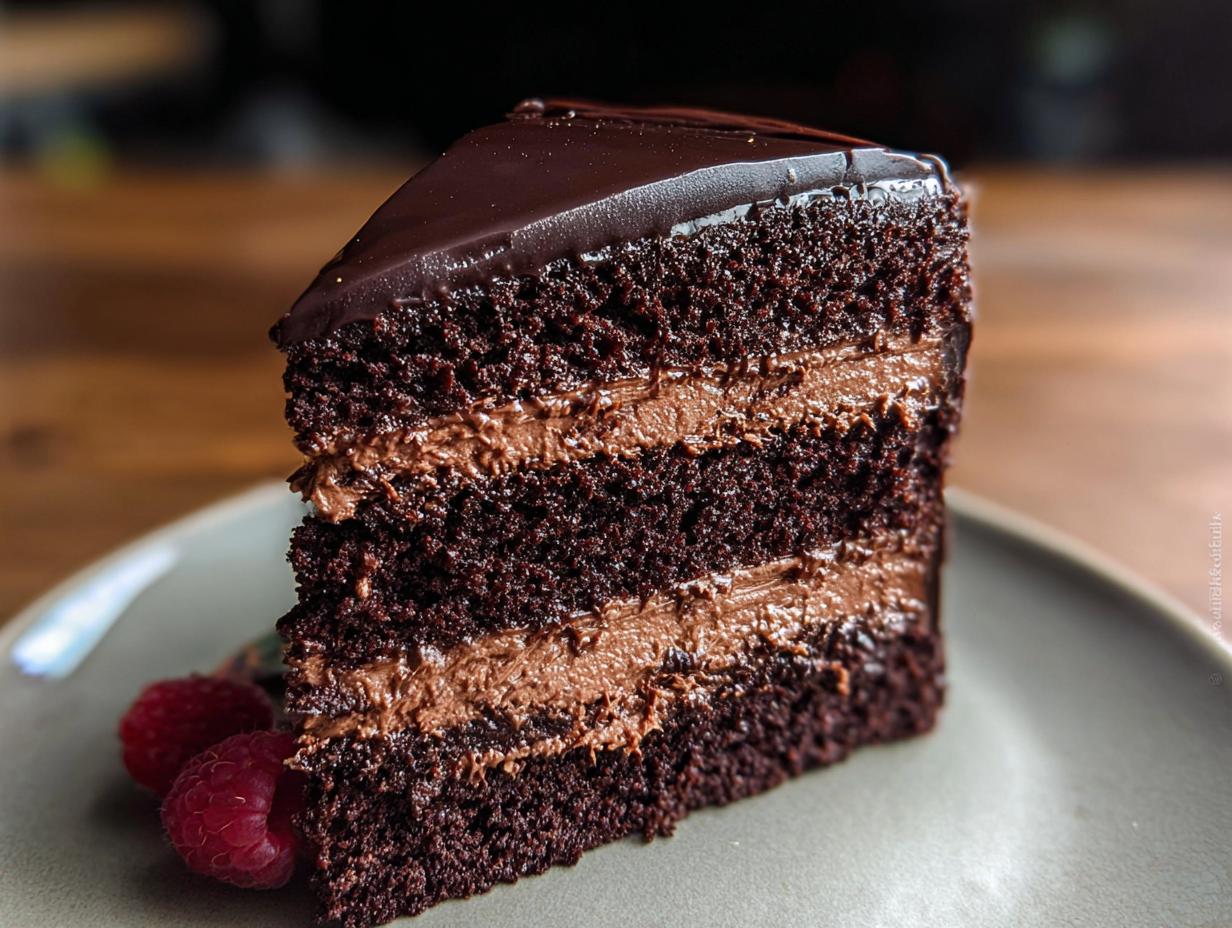
Finding desserts that taste truly indulgent while navigating tricky dietary restrictions can feel like searching for a unicorn, right? Especially when it’s a celebration, you want something show-stopping. Well, trust me, I’ve been there, and I developed this Chocolate Mousse Layer Cake as the ultimate solution when ordinary recipes just won’t work. I remember the first time my son tasted a ‘normal’ dessert again after his diagnoses. I spent hours crafting this exact cake using gluten-free ingredients and carefully measured sweeteners that wouldn’t spike his blood sugar. As he took his first bite, his eyes brightened, and he declared it the best cake he had ever eaten. In that moment, all my careful calculations and experimentation paid off, and I realized that with a little ingenuity, we could enjoy the same celebrations and sweet moments as other families. I’m Laila Stone, your Dual-Restriction Recipe Engineer, and this recipe is proof that you never have to compromise on decadence! You can learn more about my journey and approach to safe, delicious baking over on my About Page.
Why This Chocolate Mousse Layer Cake is a Crowd Pleaser
When you’re juggling food sensitivities, finding something truly rich that everyone enjoys can be a nightmare. This cake isn’t just “good for a modified dessert”—it’s genuinely spectacular. It’s decadent, it’s layered goodness, and the best part? It’s built to be flexible for your needs!
- It delivers deep, satisfying chocolate flavor that even the pickiest eaters (and non-restricted guests!) will adore.
- It looks like something you bought from an expensive bakery, making any celebration feel special.
- It’s a fantastic base recipe that handles ingredient swaps beautifully.
We focus on making comfort food accessible. If you want to see more easy swaps for busy nights, check out my list of 23 Easy Low-Carb Gluten-Free Recipes!
Tips for Adapting Your Chocolate Mousse Layer Cake
Don’t panic if you need to tweak this for your family’s requirements! The structure of this cake—moist sponges and stable mousse—is very forgiving. For low-carb needs, you can substitute the flour with a quality 1:1 gluten-free/low-carb blend and use your preferred granulated sweetener. If you are strictly gluten-free, ensuring your chosen flour blend has good binding quality is key. Always remember to check all your cocoa powder and chocolate labels for hidden ingredients if you have severe cross-contamination concerns. Creativity in the kitchen is what baking is all about!
Essential Ingredients for Your Chocolate Mousse Layer Cake
Okay, you know how sometimes a recipe just tells you to ‘mix things’? That doesn’t work when you are trying to balance flavor and texture for special diets! For this Chocolate Mousse Layer Cake to turn out absolutely stunning, we need to respect a few ingredient roles. I broke down everything into three main teams: the cake base, the luscious mousse filling, and the shiny ganache topping. Pay close attention to the notes beside the ingredients—they are critical for success, especially if you are adapting this for low-carb or gluten-free needs. Ready to see the lineup? You can find all my favorite reliable ingredient sources over at my main recipe index.
Ingredients for the Moist Cake Layers
We need structure and deep, dark chocolate flavor here. Remember, room temperature is your best friend for the sour cream, eggs, and buttermilk—it makes everything blend smooth!
- 1.75 cups all-purpose flour (spooned & leveled)
- 1.75 cups granulated sugar
- 0.75 cup unsweetened natural cocoa powder (see Notes for blending recommendations)
- 2 teaspoons espresso powder (optional, but wow, it boosts the chocolate!)
- 2 teaspoons baking soda
- 1 teaspoon baking powder
- 1 teaspoon salt
- 0.75 cup full-fat sour cream (must be at room temperature)
- 0.5 cup vegetable oil
- 2 large eggs (must be at room temperature)
- 0.5 cup buttermilk (must be at room temperature)
- 2 teaspoons pure vanilla extract
- 0.5 cup hot water or black coffee (coffee deepens the flavor!)
- 1 cup semi-sweet mini chocolate chips (if using, toss these in 1 Tbsp flour first)
Ingredients for the Creamy Chocolate Mousse
This is where the indulgence shines through! The rule here is simple: the heavy cream needs to be absolutely ice cold for whipping!
- 0.5 cup hot water
- 0.25 cup unsweetened natural or Dutch-process cocoa powder
- 8 ounces quality semi-sweet chocolate (must be finely chopped)
- 2 cups heavy cream (must be cold!)
- 2 Tablespoons confectioners’ sugar
- 0.5 teaspoon pure vanilla extract
Ingredients for the Smooth Chocolate Ganache and Garnish
The ganache is what gives this a stunningly elegant finish. Quality chocolate makes a huge difference here.
- 8 ounces quality semi-sweet chocolate (must be finely chopped)
- 1 cup heavy cream (for the ganache)
- Optional Garnish: fresh berries or chocolate shavings
Step-by-Step Instructions for the Chocolate Mousse Layer Cake
Listen, I know assembling this Chocolate Mousse Layer Cake seems like a marathon, but we break it down, piece by piece. If you follow these instructions for the cake, the mousse, and the ganache in order, you’re practically a pastry chef already! Remember, the cooling periods are just as important as the mixing! Don’t rush them, or you’ll end up with a sloppy mess, and we want an elegant cake that impresses every time. Having everything ready to go before you start baking really cuts down on stress. Ready to dive in? For more complex steps, like making specialized gluten-free thickeners, you might find my guide on making a perfect gluten-free roux helpful down the road!
Preparing and Baking the Cake Layers
First things first, get that oven up to 350°F (177°C). You need to grease your 8- or 9-inch pans, and don’t skip lining them with parchment paper—that’s your insurance policy against sticking! In a big bowl, whisk all your dry stuff: flour, sugar, cocoa, baking soda, baking powder, salt—everything except the chocolate chips. In a separate bowl, beat the room-temperature sour cream, oil, eggs, buttermilk, and vanilla until they look happy together. Next, add the dry mixture to the wet, mixing on low speed. Then, pour in the hot water or coffee and mix until it’s just combined. Don’t overdo it! Fold in those floured mini chips, if you are using them. Divide the batter evenly and slide them into the oven for about 19–23 minutes. They’re done when a toothpick comes out clean. Let them chill out in the pans on a rack for a full hour before you try to take them out.
Crafting the Rich Chocolate Mousse Filling
While those cakes are cooling, we make the dream filling! You need to mix your hot water and cocoa powder until it’s smooth, then melt your chopped chocolate until it’s glossy. Set that chocolate mix aside for a moment. Now, grab your cold heavy cream—and I mean COLD—and whip it with the powdered sugar and vanilla until you hit those lovely medium peaks. You don’t want stiff, or it won’t fold right! Gently, gently now, fold the chocolate mixture into the whipped cream. Take your time here; you want to keep all those air bubbles! When it’s all just combined, cover that bowl—this mousse needs a good 2 hours in the fridge to firm up properly, or you can leave it up to two days! If you struggle with getting perfect mousse texture, checking out resources like Sally’s guide on dark chocolate mousse cake can give you extra pointers.
Assembling the Chocolate Mousse Layer Cake
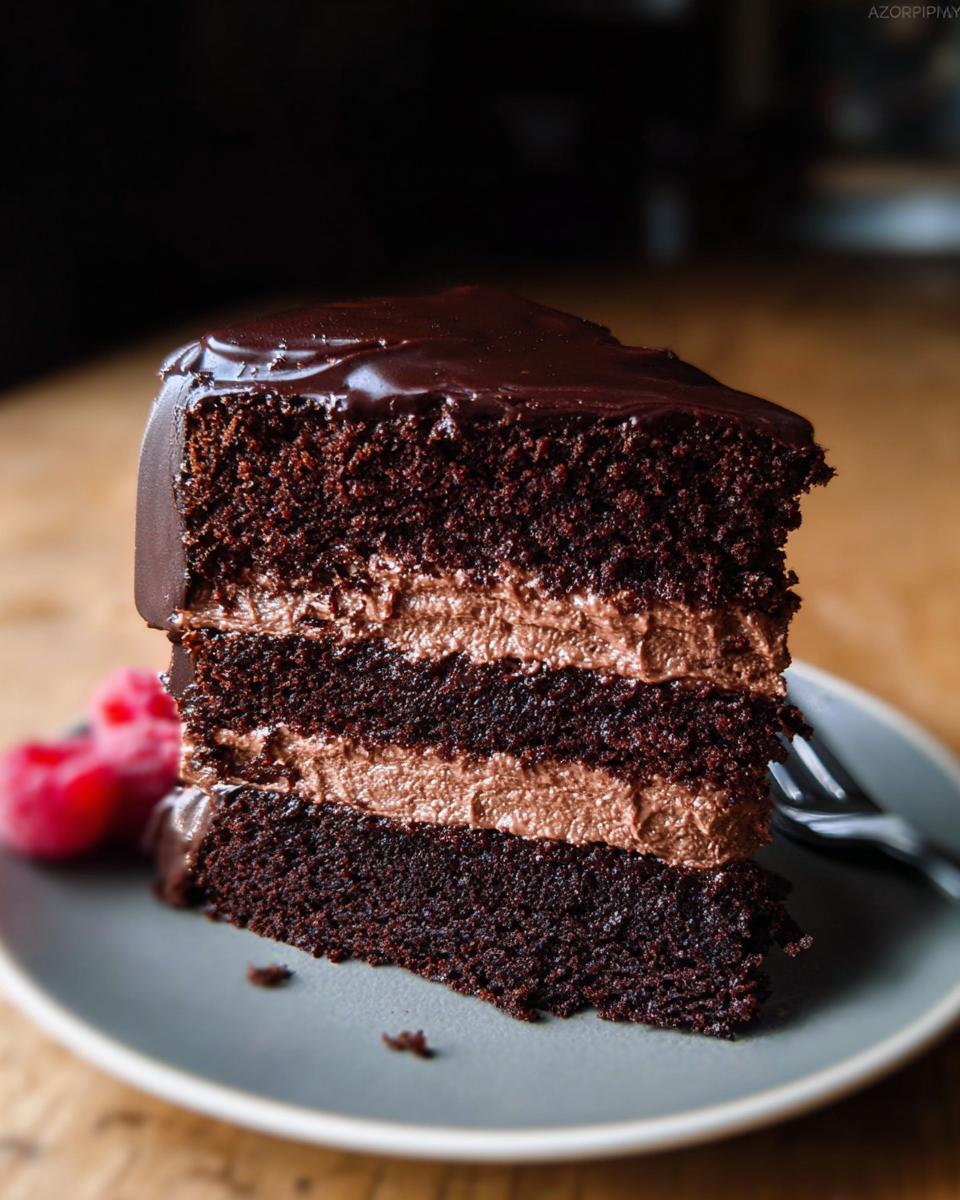
Once your cake layers are totally cool, you might need to shave the tops off with a serrated knife so they sit flat—this is key for a stable layered dessert. Take one layer, put it on your serving plate, and spread about 1.5 cups of that chilled mousse gently over it. Add the next layer upside down—this gives you another flat top! Repeat until all layers are stacked, using about 1.5 cups of mousse for each middle section. Finally, use the remaining mousse for a thin crumb coat all over the top and sides. Scrape it smooth with a bench scraper if you have one! Now, this cake needs to chill again for at least 1 hour before we put the shiny ganache on top. That hour is crucial so the mousse doesn’t squeeze out later!
Finishing with Chocolate Ganache
For the final flourish, we make the ganache. Heat your cup of heavy cream in a saucepan until it just starts to simmer along the edges—don’t let it boil hard! Pour that hot cream over your finely chopped chocolate. Let it sit there, undisturbed, for about two or three minutes so the heat can do its work. Then, using a spatula, stir slowly from the middle outward until you have this unbelievably smooth, shiny chocolate sauce. It will look too thin, but trust me! Pop the ganache into the fridge for maybe 30 minutes to an hour until it thickens just enough to pour without completely running off the sides. Pour it over your chilled cake, smoothing the top, and you’re practically done! Garnish with berries if you grabbed some!
Expert Baking Tips for a Perfect Chocolate Mousse Layer Cake
Listen, when you’re building something this tall and luscious, the little things make all the difference. Getting the temperature of your ingredients just right is my top secret for building structure in the cake layers before we even get to the mousse. If your sour cream and eggs are straight from the fridge, your batter will fight you, and you won’t get that lovely height we need for a stunning Chocolate Mousse Layer Cake.
Ingredient Temperature Matters for This Chocolate Mousse Layer Cake
Seriously, pull out your sour cream, eggs, and buttermilk about an hour before you plan to start. When room-temperature ingredients meet, they emulsify beautifully, creating those tiny air pockets we rely on for a tender crumb. This makes the mixing process so much smoother and ensures your cake layers don’t look dense or uneven when they come out of the oven. It’s one of those simple steps that separates a good cake from truly exceptional!
Also, a quick tip from the notes: if you skip the optional espresso powder, you’re missing out! It doesn’t add coffee flavor; it just wakes up the chocolate letting it taste twice as rich. Trust me on that one!
Make Ahead and Storage for Your Layered Dessert
One of the best things about this incredible layered dessert is that you don’t have to do everything on the day you plan to serve it! We all know how stressful party days can be, so building this Chocolate Mousse Cake in stages is the key to staying sane. I love making components ahead of time because it breaks up the work and guarantees everything is perfectly set.
You can absolutely bake your cake layers way ahead of time. Once they are completely cool, wrap each one really tightly—like airtight tight—in plastic wrap. You can keep them in the fridge for two days, or if you need more time, toss them in the freezer for up to three months! Just make sure they thaw overnight in the fridge before you try to use them; trying to frost a frozen cake is a recipe for disaster, trust me.
The mousse and ganache are also perfect make-ahead components. I usually whip up the chocolate mousse the day before serving, and it sets up beautifully overnight. The ganache can be made a day ahead, too. Just remember, if you refrigerate the mousse or ganache before assembly, you *must* let them sit out briefly before you start layering so they are soft enough to spread and won’t tear your cake layers.
If you’re planning way ahead, you can freeze the fully assembled cake! Wrap it really carefully, cover it twice, and freeze it for up to three months. Thawing overnight in the fridge is the only way to go. For more ideas on streamlining your weekly cooking, you can look at my tips for meal prep-friendly dinners.
Troubleshooting Common Chocolate Mousse Layer Cake Issues
Even when we follow recipes perfectly, sometimes the kitchen gods decide to test us! If you run into a snag while making your Chocolate Mousse Layer Cake, don’t panic! Most issues are simple fixes. Did your mousse look less fluffy than you hoped? That usually means you overmixed it after folding in the whipped cream. Next time, switch to a spatula and fold just until no streaks remain. It’s better to have a few rogue specks than melted fluff!
Did your cake sink in the middle? This often happens when the oven door gets opened too early, or maybe the baking soda/powder was past its prime. For the ganache, if it looks oily or separated, don’t throw it out! Just reheat it gently and whisk in a splash of warm heavy cream at a time until it comes back together into a smooth, glossy sauce. See? We can usually save it!
Serving Suggestions for This Elegant Cake
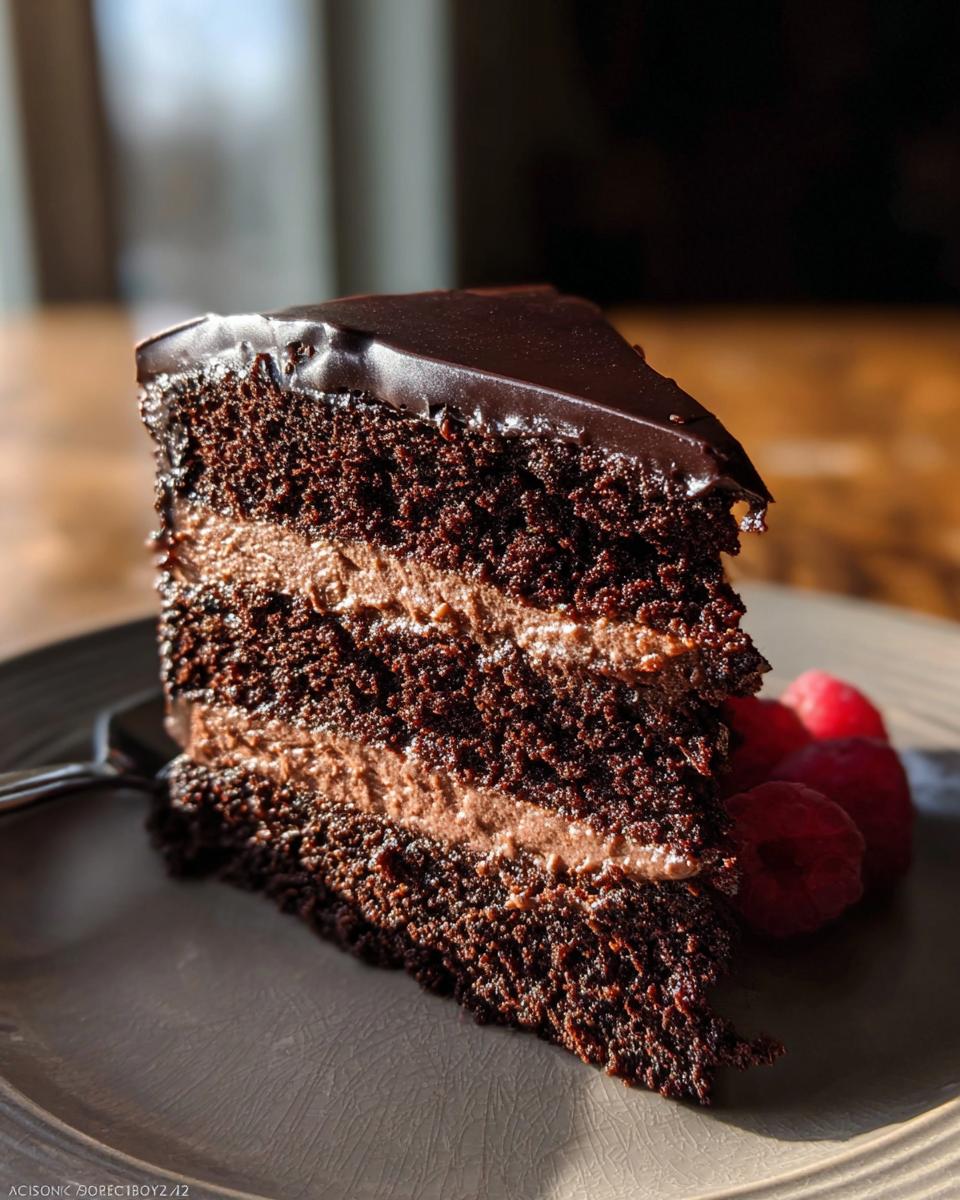
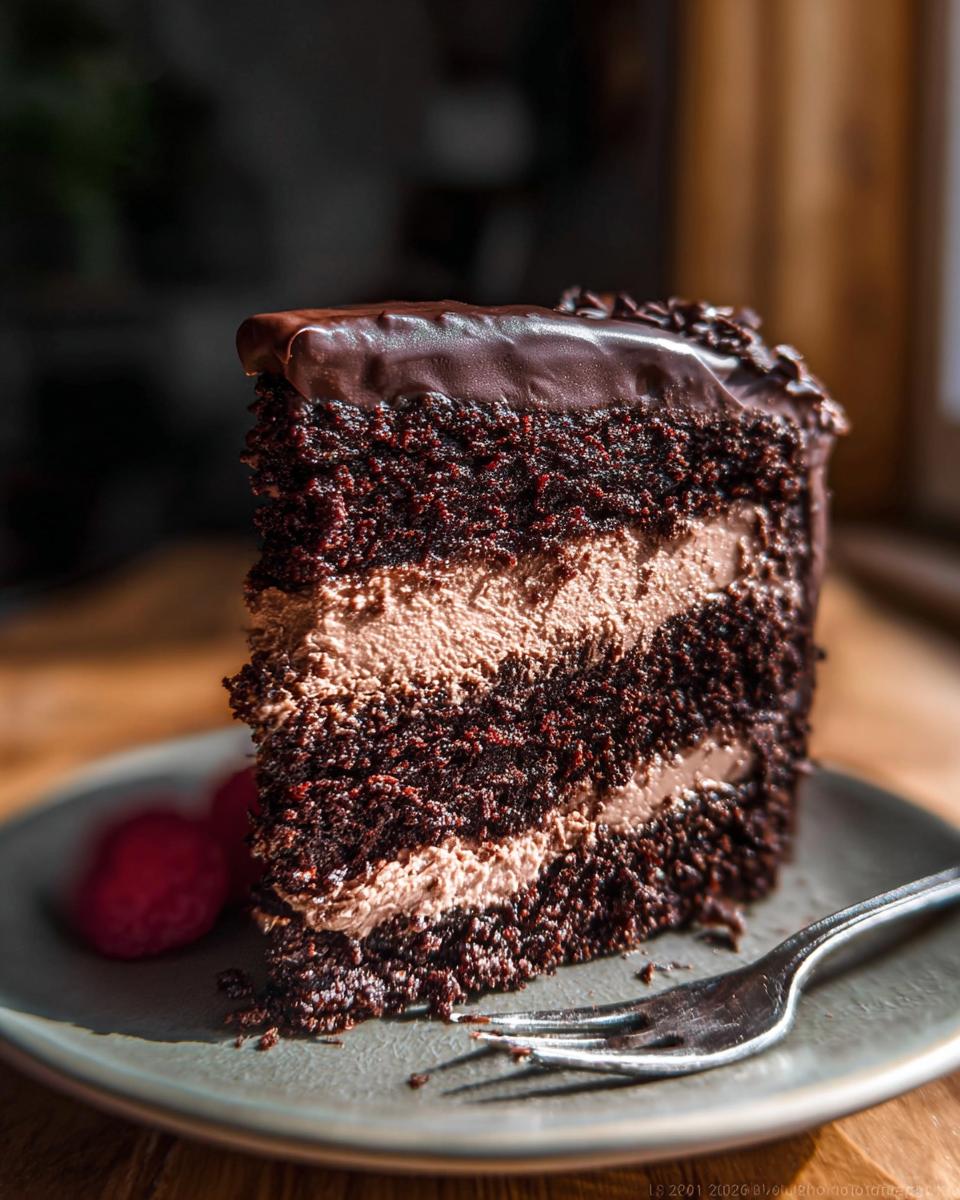
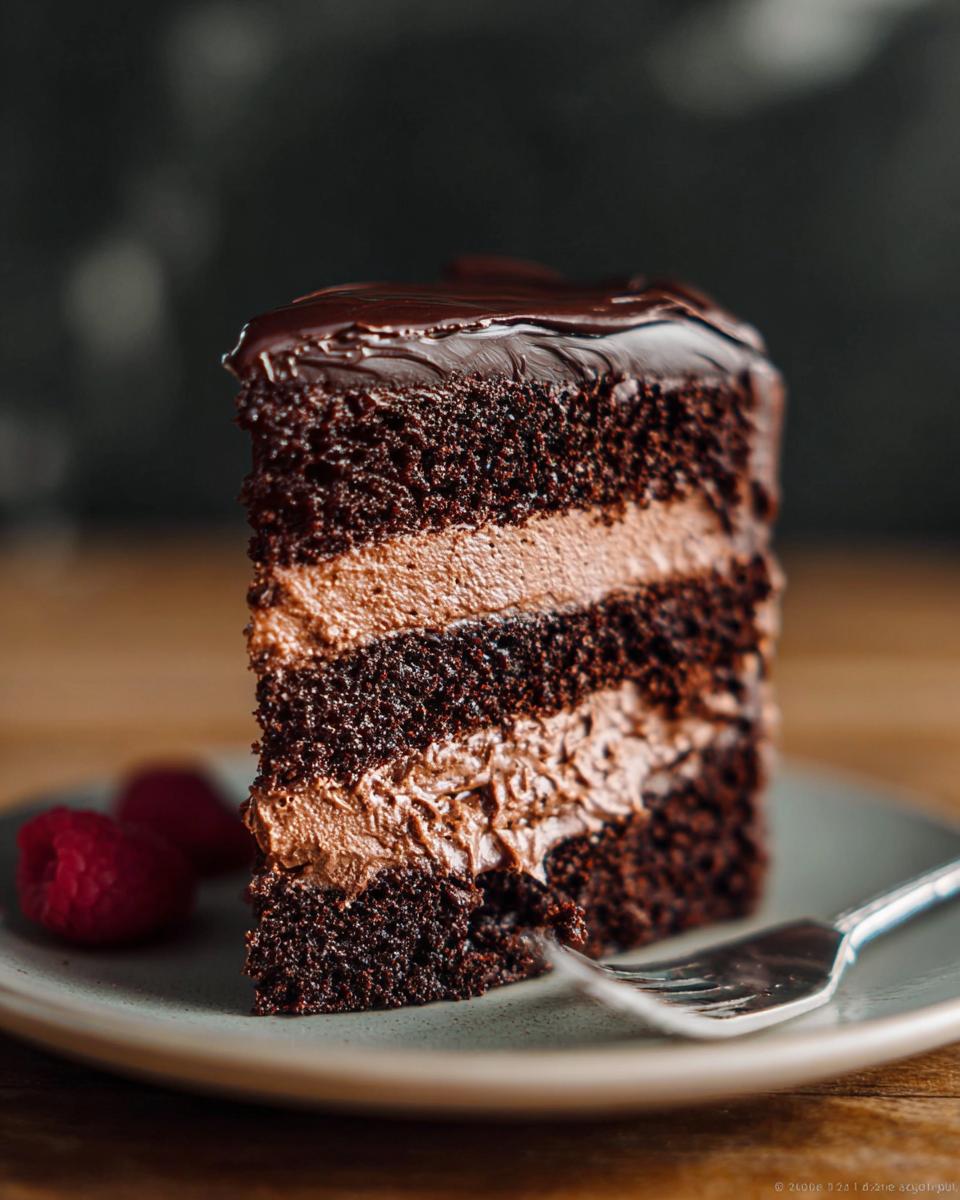
When you finally stand back and look at that stunning Chocolate Mousse Layer Cake, you want the presentation to be just right! This cake is definitely an elegant cake and deserves a little spotlight. I always love topping the chilled cake with some fresh, bright berries—the tartness cuts through the deep chocolate perfectly. A light dusting of cocoa powder or some dramatic dark chocolate shavings elevates it instantly.
It pairs wonderfully with a strong, piping hot cup of coffee or espresso; it really makes the chocolate notes sing! If you’re looking for ways to present a whole incredible meal around this showstopper, I have some fun restaurant-style dinner ideas to complete the occasion.
Frequently Asked Questions About the Chocolate Mousse Cake
I know when you’re committing to something this decadent, you want to make sure you get every step right! Having made this particular Chocolate Mousse Cake countless times—especially when I need an easy make-ahead option—I’ve collected a few burning questions readers always ask. Don’t hesitate to reach out through my contact page if I missed your specific worry!
Can I use different sized cake pans for the Chocolate Mousse Layer Cake?
Yes, you absolutely can! But here’s the catch: if you use larger pans, like 10-inch rounds, your layers will be shorter, and they’ll bake faster. You’ll want to watch them closely, maybe checking around 16 minutes. If you use smaller pans, say 6-inch rounds, the layers will be taller and take longer—maybe up to 30 minutes. You’ll need more mousse to fill those extra-tall layers, too, so plan accordingly!
What is the best way to store leftovers of this Layered Dessert?
This moist, creamy layered dessert keeps really well thanks to the mousse and ganache acting like little shields! Basically, keep it chilled in an airtight container in the refrigerator. I usually get about 4 to 5 days out of the leftovers before the cake texture starts to change too much. If you need longer storage, check the dedicated Make Ahead section for the best freezing tips!
Why is chilling so important before I put the ganache on?
This is so important for an elegant cake look! If you pour warm ganache over room-temperature mousse, the mousse melts right away, and you end up with a chocolate swamp instead of a smooth finish. Chilling that cake after the crumb coat firms up the mousse so it can support the weight and temperature of the final ganache pour!
Share Your Chocolate Mousse Layer Cake Creations
I truly hope making this Chocolate Mousse Layer Cake brought as much joy to your kitchen as it did mine when I first created it for my son. Please leave a rating below and tell me how your adaptations worked out! I absolutely love seeing your beautiful creations, so feel free to tag me in photos of your finished masterpiece. Happy baking!
If you want to explore more recipes that work for complex needs, check out my Sample Page for more inspiration.
Chocolate Mousse Layer Cake
Ingredients
Equipment
Method
- Preheat your oven to 350°F (177°C). Grease four 8-inch or 9-inch cake pans, line them with parchment paper rounds, and grease the parchment paper. Parchment paper helps the cakes release easily.
- Make the cake: In a large bowl, whisk together the flour, sugar, cocoa powder, espresso powder (if using), baking soda, baking powder, and salt. Set this bowl aside.
- In another large bowl, use a handheld or stand mixer to combine the sour cream, oil, and eggs on medium-high speed until mixed. Add the buttermilk and vanilla and mix until combined. Pour the dry ingredients into the wet ingredients, add the hot water or coffee, and whisk or beat on low speed until combined. Fold in the floured mini chocolate chips, if you are using them. Divide the batter evenly among the prepared pans.
- Bake for 19–23 minutes. Baking times can vary, so check your cakes. They are done when a toothpick inserted into the center comes out clean. Let the cakes cool in the pans on a cooling rack for 1 hour. Run a knife around the edges to loosen the sides, remove the cakes from the pans, peel off the parchment, and place them on the rack to finish cooling. The cakes might sink slightly in the middle as they cool, which is normal.
- Make the chocolate mousse: In a small bowl, whisk the hot water and cocoa powder until smooth. Melt the chopped chocolate in a double boiler or using the microwave. If using the microwave, place the chopped chocolate in a heat-proof bowl and microwave in 20-second intervals, stirring after each, until completely melted and smooth. Pour the hot water and cocoa mixture into the melted chocolate and stir until thick and smooth. Set aside. In a large bowl, use a handheld or stand mixer to whip the heavy cream, confectioners’ sugar, and vanilla extract on medium-high speed until medium peaks form, about 3 minutes. Medium peaks are between soft peaks and stiff peaks. Pour in the chocolate mixture and gently fold it together with a spatula. Do not overmix, as this can deflate the mousse. Cover the mousse and refrigerate for at least 2 hours or up to 2 days. This makes about 4.5 cups.
- Assemble the cake before preparing the chocolate ganache: Level the cakes if needed by slicing a thin layer off the tops with a serrated knife to create a flat surface. Place one cake layer on your cake stand or serving plate. Spread about 1.5 cups of chocolate mousse evenly over the top. Place the second layer upside down on top and spread with the same amount of mousse. Add the third cake layer, right side up, and spread with mousse. Top with the final cake layer. Spread the remaining mousse on the top and sides of the cake as a crumb coat. Use a bench scraper to smooth the sides. Refrigerate for at least 1 hour and up to 4 hours. Prepare the ganache while the cake is chilling.
- Make the chocolate ganache: Place the chocolate in a medium heat-proof bowl. In a small saucepan, heat the cream over medium heat just until it begins to simmer gently. Do not let it boil rapidly. Pour the warm cream over the chocolate and let it sit for 2–3 minutes to soften the chocolate. Stir slowly with a metal spoon or spatula until the chocolate has melted and the mixture is smooth. If the chocolate is not melting, do not microwave it. Refrigerate the ganache for at least 30 minutes or up to 1 hour to thicken.
- Pour or spoon the thickened ganache over the chilled cake. Smooth the top and sides with an icing spatula. Add optional garnishes like fresh berries or chocolate shavings. Serve the cake immediately or chill, uncovered, for up to 4–6 hours before serving. The cake can be served at room temperature or chilled. Cover leftover cake tightly and store in the refrigerator for up to 5 days.
Notes
Tried this recipe?
Let us know how it was!
Dual-Restriction Recipe Engineer & Cross-Contamination Specialist
Everything changed when my teenage son got hit with celiac disease and Type 1 diabetes diagnoses within six months of each other. Suddenly, pizza and pasta were off the table, and most “diabetic-friendly” foods contained gluten. I went from regular mom cooking to navigating what I call “compound restriction cooking”—and I had a kid’s appetite and taste buds to satisfy.
Lucky for us, my background in pharmaceutical quality control gave me the systematic mindset this level of precision requires. My kitchen now operates under pharmaceutical-grade protocols adapted for home use: dedicated prep surfaces, separate storage systems, and testing procedures that verify both carb counts and gluten absence before any recipe gets published.
I’ve developed over 220 recipes that clear multiple dietary hurdles simultaneously—finding gluten-free thickeners that don’t spike blood sugar, creating bread alternatives that meet both keto ratios and celiac safety, and developing desserts that actually taste good to a teenager despite impossible restrictions.
Through my “Safe Kitchen Certification” program, I teach other parents that managing multiple dietary restrictions isn’t about multiplying limitations—it’s about systematic thinking that reveals unexpected possibilities. When you engineer solutions instead of making compromises, restriction becomes innovation rather than deprivation.