
Oh, the craving for classic comfort food! Sometimes you just need that satisfying crunch, that golden bite that reminds you of weekend breakfasts past. If you’re navigating dietary restrictions, finding that perfect, indulgent texture without wreaking havoc on blood sugar or gluten intolerance can feel impossible. Trust me, I know that feeling well. That’s why I’m thrilled to share my game-changer recipe for Hash Browns (Crispy Skillet), specifically engineered to be both gluten-free AND diabetic-friendly without sacrificing even one tiny bit of crispiness!
I still remember the first time I made this recipe after my son’s diagnosis. It was early Saturday morning, and he had just woken up, longing for the crispy, golden hash browns he used to enjoy. I scoured my kitchen, determined to recreate that perfect texture without the gluten. As those potatoes sizzled in the skillet, filling the air with their irresistible aroma, I felt a wave of hope. I plated up those crispy bites and watched as my son’s face lit up with delight, reaffirming that cooking could still be a source of joy, even amidst restrictions. It was in that moment I realized that with creativity and a systematic approach, I could turn any challenge into a delicious opportunity.

By LAILA STONE Dual-Restriction Recipe Engineer & Cross-Contamination Specialist
Why You Will Love Making Hash Browns (Crispy Skillet)
Honestly, navigating gluten-free and diabetic-friendly meals often means saying goodbye to things like perfect, creamy mashed potatoes or crispy breakfast sides. But not anymore! These hash browns give you back that comfort food magic. You owe it to yourself to try these because:
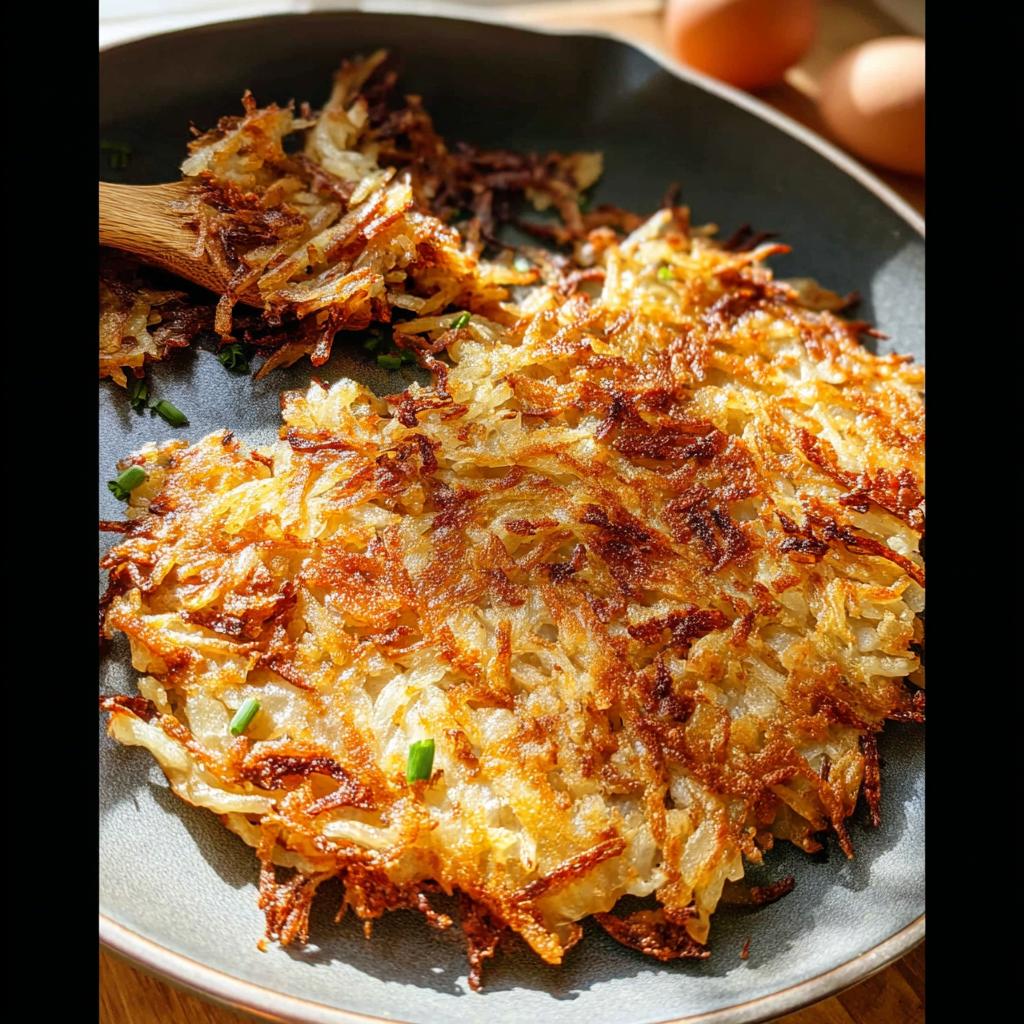
- They are genuinely crispy—that satisfying crunch is 100% real.
- You can make them completely gluten-free without any strange flours.
- They fit perfectly into a diabetic-friendly eating plan because we control the fats and avoid hidden sugars.
- The cleanup is surprisingly easy since it’s all done in one reliable skillet.
Seriously, these are the best brunch sides when you want flavor without the dietary headache!
Gathering Ingredients for Perfect Hash Browns (Crispy Skillet)
You know, when you’re dealing with ingredient swaps for dietary reasons, the quality of what you *do* use becomes ten times more important. For these Hash Browns (Crispy Skillet), we aren’t worried about gluten or sugar spikes, so we can focus purely on getting that unbeatable potato texture. Russets are the only way to go here—they get fluffy inside and crispy outside. That moisture management we talked about earlier? It starts right now with the right tools and the right amounts.
Don’t skimp on the fat either! The combination of a neutral oil with a touch of butter gives you the best flavor and heat stability, which is key for that deep golden sear. If you’re looking for ways to sneak more flavor into your family’s routine, checking out low-carb meals is a great starting point!
Essential Ingredients for Crispy Skillet Hash Browns
Here is exactly what you need. Measure twice, fry once, that’s my motto!
- 1.25 lb russet potatoes (that’s about 2 medium-large spuds)
- 1/2 tsp onion powder
- 1 Tbsp light olive oil or bacon grease, *divided*
- 1 Tbsp butter, *divided*
- Fine sea salt, to taste
- Freshly ground black pepper, to taste
- 1 Tbsp chives (optional to garnish)
Essential Equipment for Achieving Crispy Hash Browns (Crispy Skillet)
You absolutely need the right foundation for this recipe to sing! Luckily, you probably have everything already. We only need a couple of basics, but that skillet size? That’s non-negotiable if you want an impressive, unbroken crust on your Hash Browns (Crispy Skillet).
For this batch that serves four, you must use a 10-inch skillet. If you try to cram this potato mixture into a smaller pan, they’ll steam instead of fry, and we want crispness, not sogginess! That surface area is what helps create that beautiful, even golden-brown layer. Trust me on the Big Pan Rule here!
- 10-inch skillet (Cast iron is always my preference, but stainless steel works too!)
Step-by-Step Guide to Making Crispy Hash Browns (Crispy Skillet)
Okay, deep breaths! This is where the magic happens, and I promise you, the process is straightforward, even if your hands get a little shaky looking at that hot skillet melt the butter. The secret here isn’t fancy technique; it’s ruthless moisture removal and then leaving it alone so that crust can form. If you’ve ever made a gluten-free roux, you know that wet ingredients are the enemy of crispiness. Same rule applies here!
Preparing the Shredded Potatoes for Hash Browns (Crispy Skillet)
First things first, peel those russets. Don’t argue with me, peeling helps, especially since we aren’t adding flour later to bulk things up. Shred them up—I use the big holes on my box grater—and then you get to the most important part: the squeeze!
Pile those shredded potatoes into a thin, clean kitchen towel or some cheesecloth. Now, channel all your frustration from the week into squeezing every single drop of water out. I mean it! Get them bone-dry. You should barely have any moisture left when you think you’re done. Seriously, grab another towel if you have to. A dry potato makes a crispy potato, period.
Toss the dried shreds with your onion powder, salt, and pepper until they look happily seasoned.
Cooking the First Side of Your Crispy Skillet Hash Browns
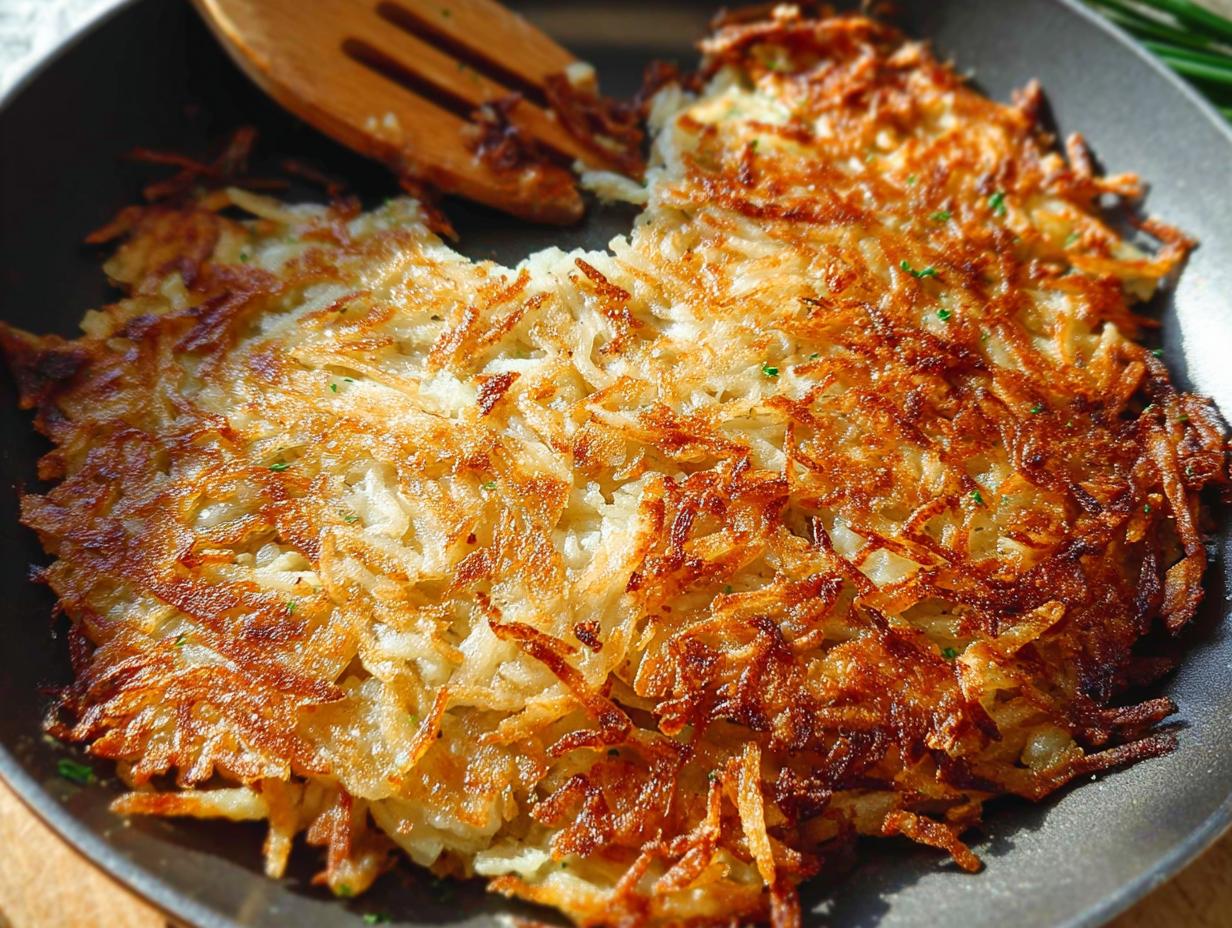
Time to heat things up! We’re using half the fat combo here—half the oil and half the butter—in that 10-inch skillet over medium-high heat. Let it get properly hot until that butter sizzles and maybe just starts to smell a little nutty. Dump in your seasoned potatoes and use your spatula to press them down firmly into one even layer across the bottom. Don’t peek underneath!
This first cook is crucial. You are going to let it go for a solid 8 to 10 minutes untouched. That’s right—no poking, no flipping, no peeking. We are building a golden, crunchy foundation here. I always use this time to wipe down the counter. If the heat is right, you’ll start smelling that amazing toasted potato scent.
Flipping and Finishing the Hash Browns (Crispy Skillet)
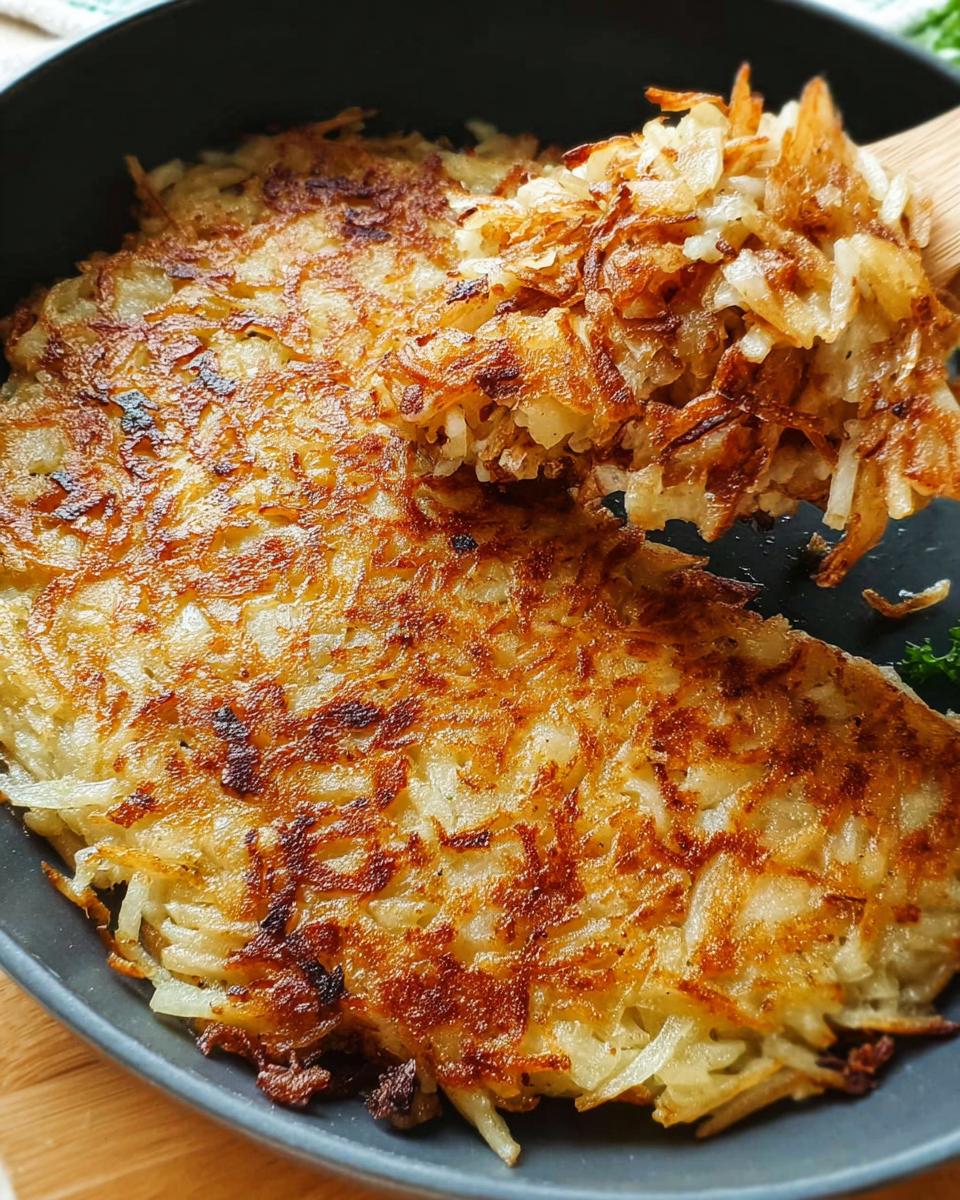
Once you lift the edge and see deep, golden brown perfection, it’s time for the flip! If you’re feeling brave, you can flip the whole thing onto a plate and invert it back over the pan, like the pros do! If you’re nervous (like I was the first time!), just use a big spatula and flip in sections. No shame in the game!
Once flipped, immediately add the remaining half of your oil and butter to the pan around the edges. Let the second side cook for another 8 to 10 minutes. If the pan gets too crowded, that’s when you can gently use that spatula to break the hash browns into smaller, manageable pieces, making sure those raw spots hit the fresh hot fat. Once both sides are beautifully browned and cooked through—you can check the middle with a fork—slide them out onto your serving plate! They are best eaten immediately, but let them sit for just a minute while the chives are sprinkled on top. For more tips on getting incredible texture, check out this great guide from Natasha’s Kitchen on hash browns!
Tips for Success When Making Hash Browns (Crispy Skillet)
Getting that cafe-quality crispness at home is all about managing heat and moisture, and I had to learn this the hard way! If your Hash Browns (Crispy Skillet) come out looking pale and limp, nine times out of ten, it’s because the pan wasn’t hot enough or you didn’t dry the potatoes aggressively enough. Remember, Russet potatoes are your best friend; they have thinner starch cells, which means they release water easier and crisp up better than waxy varieties like Yukon Gold.
A big mistake people make is overcrowding the pan. You really need that single layer so every shred gets direct contact with the hot fat. If you are dealing with cross-contamination issues or just want super reliable results, thinking through your basic techniques helps a ton, much like following a foolproof method for chicken!
Finally, once you set that first side, do not touch it for those full 8 minutes. Resist the urge! That’s the time it takes for the starches to caramelize and lock in that golden, shatteringly crisp texture we are aiming for in our perfect breakfast side.
Ingredient Substitutions for Your Hash Browns (Crispy Skillet)
One of the things I love about this recipe is how forgiving it is, provided you stick to the main rules: dry potatoes and hot fat! Since we are keeping this gluten-free and low on simple carbs, we need to be smart about our swaps.
For the fat, if you don’t have olive oil, feel free to use avocado oil—it has a high smoke point, which is great. But if you really want that savory, classic diner flavor, use the bacon grease! It adds fantastic depth, and honestly, it crisps those shreds up beautifully. For seasoning, if you aren’t a fan of standard onion powder, you can use a tiny bit of granulated garlic powder instead, or maybe even a pinch of smoked paprika for color. It’s all about keeping those flavor layers going! If you need some quick inspiration for other meals using minimal ingredients, check out these 5 ingredient dinner ideas!
Just remember: the fat must be hot before the potatoes go in, no matter what fat source you choose!
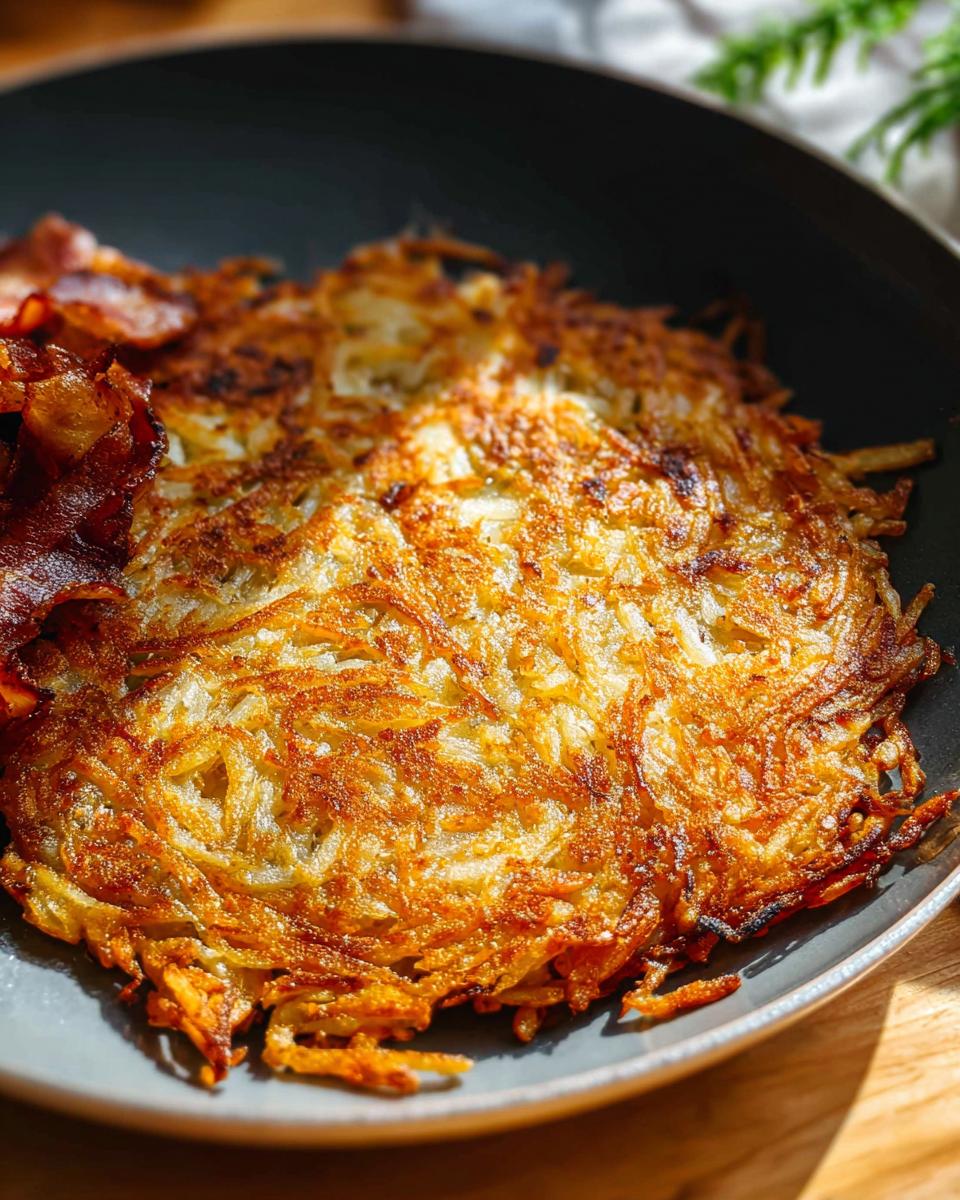
Serving Suggestions for These Breakfast Potatoes
Now that you have achieved the most perfectly crisp, golden-brown breakfast potatoes imaginable, the real fun begins: pairing! Since we engineered these hash browns to be ultra-friendly for gluten-free and lower-carb lifestyles, you have tons of delicious options that keep that wonderful morning momentum going without any sugar crashes later on.
For my family, breakfast is always about balance. We love pairing the savory, fatty crunch of the potatoes with something fresh and light. Scrambled eggs are an obvious winner, but if you want to elevate things, try making eggs “over easy” so that runny yolk acts like a built-in sauce for the hash browns. Wow, that’s good!
Since we are focusing on clean eating that supports dietary needs, don’t forget healthy fats. Sliced avocado sprinkled with a tiny hit of salt is a mandatory accompaniment at our house. If you are looking for more fantastic ideas geared specifically toward morning meals that fit your needs, you have to browse through my curated list of all my favorite breakfast recipes!
If you’re cooking for a crowd, consider whipping up a side of sugar-free salsa or sautéed spinach with garlic. These little additions take your humble skillet potatoes and turn them into a full, satisfying brunch spread!
Storing and Reheating Your Hash Browns (Crispy Skillet)
I know how it is—sometimes there are simply too many perfect, crispy bites left over! The good news is that these Hash Browns (Crispy Skillet) keep relatively well, provided you don’t try to save them soggy. Once they cool down completely, pop any leftovers into an airtight container and keep them in the fridge for up to three days. Don’t cover them when they’re cooling off, though; that trapped steam is what makes them soft!
When you’re ready for round two, please, for the love of crispy potatoes, skip the microwave! Microwaves are the enemy of crispiness—they just turn everything rubbery. My absolute favorite way to reheat them is spreading them in a single layer on a baking sheet in a 375°F oven for about 8 to 10 minutes. Seriously, they come back to life!
If you have an air fryer, even better! A quick 5 minutes at 375°F gets them crunchy pronto. It’s almost like cooking them fresh again. For more great tips on minimizing cleanup after a big breakfast, you should definitely check out my guide on one-pan dinner ideas!
Frequently Asked Questions About Hash Browns (Crispy Skillet)
I get so many questions about these crispy beauties! It makes sense—when you finally nail a restricted diet recipe that tastes this good, you want to know all the little tricks. Here are a few things readers always ask me about making the perfect batch of Hash Browns (Crispy Skillet).
Can I make Hash Browns (Crispy Skillet) ahead of time?
You definitely can prep the potatoes ahead of time, but I strongly advise against cooking them partially! If you’re prepping for a big weekend brunch, you can shred those potatoes and squeeze *all* the moisture out up to a day ahead of time. Keep those dry, shredded potatoes sealed tight in the fridge. When you go to cook them the next morning, you might need an extra minute or two on that first side of cooking because the cold potatoes will drop the pan temperature slightly. But trust me, having those dried shreds ready to go is a huge time saver!
What is the best way to dry the shredded potatoes for maximum crispness?
Listen, this step is worth repeating because it’s the difference between eating a delicious, crunchy hash brown and eating sad, steamed potato mush. You have to squeeze them! If you have sturdy hands, using a clean, thin cotton kitchen towel works great. But if you really want to wring every last drop, invest in some cheesecloth. It’s cheap, and you can really twist it hard without worrying about tearing it, getting those shredded potatoes far drier than a standard towel allows.
The drier they are before they ever hit the hot fat, the crispier your final brunch side will be!
If you want to see even more recipes that fit specific needs, feel free to browse my whole collection of recipes!
Understanding the Nutrition for Hash Browns (Crispy Skillet)
I know that when you’re cooking for your family while managing things like gluten intolerance or watching carbohydrate intake, you need to know exactly what’s on the plate. That’s why I put together the basic nutritional estimates for a serving size of these Hash Browns (Crispy Skillet). Remember, potatoes are naturally gluten-free, which is fantastic, but since we use a good amount of fat to get that amazing crispiness, the fat content reflects that delicious sear!
These numbers are calculated based on the ingredients list using standard measurements, but please keep in mind that if you use super fatty bacon grease or end up draining a lot of oil afterward, the numbers will shift slightly. It’s always an estimate when you are pan-frying something this perfect!
- Calories: 180
- Carbohydrates: 26g
- Protein: 3g
- Fat: 7g
Because we stick to simple spices and use no added sugar, these stay well within the guidelines for a satisfying, diabetic-friendly side dish. It’s all about smart preparation, not deprivation!
Share Your Crispy Skillet Hash Browns Creations
Now that you have mastered the secret art of getting true, shatteringly crisp Hash Browns (Crispy Skillet) in your own kitchen—no gluten, no sugar spikes needed—I absolutely need to hear about them!
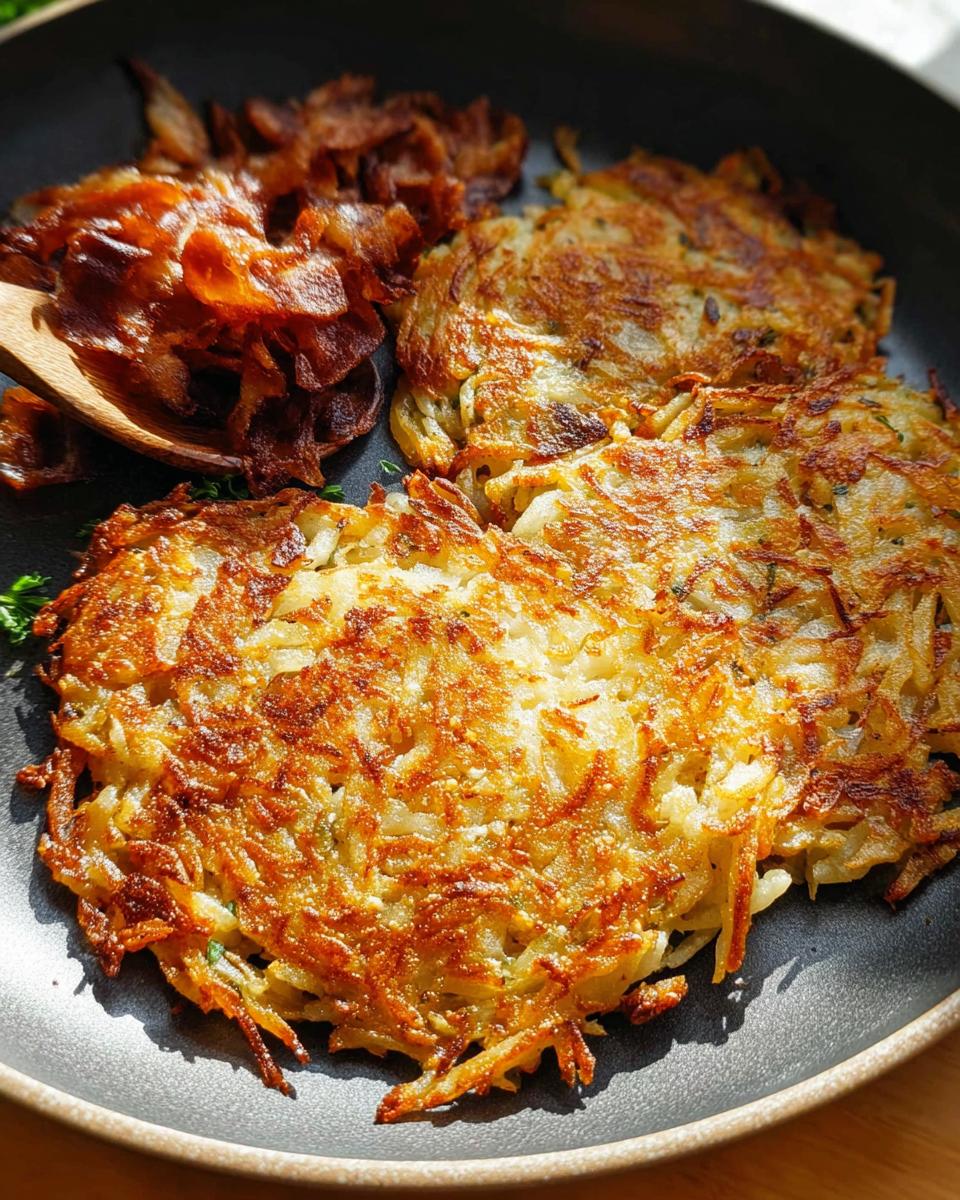
Did you try using bacon grease instead of oil? Did you manage to keep that first side completely untouched for the full 8 minutes? Don’t be shy! Head down to the comments section below and give this recipe a star rating. Seriously, that helps other home cooks who are navigating dietary needs to know that this recipe is the real deal for perfect breakfast potatoes.
And if you snap a picture of your beautiful, golden-brown creation—maybe next to some avocado and eggs—please tag me on social media! I love seeing how you’ve brought these recipes to life. You can find all the ways to connect on my About page. Happy cooking, and enjoy that crunch!
I’m already looking forward to reading your tips and tweaks!
Hash Browns (Crispy Skillet)
Ingredients
Equipment
Method
- Peel the potatoes and shred them using a box grater or food processor. Place the shredded potatoes in a clean kitchen towel or cheesecloth and squeeze out as much moisture as possible. This step is crucial for achieving crispy hash browns.
- Transfer the dried shredded potatoes to a bowl. Add the onion powder, salt, and pepper. Toss gently to combine.
- Heat 1 tablespoon of olive oil or bacon grease and 1 tablespoon of butter in a 10-inch skillet over medium-high heat until shimmering.
- Add the shredded potato mixture to the hot skillet, spreading it into an even layer. Press down gently with a spatula.
- Cook for 8-10 minutes without disturbing, until the bottom is golden brown and crispy. You can check by lifting an edge with a spatula.
- Carefully flip the hash browns using a spatula or by inverting the skillet onto a plate, then sliding it back into the skillet. Add the remaining 1 tablespoon of olive oil or bacon grease and 1 tablespoon of butter to the skillet.
- Cook for another 8-10 minutes on the second side, until golden brown and cooked through. If needed, you can break it into smaller pieces as it cooks.
- Slide the crispy hash browns onto a serving plate. Garnish with chives, if desired. Serve immediately.
Nutrition
Notes
Tried this recipe?
Let us know how it was!
Dual-Restriction Recipe Engineer & Cross-Contamination Specialist
Everything changed when my teenage son got hit with celiac disease and Type 1 diabetes diagnoses within six months of each other. Suddenly, pizza and pasta were off the table, and most “diabetic-friendly” foods contained gluten. I went from regular mom cooking to navigating what I call “compound restriction cooking”—and I had a kid’s appetite and taste buds to satisfy.
Lucky for us, my background in pharmaceutical quality control gave me the systematic mindset this level of precision requires. My kitchen now operates under pharmaceutical-grade protocols adapted for home use: dedicated prep surfaces, separate storage systems, and testing procedures that verify both carb counts and gluten absence before any recipe gets published.
I’ve developed over 220 recipes that clear multiple dietary hurdles simultaneously—finding gluten-free thickeners that don’t spike blood sugar, creating bread alternatives that meet both keto ratios and celiac safety, and developing desserts that actually taste good to a teenager despite impossible restrictions.
Through my “Safe Kitchen Certification” program, I teach other parents that managing multiple dietary restrictions isn’t about multiplying limitations—it’s about systematic thinking that reveals unexpected possibilities. When you engineer solutions instead of making compromises, restriction becomes innovation rather than deprivation.