
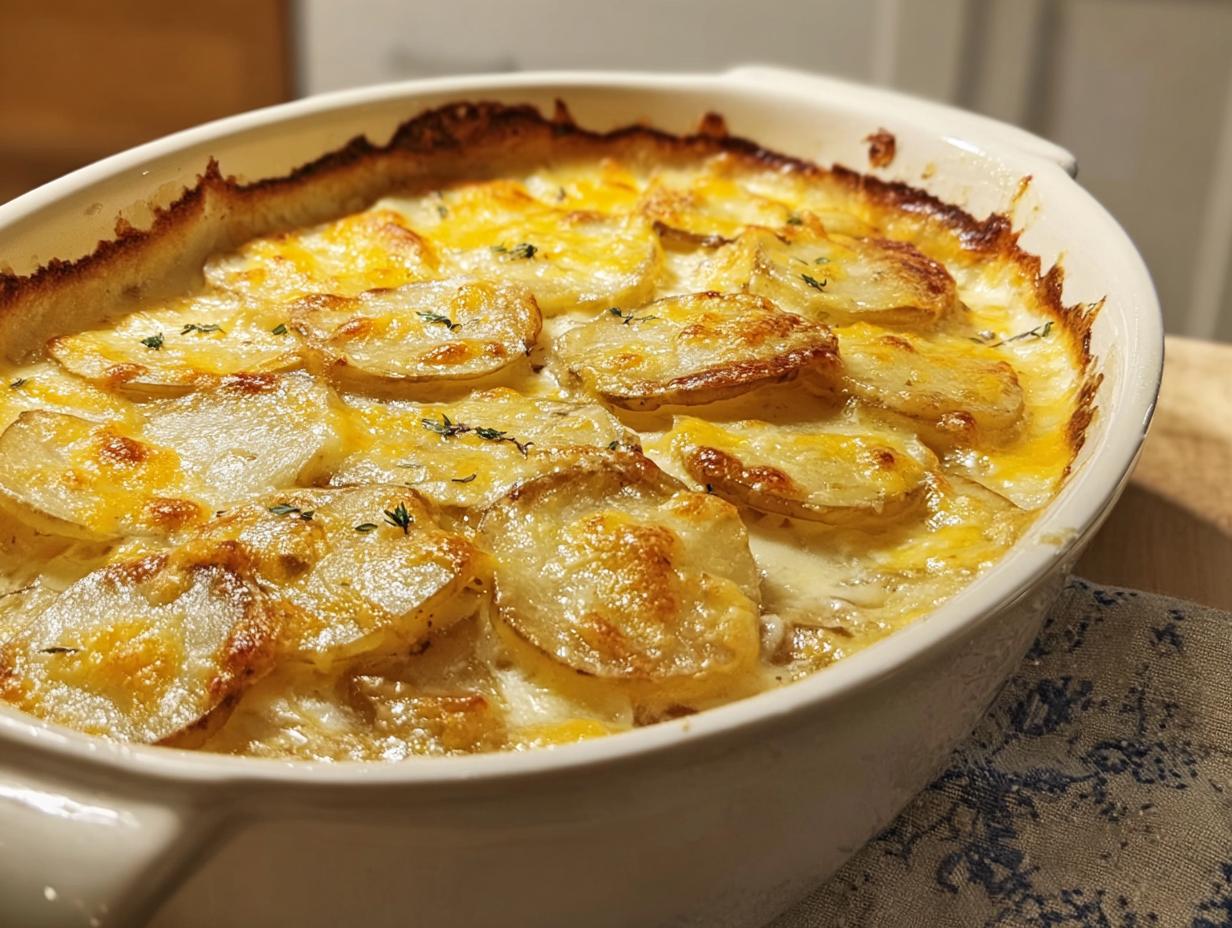
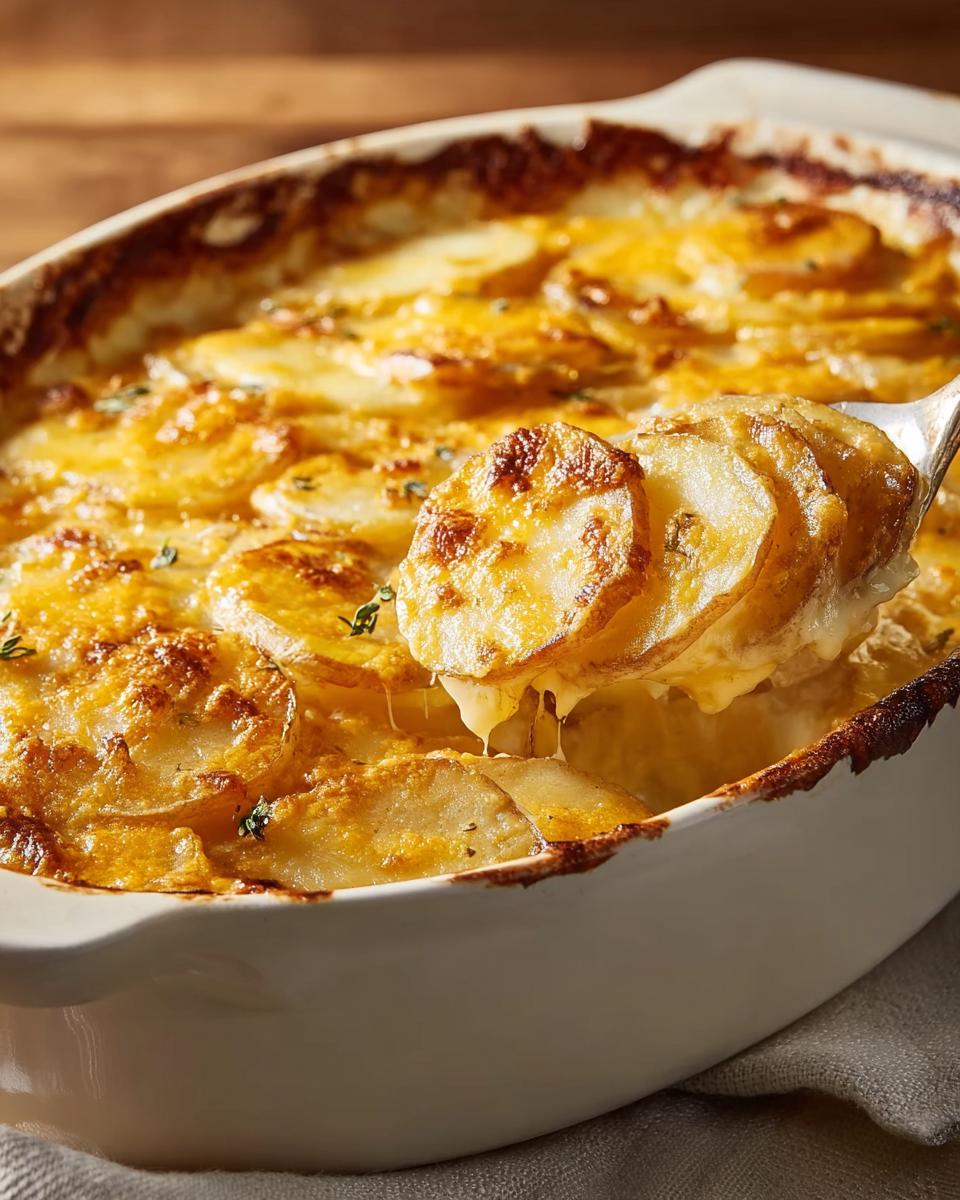
Oh, heavens, if there is one dish that screams ‘home’ and ‘celebration’ rolled into one, it’s potatoes drenched in velvety, bubbly cheese sauce. Seriously, nothing beats that smell wafting from the oven! I’m LAILA, and today I’m sharing my absolute, can’t-mess-it-up recipe for Au Gratin Potatoes (Classic). This isn’t just any cheesy side; this is the foundational recipe I rely on when bringing everyone together.
I vividly remember the first time I made this for my family after navigating the new culinary landscape brought on by my son’s diagnoses. I was determined to create a dish that would not just fit within our dietary restrictions but bring us together around the dinner table, reminding us of the love and tradition of shared meals. As I layered the thinly sliced potatoes with a homemade gluten-free cheese sauce, the kitchen filled with the unmistakable aroma of baking cheese. When I served that bubbling dish, it was heartwarming to see my son take a hearty spoonful, the smile on his face reflecting that he could enjoy this classic comfort food just like everyone else. That moment reaffirmed my belief that with a little innovation, joy can be found in every meal. You can read more about my approach to inclusive cooking over here on my About page! Trust me, you’re going to want to make this for your next big meal.
Why This Au Gratin Potatoes (Classic) Recipe Stands Out (E-E-A-T)
I know there are a million recipes out there for this beloved side, but mine is the one you come back to year after year. Why? Because I’ve tweaked this recipe obsessively to ensure it’s reliably delicious, even if you’re using non-traditional ingredients sometimes. When you’re cooking for family, you need dependability!
This version focuses on structural integrity and flavor depth. It’s based on deep, tested methods, which means you spend less time stressing and more time enjoying the company. Check out some of my other weeknight-friendly recipes here!
Achieving Perfect Cheesy Layers Every Time
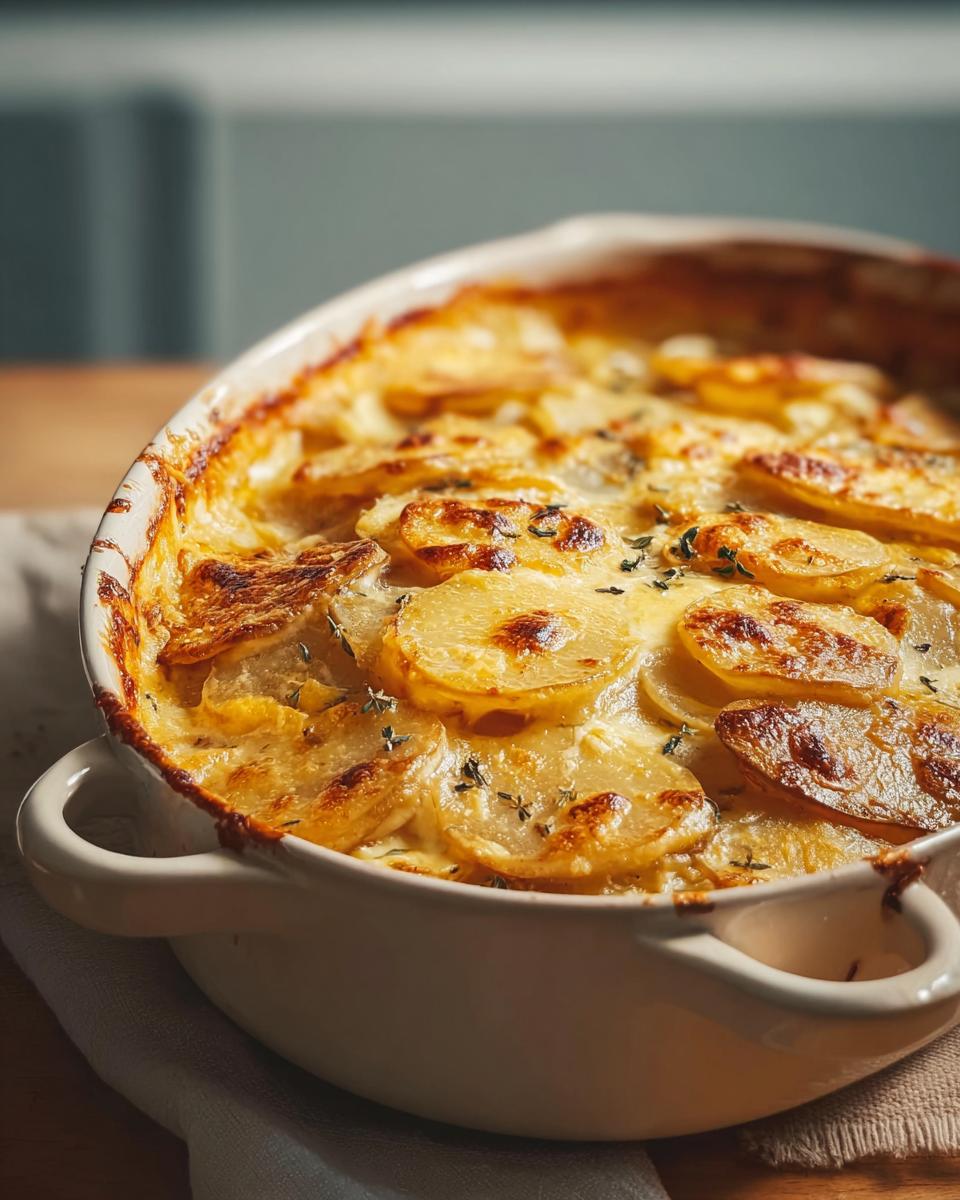
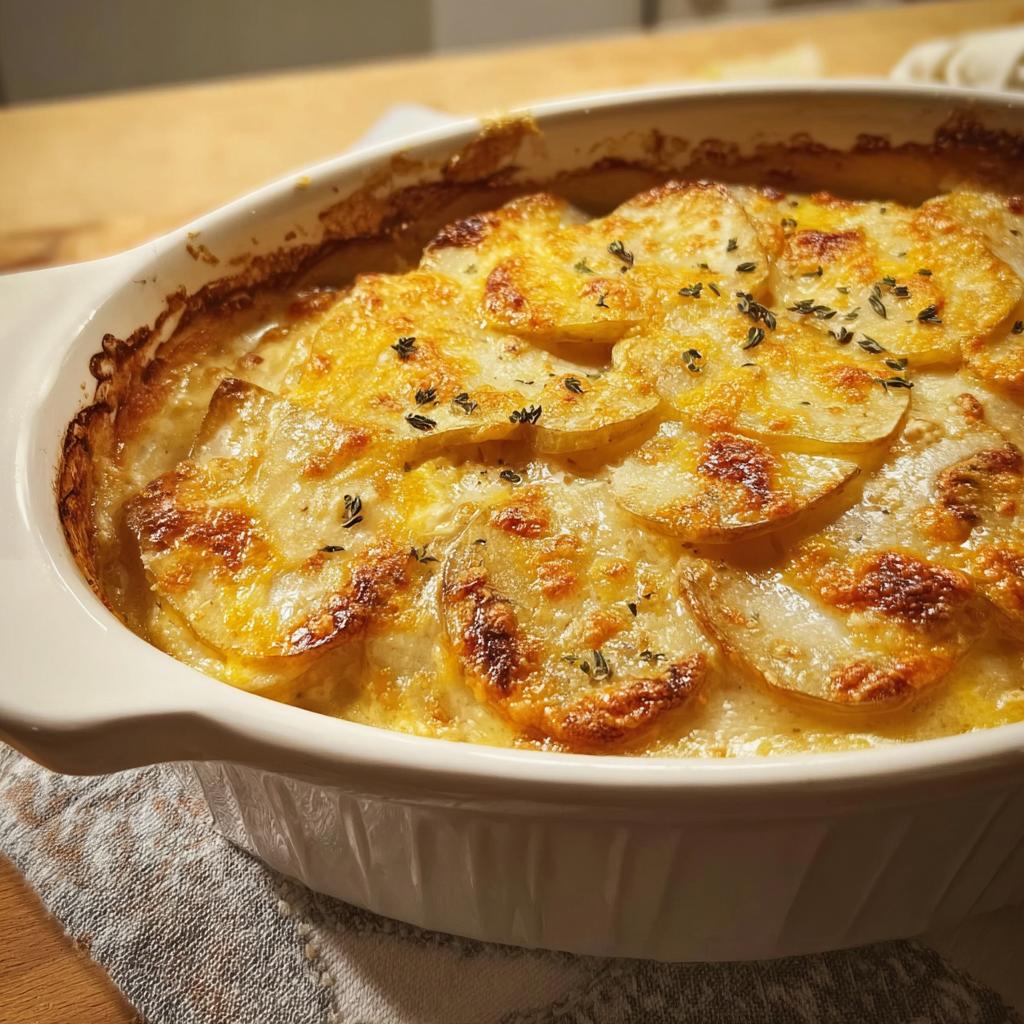
The key to great Potatoes Au Gratin isn’t just piling on the cheese; it’s how you layer. We use just enough sauce to coat the layers perfectly. This avoids that soupy center while giving you those incredible, slightly crisped Cheesy Layers right on top. It’s all about distribution, folks!
The Secret to a Truly Creamy Sauce
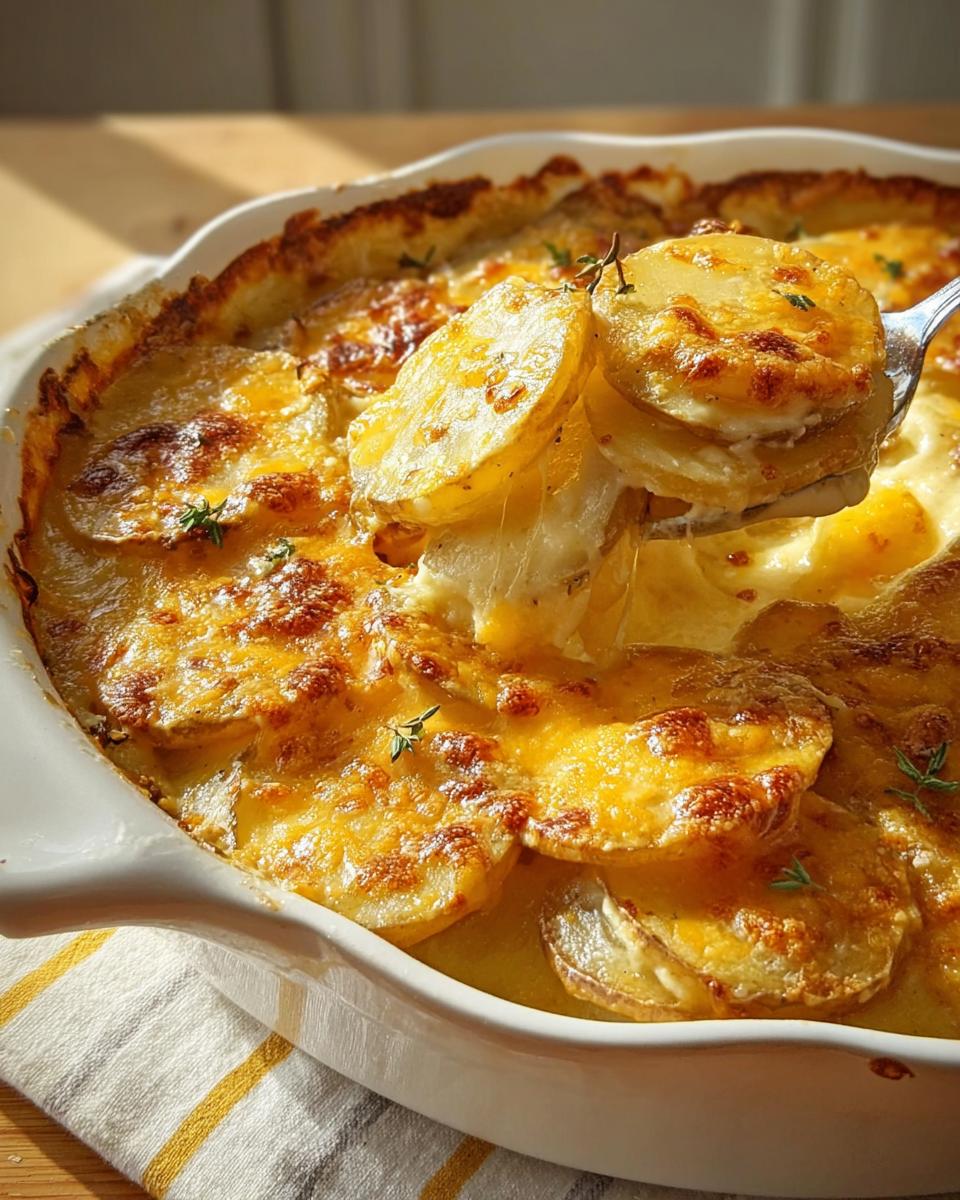
Forget watered-down milk sauce! My method ensures a silky, thick base every single time. We build a proper roux first, which guarantees that signature Creamy Sauce texture that hugs every slice of potato. No clumps, no separating—just pure cheesy comfort, I promise!
Gathering Ingredients for Au Gratin Potatoes (Classic)
When you’re making a classic side dish like this, the quality and preparation of your ingredients really shine through, especially when feeding picky eaters or those with dietary concerns. That’s why I’m so strict about following these measurements precisely! It’s all about building beautiful, flavorful structures in that casserole dish. If you want to check out more foundational recipes on the site, head over to my Recipe Index.
Ingredients for the Potatoes
For the layering work, grab these basics. Remember, don’t put them in the dish until the sauce is ready!
- 4 medium russet potatoes, make sure they are thinly sliced—I mean needle-thin!
- 1 medium onion, sliced into rings. These give such great flavor pockets.
- 1/2 teaspoon salt (to taste)
- 1/4 teaspoon ground black pepper (to taste)
Ingredients for the Creamy Sauce
This is where the richness comes from. The flour and butter make a roux, which is our secret weapon for thickness!
- 3 tablespoons butter
- 3 tablespoons all-purpose flour
- 1/2 teaspoon salt
- 2 cups milk
- 1 1/2 cups Cheddar cheese, make sure this is freshly shredded—it melts SO much better.
Step-by-Step Guide to Making Au Gratin Potatoes (Classic)
Okay, gather your pans and get ready! This process looks long, but honestly, once you get the potatoes layered, the sauce comes together in a flash. We are building this masterpiece in three main phases. Before we start pouring, you absolutely must preheat that oven to 400 degrees F (200 degrees C). I learned the hard way that timing the heat is crucial for even cooking. For more details on building flavor bases like this, check out my guide on making a gluten-free roux—it’s the technique that matters!
Preparing the Dish and Potatoes
Grab your 2-quart casserole dish and give it a good buttering—don’t be shy here! Next, we layer. Think of it like making a delicious potato sandwich. Put down half of your thinly sliced potatoes first, and then hit them with a little seasoning (salt and pepper). I like to lay my onion rings right on top of that first layer. Then, pile on the rest of the potatoes, and season that top layer again. They need that salt to pull out the flavor while they bake!
Constructing the Creamy Sauce Base
Time for the good stuff! Melt your butter in a medium saucepan over medium heat. Add the flour and salt right into that melted butter. You need to whisk this vigorously for about one minute—this cooks out that raw flour taste. Now, pour in the milk slowly, little by little, while whisking constantly. I mean it—constant whisking! Once everything is combined, keep cooking and whisking until the mixture thickens nicely, which usually takes about three to five minutes. It will start clinging to the back of your whisk when it’s ready. For another classic take on a similar dish, you can always peek at this recipe inspiration!
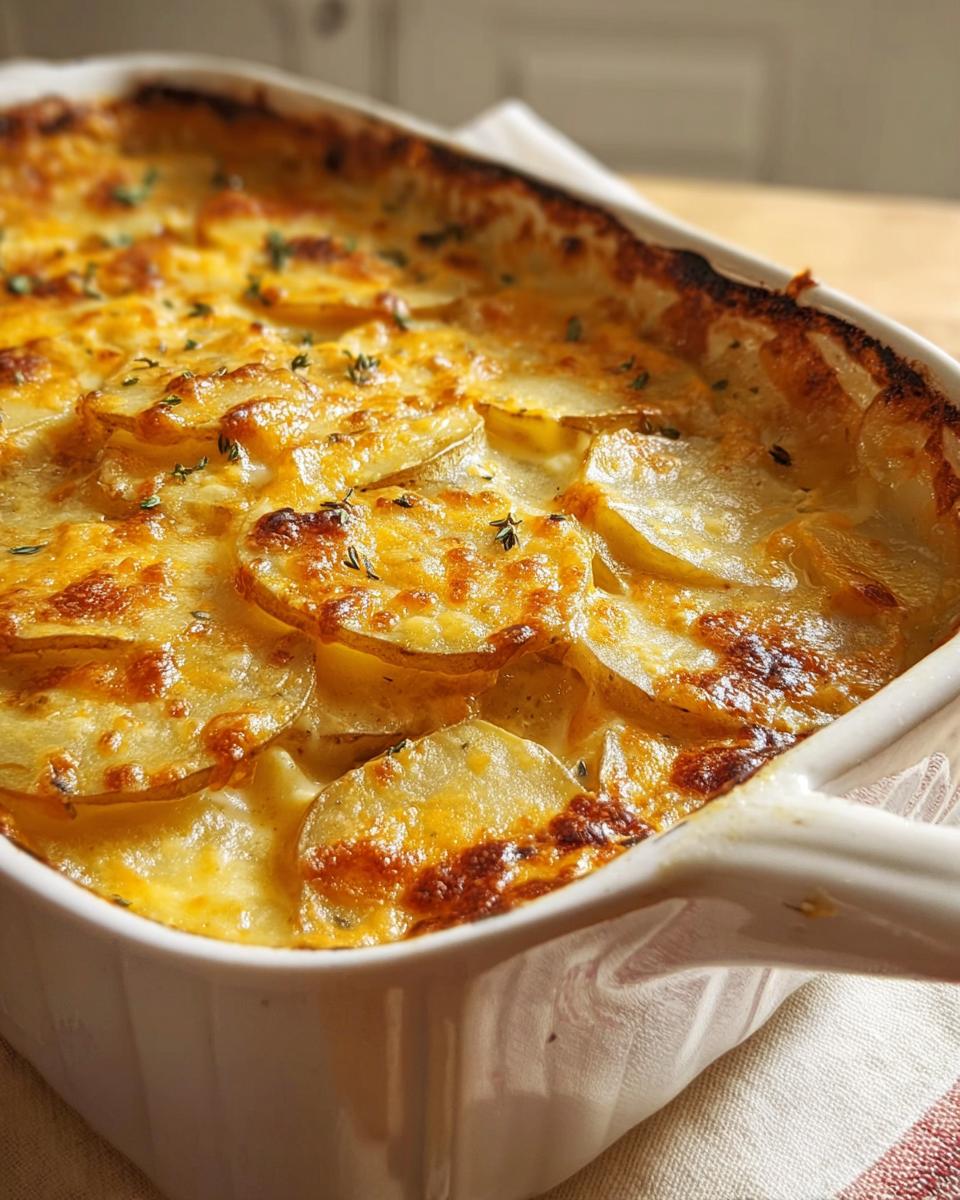
Baking Your Au Gratin Potatoes (Classic)
Quickly take the sauce off the heat and dump in all that shredded Cheddar cheese at once. Stir until it’s totally melted and gorgeous. Pour this luxurious Creamy Sauce evenly over your layered, seasoned potatoes in the dish. Cover the whole thing tightly with aluminum foil—this traps the steam needed to soften those potatoes. Pop it in the preheated oven and let it bake for about 1 ½ hours. Once a knife slides right through with no resistance, you know they are done. Don’t skip this final step: let the Au Gratin Potatoes (Classic) rest for 10 minutes before cutting into it. It lets the sauce redistribute, trust me on this one!
Tips for Perfecting Your Au Gratin Potatoes (Classic)
Even though this is a tried-and-true recipe, a few insider tips can take your Potatoes Au Gratin from great to absolutely legendary. The number one thing people mess up is the thickness of those potato slices. I insist on using a mandoline slicer if you have one! If you slice them too thick, they won’t soften properly in the 90 minutes, and you end up with crunchy edges. No good!
Another pro tip is about the cheese. You see I called for Cheddar, but feel free to mix it up! Combining a sharp cheddar with something that melts beautifully, like Gruyère, gives you depth and that gorgeous pull. Don’t use pre-shredded, please—it’s coated in anti-caking agents that make the sauce grainy. Freshly grated cheese is non-negotiable for the best results. You can find more great tips for family-friendly cooking here!
Making Au Gratin Potatoes (Classic) a Holiday Favorite
If you want to be the hero of the holiday table, this is your ticket! This rich and decadent casserole is the ultimate Holiday Favorite because it feels so wonderfully luxurious, but truth be told, it’s mostly simple pantry ingredients dressed up beautifully.
My biggest piece of advice for holiday timing is this: get the potatoes fully assembled in the dish and covered with foil. You can actually stash it covered in the fridge for a whole day! Then, on the big day, just pop it right into the oven. It might need an extra 10 or 15 minutes to cook through from cold, but it saves you so much oven space when the turkey is roasting! Makes your life so much easier, honestly. You can see one of my favorite timing strategies for big dinners over here.
Ingredient Substitutions for Au Gratin Potatoes (Classic)
I know that sometimes you get to the kitchen and realize you’re out of something crucial, or maybe you need to skip an ingredient for dietary reasons. Don’t panic! This recipe is sturdy enough to handle a little shuffling, which is why I feel confident sharing it—it’s trustworthy even when you improvise.
When it comes to milk, if you need to cut dairy, unsweetened almond milk or cashew milk works surprisingly well here. You won’t notice a huge difference because the flour and fat are doing most of the thickening work! Always try to stick with full-fat versions of the alternatives if you can, just to keep that richness we love so much in the final bake.
Cheese Variations for Cheesy Layers
If Cheddar isn’t doing it for you, or maybe you just fancy a change, we can absolutely swap it around to keep those amazing Cheesy Layers interesting. The most important thing is that whatever you pick melts beautifully and has enough flavor to stand up to the creamy base.
Gruyère is my absolute favorite substitute. It brings a nutty, earthy flavor that compliments the potatoes better than anything, and it gets wonderfully gooey. You can also use a sharp Monterey Jack if you want something milder but still super melty. I’d suggest using a 50/50 mix of your primary cheese and Gruyère for the ultimate indulgence. Just make sure whatever cheese you choose is high quality!
Serving Suggestions for Your Au Gratin Potatoes (Classic)
These potatoes are rich, hearty, and decadent, so they pair perfectly with protein that isn’t too heavy. They are the quintessential Classic Side! I almost always serve them next to a simple roasted chicken or maybe some lean baked ham when we’re having a big Sunday dinner. They just soak up those delicious pan juices, which is fantastic.
If you are looking for lighter options or ways to simplify cleanup, you should definitely check out my ideas for one-pan meals, because sometimes you just don’t want to deal with the gravy boat!
Storing and Reheating Your Au Gratin Potatoes (Classic)
This is one of those fantastic dishes that tastes even better the next day, provided you store it right! We love having leftovers, especially for simple weeknight meals when I don’t want to cook a whole lot. When it comes to leftovers, remember that the sauce sets up quite firmly once it cools down. That’s normal—it’s all that cheese and flour binding together!
When you’re done eating, let the casserole dish cool on the counter just until it’s not piping hot anymore, maybe 30 minutes. Then, cover it tightly with plastic wrap or transfer leftovers into an airtight container. They’ll keep beautifully in the fridge for up to four days. I always make sure to plan meals around roasted chicken later in the week because perfectly cheesy leftovers are just too good to waste! You can find some great meal-prep ideas for leftovers over here.
Reheating is where people sometimes lose the magic, so listen closely! Don’t just microwave the whole thing straight from the fridge unless you’re starving and in a huge rush. The microwave can get those potatoes tough or make the edges too hard. The best way, hands down, is to take out a serving, put it in an oven-safe dish, and add just a tiny splash of milk—maybe a teaspoon per serving—to loosen up that set sauce a bit.
Cover that individual portion with a little foil and reheat it in a 350-degree oven until it’s steaming hot all the way through. If you really must use the microwave, use 50% power in short bursts and stir halfway through. The low power helps gently melt the cheese without turning the potato edges into little rubber tires. It takes a little more patience, but the texture is so worth the extra five minutes!
Frequently Asked Questions About Potatoes Au Gratin
I get so many questions about making these cheesy layers perfect, especially when people are getting ready to tackle a big meal. It’s totally normal to have questions when you’re trying to nail a recipe like this for the first time! Here are a few things I hear asked most often about these beautiful baked potatoes. If you have other questions, don’t hesitate to reach out directly on my contact page!
Can I make the Creamy Sauce for Potatoes Au Gratin ahead of time?
Oh yes, you totally can! That’s one of the tricks I use when I’m trying to manage oven space during major holidays. You can absolutely prepare the entire Creamy Sauce—cook it up, melt the cheese, the works—and then just let it cool slightly before pouring it over your layered potatoes. Cover the whole dish securely and refrigerate it for up to 24 hours.
When you bake it later, just know you need to add about 15 to 20 extra minutes to the covered baking time. Since the sauce is cold going in, those potatoes take a little longer to soften up completely. It works like a charm for getting ahead!
What is the best type of potato for this Classic Side dish?
The winner, hands down, is the Russet potato, and it’s all about the starch content! When you deal with a Classic Side like this, you need a higher-starch potato. Russets flake up slightly as they cook, and this slight breakdown helps them absorb that rich sauce beautifully.
If you use a waxy potato, like a Yukon Gold or a red potato, they tend to hold their shape too tightly. You’ll end up with firm, perfectly cooked slices, but they won’t blend into that creamy dream texture that makes this dish so iconic. So for the creamiest possible result, please stick with Russets and slice them paper-thin!
Share Your Au Gratin Potatoes (Classic) Experience
Now that you’ve got the roadmap for the creamiest, cheesiest Au Gratin Potatoes (Classic) your family will ever taste, I really want to hear all about it!
Seriously, cooking is all about sharing the joy and the results. Did you serve this glorious Holiday Favorite next to that big roast? Did the kids actually fight over the last cheesy corner piece? I love hearing these stories because that’s what cooking is all about—making memories around that bubbling casserole dish!
Please, please leave me a rating out of five stars right below this section. And if you snapped a photo while you were digging in, tag me on social media! Seeing your interpretation of this classic dish really builds up my confidence in sharing these family recipes with the world. Knowing that my tried-and-true methods are working for your tables too? That’s the best feeling ever!
Au Gratin Potatoes (Classic)
Ingredients
Equipment
Method
- Preheat your oven to 400 degrees F (200 degrees C). Grease a 2-quart casserole dish with butter.
- Layer half of the sliced potatoes in the bottom of the prepared casserole dish. Season with salt and pepper.
- Arrange the onion slices over the potatoes, then top with the remaining potato slices. Season again with salt and pepper.
- Melt the butter in a medium saucepan over medium heat. Whisk in the flour and salt. Cook, whisking constantly, until the raw flour flavor has cooked off, about 1 minute.
- Gradually whisk in the milk. Cook, whisking constantly, until the sauce has thickened, about 3 to 5 minutes.
- Stir in the shredded Cheddar cheese all at once. Cook, stirring constantly, until the cheese is melted, about 30 to 60 seconds.
- Pour the cheese sauce evenly over the potatoes in the casserole dish. Cover the dish with aluminum foil.
- Bake in the preheated oven until the potatoes are tender and the sauce is bubbly, about 1 ½ hours. Let it rest for 10 minutes before serving.
Nutrition
Notes
Tried this recipe?
Let us know how it was!
Dual-Restriction Recipe Engineer & Cross-Contamination Specialist
Everything changed when my teenage son got hit with celiac disease and Type 1 diabetes diagnoses within six months of each other. Suddenly, pizza and pasta were off the table, and most “diabetic-friendly” foods contained gluten. I went from regular mom cooking to navigating what I call “compound restriction cooking”—and I had a kid’s appetite and taste buds to satisfy.
Lucky for us, my background in pharmaceutical quality control gave me the systematic mindset this level of precision requires. My kitchen now operates under pharmaceutical-grade protocols adapted for home use: dedicated prep surfaces, separate storage systems, and testing procedures that verify both carb counts and gluten absence before any recipe gets published.
I’ve developed over 220 recipes that clear multiple dietary hurdles simultaneously—finding gluten-free thickeners that don’t spike blood sugar, creating bread alternatives that meet both keto ratios and celiac safety, and developing desserts that actually taste good to a teenager despite impossible restrictions.
Through my “Safe Kitchen Certification” program, I teach other parents that managing multiple dietary restrictions isn’t about multiplying limitations—it’s about systematic thinking that reveals unexpected possibilities. When you engineer solutions instead of making compromises, restriction becomes innovation rather than deprivation.