
Oh, how I remember those long, hot summer days when a trip to the local coffee shop for an Iced White Chocolate Mocha felt like the only cure for the heat! That sweet, creamy bliss was my absolute go-to treat until life threw us a curveball. When my sweet son was diagnosed with celiac disease, those carefree coffee breaks instantly turned into kitchen puzzles where I was desperately trying to solve the gluten-free dilemma without sacrificing flavor.
It took me ages, batches upon batches, but I finally cracked the code! Trust me when I say this Iced White Chocolate Mocha (Classic) recipe is the real deal—it’s rich, perfectly balanced, completely gluten-free, and tastes even better than what you get at the drive-thru.
As Laila Stone, a Dual-Restriction Recipe Engineer, I’ve built my reputation on making sure *everyone* can enjoy gourmet food safely. Every sip of this creamy, dreamy drink brings back new, happy memories for my family now. Ready to make your very own café moment right at home? Let’s get brewing!
Why You Will Love This Iced White Chocolate Mocha (Classic)
Honestly, I wouldn’t share this recipe unless it truly changed the game, especially for us dealing with dietary restrictions. This isn’t just coffee; it’s a full experience that fits right into your busy schedule. You have to try this!
- It’s incredibly creamy thanks to our homemade sauce, which makes it taste like a true specialty drink.
- Super simple! We are talking about less than 10 minutes of active work, turning your kitchen into the best café in town.
- It’s completely gluten-free, so everyone can enjoy this indulgent treat without worry.
- This recipe nails that perfect Classic Latte balance—strong espresso flavor mellowed out by sweet white chocolate.
- The chill time means you can prep the sauce in the morning and be enjoying a gourmet Iced Coffee feeling by afternoon.
Essential Equipment for Your Iced White Chocolate Mocha (Classic)
You don’t need a fancy espresso machine setup to nail this! Seriously, if you have some basic things lying around, you are good to go. Having the right tools just ensures that glorious, creamy texture that makes this White Chocolate Mocha so special.
Here’s what you’ll need to gather before you start:
- A small saucepan for gently melting down our homemade sauce. Don’t use too high of a heat; we are melting, not burning!
- A whisk and measuring tools (cups and spoons) are a must for accurate sauce proportions.
- A nice tall glass—presentation matters, even if it’s just for you! Make sure it’s big enough for all that ice and liquid.
- A handheld milk frother. This, my friends, is my expert tip for that café-quality finish! If you want that amazing fluffy texture in your milk without shaking a mason jar until your arm falls off, the little battery-powered frother is indispensable. It really helps emulsify the milk and chocolate sauce, giving you that signature smooth lift.
Ingredients for the Perfect Iced White Chocolate Mocha (Classic)
Getting the ingredients right is the first step to winning the battle against sad, watery coffee. Remember, the homemade sauce is the backbone of this drink; it’s what turns a simple Iced Coffee into the gourmet experience we crave. This is where all the magic flavor compounds live, so measure carefully! If you need more ideas for gluten-free cooking in general, you can always check out my full list of recipes here.
For the White Chocolate Sauce
Don’t skip making this sauce from scratch! This is the main secret to the best Iced White Chocolate Mocha (Classic); those store-bought syrups just don’t cut it for that rich flavor we are aiming for.
- 4 ounces white chocolate, chopped finely
- 0.5 cup milk or cream (use heavy cream for extra richness!)
For the Iced White Chocolate Mocha Assembly
When it comes time to build the drink, precision is key, especially with the espresso to milk ratio to keep that Classic Latte structure intact.
- 2 ounces brewed espresso (use strong coffee if you absolutely must, but espresso is best!)
- 1 cup half & half (Totally okay to substitute this with your favorite regular milk or a plant-based milk like oat or almond if that’s what you need for dietary reasons.)
- 1-2 tablespoons white chocolate sauce (start with one and taste before adding the second!)
Optional Garnish Ingredients
These extras just elevate it from ‘great’ to ‘absolutely decadent.’ They are totally optional, of course!
- Ice (You’ll need plenty!)
- Whipped cream
- White chocolate shavings for topping
Step-by-Step Instructions: How To Make Iced White Chocolate Mocha At Home
Okay, this process is split into two main parts: making that luxurious sauce first, and then building our gorgeous glass of coffee. Don’t rush the sauce part! That’s the key to avoiding grainy texture and ensuring you have that sweet secret weapon ready for future Iced Coffee cravings. If you want to see how I make sure my other baking processes are foolproof, check out my guide on that here.
Making the Creamy White Chocolate Sauce
First things first: we build the flavor base! You need to finely chop that white chocolate—it helps it melt evenly. Next, warm up your milk or cream until it’s hot, maybe about a minute or two in the microwave until you can feel the heat radiating off the bowl. Do NOT let it boil, we just want it hot enough to do its melting job!
Carefully pour that hot cream directly over your chopped chocolate. Seriously, step away for two full minutes. Let the heat do the prep work for you! Then, grab a spatula and gently coax everything together until it’s totally smooth and glossy. This is your sauce for the Iced White Chocolate Mocha (Classic). Now here is where the ‘Chill Time’ comes in: transfer this gorgeous stuff to a small container and pop it into the fridge. It needs at least 60 minutes to cool down. Letting it chill ensures a much better texture when mixed into the cold ingredients later on, preventing it from immediately thinning out your drink too much.
Assembling Your Iced White Chocolate Mocha (Classic)
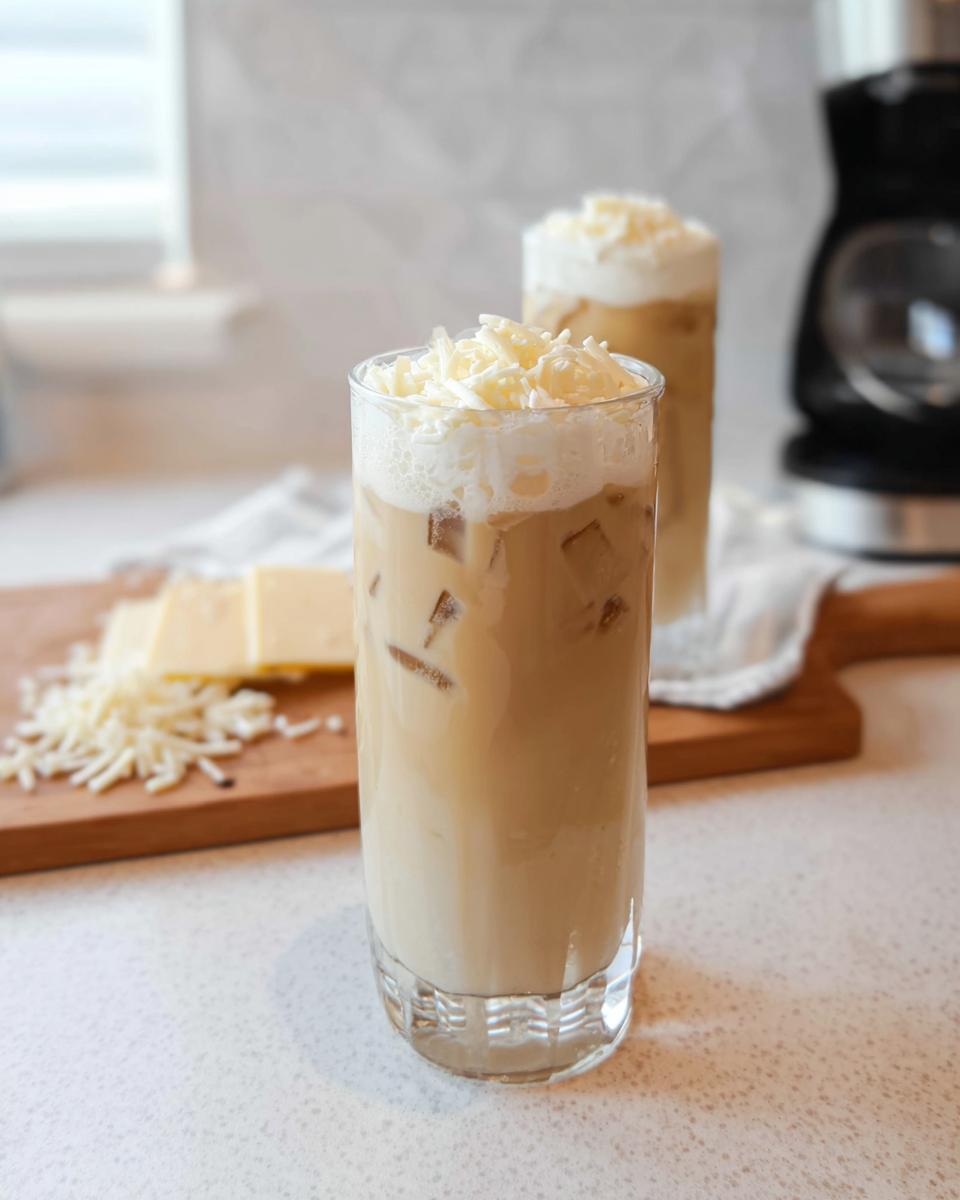
Now for the fun part! Fetch your tall glass and fill it up completely with ice. Brew your espresso—a double shot is perfect—and pour that hot, rich coffee right over the ice. It might look crowded now, but trust me, it works!
In a separate small container—this is key for a nice, creamy outcome—pour in your 1 cup of half & half (or your chosen substitute). Add about 1 tablespoon of your chilled white chocolate sauce to the milk. Grab that handheld milk frother and really whip it! You want this mixture frothy and fully combined; this replicates that beautiful layering you see in a perfect Classic Latte.
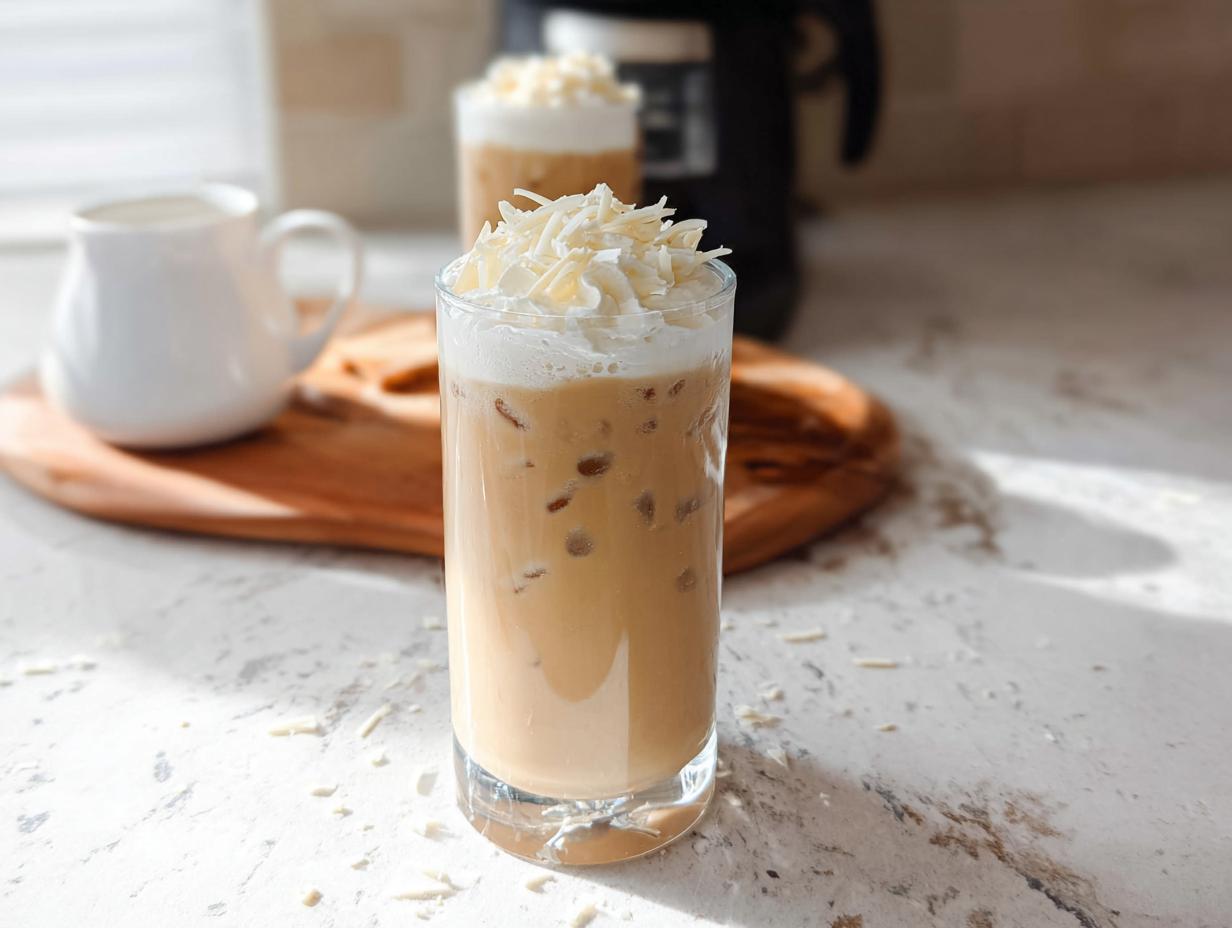
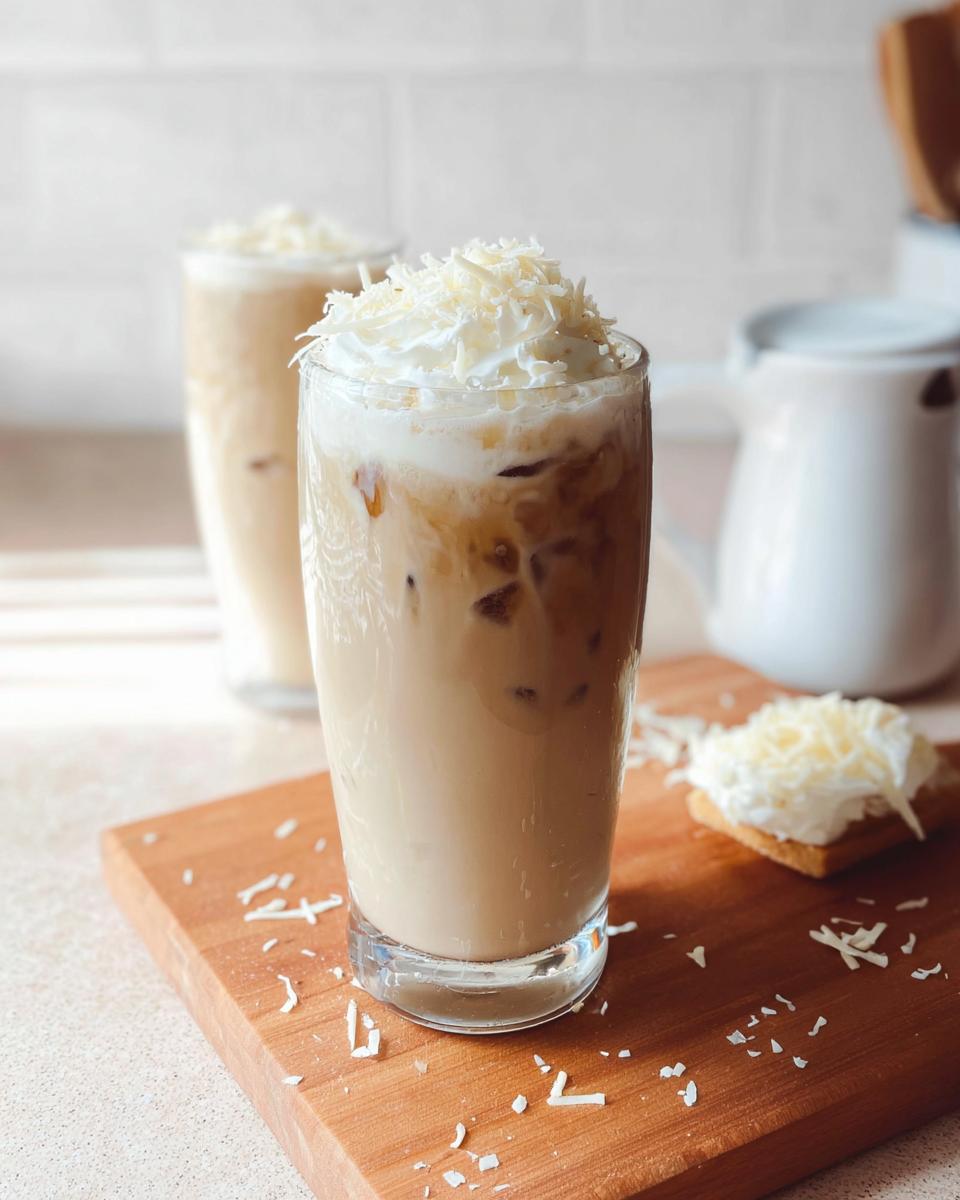
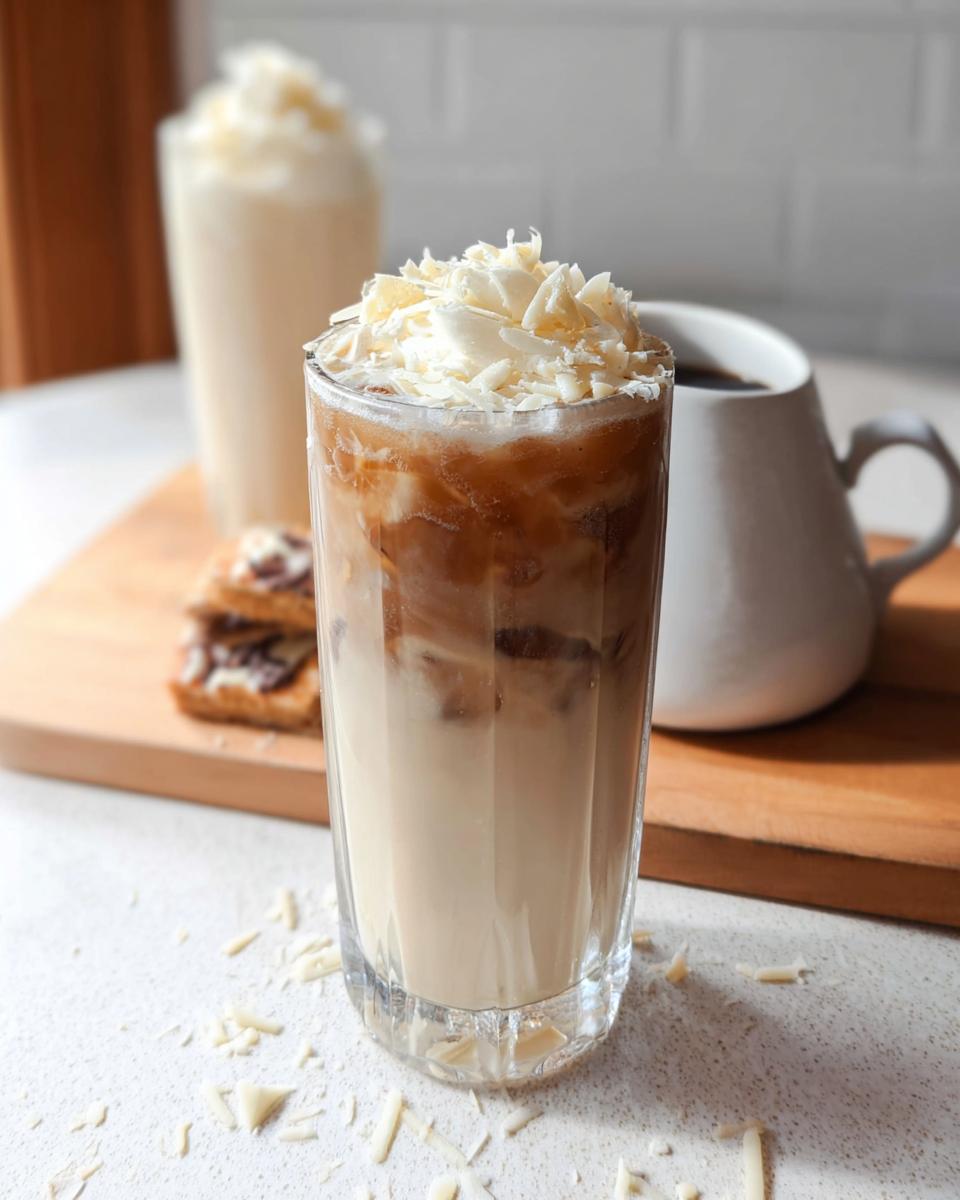
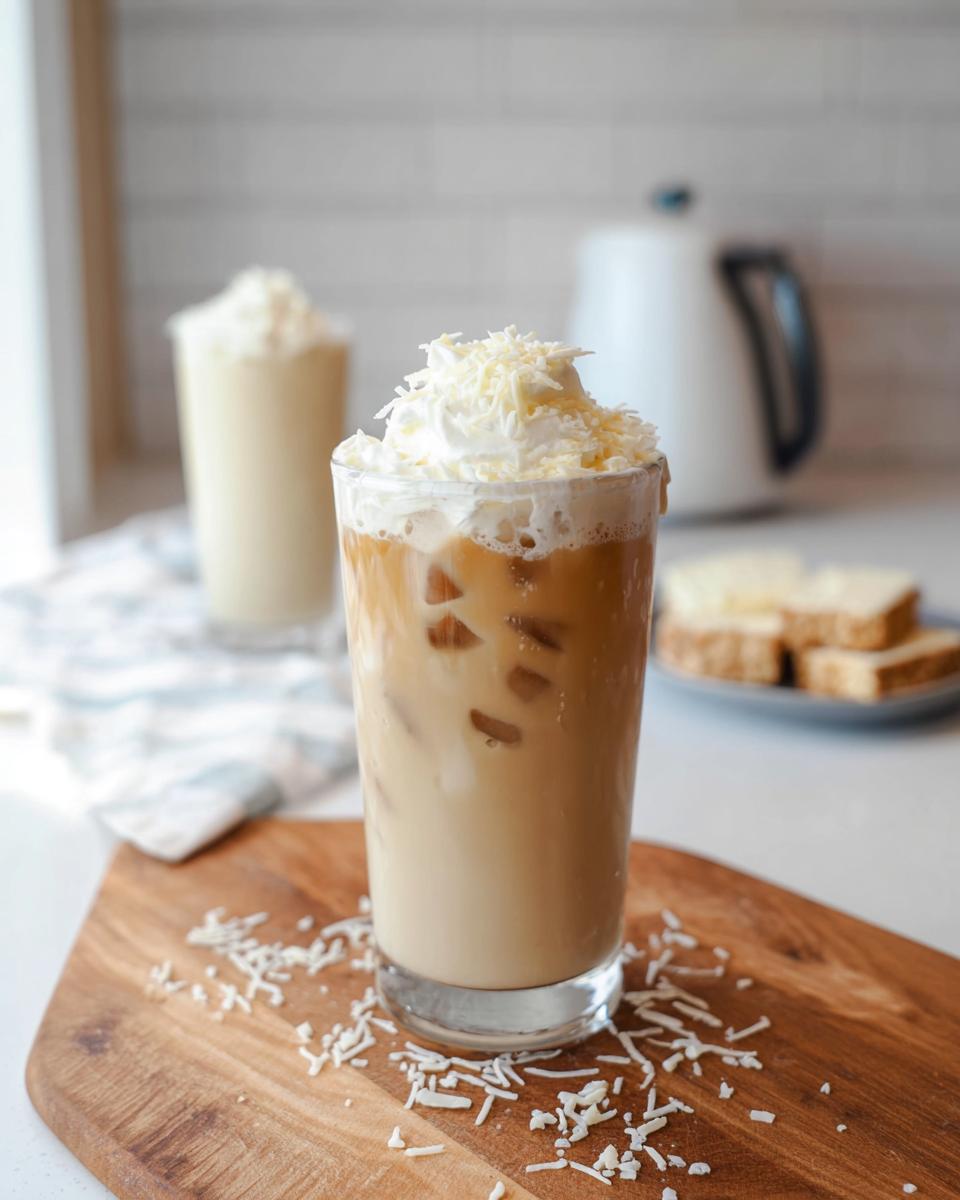
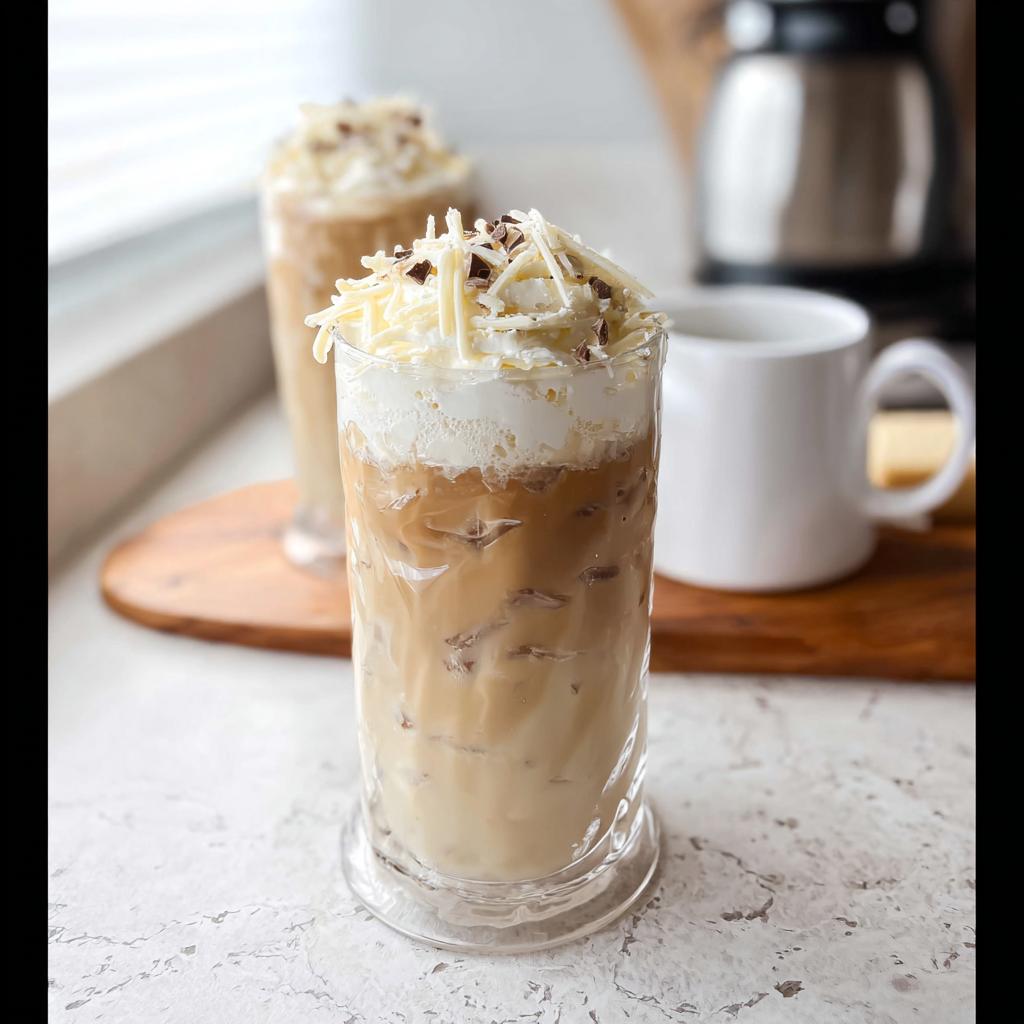
Slowly and carefully pour your frothed, sweetened milk mixture over the iced espresso. Give it a gentle stir if you like, though I often leave it layered. Garnish with a swirl of whipped cream and a few chocolate shavings if you’re feeling fancy. That perfect Iced White Chocolate Mocha (Classic) is ready to drink. You can grab refreshment ideas from this external site if you want to see another great take!
Tips for Success When Making Iced White Chocolate Mocha (Classic)
Even though this is technically simple, getting that café-quality taste—especially when we need it to be completely gluten-free—requires a few tricks that I’ve learned over the years. Follow these little pointers and you’ll never go back to the drive-thru again for your Iced White Chocolate Mocha (Classic)!
First off, let’s talk about that sauce graininess. If your white chocolate gets a little stiff or grainy when you try to mix it in the cold milk, it means you didn’t let it cool down enough, or you heated the milk too aggressively to begin with. Remember, white chocolate hates high heat! If it happens, don’t panic! Just take your already assembled drink (or just the sauce) and give it a quick 10-second zap in the microwave to loosen it up, then froth vigorously. You can also check out my tips on handling fats in my gluten-free roux guide here for general stability knowledge.
For the coffee strength, remember we are using two ounces of espresso. If you are making a batch ahead of time, say you’re brewing a big pot of regular Iced Coffee to save time, you need to brew it *strong*. We’re talking double the grounds you normally use, then chill it completely. The sweetness of the mocha sauce can easily overwhelm weaker coffee halfway through your tall glass.
And a final pro-tip for that perfect, creamy texture: always froth the milk *after* adding the melted sauce to it. If you froth plain milk and *then* pour in the sauce, the heavy sauce sinks right to the bottom and you lose that beautiful, airy suspension that makes this drink feel so gourmet. It needs to be whisked or frothed together so the fat molecules combine nicely.
Variations for Your Iced White Chocolate Mocha
One of the best things about mastering the base recipe for the Iced White Chocolate Mocha (Classic) is knowing how easy it is to tweak! Since we are making the sauce from scratch, we have total control over the flavor additions, which is so much fun. I love experimenting, especially when I need to use up leftover ingredients or host a little party!
These little adjustments are easy to make and turn one great recipe into several custom treats. If you are looking for other ways I adapt recipes for dietary needs, I have a huge list of easy low-carb, gluten-free options you might enjoy!
Here are a few swaps and additions that I use all the time:
Peppermint Twist
Oh my goodness, this is perfect for those unexpected chilly days or when you just need a little festive flavor! To switch this up into a Peppermint White Chocolate Mocha, all you do is add about ¼ teaspoon of peppermint extract right into your milk mixture before you use the frother. That little bit of mint goes a long way against the sweet chocolate.
If you have any around, topping it with crushed peppermint candies instead of or along with the white chocolate shavings makes it look gorgeous and adds a wonderful crunch. It’s just magical!
The Spiked Version
For those grown-up occasions—maybe the kids are finally asleep or you are having friends over—this recipe takes extremely well to a little something extra. It’s so easy to create a Spiked White Chocolate Mocha!
Simply add about 1 ounce of any cream liqueur you happen to have, like Baileys or RumChata, directly into the cold milk mixture before you froth it up. It blends seamlessly right into that sweet, creamy profile. Just make sure you keep the garnishes clear about what’s inside!
Turning It Hot (If the Weather Changes)
Sometimes you make the sauce, and suddenly it gets cold outside! You don’t have to waste that gorgeous sauce! You can easily convert this into a spectacular Hot White Chocolate Mocha.
Follow the same steps to combine your sauce and milk, but instead of microwaving the milk briefly, gently heat the mixture on the stove until it’s hot to the touch, just like you would for a Classic Latte. Then, pour that warm, sweet milk addition right into your warmed espresso shot. A little manual whisking works just as well as the frother in this case!
Storage and Reheating Instructions for White Chocolate Mocha Sauce
Now, this is an important section that busy parents and coffee lovers need to hear loud and clear: the actual assembled Iced White Chocolate Mocha (Classic)? That needs to be enjoyed right away! If you put a glass full of melting ice and espresso back in the fridge, you’re just asking for a watery, sad mess later. We drink those immediately!
However, the star of the show—our homemade white chocolate sauce—is a total make-ahead rockstar. This is where you save so much time during your morning rush. Remember how I said you should store it in the fridge? Well, it keeps beautifully!
You can safely store this rich, creamy sauce for up to one full week in a tightly sealed container. Honestly, it tastes almost better on day three because the flavors have had time to really marry!
But here is the catch, and it’s non-negotiable: due to the thick white chocolate content, it’s going to stiffen right up into a solid block once it’s fully chilled in the refrigerator. Don’t panic when you pull it out for round two of your Iced White Chocolate Mocha (Classic)!
To use your chilled sauce, you just need to revive it. Take the container out and scoop out the amount you need—usually 1 or 2 tablespoons. Pop that scoop into a tiny microwave-safe bowl. Heat it gently for about 10 to 15 seconds. It doesn’t need to be hot, just enough to return it to that lovely, pourable, glossy consistency we had right after mixing it up initially. A quick stir, and it’s ready to be whisked into your cold milk before frothing. Easy peasy! This way, you always have the secret ingredient ready for your next homemade café visit.
Frequently Asked Questions About the Iced White Chocolate Mocha (Classic)
It’s totally normal to have questions when you’re trying a new recipe, especially when you’re trying to be mindful of ingredients! I get asked about this recipe all the time—usually by fellow parents who need that quick, safe, gourmet fix. Here are the biggest things people want to know about creating the best Iced White Chocolate Mocha (Classic) at home.
What is the approximate calorie count for one Iced White Chocolate Mocha (Classic)?
That is such a good question, especially since we are adding that rich, homemade sauce! Based directly on the measurements I use in this specific recipe—using half & half—one drink comes out right around 231 calories. Keep in mind, this is an estimate based on the ingredients listed. If you swap out the half & half for skim milk, or if you go heavy on the whipped cream and shavings for garnish, that number will definitely climb!
Can I make this a low-carb White Chocolate Mocha?
Absolutely, you can make a fantastic low-carb version! Since I specialize in making things work within different restrictions, I’ve tested this modification myself. The main thing you need to swap is the white chocolate. You’ll want to look for high-quality, sugar-free white chocolate chips or baking bars sweetened with erythritol or monk fruit. You might need to adjust the other sweetener slightly, as the molasses in regular brown sugar alternatives doesn’t work the same way. Otherwise, the process for the sauce stays exactly the same, and you still get that wonderfully creamy texture!
What is the difference between this and a regular Iced Coffee?
That’s the million-dollar question! A regular Iced Coffee is usually just cold brewed coffee poured over ice, maybe with a little simple syrup or plain dairy added. This recipe, our Iced White Chocolate Mocha (Classic), is different because it’s built around espresso shots—which are much more concentrated and strong—and the addition of that decadent, house-made white chocolate sauce.
We are essentially making an elevated Classic Latte that’s served cold. That sauce gives it sweetness, density, and that sought-after flavor profile. Making it from scratch like this means you get that authentic, rich flavor—it’s truly a high-end copycat drink experience without the massive price tag!
Share Your Perfect Iced White Chocolate Mocha (Classic) Experience
Whew! Now you have everything you need to conquer your coffee cravings right in your own kitchen. I am so excited for you to try this Iced White Chocolate Mocha (Classic). Seriously, when you nail that sauce and pour that perfectly frothed milk over the espresso, it feels like a genuine little victory, right?
I’m obsessed with seeing how everyone takes this recipe and makes it their own. Whether you stick to the classic version or throw in some of those fun peppermint twists, I want to hear about it!
Did this recipe finally solve your gluten-free coffee dilemma? Did the homemade sauce make all the difference? Please take a moment and let me know what you thought! Leaving a rating—even just a quick five stars—helps other busy parents and coffee lovers see that they can absolutely make gourmet drinks safely at home. You can drop all your comments, tips, or even pictures of your creations in the spot below. If you ever have a question about recipe adaptations or cross-contamination fears, you can always reach out to me directly through the contact page here. Happy sipping!
Iced White Chocolate Mocha (Classic)
Ingredients
Equipment
Method
- Finely chop the white chocolate and place it in a large bowl.
- Place the milk or cream in a microwave-safe bowl and microwave for 1-2 minutes, or until hot to the touch but not boiling.
- Pour the hot milk or cream over the chopped white chocolate and let it sit for about two minutes.
- Using a spatula, gently mix until the chocolate is fully melted and the ganache is combined and smooth. It will be runny and thicken slightly as it cools. Store in the fridge for up to a week; you may need to reheat to make it runny again.
- Brew a double shot of espresso and pour it into a tall glass over ice.
- In a separate glass or bowl, combine your milk of choice with 1 tablespoon of white chocolate sauce. Use a handheld milk frother to combine fully. Taste and add more chocolate sauce if desired.
- Pour the white chocolate milk over the espresso and ice.
- If desired, top with whipped cream, white chocolate shavings, and a drizzle of white chocolate sauce.
Nutrition
Notes
Tried this recipe?
Let us know how it was!
Dual-Restriction Recipe Engineer & Cross-Contamination Specialist
Everything changed when my teenage son got hit with celiac disease and Type 1 diabetes diagnoses within six months of each other. Suddenly, pizza and pasta were off the table, and most “diabetic-friendly” foods contained gluten. I went from regular mom cooking to navigating what I call “compound restriction cooking”—and I had a kid’s appetite and taste buds to satisfy.
Lucky for us, my background in pharmaceutical quality control gave me the systematic mindset this level of precision requires. My kitchen now operates under pharmaceutical-grade protocols adapted for home use: dedicated prep surfaces, separate storage systems, and testing procedures that verify both carb counts and gluten absence before any recipe gets published.
I’ve developed over 220 recipes that clear multiple dietary hurdles simultaneously—finding gluten-free thickeners that don’t spike blood sugar, creating bread alternatives that meet both keto ratios and celiac safety, and developing desserts that actually taste good to a teenager despite impossible restrictions.
Through my “Safe Kitchen Certification” program, I teach other parents that managing multiple dietary restrictions isn’t about multiplying limitations—it’s about systematic thinking that reveals unexpected possibilities. When you engineer solutions instead of making compromises, restriction becomes innovation rather than deprivation.