
Oh, how I remember the frantic search for that perfect treat! It was right after my son’s diagnosis, and my heart just ached to bake him something comforting, something that felt normal and sweet, but was also safe for him. The kitchen became my laboratory! Flour was flying, bananas were turning to mush (sometimes *too* much mush!), but I was determined. I wanted to create a recipe for How to Make Banana Bread (Foolproof) that wasn’t just edible, but genuinely delicious, and crucially, something he could enjoy without a second thought about his blood sugar. This recipe is my triumph, born from love and countless kitchen experiments, and now it’s my privilege to share it with you. It’s designed to be super simple, totally foolproof, and wonderfully forgiving, even for the most delicate dietary needs.
Why This How to Make Banana Bread (Foolproof) Recipe Works
You know, the magic behind this How to Make Banana Bread (Foolproof) recipe really comes down to a few smart choices. It’s all about harnessing nature’s sweetness and using just the right leavening agents. Those super ripe bananas? They’re not just for flavor; their natural sugars and moisture are the foundation of that wonderfully soft, moist banana bread texture. I’ve learned over time that using a bit more baking soda than powder really helps balance the acidity from the bananas, giving us that perfect lift without any fuss. Plus, my background as a recipe engineer means I’ve tweaked the flour-to-moisture ratio down to a science, ensuring it’s just right every single time without needing a mixer!
Gather Your Ingredients for Foolproof Banana Bread
Alright, let’s get down to business! Having all your ingredients ready is half the battle won, right? For this amazing How to Make Banana Bread (Foolproof) recipe, you’ll want to grab these:
- 1 cup granulated sugar
- 1/2 cup (113g) unsalted butter, softened (trust me, softened is key here!)
- 2 large eggs
- 3 large ripe bananas, mashed (aim for about 1 ½ cups of mushy goodness!)
- 1 Tablespoon milk
- 1 teaspoon ground cinnamon (adds that lovely warmth!)
- 2 cups (250g) all-purpose flour
- 1 teaspoon baking powder
- 1 teaspoon baking soda
- 1 teaspoon salt
- 1 cup chopped nuts or chocolate chips (totally optional, but so good if you’re feeling it!)
See? Nothing too crazy. Having those super ripe bananas is your secret weapon for that irresistible sweetness and that perfectly moist banana bread texture. Grab everything, and you’re ready to make some magic!
Essential Equipment for Your How to Make Banana Bread (Foolproof) Adventure
Okay, so to make sure this How to Make Banana Bread (Foolproof) adventure goes off without a hitch, you’ll want a few trusty tools. Nothing too fancy, I promise! You’ll definitely need a good ol’ 9×5 inch loaf pan. Lining it with parchment paper is a lifesaver for easy removal, trust me! Grab a big mixing bowl for all the wet ingredients, and a second one for the dry stuff. Oh, and a sturdy wire rack is essential for letting your beautiful loaf cool down properly. Having these ready just makes the whole process so much smoother! You can check out some other great banana bread tips too!).
Step-by-Step Guide: How to Make Banana Bread (Foolproof)
Alright, let’s get baking! This is where the magic really happens for our How to Make Banana Bread (Foolproof). Just follow these simple steps and you’ll have a gorgeous loaf in no time! If you’re curious about gluten-free baking basics, you might find this guide to gluten-free roux helpful.
Preheating and Pan Preparation
First things first, preheat your oven to a nice, cozy 350 degrees F (that’s 175 degrees C). Make sure to grease your loaf pan really well, and then line the bottom with parchment paper. This little trick guarantees your beautiful banana bread won’t stick!
Mixing the Wet Ingredients
Grab your biggest mixing bowl! Cream together the sugar and the softened butter until it looks light and fluffy – think pale yellow and airy. Then, crack in your eggs, one at a time, giving it a good mix after each addition. Finally, stir in those mashed ripe bananas and the milk until everything is nicely combined.
Combining the Dry Ingredients
Now, grab your second bowl. Whisk together the flour, baking powder, baking soda, cinnamon, and salt. Give it a good whisk so all those dry bits, especially the leavening agents and salt, are evenly distributed. This is super important for an even bake!
Bringing It All Together
Time to join forces! Gently add your dry ingredients mixture to the wet ingredients. Stir *just* until combined – seriously, don’t overmix! A few streaks of flour are totally okay. If you’re adding those yummy optional nuts or chocolate chips, stir them in now with a few gentle folds. We want nice, tender banana bread, not tough bread!
Baking and Cooling Your Banana Bread
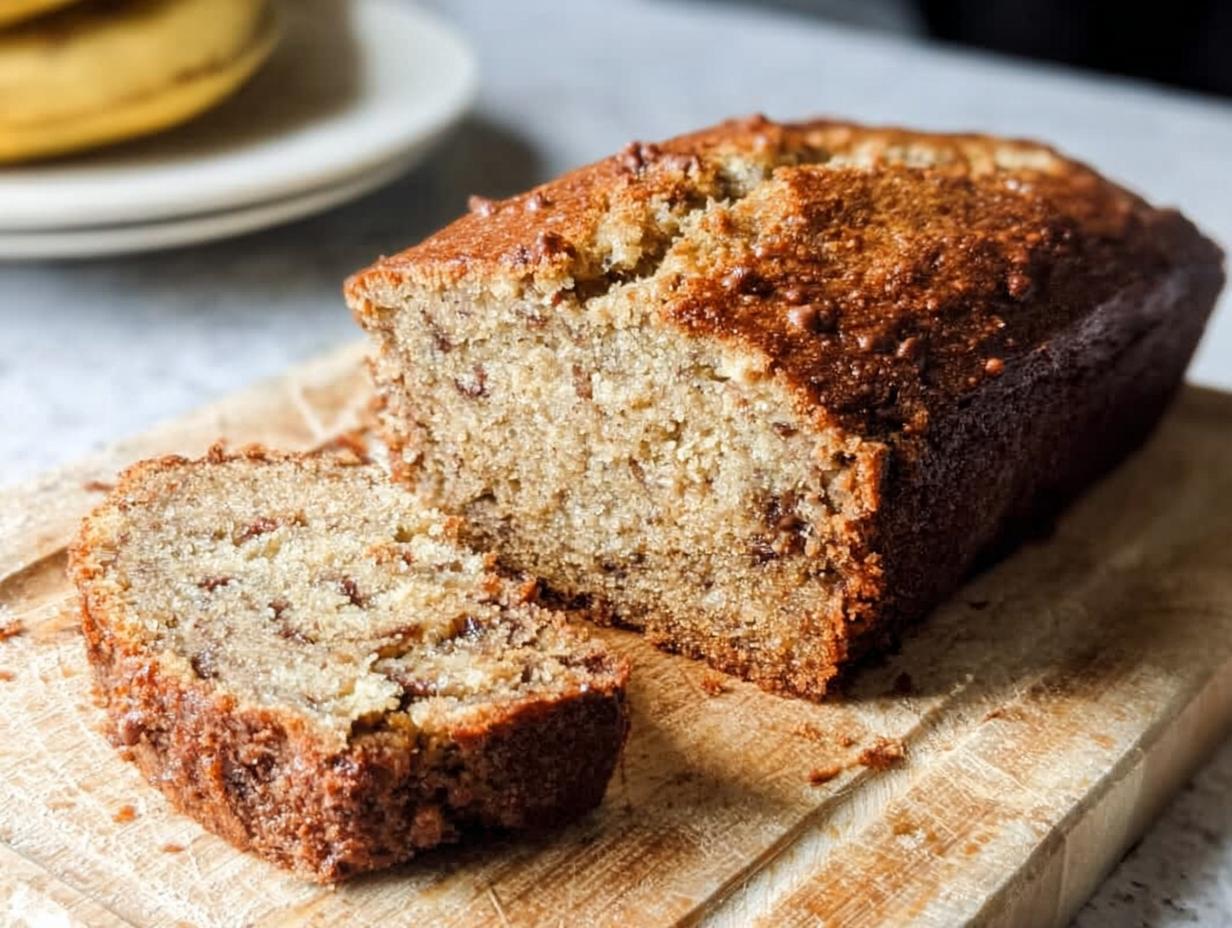
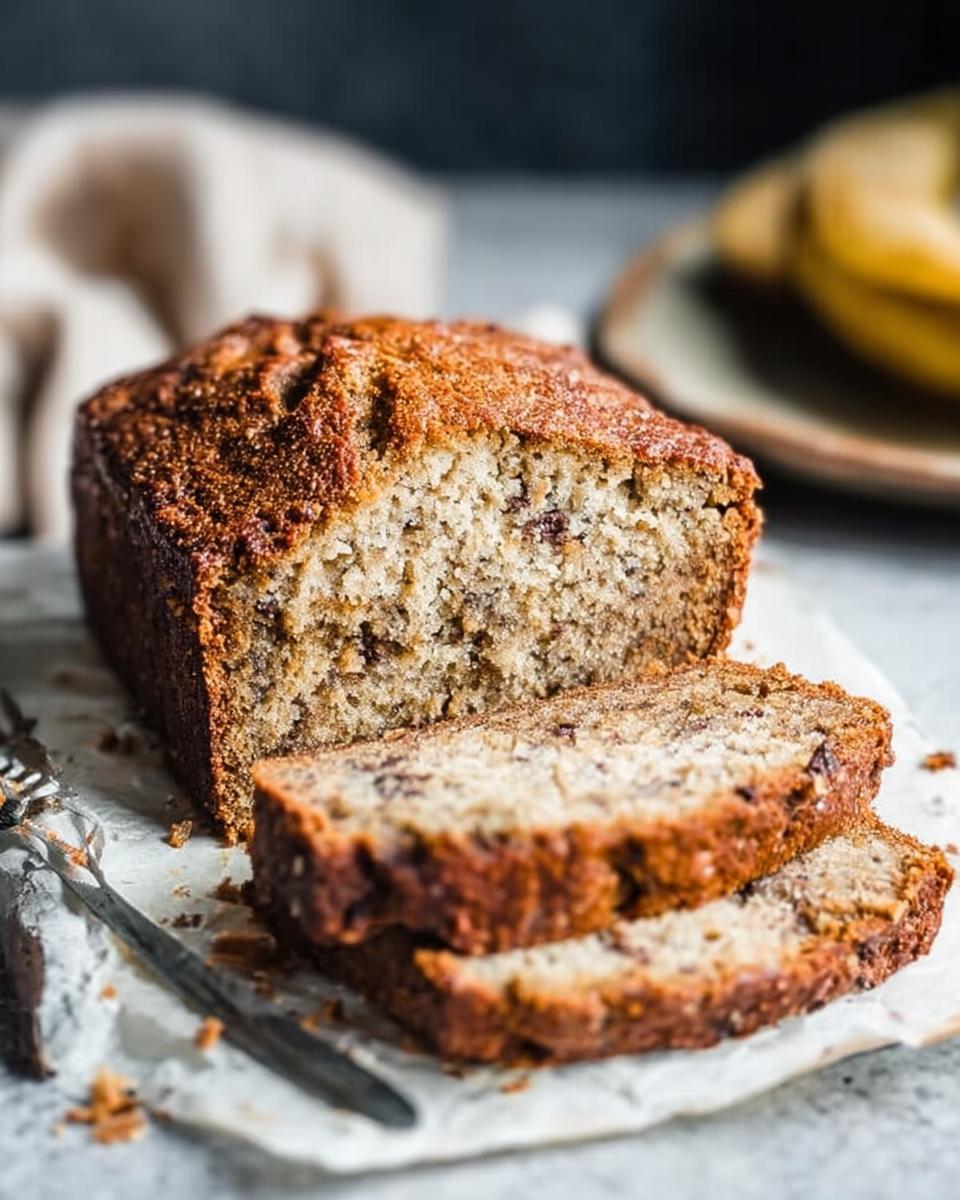
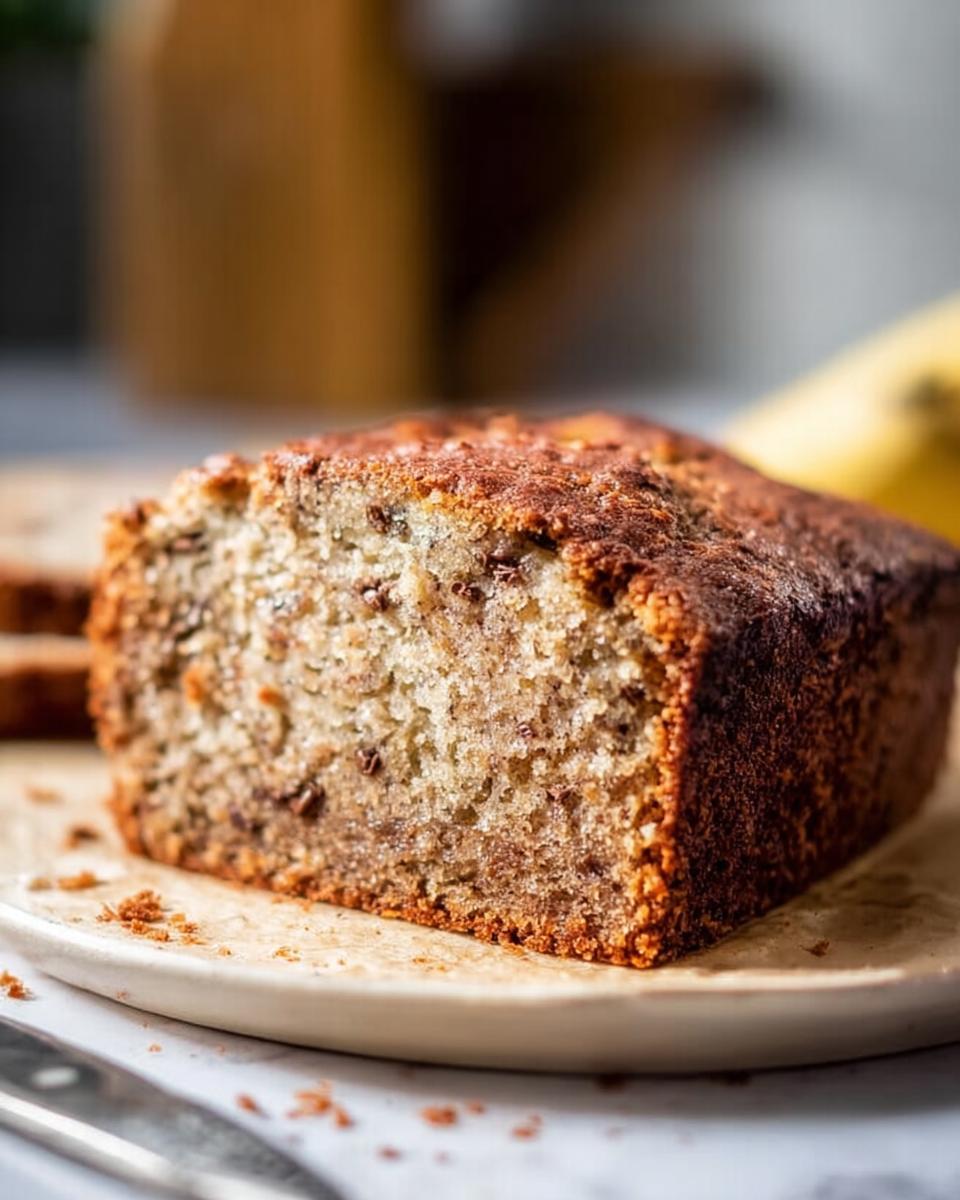
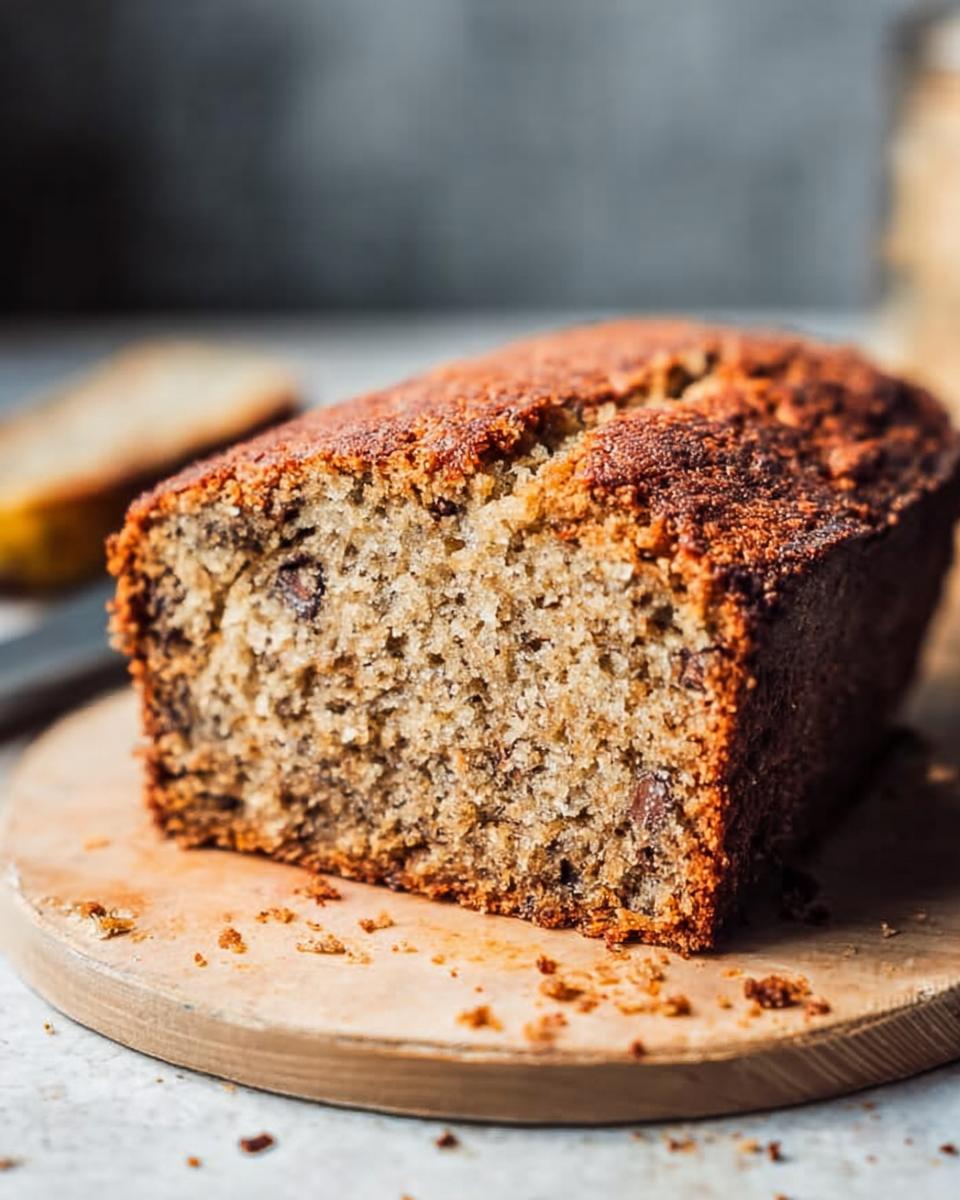
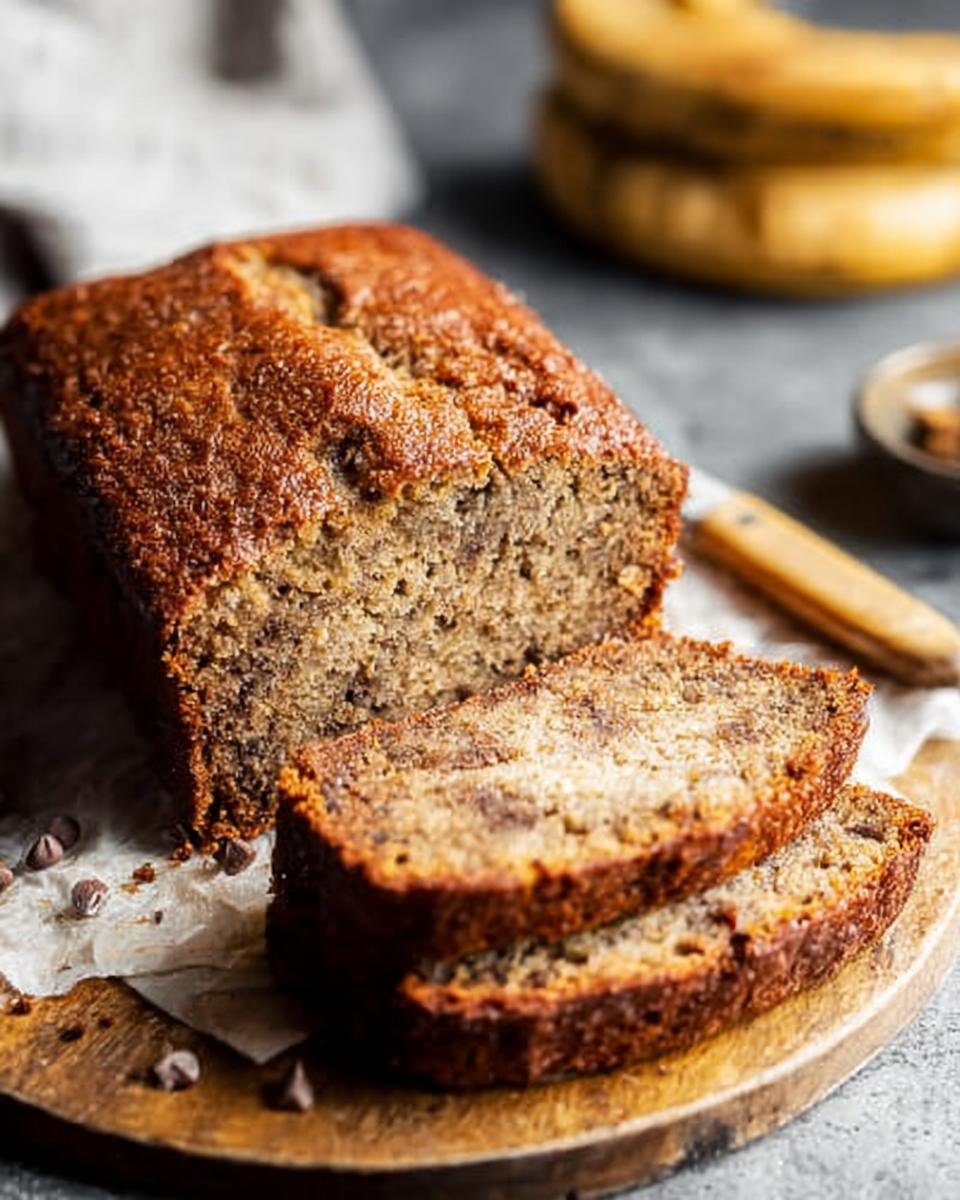
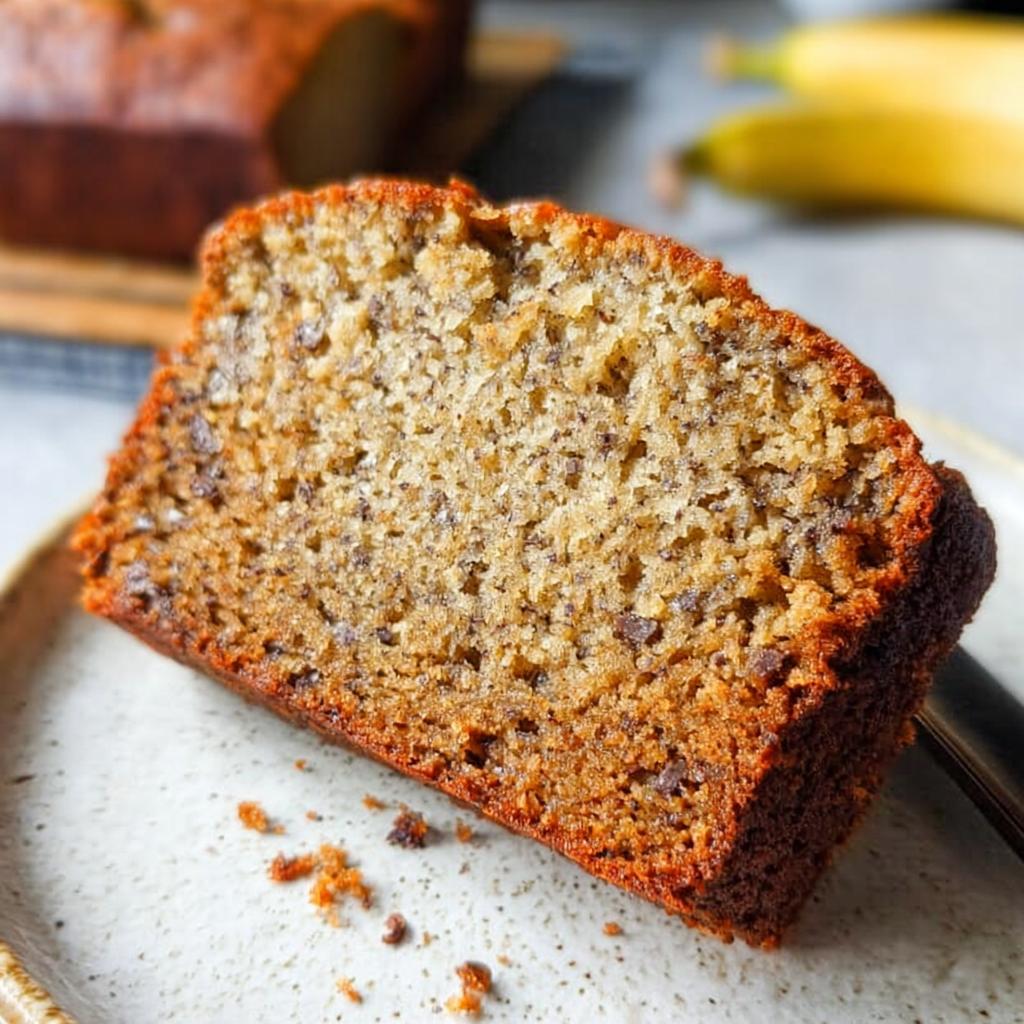
Pour your batter into that prepared loaf pan, smoothing the top a bit. Pop it into your preheated oven for about 55 to 65 minutes. You’ll know it’s ready when a toothpick or a thin knife inserted into the center comes out clean. Let it hang out in the pan for about 10 minutes to cool down a bit before carefully turning it out onto a wire rack to cool completely. Patience is a virtue here, as cutting into it too soon can make it crumble!
Tips for Perfectly Moist Banana Bread Every Time
Okay, so you want that super moist banana bread that just melts in your mouth, right? It’s all about a few little tricks I’ve picked up! First off, use those *really* ripe bananas – the spottier and darker, the better! They’ve got more natural sweetness and moisture, which is exactly what we want. Also, please, please, *please* don’t go overboard mixing the batter once you add the flour. Overmixing develops the gluten too much, making your bread tough instead of tender. Just stir until it *just* comes together. Trust me on this one!
And oven temperature? It’s a biggie! Make sure your oven is truly preheated to 350°F. An oven that’s too hot can dry out the outside before the inside is cooked, and one that’s too cool can lead to a dense, gummy loaf. I always do a quick check with an oven thermometer just to be sure. A little bit of attention to these details makes all the difference for a perfectly scrumptious slice!
Common Mistakes to Avoid When Making Banana Bread
You know, even with a foolproof recipe like this How to Make Banana Bread (Foolproof), there are a few little slip-ups that can happen, especially when you’re just starting out. The biggest one? Using bananas that aren’t ripe enough! Truly brown and spotty ones are your best friends here; they provide sweetness and moisture. Underripe ones can leave your bread bland and a bit dry. Oh, and please, don’t get tempted to overmix the batter once you add the flour. That’s a fast track to tough, chewy banana bread instead of that tender, *moist banana bread* we’re dreaming of. Just stir until you barely see any dry flour. Lastly, make sure your oven is spot on with the temperature; an oven that’s off can lead to a bread that’s gummy inside, or burnt on the outside!
Variations and Substitutions for Your Banana Bread
This recipe for How to Make Banana Bread (Foolproof) is already pretty amazing, but it’s also super adaptable! Sometimes life throws us dietary curveballs, and that’s totally okay! If you’re looking for a gluten-free option, don’t sweat it. I’ve had great success using a good quality gluten-free all-purpose flour blend (one that contains xanthan gum usually works best). Just be aware that gluten-free flours can sometimes absorb liquid a little differently, so your bake time might be slightly shorter. Keep an eye on it!
For those watching their sugar intake, you can try a sugar substitute like erythritol or xylitol – just follow the conversion on the packaging. It might change the texture slightly, giving it a bit more moisture, which isn’t a bad thing! And if you’re feeling adventurous, why not swap out some of the cinnamon for a pinch of nutmeg or even a dash of cardamom? Or, if you’re not a fan of nuts or chocolate chips, you could fold in some dried cranberries or even a bit of shredded coconut for a different twist. It’s all about making it your own! For more ideas on low-carb and gluten-free goodies, you’ll want to check out these easy recipes!
How to Store and Freeze Your Banana Bread
Got leftover banana bread? Lucky you! This recipe is fantastic because it’s so forgiving with storage. If you’ve got just a couple of slices left, just wrap them up tightly in plastic wrap or pop them into an airtight container. They’ll stay nicely at room temperature for about 3-4 days. If it’s a bit warmer where you are, or you want it to last a bit longer, the fridge is your friend – it’ll keep for about a week like that.
And guess what? This banana bread is totally freezer-friendly! Once it’s completely cooled, wrap the whole loaf or individual slices really well in plastic wrap, then tuck that into a freezer-safe bag or container. It’ll keep beautifully for up to 3 months. Just thaw it on the counter when you’re ready for a delicious slice!
Frequently Asked Questions About How to Make Banana Bread (Foolproof)
Got more questions about whipping up this amazing loaf? I get it! Here are some of the things people always ask me:
Can I use frozen bananas for this recipe?
Absolutely! Frozen bananas are actually my secret weapon for extra moist banana bread. Just thaw them completely, drain off any excess liquid, and mash them up as usual!
What are the best nuts or add-ins for banana bread?
Oh, the possibilities! Walnuts and pecans are classics that give a lovely crunch. And who can resist chocolate chips? Milk, semi-sweet, or even dark chocolate chips are fantastic. Just fold them in at the end!
How do I make banana bread muffins instead of a loaf?
Easy peasy! Just divide the batter evenly into a lined muffin tin. They’ll bake much faster, usually around 18-25 minutes. Keep an eye on them and use the toothpick test! If you have more questions, feel free to reach out!
Nutritional Information
Just a friendly heads-up, the nutritional info below is an estimate per slice, and it can wiggle around a bit depending on exactly what you use (like if you go heavy on the chocolate chips!). But generally, you’re looking at around 221 calories, with about 9g of fat, 3g of protein, and 33g of carbs per serving. It’s a pretty balanced treat! For more about my recipe philosophy, feel free to check out my About page.
Share Your Foolproof Banana Bread Creations!
I’d absolutely LOVE to see your amazing How to Make Banana Bread (Foolproof) creations! Did you add extra chocolate chips? Did your family gobble it up? Drop a comment below, leave a rating, or tag me in your photos on social media. Sharing your baking journey makes this community even more special! You can also find more links to my projects here!
How to Make Banana Bread (Foolproof)
Ingredients
Equipment
Method
- Preheat your oven to 350 degrees F. Grease a loaf pan and line the bottom with parchment paper.
- In a large mixing bowl, combine sugar and butter until light and fluffy. Add eggs one at a time, mixing well after each addition. Stir in mashed banana and milk until combined.
- In a separate bowl, mix together flour, baking powder, baking soda, cinnamon, and salt.
- Add the dry ingredients to the wet ingredients and stir until just combined. If using, stir in nuts or chocolate chips.
- Pour the batter into the prepared loaf pan. Bake for 55-65 minutes, or until a toothpick inserted into the center comes out clean. Let the bread cool in the pan for a few minutes before transferring it to a wire rack to cool completely.
- Store leftover banana bread at room temperature or in the refrigerator for 3-5 days. For longer storage, freeze for up to 3 months.
Nutrition
Notes
Tried this recipe?
Let us know how it was!
Dual-Restriction Recipe Engineer & Cross-Contamination Specialist
Everything changed when my teenage son got hit with celiac disease and Type 1 diabetes diagnoses within six months of each other. Suddenly, pizza and pasta were off the table, and most “diabetic-friendly” foods contained gluten. I went from regular mom cooking to navigating what I call “compound restriction cooking”—and I had a kid’s appetite and taste buds to satisfy.
Lucky for us, my background in pharmaceutical quality control gave me the systematic mindset this level of precision requires. My kitchen now operates under pharmaceutical-grade protocols adapted for home use: dedicated prep surfaces, separate storage systems, and testing procedures that verify both carb counts and gluten absence before any recipe gets published.
I’ve developed over 220 recipes that clear multiple dietary hurdles simultaneously—finding gluten-free thickeners that don’t spike blood sugar, creating bread alternatives that meet both keto ratios and celiac safety, and developing desserts that actually taste good to a teenager despite impossible restrictions.
Through my “Safe Kitchen Certification” program, I teach other parents that managing multiple dietary restrictions isn’t about multiplying limitations—it’s about systematic thinking that reveals unexpected possibilities. When you engineer solutions instead of making compromises, restriction becomes innovation rather than deprivation.