
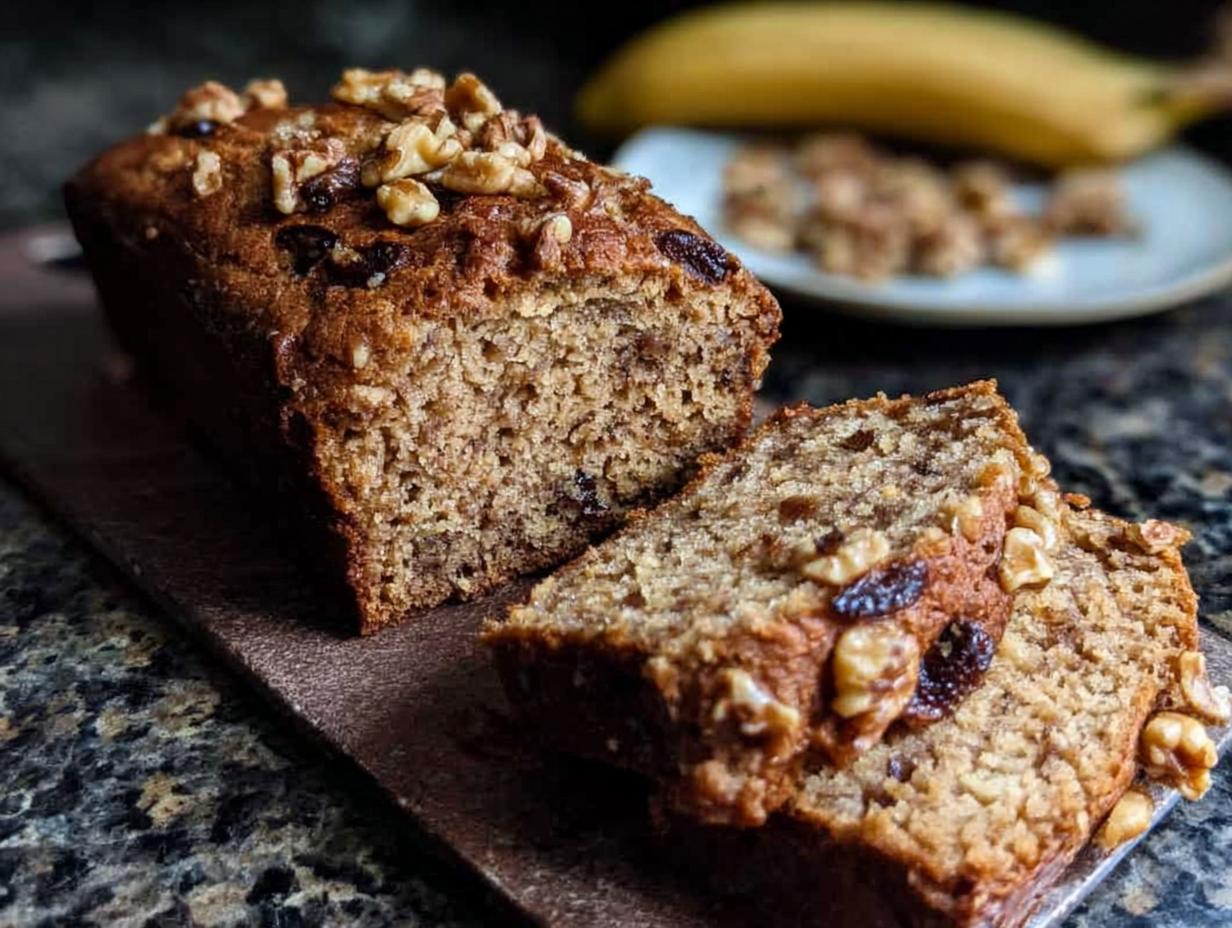
Let’s be real, weeknights are crazy! Between homework, after-school activities, and just trying to catch a breath, baking a delicious homemade treat can feel impossible. But what if I told you there’s a way to have wonderfully moist, comforting Banana Bread for Busy Weeknights (Meal-Prep Friendly) ready to go? Trust me, I know all about juggling dietary needs and a packed schedule. There was this one evening, when my son was feeling down because of his restrictions, and I just wanted to give him a little bit of joy. I grabbed those super ripe bananas sitting on the counter and whipped up this recipe. The whole house smelled amazing, and seeing his smile after that first bite? Pure magic. As a Dual-Restriction Recipe Engineer & Cross-Contamination Specialist, I’ve learned how to make treats that are not only safe but also incredibly delicious, proving you don’t have to sacrifice flavor for health or a busy lifestyle.
Why You’ll Love This Banana Bread for Busy Weeknights (Meal-Prep Friendly)
This isn’t just any banana bread, oh no! It’s your new weeknight superhero:
- Super Easy & Quick: Seriously, you don’t even need a mixer! Just a couple of bowls and a whisk.
- So Moist & Delicious: Those perfectly ripe bananas and dates make it incredibly tender and flavorful.
- Meal-Prep Friendly: Bake it ahead, slice it, and have grab-and-go goodness all week long. Perfect for busy mornings or a quick snack.
- Freezer-Friendly Too: Stash away a whole loaf or individual slices for even longer.
Gather Your Ingredients for Moist Banana Bread
Okay, let’s get our trusty bowls ready! The beauty of this recipe is how the simple, wholesome ingredients come together to create something truly special. You don’t need fancy stuff here, just good old pantry staples and those perfect, speckled ripe bananas that are just begging to be mashed. Having everything ready before you start makes the whole process so smooth, especially when you’re trying to squeeze in some baking between everything else. Here’s what you’ll need to pull together for this delightfully moist banana bread:
For the Bread:
- 1 cup white whole wheat flour (plus a little extra for dusting the pan)
- ½ cup all-purpose flour
- 2 teaspoons baking powder
- 1 teaspoon cinnamon
- ¾ teaspoon baking soda
- ¼ teaspoon salt
- 2 large eggs
- 1 cup mashed ripe bananas (make sure they’re nice and spotty!)
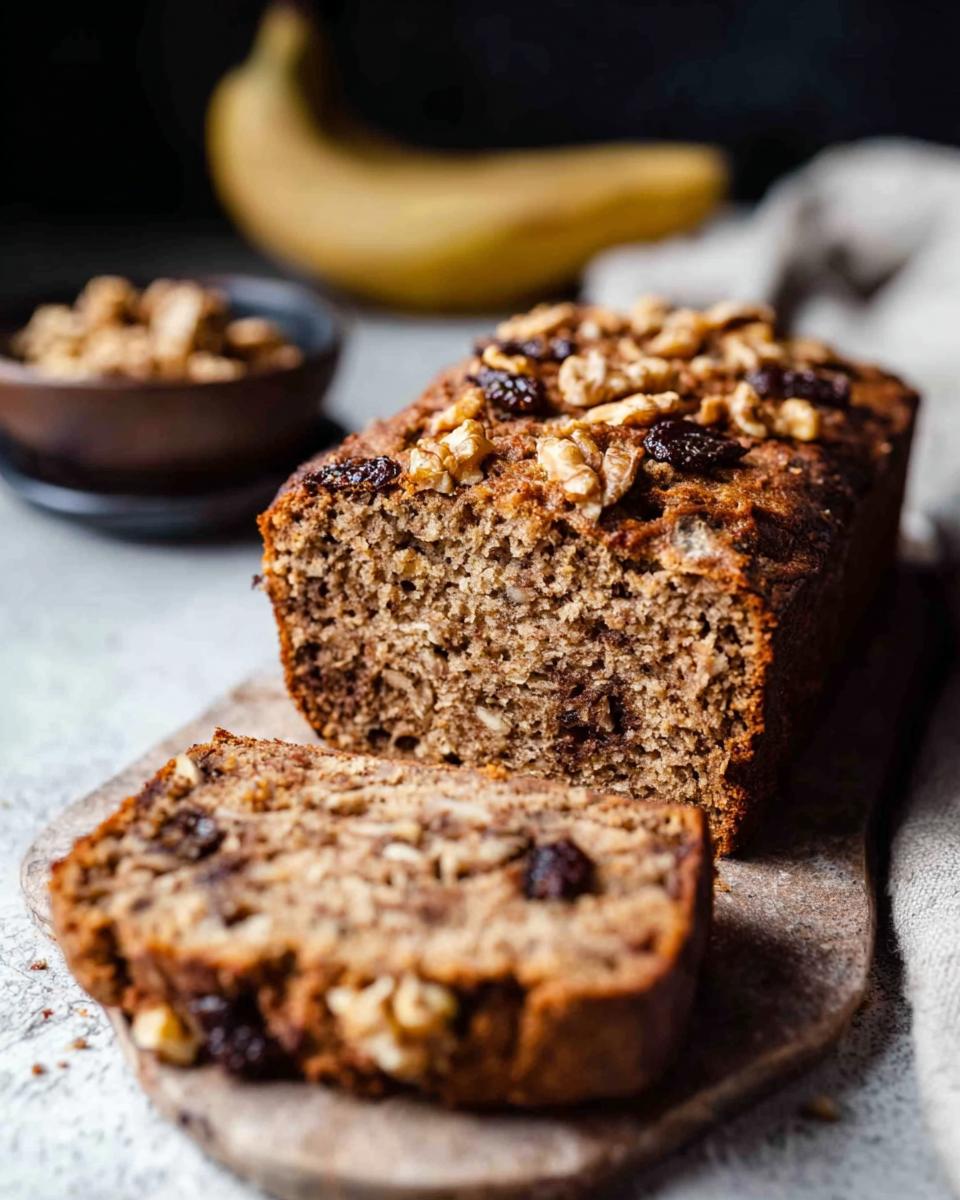
- 1 cup chopped pitted soft dates
- ½ cup organic canola oil or avocado oil
- ¼ cup pure maple syrup (dark or amber works best)
- 2 teaspoons vanilla extract
- ¾ cup chopped walnuts (we’ll divide these up!)
Simple Steps to Make Banana Bread for Busy Weeknights
Alright, let’s get baking! This is where the magic happens, and it’s so straightforward, you won’t believe you’re making delicious Banana Bread for Busy Weeknights (Meal-Prep Friendly) from scratch. No stand mixer needed here, just grab a couple of bowls and your favorite whisk or spoon. We’re keeping it simple so you can actually get this done even when your evening feels like a whirlwind. Think of it as baking therapy that results in something amazing to eat! Check out how to make perfect gluten-free roux for other quick baking tips!
Prepare Your Pan and Oven
First things first, let’s get that oven nice and toasty. Preheat it to 350 degrees F (that’s 175 degrees C). Grab your 8 ½-inch loaf pan – the Pyrex or ceramic ones work beautifully. Give it a good spray with cooking spray, then dust it all over with a little flour. Just tap out any extra flour, and set it aside. Easy!
Combine the Dry Ingredients
Now, grab a medium-sized bowl. We’re going to whisk together all our dry goodness: the white whole wheat flour, the all-purpose flour, baking powder, cinnamon, baking soda, and salt. Give it a good whisk until everything is nicely blended. This makes sure all those leaveners and spices are evenly distributed, which is key for a great loaf.
Mix Wet Ingredients and Combine
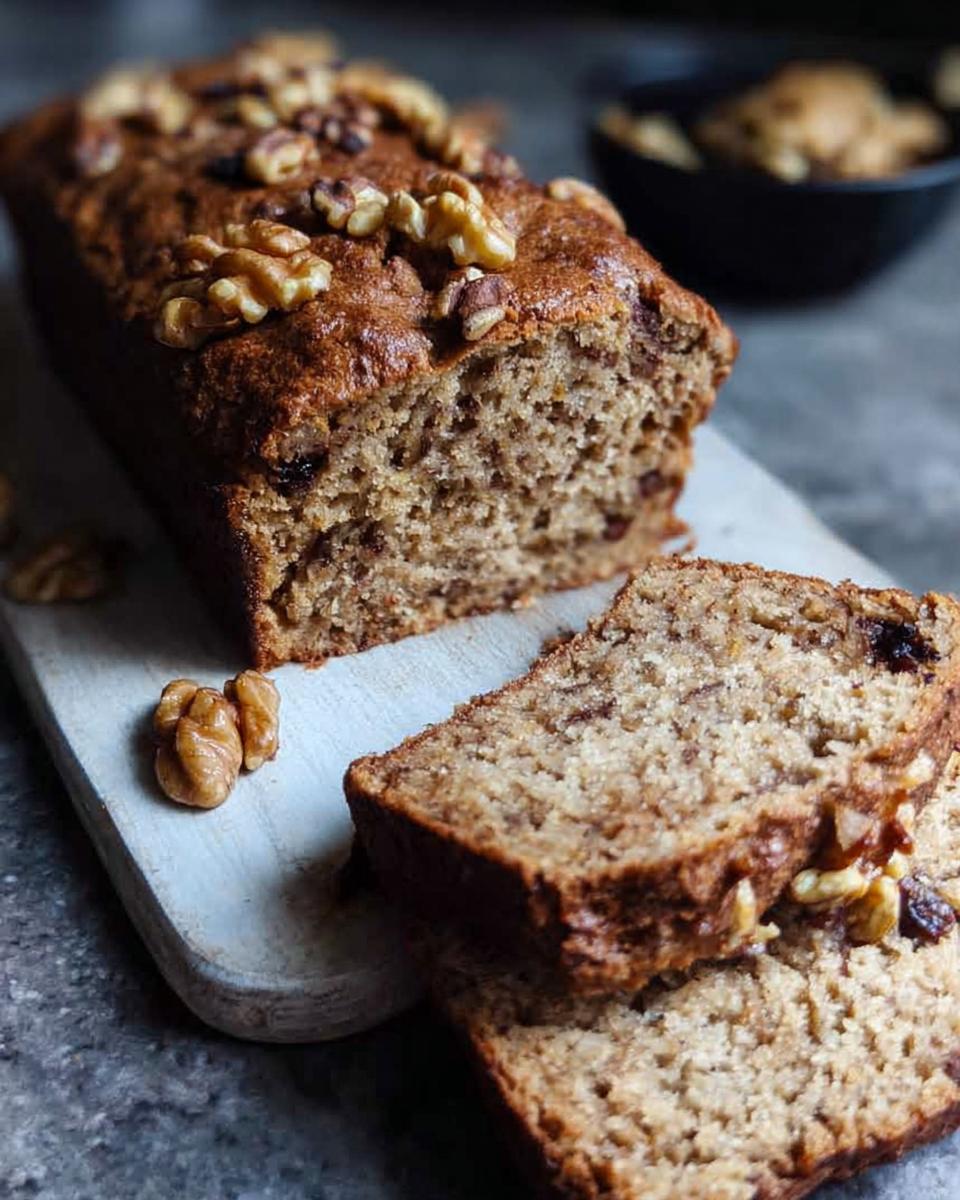
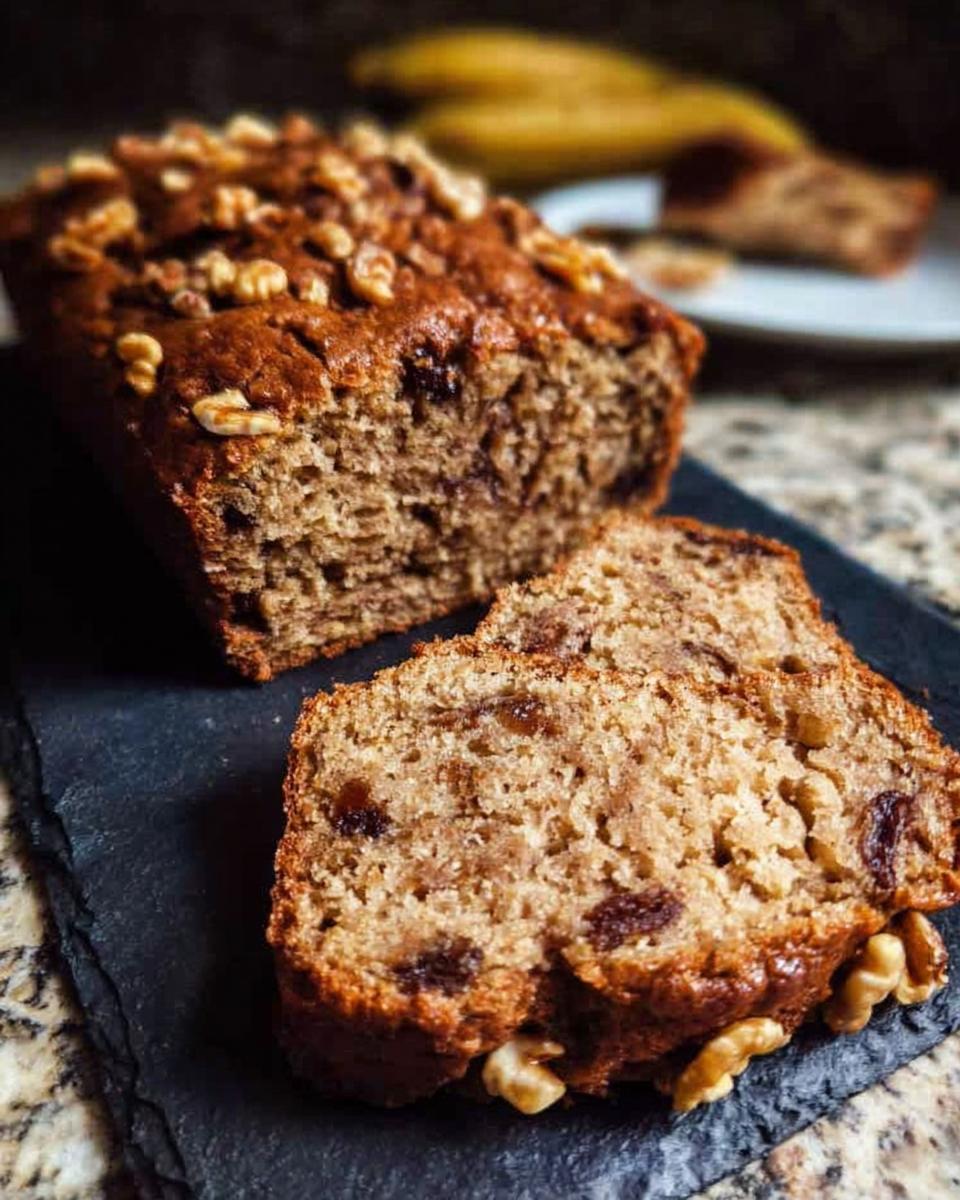
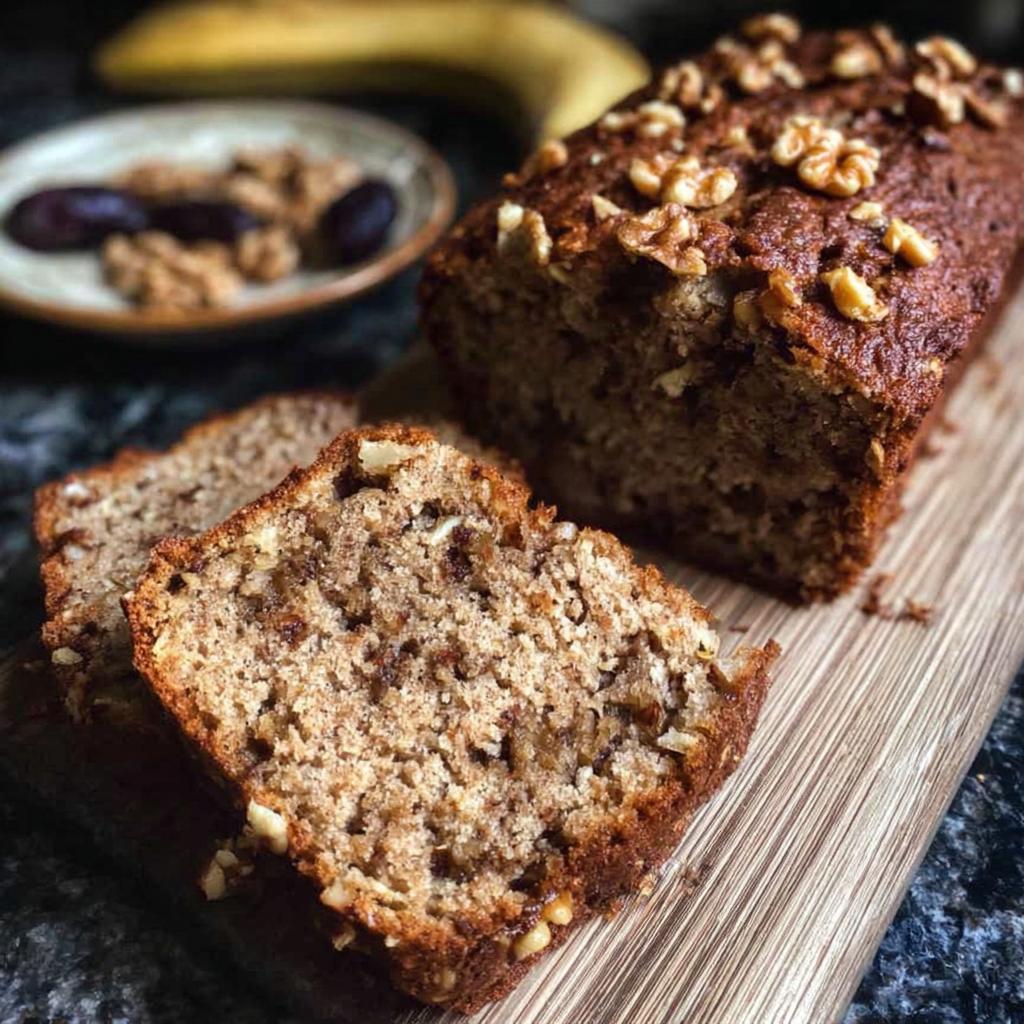
Time for the wet ingredients! In a larger bowl, stir together the eggs, those lovely mashed ripe bananas, chopped dates, your oil (canola or avocado oil), that pure maple syrup, and the vanilla extract. Now, pour in your dry ingredients from the other bowl and just stir everything until it’s *just* combined. Don’t overmix! Then, gently fold in ½ cup of those chopped walnuts. Spread this glorious batter evenly into your prepared loaf pan. Finally, sprinkle the remaining ¼ cup of walnuts right over the top. Looks beautiful already! For more inspiration on date and nut additions, see this banana bread with dates and walnuts recipe.
Bake and Cool Your Banana Bread
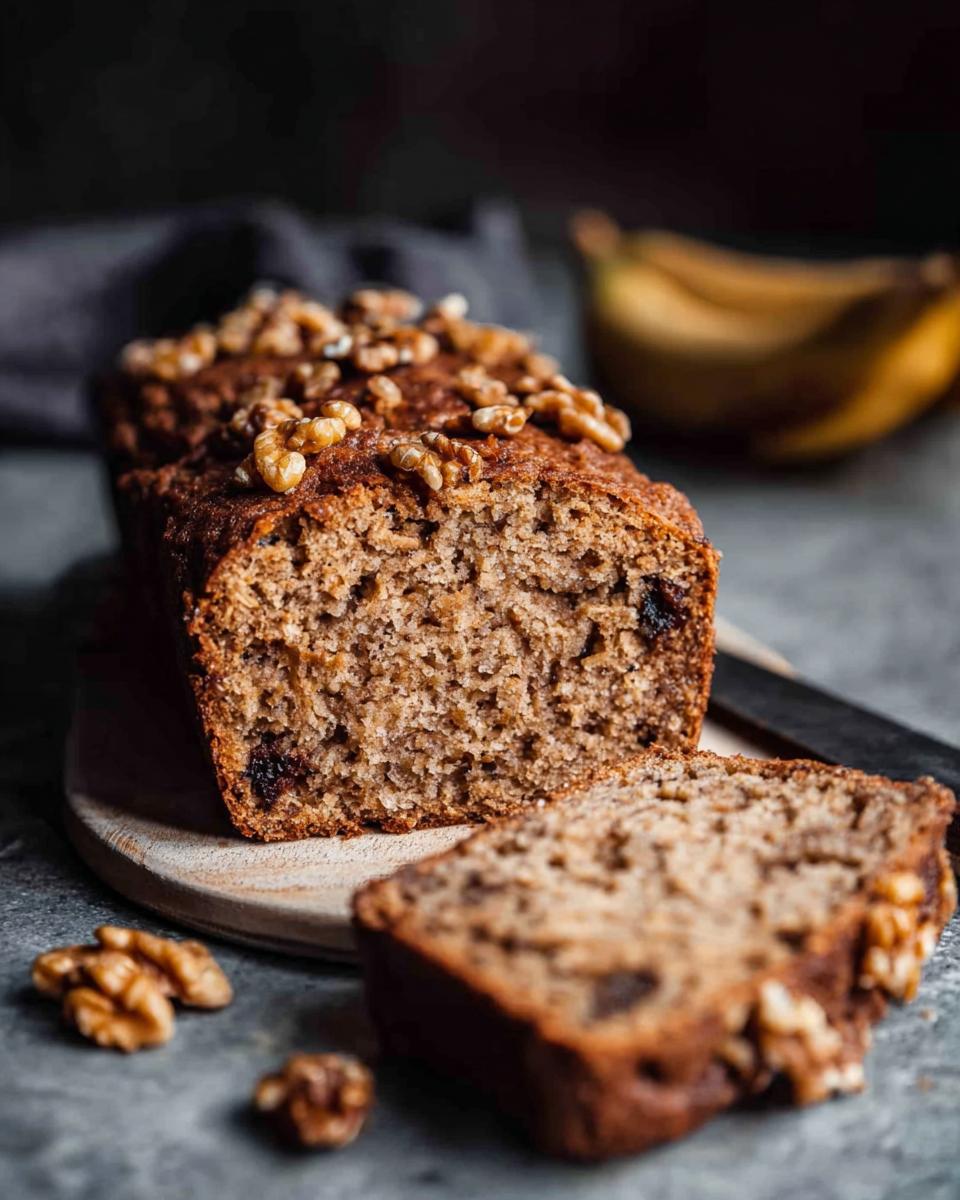
Into the oven it goes for about 48 to 55 minutes. You’ll know it’s ready when the top is domed and deeply browned. The best test? Stick a wooden skewer or a thin knife into the center – it should come out with moist crumbs attached, not wet batter. Let the bread cool in the pan on a wire rack for about 15 minutes. This is important! After that, carefully turn it out of the pan and let it cool completely on the rack before you slice into it. Patience truly pays off here for the perfect texture!
Tips for Perfect Banana Bread Every Time
Making a truly fantastic loaf of banana bread isn’t just about the recipe; it’s about a few little secrets that make all the difference. Trust me, after whipping this up countless times for my crew, I’ve learned a thing or two. These tips are what take it from good to absolutely amazing, especially when you’re aiming for that perfect moist crumb and rich flavor.
Selecting the Best Ripe Bananas
You know those bananas that are totally covered in brown spots, looking almost too far gone? Those are your golden ticket! Seriously, the riper the banana, the sweeter and more flavorful your bread will be. Those dark spots mean the starches have converted to sugar, giving you that natural sweetness and incredible moisture that makes this bread so fantastic.
Achieving a Moist Banana Bread Texture
The secret to a super moist loaf is all in the balance and not overmixing. Those mashed bananas and the dates are already bringing a lot of moisture, so once you add the dry ingredients, just stir until *everything* is combined. A few streaks of flour showing are okay! Overmixing develops the gluten too much, which can make your bread tough and dry. We want tender and moist here!
Meal-Prep and Storage for Banana Bread
This banana bread is an absolute champion when it comes to meal prep, which is a lifesaver on those super busy weeknights! Once your loaf has completely cooled down – and I mean *completely*, still warm bread can get mushy – wrap it up tight. I usually use plastic wrap or a good layer of aluminum foil to keep all that moisture locked in. Stored like this at room temperature, it stays wonderfully fresh for about 3 days. But here’s the best part: it’s totally freezer-friendly! You can freeze the whole loaf for up to 3 months, or if you’re like me and like to grab just a slice, freeze individual slices for up to a month. Just thaw at room temperature when you’re craving a slice of homemade goodness. For more ideas on how make your weeknights easier with smart recipes, check out our meal type category.
Frequently Asked Questions about Banana Bread
Got a question about this delicious loaf? I’ve got you covered! Here are some quick answers to keep your baking running smoothly.
Can I add chocolate chips to this banana bread?
Oh, absolutely! If you love a little extra sweetness, feel free to stir in about ¾ cup of your favorite chocolate chips along with the walnuts in Step 3. They’re a fantastic addition!
What can I use if I don’t have dates?
No dates? No problem! You can totally swap them out for ¾ cup of raisins or even some unsweetened dried cranberries. Just make sure they’re chopped up so they mix in nicely.
How do I know if my bananas are ripe enough?
Look for bananas that are yellow with plenty of brown spots all over them. The spottier, the better! This means they’re nice and sweet with lots of moisture, which is exactly what you want for a perfectly moist banana bread.
Nutritional Information
Please remember that this nutritional information is an estimate per slice, as individual ingredients can vary. It’s based on 10 servings of the loaf. We’re looking at roughly 301 calories, 19g of fat, 5g of protein, 31g of carbohydrates, including 13g of sugar, and about 4g of fiber per slice.
Share Your Banana Bread Creations!
I really hope you love making and eating this Banana Bread for Busy Weeknights as much as I do! It’s been such a lifesaver for my family, and I’d be absolutely thrilled to hear how it turns out for you. Leave a comment below, rate the recipe, or share a picture on social media – seeing your creations makes my day! If you have any questions, don’t hesitate to reach out via my contact page!
Banana Bread for Busy Weeknights (Meal-Prep Friendly)
Ingredients
Equipment
Method
- Preheat your oven to 350 degrees F. Coat an 8 ½-inch Pyrex or ceramic loaf pan with cooking spray and dust with flour. Tap out excess flour and set aside.
- Whisk together the white whole-wheat flour, all-purpose flour, baking powder, cinnamon, baking soda, and salt in a medium bowl.
- In a large bowl, stir together the eggs, mashed bananas, chopped dates, oil, maple syrup, and vanilla extract. Add the dry ingredients and stir to combine. Stir in ½ cup of the chopped walnuts. Spread the batter evenly in the prepared loaf pan. Sprinkle the remaining ¼ cup walnuts over the top.
- Bake the bread until it is domed, deeply browned, and a wooden skewer inserted into the center comes out with moist crumbs attached, about 48 to 55 minutes. Let the bread cool in the pan on a wire rack for 15 minutes. Then, turn the bread out of the pan and let it cool on the wire rack until it is slightly warm or at room temperature before slicing and serving.
Nutrition
Notes
Tried this recipe?
Let us know how it was!
Dual-Restriction Recipe Engineer & Cross-Contamination Specialist
Everything changed when my teenage son got hit with celiac disease and Type 1 diabetes diagnoses within six months of each other. Suddenly, pizza and pasta were off the table, and most “diabetic-friendly” foods contained gluten. I went from regular mom cooking to navigating what I call “compound restriction cooking”—and I had a kid’s appetite and taste buds to satisfy.
Lucky for us, my background in pharmaceutical quality control gave me the systematic mindset this level of precision requires. My kitchen now operates under pharmaceutical-grade protocols adapted for home use: dedicated prep surfaces, separate storage systems, and testing procedures that verify both carb counts and gluten absence before any recipe gets published.
I’ve developed over 220 recipes that clear multiple dietary hurdles simultaneously—finding gluten-free thickeners that don’t spike blood sugar, creating bread alternatives that meet both keto ratios and celiac safety, and developing desserts that actually taste good to a teenager despite impossible restrictions.
Through my “Safe Kitchen Certification” program, I teach other parents that managing multiple dietary restrictions isn’t about multiplying limitations—it’s about systematic thinking that reveals unexpected possibilities. When you engineer solutions instead of making compromises, restriction becomes innovation rather than deprivation.