
Look, we all get to that point in the week, or maybe right before a big holiday spread like New Year’s Eve, where you realize you need an elegant dessert, but you absolutely do *not* have the time or energy to be fussing over it the day of. That’s why I cherish this recipe so much—it’s the ultimate cheat code!
I still remember the first time I attempted a chocolate mousse for a family gathering. My son had just been diagnosed with celiac disease and Type 1 diabetes, and I wanted to impress our guests with a dessert that wouldn’t make him feel left out. After a couple of trials, I found the perfect combination that met our requirements: a chocolate mousse that was decadent, gluten-free, and low in sugar. Watching my son take that first bite, his eyes lighting up with delight, reminded me that food can be both exquisite and inclusive. Since then, this Chocolate Mousse (Make-Ahead Dessert) has become a staple, bringing joy to our table and proving that delicious doesn’t have to mean compromising.
Why This Chocolate Mousse (Make-Ahead Dessert) Works for Busy Cooks
Honestly, this recipe is my secret weapon when hosting. It looks like you slaved away for hours, but the real magic happens while you’re busy doing literally anything else! It takes maybe 20 minutes of active work, and then the fridge does the heavy lifting.
- It’s totally Crowd Friendly—make it in little glasses for elegant, single-serving portions.
- It’s naturally gluten-free, so everyone at the dinner table can indulge safely.
- We can easily skip some of the sugar, making it a solid low-sugar option without tasting bland.
- The active prep time is so short! That’s why it fits perfectly into a busy schedule. Trust me, you can find more ideas for quick meals here: easy low carb gluten free recipes.
Essential Ingredients for Your Chocolate Mousse (Make-Ahead Dessert)
Okay, ingredient quality matters SO MUCH when you’re only using a few things, right? Since this is such a simple recipe, every item has to pull its weight. I’ve learned that you can’t skimp on the chocolate here if you want that deep, elegant flavor. Also, make sure your eggs are at room temperature—it helps them whip up light and fluffy later, which is key for that airy texture we’re after.
If you’re looking into alternative baking techniques while you’re gathering ingredients, check out some of my gluten-free thickening tips here: how to make perfect gluten-free roux. But for this mousse, we keep it straightforward!
For the Mousse Base
These are the ingredients that create the actual structure and flavor. Don’t mix these up—the separation of the eggs is vital!
- 3 large eggs: These absolutely need to be separated and brought up to room temperature. Seriously, don’t skip that part.
- 125 g dark cooking chocolate: You need bittersweet, about 70% cocoa solids for the best depth.
- 10 g unsalted butter: Just a little bit helps keep the chocolate mixture smooth when it melts.
- 1/2 cup cream: Must be full-fat and cold—it has to be able to whip up into stiff peaks!
- 3 tbsp caster sugar: This is where you can really play if you’re doing a lower-sugar version; taste as you go!
For Decoration
This is where we make it look like a million bucks without any effort. Simple but effective!
- Whipped cream (additional, if you like a cloud on top)
- Chocolate shavings (run a vegetable peeler down a fresh bar of chocolate!)
Step-by-Step Instructions for Perfect Chocolate Mousse (Make-Ahead Dessert)
This is where the magic happens, and trust me, technique beats pure muscle every single time when making mousse. Folding is an art, not a heavy stir! We need to incorporate air into those egg whites and cream, and then slowly introduce the heavy chocolate mixture without suddenly deflating everything we just worked for. I learned the hard way—a few gentle folds do way more good than ten aggressive ones!
Don’t forget that while you’re perfecting your folding technique, you can always explore more amazing recipes right here: my growing recipe index!
Preparing the Base Components
First things first: separate those eggs while they are still cold because the yolks are easier to separate cleanly. Put the whites aside in a big bowl—they have to come to room temperature before we whip them up later.
- Whisk your separated egg yolks until they look nice and silky, just uniform in color.
- Take your dark chocolate pieces and the butter and melt them together in short bursts in the microwave. Stir it well between each 30-second blast until it’s totally smooth. Let this cool down a tiny bit so it isn’t piping hot.
- Whip your cold cream until you get nice, stiff peaks. Stop just before it looks grainy, okay?
- Now get those egg whites ready and start adding the sugar gradually while you beat them until you have firm, beautiful peaks.
Folding Techniques for Light Chocolate Mousse (Make-Ahead Dessert)
This is the most delicate part! We are aiming for airy clouds, not dense pudding, so be gentle with that rubber spatula!
- Gently fold the egg yolks into the whipped cream. Do not overmix—I count usually about 8 folds maximum. A few streaks of yellow are fine!
- Check your chocolate mixture again. It needs to be warm but pourable, ideally around 35C to 40C. If it’s too hot, it cooks the air out; if it’s too cool, it seizes up into chunks. If it’s cooled too much, warm it for just 5 seconds at a time in the microwave.
- Pour that lovely, slightly warm chocolate into the cream/yolk mixture. Again, fold gently until it’s *just* combined. Seriously, 8 more folds should do it.
- Take about a quarter of your stiff egg whites and fold them in more enthusiastically using a smearing motion. This lightens up the heavier chocolate base so the rest integrates easier.
- Finally, pour the lightened chocolate base over the remaining egg whites. Fold very, very slowly until you see no white streaks remaining, aiming for 12 folds max. It should look beautifully creamy right now! Don’t forget to check out this amazing resource on general recipe tips here: chocolate mousse technique.
Setting and Presentation
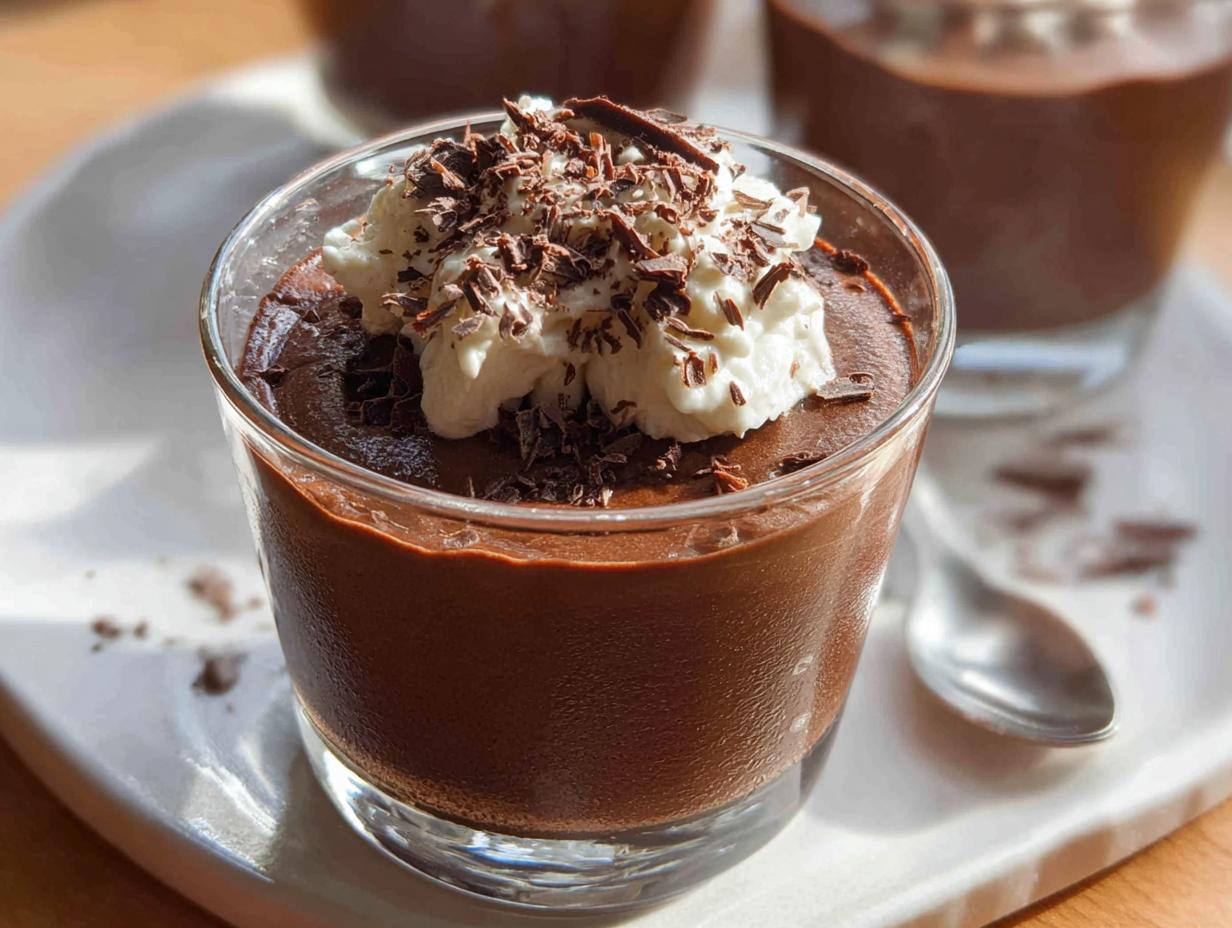
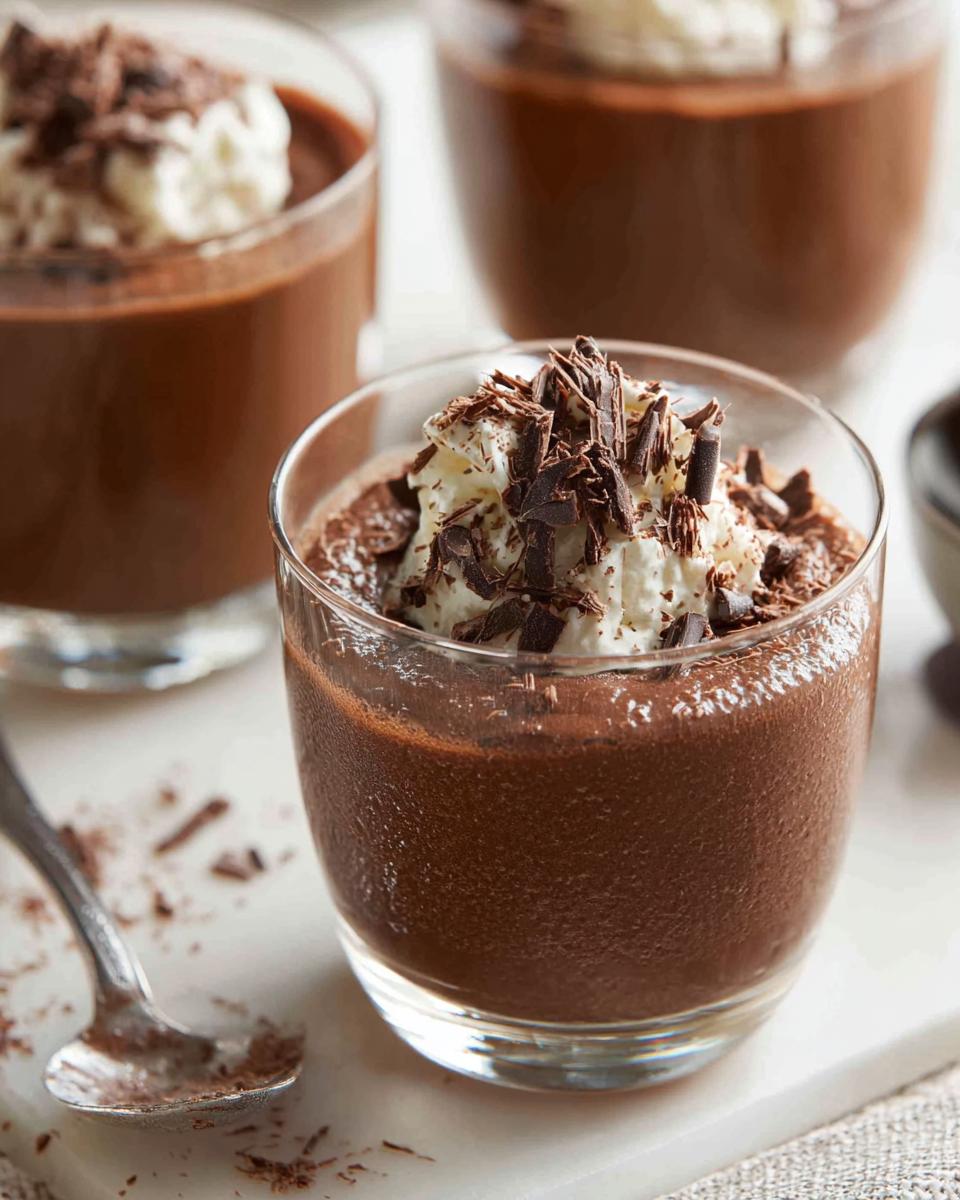
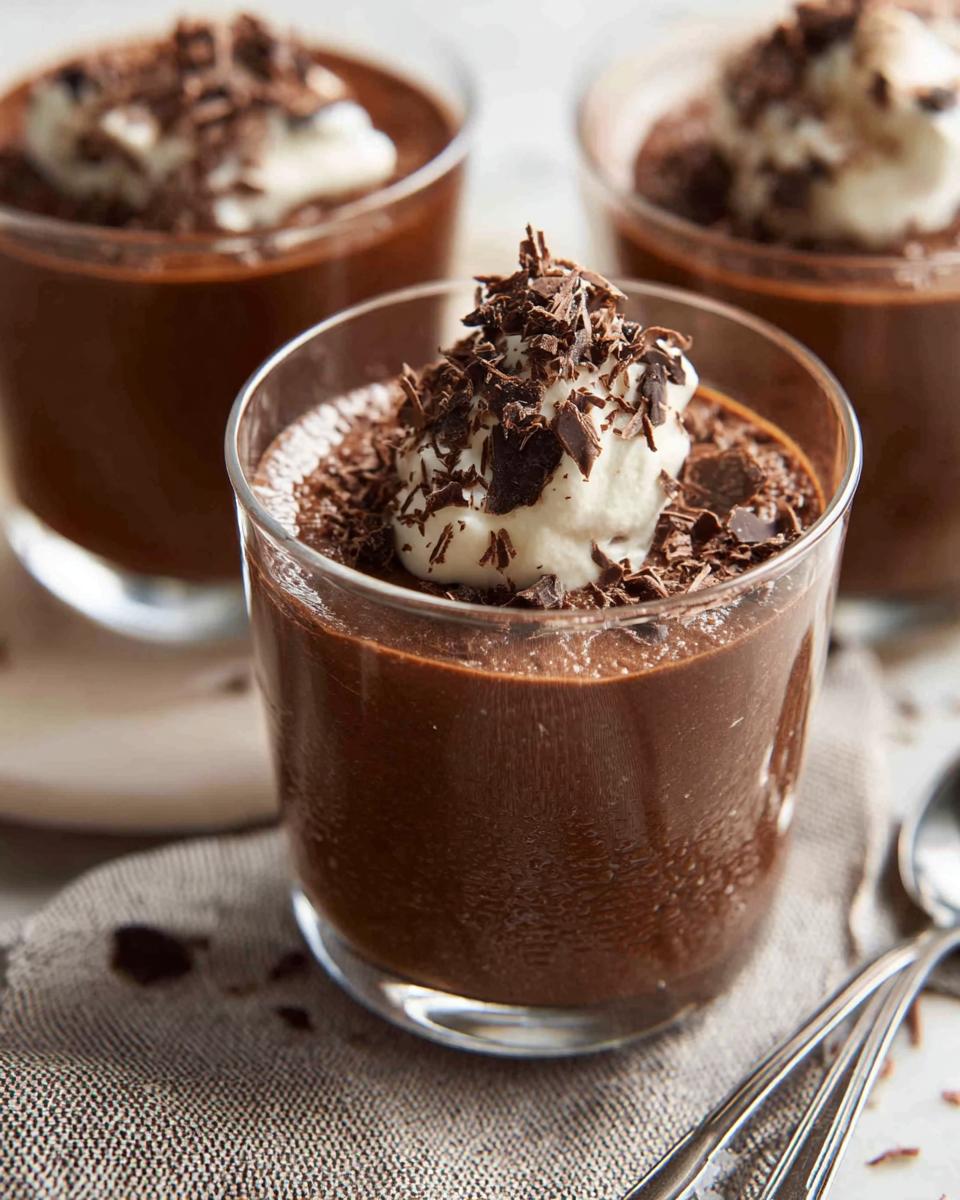
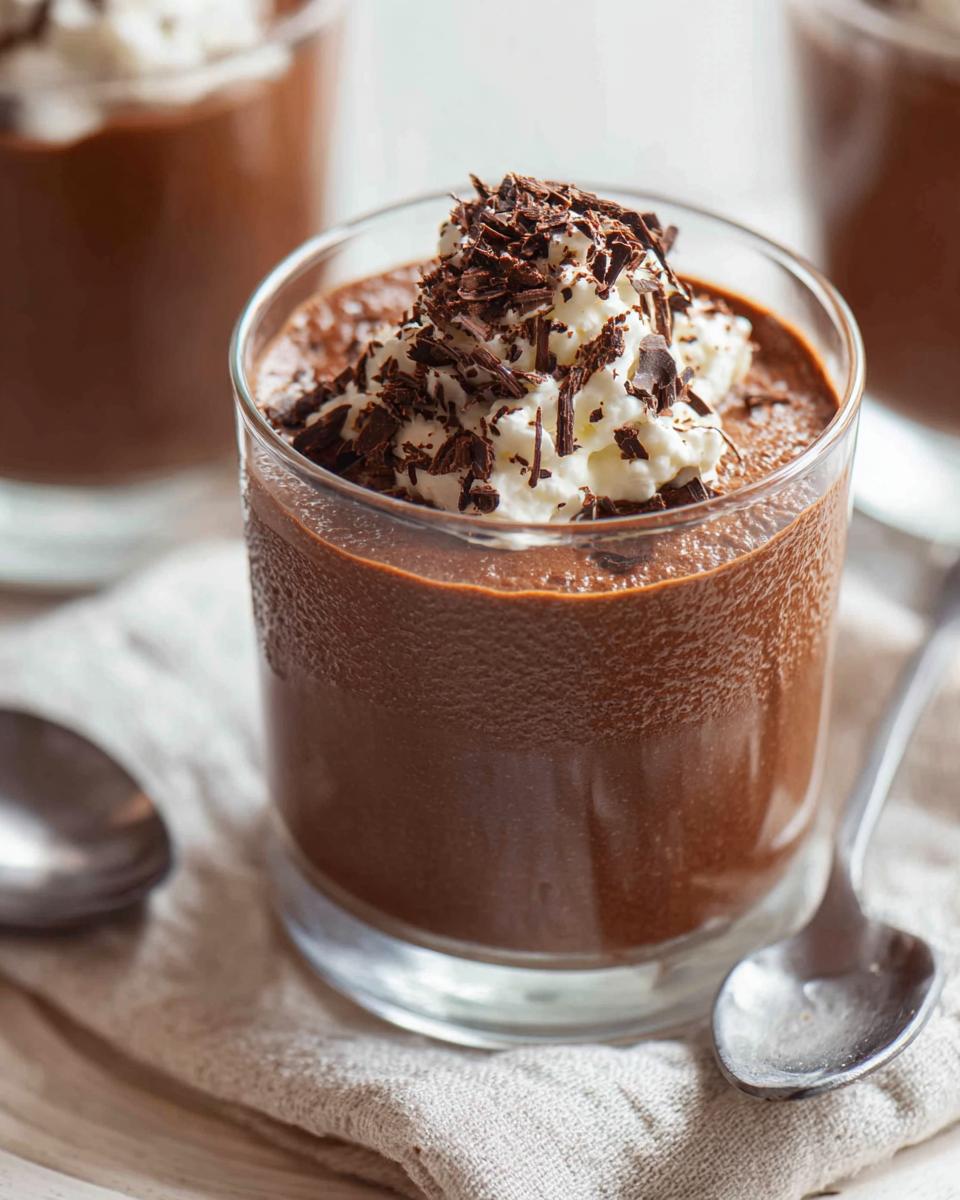
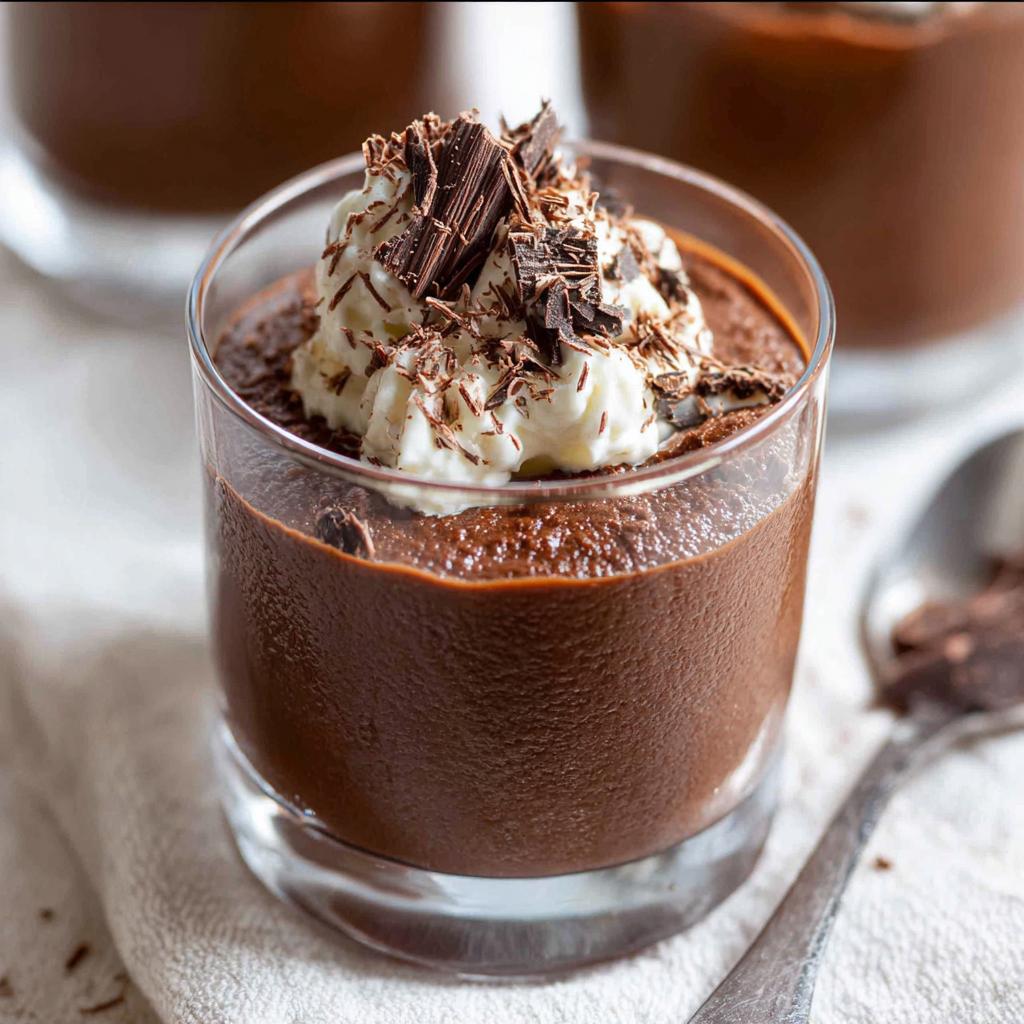
Once you have that gorgeously airy batter, spoon it evenly into your four small glasses or pots. They look so much more elegant this way!
Cover them up gently, and pop them straight into the fridge. You need at least 6 hours for them to set up properly, but honestly, letting them chill overnight is the best way to go for a truly firm and elegant dessert presentation.
Tips for Success with Your Chocolate Mousse (Make-Ahead Dessert)
If you want that super elegant texture, we have to respect the ingredients and the technique. It’s all about air management, my friend! My biggest tip, which I learned after one disastrous, grainy batch, is that the quality of your chocolate really shines through here.
You absolutely must use good 70% bittersweet cooking chocolate. Avoid chips if you can; they contain stabilizers that won’t melt as beautifully. Also, please, please make sure those three eggs are at room temperature before you crack them. They incorporate so much more air when they aren’t chilling cold!
Finally, watch your cream! We want stiff peaks, but if you keep beating it when it’s already stiff, it turns grainy and separates on you. Stop when it looks like whipped clouds, not butter. This attention to detail is what makes this a truly impressive Make Ahead Dessert.
Ingredient Substitutions for This Make Ahead Dessert
So, maybe you’re trying to keep things extra low-carb, or perhaps you’re missing the caster sugar—no sweat! This recipe is surprisingly flexible, especially because it’s naturally gluten-free. Those stabilizers and gums that ruin things in other cakes? They aren’t needed here because we use eggs and cream for structure. Huge win for us!
If you’re looking to reduce the sugar count even more than just cutting back on the 3 tablespoons, you might want to explore low-carb sweeteners. I’ve had success using erythritol blends, but watch out! They don’t always dissolve the same way sugar does, so you might want to dissolve your chosen sweetener in the melted chocolate very carefully, just to make sure there’s no grit at the end.
You can find some of my other favorite workarounds for restrictive eating habits over here—it’s all about making sure everyone feels included at the table: 27 low carb meals your picky eaters will actually love.
And don’t worry about specialty flours or thickening agents; this Make Ahead Dessert relies on the power of whipped whites and fat. If you need some savory inspiration while you’re swapping ingredients, check out how I handle dinner prep in a similar way!
Make-Ahead and Storage Instructions for Chocolate Mousse (Make-Ahead Dessert)
This recipe truly shines because it’s designed to save your sanity later! Since we need that time for the mousse to firm up, plan on prepping this the day before your big event. Six hours is the absolute minimum settling time required for a good texture in your glasses.
If you can manage it, letting this Chocolate Mousse (Make-Ahead Dessert) chill overnight is my Gold Standard suggestion—it gets perfectly dense and creamy. You can keep it covered in the fridge for up to two days, though I swear it tastes best about 12 to 24 hours after you make it. It’s perfect for days when you’re trying to simplify cleanup, much like the joy of one-pan dinner ideas!
Serving Suggestions for an Elegant Dessert
Presentation is everything, especially when you’re going for that ‘wow’ factor without exhausting yourself. Since this mousse is already so rich and dark, we want garnishes that provide a slight visual contrast or a delightful textural pop. Think about those big celebration nights, like getting ready for an NYE Dessert spread—these look stunning lined up!
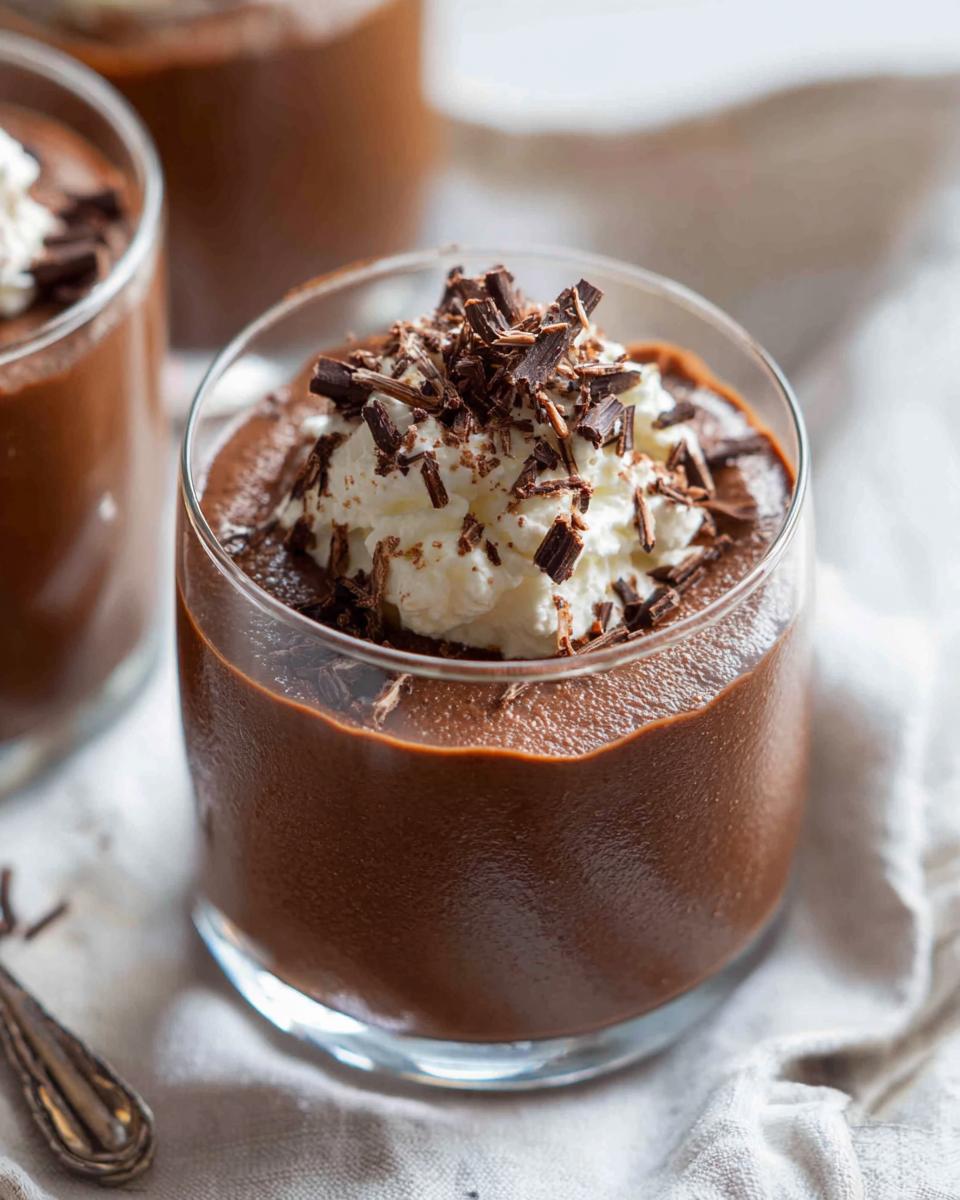
You’ve already got the basics covered with the whipped cream—go ahead and pipe a nice swirl right on top. A little dollop of that soft cream against the rich, chilled mousse is heavenly. And don’t forget those chocolate shavings! They add height and that satisfying little crunch that breaks up the silky texture. If you want to elevate it even more, you can use a very fine sieve and dust a whisper of unsweetened cocoa powder over the top before serving.
But let’s talk about fruit! Because this dessert is naturally gluten-free and can be lower in sugar, a little fresh acidity cuts through that chocolate richness perfectly. I always reach for vibrant red raspberries or maybe some tart red currants if I can find them. They just scream ‘elegant dessert.’ For a slightly richer vibe, you can also serve it alongside a quick homemade strawberry or black cherry sauce. It’s gorgeous, and honestly, it makes cleanup super easy since everyone just eats right out of their little serving glass!
If you’re looking for more inspiration on how to pull off a restaurant-quality meal atmosphere at home without all the extra stress, you should definitely check out some of my tips for restaurant-style dinner ideas at home!
Frequently Asked Questions About Chocolate Mousse (Make-Ahead Dessert)
When I first started getting these questions from friends, I realized how many potential pitfalls feel scary when you’re trying a new recipe, especially one that needs to be perfect for a party! Here are the things I get asked the most about making this a successful Make Ahead Dessert.
Can I make this Chocolate Mousse (Make-Ahead Dessert) more than one day ahead?
Yes, you absolutely can! While the recipe notes suggest 12-24 hours is the sweet spot for texture, it will hold safely in the fridge for a full two days if tightly covered. If you make it much more than that, you might notice the egg structure softening just slightly, but it’s still totally safe and delicious. It’s such a great Crowd Friendly option because of that flexibility!
What is the best way to ensure my mousse is light and fluffy?
It all comes down to those egg whites and the folding! First, make sure your whites are at room temperature so they whip up sky-high. Second, when you fold the chocolate base into the whites, you must stop mixing the second you see no more obvious white streaks. Every single fold after that point is just pressing the air out. Be a gentle folder!
If you’re curious about other ways to guarantee dinner success—even when planning ahead—I have a whole guide you might find helpful: what makes perfect dinner ideas.
Nutritional Estimates for This Chocolate Mousse (Make-Ahead Dessert)
Now, since we are using bittersweet chocolate and we have the option to cut back on sugar, this rich treat is surprisingly balanced! These numbers are just estimates based on the standard ingredients list, so keep that in mind if you use different sweeteners.
- Calories: 375
- Fat: 26g
- Protein: 7g
- Carbohydrates: 27g
- Sugar: 19g
It’s wonderful how decadent this is while still fitting into many plans! For more general advice on ingredients and cooking temperatures, check out my ultimate dinner ideas guide.
Share Your Experience with This Chocolate Mousse (Make-Ahead Dessert)
Okay, I’ve poured my heart and a whole lot of bittersweet chocolate into telling you how to make this masterpiece. But now it’s your turn! I absolutely love hearing how this recipe fits into your busy lives and what creative garnishes you come up with.
Did you serve this as your showstopping NYE Dessert? Did you split the batch into way more than four little cups because everyone wanted seconds? I want to know all the details!
Please take a moment to leave a star rating right underneath this section—it helps other busy cooks know they can trust this recipe. And if you snapped a picture of your finished, perfectly chilled Chocolate Mousse (Make-Ahead Dessert), share it with me! You can tag me or use the contact form here: send a note directly to me. Seeing your beautiful results is the best payment for all this recipe sharing!
I’m constantly fiddling and improving things, and your comments often spark the next tweak or ingredient swap I try out. Let’s keep making food that tastes amazing *and* saves us massive amounts of time!
Chocolate Mousse (Make-Ahead Dessert)
Ingredients
Equipment
Method
- Separate eggs while cold. Place whites in a large bowl and yolks in a small bowl. Set whites aside.
- Whisk the egg yolks until uniform in color.
- Break the dark chocolate into pieces and place in a microwave-proof bowl with the butter. Melt in the microwave in 30-second intervals, stirring between each, until smooth. Set aside to cool slightly.
- Whip the cream until stiff peaks form. Be careful not to over-whip.
- Add the sugar to the egg whites. Beat the egg whites until firm peaks form.
- Gently fold the egg yolks into the whipped cream using a rubber spatula. Use a maximum of 8 folds; some streaks are acceptable.
- Ensure the melted chocolate is still runny but warm (between 35C/95F and 40C/104F). If it has cooled too much, gently re-warm it in the microwave in 5-second bursts.
- Pour the slightly cooled chocolate into the cream and yolk mixture. Fold gently until just combined, using a maximum of 8 folds. Some streaks are okay.
- Add about one-quarter of the beaten egg whites to the chocolate mixture. Fold them in using a “smear” motion across the surface to incorporate, aiming for about 10 folds until the lumps of white are mostly blended.
- Pour the chocolate mixture into the remaining egg whites. Fold gently until no obvious white patches remain, aiming for a maximum of 12 folds.
- Divide the mousse mixture evenly between 4 small glasses or pots.
- Refrigerate for at least 6 hours, or preferably overnight, to set.
- To serve, garnish with additional whipped cream and chocolate shavings. You can also add raspberries and a sprig of mint for color.
Nutrition
Notes
Tried this recipe?
Let us know how it was!
Dual-Restriction Recipe Engineer & Cross-Contamination Specialist
Everything changed when my teenage son got hit with celiac disease and Type 1 diabetes diagnoses within six months of each other. Suddenly, pizza and pasta were off the table, and most “diabetic-friendly” foods contained gluten. I went from regular mom cooking to navigating what I call “compound restriction cooking”—and I had a kid’s appetite and taste buds to satisfy.
Lucky for us, my background in pharmaceutical quality control gave me the systematic mindset this level of precision requires. My kitchen now operates under pharmaceutical-grade protocols adapted for home use: dedicated prep surfaces, separate storage systems, and testing procedures that verify both carb counts and gluten absence before any recipe gets published.
I’ve developed over 220 recipes that clear multiple dietary hurdles simultaneously—finding gluten-free thickeners that don’t spike blood sugar, creating bread alternatives that meet both keto ratios and celiac safety, and developing desserts that actually taste good to a teenager despite impossible restrictions.
Through my “Safe Kitchen Certification” program, I teach other parents that managing multiple dietary restrictions isn’t about multiplying limitations—it’s about systematic thinking that reveals unexpected possibilities. When you engineer solutions instead of making compromises, restriction becomes innovation rather than deprivation.