
You know those appetizers that disappear the second you set them out? For me, that’s always been **Classic Deviled Eggs**. They are the ultimate crowd pleaser at every single party, picnic, or holiday spread. My grandmother made them for every single get-together, and it was a recipe I truly cherished.
But after my son was diagnosed with celiac disease, suddenly everyone’s favorite food needed a serious ingredient overhaul. I spent ages perfecting a recipe that was totally safe for him—ensuring no gluten snuck in—but still tasted exactly like the creamy, tangy snack I grew up loving. Trust me, these are so easy to make, and you can find tons of adaptable diet ideas over at my other recipe hub. Get ready, because these are fantastic!
Why This Recipe for Classic Deviled Eggs is a Crowd Favorite
Honestly, the best part about making **Classic Deviled Eggs** is watching the platter empty! These aren’t just appetizers; they are pure nostalgia packed into salty, creamy bites. They are the definition of a **Classic Appetizer** because they simply never go out of style. They’re quick to whip up, which is why they always make the list for last-minute gatherings.
My top tip for making sure they are a guaranteed **Crowd Favorite** comes down to perfectly boiled eggs. You want those yolks tender, not chalky, right? So, remember my trick: boil them quickly, then immediately plunge them into an ice bath. That stops the cooking instantly and actually helps them peel beautifully!
Dietary Adaptability: Gluten-Free and Low-Carb Classic Deviled Eggs
This recipe is truly designed for everyone at the table. If you’re managing **Gluten-Free** guests or keeping things **Low-Carb**, this recipe shines! You just skip the optional crispy breadcrumb topping. The filling itself is naturally compliant, so you don’t have to make a completely separate snack. It’s so simple, nobody even notices the difference, they just notice how delicious they are!
Essential Equipment for Perfect Classic Deviled Eggs
You don’t need fancy tools for this amazing snack, which is another reason I love them! For making perfect **Classic Deviled Eggs**, you mainly need the basics:
- A medium saucepan for boiling the eggs.
- A large bowl—yep, that’s for the crucial ice bath!
- A small skillet if you decide to make that crispy topping—but you can totally skip that part!
- A large bowl for mixing the filling, and a fork for mashing.
- And of course, a platter to show off your beautiful finished eggs.
Now, here’s my little presentation secret. If you want those professional swirl-tops, ditch the regular spoon and use a piping bag. If you don’t have one, don’t stress! Just grab a regular zip-top plastic bag, snip off one tiny corner, and pipe away. It makes such a difference in how fancy they look on the **Holiday Tray**!
Ingredients for the Best Classic Deviled Eggs
Okay, gathering the goods! The fewer ingredients you need for a recipe, the more important it is that they are good quality, right? Since this is a core recipe, simple is best. We are keeping everything focused on that amazing creamy yolk texture. I’ve separated the list so you know exactly which parts are optional, especially if you’re trying to keep things **Low-Carb**.
For the main body of the **Classic Deviled Eggs**, you’ll need 6 large eggs, of course. Then for the creamy base, grab 3 tablespoons of mayonnaise—use the good stuff, trust me! For that nice little tang, add 2 teaspoons of mustard. You can use yellow, Dijon, or even horseradish, depending on how much kick you want!
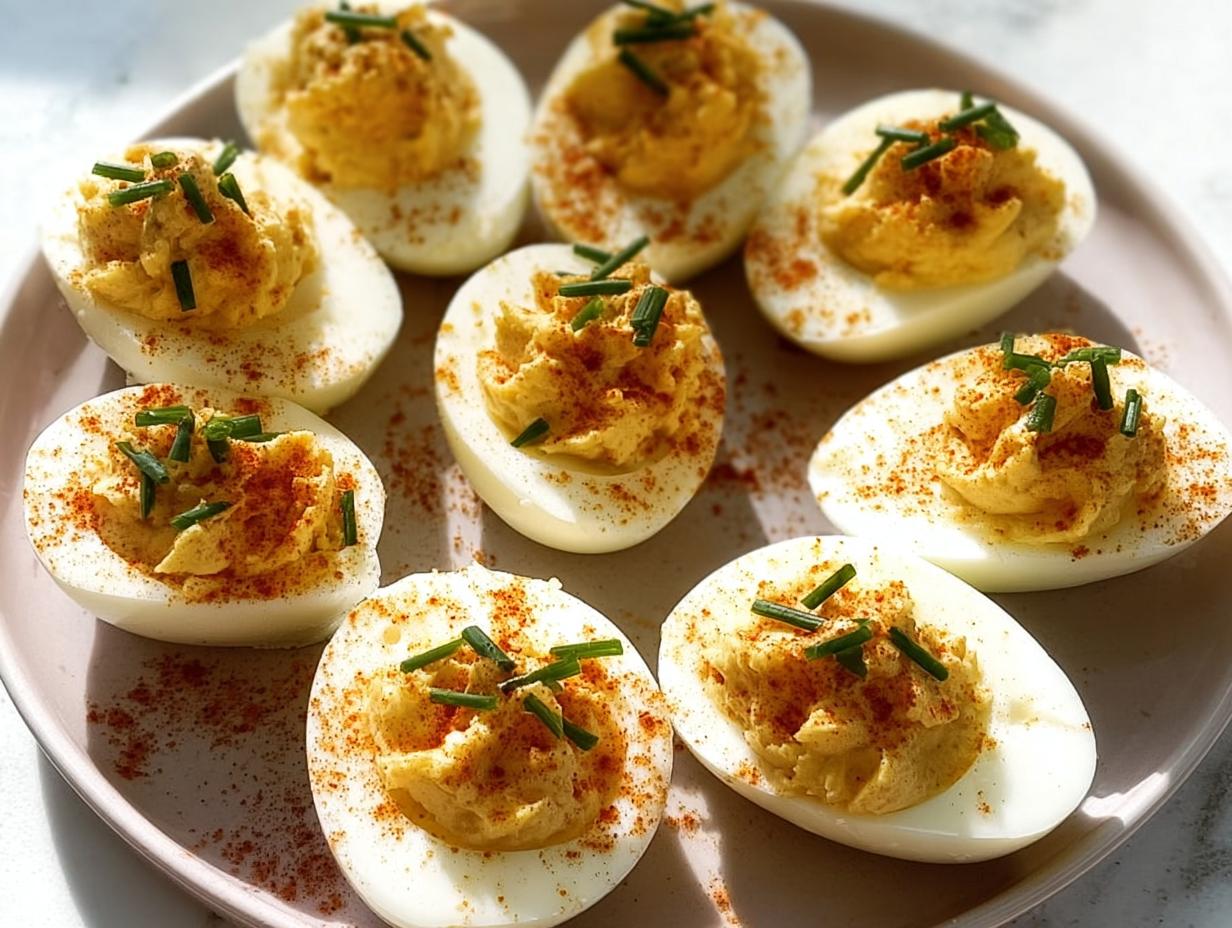
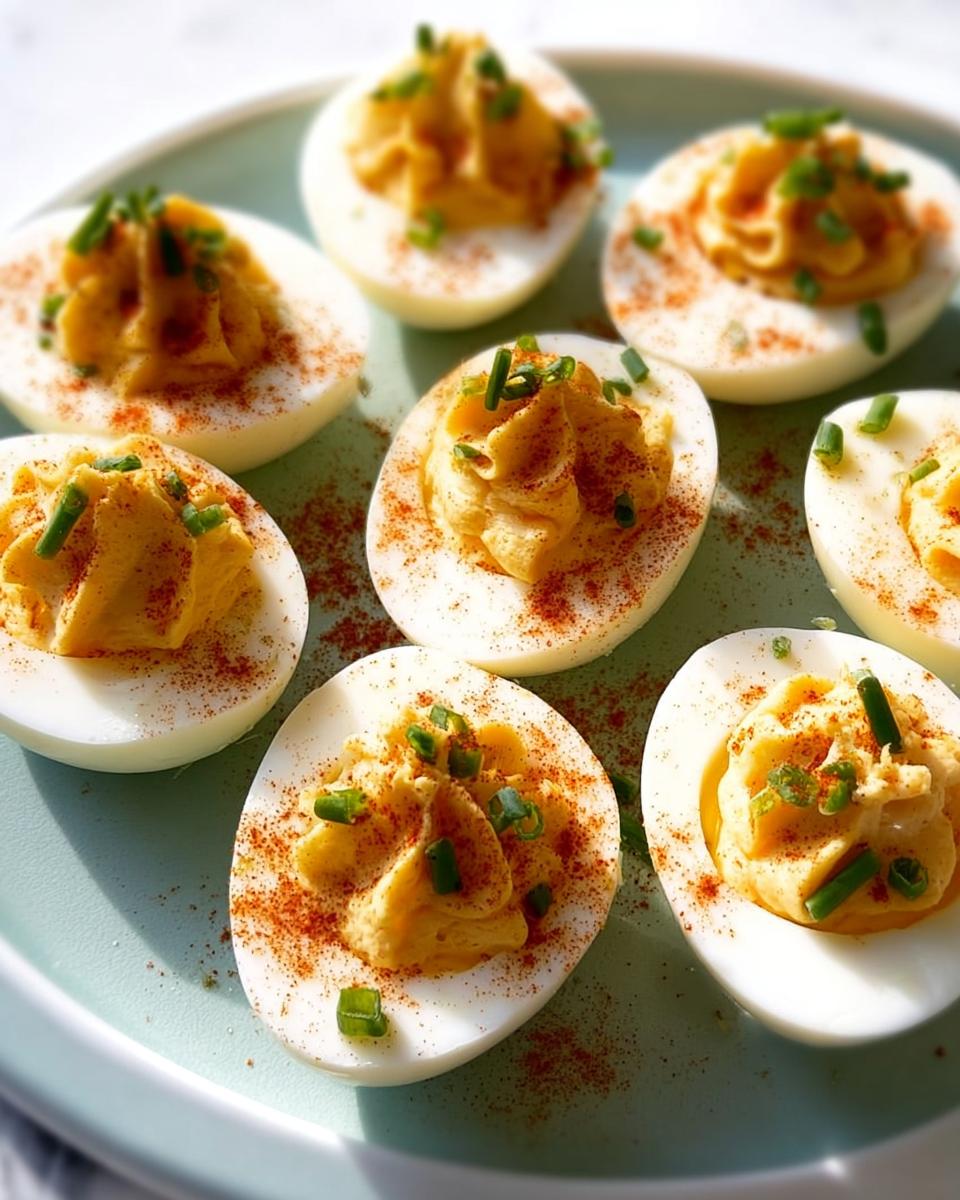
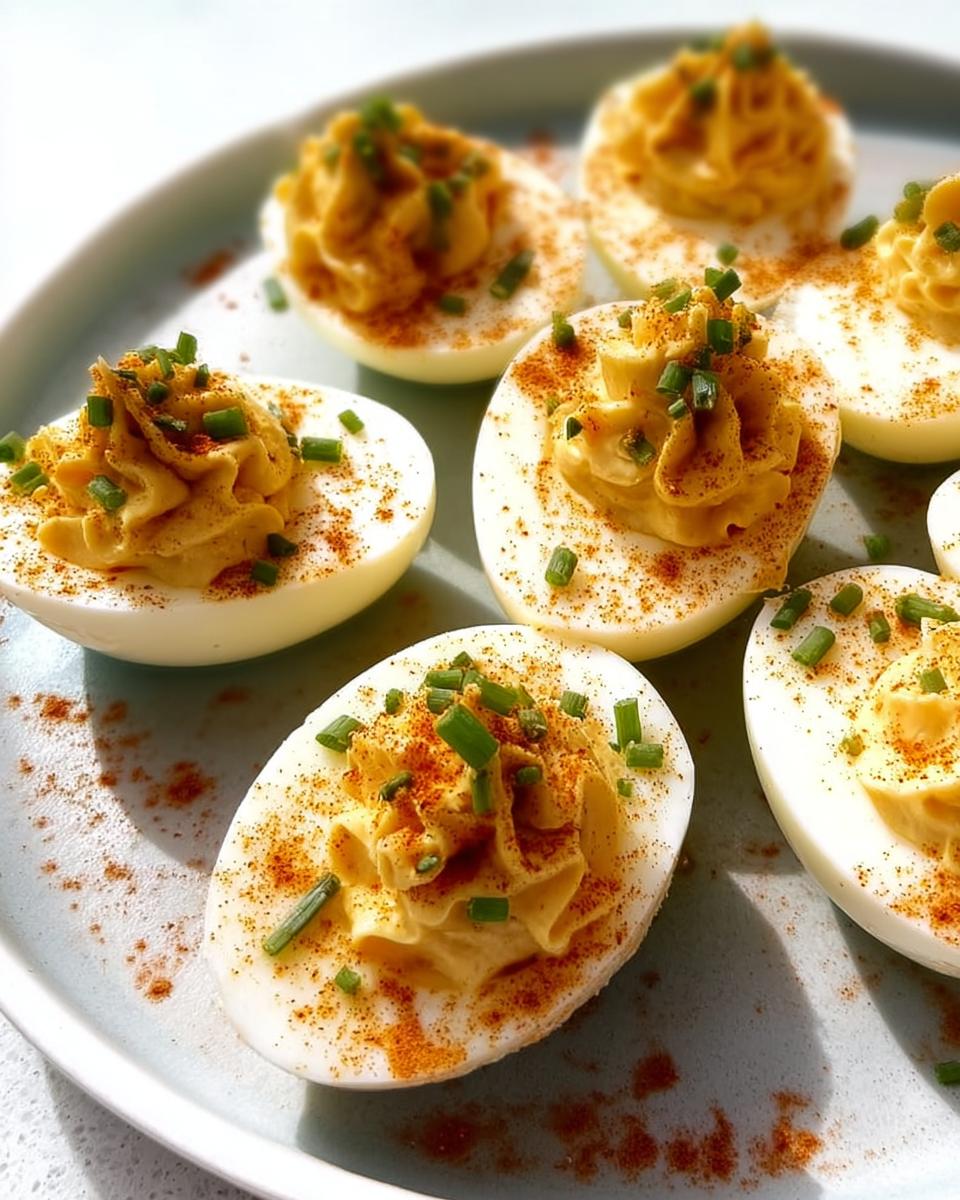
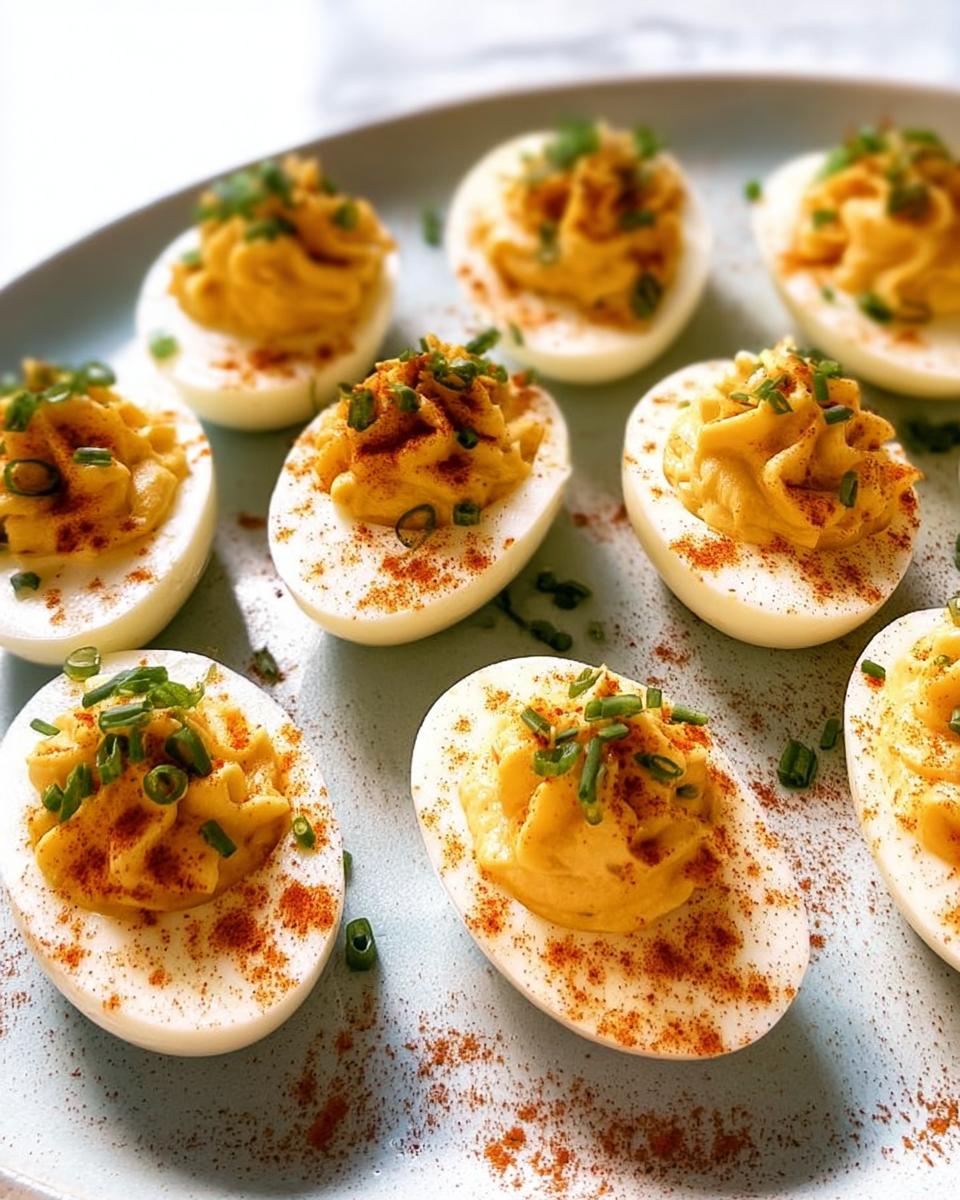
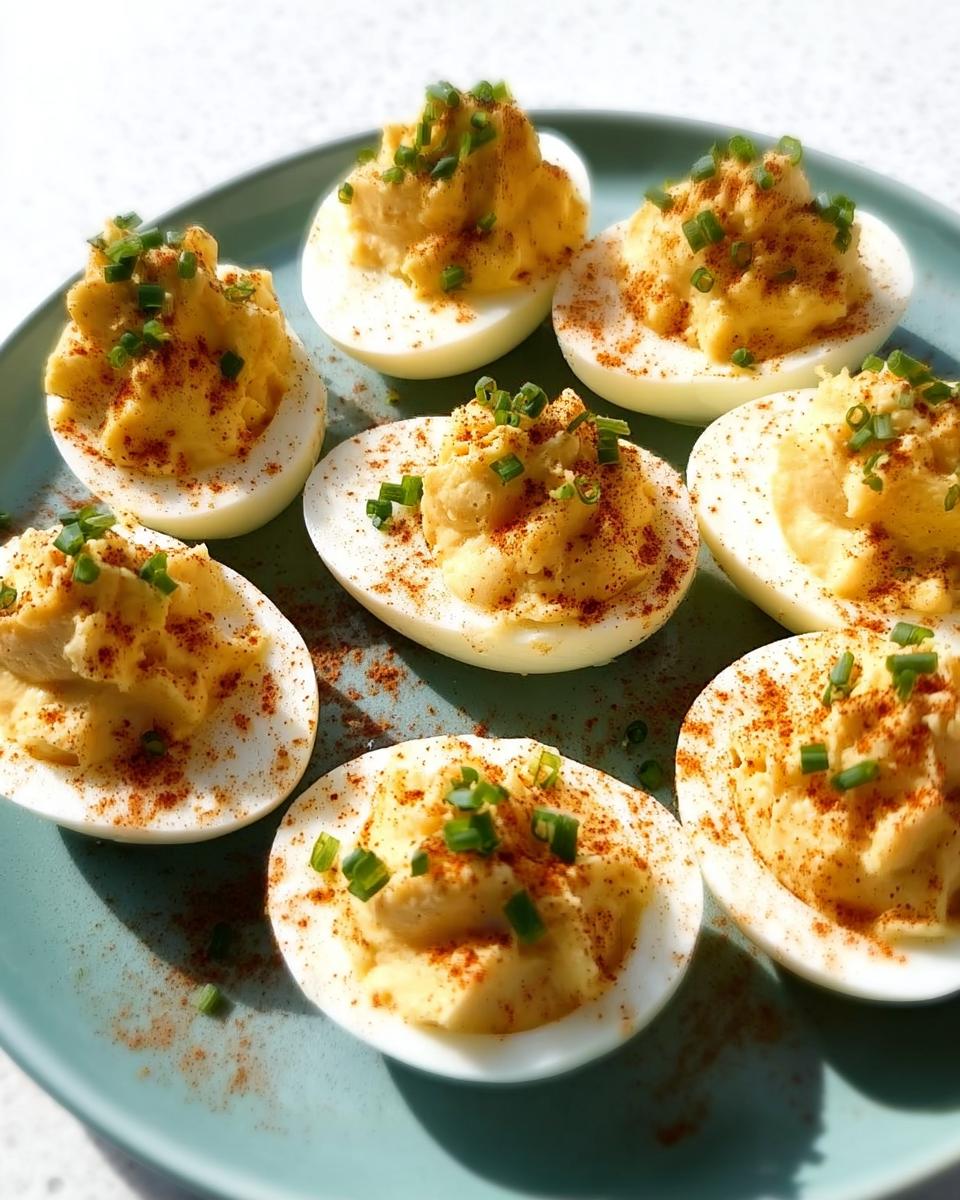
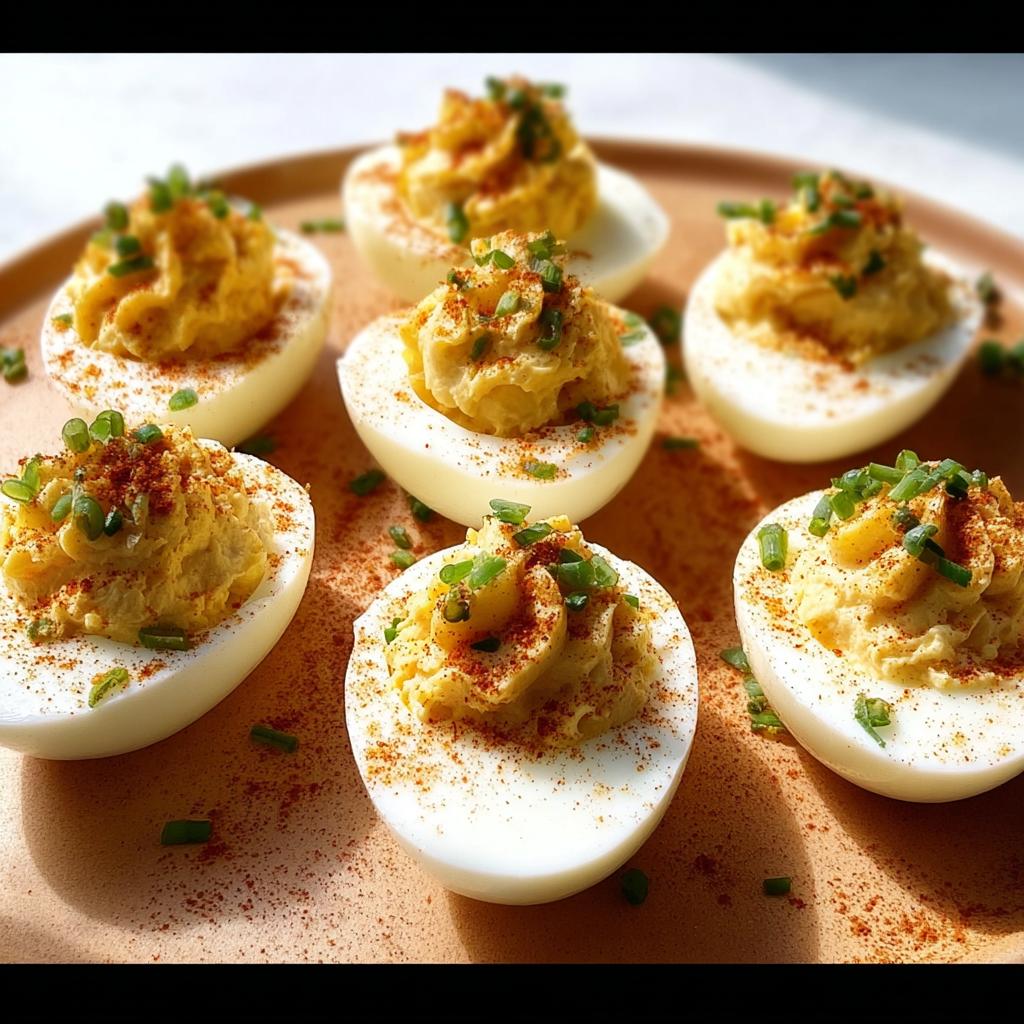
Don’t forget the seasoning: just 1/4 teaspoon of kosher salt (we always taste and add more later!) and some freshly ground black pepper. Finally, we use 2 fresh chives, thinly sliced, for a little color, and a dash of paprika for garnish.
If you’re going for that extra crunch, the optional breadcrumb topping is delicious with turkey or ham dinners! You only need 1 tablespoon of butter or oil, 1/4 cup of panko breadcrumbs, and a tiny bit of garlic powder, paprika, and salt mixed in there for flavor. If you skip it, you’re instantly making these **Gluten-Free**!
If you’re looking for great side dishes to go with these, check out my list for 27 Low Carb Thanksgiving Side Dishes—you never know when you might need another **Crowd Favorite**!
Step-by-Step Instructions to Make Classic Deviled Eggs
Alright, let’s get these beauties cooked! Boiling eggs perfectly is the first hurdle, but I promise, if you follow exactly what the recipe calls for, you won’t have any peeling nightmares. First things first, take your 6 large eggs and place them in that medium saucepan. Add enough cold water so they are covered by about an inch of water. Turn the heat up high until it reaches a rolling boil.
The second the water is boiling, you need to yank that pan right off the heat. Cover it up tightly and just let those eggs sit undisturbed for exactly 10 minutes. While they are steeping, get your ice bath ready—that’s water and a ton of ice in a big bowl. You want it freezing for the next step! If you’re looking for the classic method that everyone loves, this technique is key. You can see how other pros handle their eggs over at The Kitchn.
When the 10 minutes are up, we move fast! Scoop those hot eggs out gently and immediately tap them on the counter to crack the shells all over. Don’t worry about peeling them yet; just crack them up and drop them right into that ice water. We need them to cool down fast!
Once they are totally cool—give it at least 2 minutes in the ice—you can peel off the shells. It should be surprisingly easy now. Slice those eggs in half lengthwise and arrange the whites cut-side up on your serving platter. Now, you want to scoop those yolks out into a small bowl.
Now for the filling magic! Mash those yolks until they are dust—seriously, no chunks allowed. Once they are nearly powder, stir in your 3 tablespoons of mayonnaise, the 2 teaspoons of mustard, and the 1/4 teaspoon of kosher salt. Stir until smooth. Always taste it here! Add pepper or more salt until you love it. If you’re making that optional topping, remember to toast your panko in butter with garlic powder and paprika until golden brown, then set it aside.
Finally, get that creamy yolk filling into your piping bag (or your snipped plastic bag) and pipe it generously back into the egg white halves. Garnish them with the paprika and sliced chives, or sprinkle on your toasted crumbs if you made them. If you’re diving deeper into low-carb cooking in general, I have some pointers on making a perfect low-carb roux which might come in handy later!
Expert Tip for Perfect Egg Boiling and Cooling
That 10-minute steep time followed by the immediate shock in the ice bath is my non-negotiable trust builder. This method ensures the egg cooks evenly just from the residual heat, which stops that gross green ring from forming around the yolk. The cold water stops the cooking process right away, making the membrane pull away from the white. This is how you get easy peels every single time; trust me on this part!
Mixing the Filling for Creamy Classic Deviled Eggs
Don’t just dump everything in once! You have to mash those yolks until they are fine, fine, *fine*—I use a fork and press hard. Only once they are that fine powder should you start adding the wet ingredients like the mayo and mustard. This technique keeps the filling from looking curdled. And don’t forget to taste before you fill! If they need more zip, add another teaspoon of mustard or a pinch of salt. You are the doctor for these yolks!
Tips for Success When Preparing Classic Deviled Eggs
Making **Classic Deviled Eggs** is mostly straightforward, but a few little tricks can take you from good to legendary. First, if your filling looks a little dry, don’t panic! Just stir in another half teaspoon of mayonnaise or a tiny splash of pickle juice—that acidic tang always helps smooth things out and adds flavor.
Second, for presentation, make sure you are using a large piping tip or cutting a wide hole in that plastic bag, as I mentioned before. Thin filling will just ooze out, but a thick, creamy mash holds that beautiful swirl shape perfectly.
If you’re serving these to gluten-sensitive friends, this is where my specialist knowledge comes in handy! Since we’re using optional breadcrumbs, you need to make sure that topping bakes on a completely separate pan, far away from any flour dust. I always wipe down my counters thoroughly before mixing the filling just to avoid any cross-contamination issues. Safety first, even with the yummiest **Classic Appetizer**!
For extra staying power, especially if these are heading out to a picnic, think about dusting the bottom of those egg white cups with a tiny bit of paprika before filling. It seems odd, but it coats the surface and helps lock in that freshness slightly longer. For more tips on keeping my kitchen safe and delicious, have a peek at my ‘About Me’ page!
Serving Suggestions for Your Classic Appetizer
How you present these **Classic Deviled Eggs** makes all the difference in making eyes pop at the party! They look absolutely stunning piled artfully on a tiered platter—forget laying them flat; make them architectural! They are the perfect **Holiday Tray** star because they are bite-sized and travel so well.
If you’re taking these out for a summer bash, they are classic **Picnic Food** because they are easy to transport assembled, provided you keep them cool, of course. I love serving them alongside fresh veggie sticks or maybe some smoked salmon if I’m feeling fancy. If you need ideas for easy dinners to balance out all those appetizers, check out some of my one-pan dinner ideas for quick cleanup later!
Storage and Make-Ahead Tips for Classic Deviled Eggs
I know the thought of making party food ahead of time is a lifesaver, and **Classic Deviled Eggs** are fantastic for prepping early! If you boil and peel your eggs a day ahead of time, that’s totally fine. Just store the hard-boiled whites and those creamy yolks (kept separate!) in airtight containers in the fridge. Never store the filled eggs overnight if you can help it, though.
Why separate? Because that mayo-based filling doesn’t love sitting in the egg white for too long, and honestly, assembled eggs just don’t look as pretty after a night in the fridge. If you MUST assemble them early, do it no more than four hours before serving, and keep them tightly covered and chilled the whole time for food safety.
As soon as they are garnished, they are best eaten within 24 hours. But the yolk mixture itself lasts about three days if you keep it sealed tight. It’s a perfect way to break up the work for your next big **Holiday Tray**!
Frequently Asked Questions About Classic Deviled Eggs
I get so many great questions about these **Classic Deviled Eggs** every time I post them! They are simple, but there are always little tweaks people need help with. Honestly, if you have questions, I probably had the same one when I was first figuring out how to make them safe for my son!
Can I make the filling for Classic Deviled Eggs a day ahead?
Yes, you absolutely can make the yolk filling ahead of time! That’s a huge time saver for any gathering. Just mash everything up—mayo, mustard, seasonings—and seal that mixture in an airtight container. Keep it refrigerated, of course. When you’re ready to serve, take it out about 20 minutes before you plan to fill the whites, just so it’s easier to pipe. Remember, the whites should be freshly peeled that day for the best look on your **Holiday Tray**.
What is the best way to prevent the filling from turning gray?
This is such a common issue, especially if your **Classic Appetizer** has to sit out for a bit! The main culprit is oxidation. My trick is to add a tiny squeeze—just a few drops—of fresh lemon juice right when I mix in the mayonnaise and mustard. The acid helps fight that browning. Also, don’t leave them sitting around uncovered! Garnish them, and get them back into the fridge or onto the serving dish immediately.
If you have any more questions about specialized cooking or how to keep your kitchen safe for everyone, feel free to reach out on my contact page! I love helping home cooks perfect their favorite **Crowd Favorite** snacks!
Estimated Nutritional Data for Classic Deviled Eggs
Okay, so we all want to know what we’re eating, right? Since these **Classic Deviled Eggs** are so popular, people always ask about the numbers. Here’s a close estimate for one serving—which means half of one egg total.
Keep in mind these are just estimates! What kind of mayo you use or if you added sour cream changes everything, so these values vary based on your specific brand choices. But generally, you’re looking at:
- Calories: Around 75-85 per half egg
- Fat: About 7-8 grams
- Protein: Roughly 3 grams
- Carbs: Less than 1 gram (unless you added the breadcrumbs!)
These are naturally great for keeping those carb counts low! If you want to see how these stack up alongside my other diet-friendly ideas, check out my list of 23 Easy Low-Carb Gluten-Free Recipes. It’s important to enjoy what you eat, guilt-free!
Share Your Perfect Classic Deviled Eggs Experience
Now that you’ve got the secret to these perfect **Classic Deviled Eggs**, I absolutely need to hear about them! Did they disappear in five minutes flat at your house like they do at mine? Did you try adding a tiny bit of smoked salt, like one of my readers suggested?
Please, don’t be shy! Leave a comment below and tell me how they turned out. If you made any tweaks, especially if you successfully navigated a different dietary need—maybe you used avocado oil mayo instead of regular. I always love hearing what works for other kitchens!
And if you took a beautiful picture of that **Holiday Tray** shining under the lights, tag me on social media! I love seeing this family recipe out in the world creating new memories. Seeing your success stories really warms my heart, especially knowing we can all share in the fun. If you’re looking for more ways to tailor recipes to your family’s specific health needs, check out my special resource page!
Classic Deviled Eggs
Ingredients
Equipment
Method
- Place 6 large eggs in a medium saucepan and add enough cold water to cover the eggs by 1 inch. Bring to a boil over high heat. Remove the saucepan from the heat. Cover and let sit for 10 minutes. Meanwhile, prepare an ice water bath by filling a large bowl halfway with ice and water.
- Melt 1 tablespoon unsalted butter or heat 1 tablespoon olive oil in a small skillet over medium heat. Add 1/4 cup panko breadcrumbs and cook, stirring constantly, until fragrant and toasted, 1 to 2 minutes. Remove the skillet from the heat. Add 1/4 teaspoon garlic powder, 1/4 teaspoon paprika, and 1 pinch kosher salt. Stir to combine and transfer to a small bowl.
- When the eggs are ready, remove them from the hot water. Tap each egg against the counter to crack the shell in a few places. Transfer to the ice water bath and let sit until cool, at least 2 minutes.
- Remove the eggs from the water and peel. Halve the eggs lengthwise. Carefully remove the yolks and transfer to a small bowl. Place the egg whites on a platter cut-side up.
- Use a fork to mash the yolks as finely as possible. Add 3 tablespoons mayonnaise; 2 teaspoons mustard; and 1/4 teaspoon kosher salt. Stir to combine. Taste and season with black pepper and more kosher salt as needed.
- Transfer the filling to a small plastic bag or piping bag fitted with a 1/2-inch tip. If using a plastic bag, snip off one bottom corner. Pipe the filling evenly among the egg whites (about 1 heaping tablespoon per deviled egg). Garnish with the toasted breadcrumbs if using, paprika, and thinly sliced chives.
Notes
Tried this recipe?
Let us know how it was!
Dual-Restriction Recipe Engineer & Cross-Contamination Specialist
Everything changed when my teenage son got hit with celiac disease and Type 1 diabetes diagnoses within six months of each other. Suddenly, pizza and pasta were off the table, and most “diabetic-friendly” foods contained gluten. I went from regular mom cooking to navigating what I call “compound restriction cooking”—and I had a kid’s appetite and taste buds to satisfy.
Lucky for us, my background in pharmaceutical quality control gave me the systematic mindset this level of precision requires. My kitchen now operates under pharmaceutical-grade protocols adapted for home use: dedicated prep surfaces, separate storage systems, and testing procedures that verify both carb counts and gluten absence before any recipe gets published.
I’ve developed over 220 recipes that clear multiple dietary hurdles simultaneously—finding gluten-free thickeners that don’t spike blood sugar, creating bread alternatives that meet both keto ratios and celiac safety, and developing desserts that actually taste good to a teenager despite impossible restrictions.
Through my “Safe Kitchen Certification” program, I teach other parents that managing multiple dietary restrictions isn’t about multiplying limitations—it’s about systematic thinking that reveals unexpected possibilities. When you engineer solutions instead of making compromises, restriction becomes innovation rather than deprivation.