
There is just something magical about a perfectly decorated cookie, right? That smooth, shiny top that looks almost too pretty to eat! I’m Leonardo, and if you’re ready to stop fighting with runny frosting that spreads everywhere, you’ve come to the right place. My guide delivers what you need to master the Royal Icing for Decorated Cookies recipe that never lets you down. I still remember the first cookie decorating session I had with my niece on a rainy afternoon, armed with vibrant colors and a few piping bags. As we watched our plain sugar cookies transform into little works of art, I realized how satisfying the process was—not just for creating beautiful treats, but for bonding, too. That day ignited a passion for cookie decorating that has turned into my joyful escape!
Why This Royal Icing for Decorated Cookies Recipe Works
So many recipes promise the world, but this one actually delivers that professional, snappy finish we all crave! This specific Royal Icing Recipe is superior because it hits two vital marks: a truly glossy icing that shines, and the flexibility to switch between outlining and flooding techniques. When you use this base, you’re setting yourself up for beautiful results on every single batch.
- The texture sets firm but never cracks excessively.
- It holds intricate details perfectly when piped.
- It yields a professional, smooth look when flooded.
Achieving That Perfect Glossy Icing
That hard, mirror-like shine isn’t just luck; it’s science! It all comes down to how much sugar is in this batch and how well we beat those egg whites. When you whip the sugar into the whites just right, you create a super-fine structure. This structure catches the light beautifully, giving you that amazing finished sheen when it dries hard. Don’t rush this part!
Consistency Control for Decorate Cookies
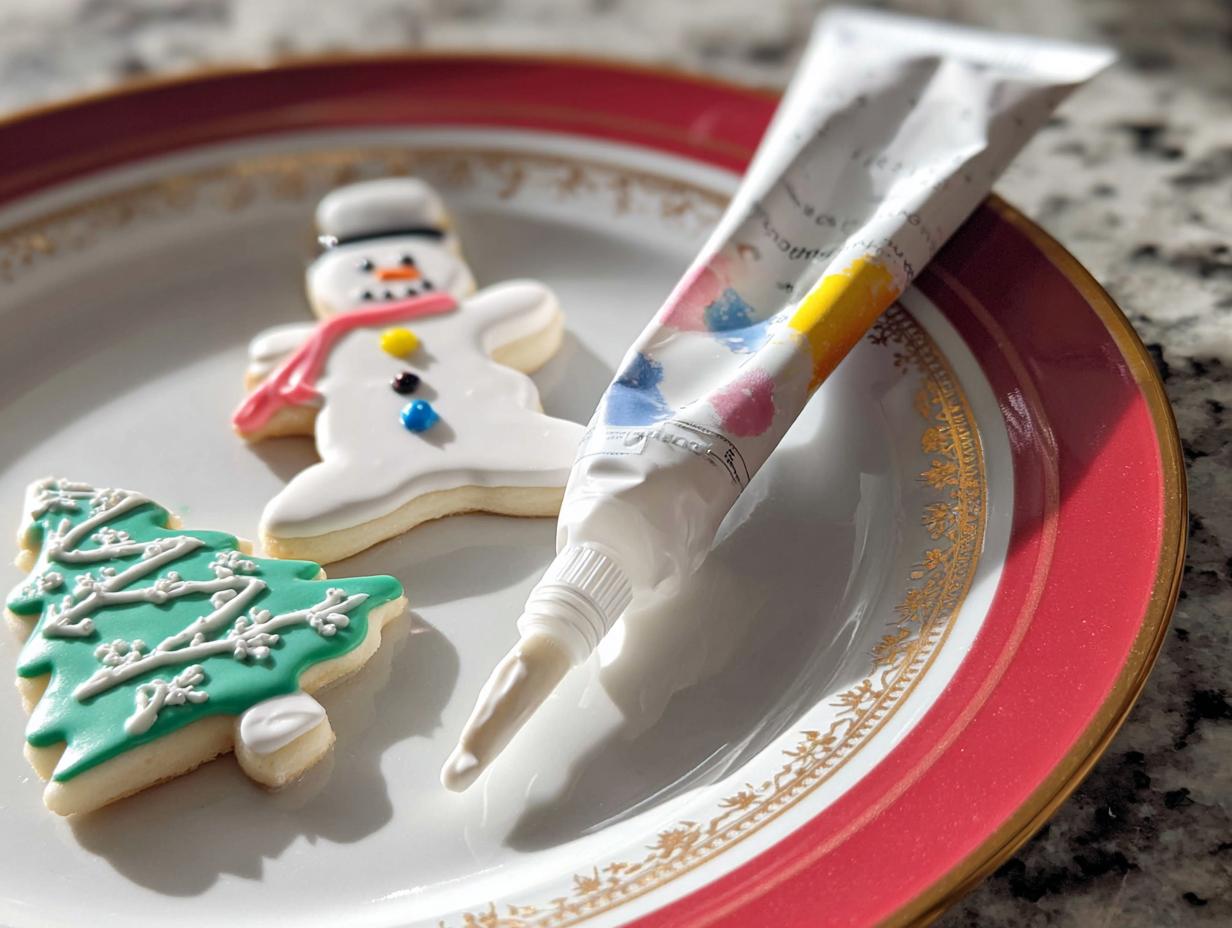
This is where most bakers struggle, but we won’t! This basic recipe is designed to be adaptable. Thick icing, made right after whipping, is perfect for piping outlines using your trusty piping tips. For the next step, just stir in a tiny bit of water to get a thinner pour—your flooding consistency! That beautiful Glossy Icing becomes soft enough to fill in those outlines, creating zero wrinkles.
Essential Ingredients for Royal Icing for Decorated Cookies
Gathering your tools is half the battle, honestly! You need just a few core items for this amazing Royal Icing Recipe. Don’t be tempted to substitute the sugar here; that confectioners’ sugar is non-negotiable for that perfect smooth set. We are keeping this batch simple so that we can focus purely on technique later.
Here is what you need to have ready:
- Three room temperature egg whites.
- One full pound of confectioners’ sugar, which is about 450 grams.
- One teaspoon of good quality vanilla extract.
- Water, just a few drops at a time for thinning later.
- Gel food coloring, if you plan on coloring your cookie frosting right away.
Ingredient Notes and Substitutions
The egg whites absolutely must be room temperature; they whip up so much fluffier that way! I always recommend being careful with anything raw, so if you have any concerns about using raw egg whites, absolutely look into using pasteurized egg whites. For the best flavor, skip the imitation stuff—use real vanilla extract. It makes such a difference when you’re decorating dozens of cookies. That little bit of aromatic flavor really shines once the icing hardens!
Step-by-Step Instructions for Making Royal Icing for Decorated Cookies
Okay, this is the fun part where the magic happens! Get your stand mixer ready, maybe play some upbeat music. I always make sure my mixing bowl is spotless—any trace of water or grease and your egg whites will just look sad and foamy. We want proud, tall peaks, not sad puddles, trust me!
First, we whip those room temperature egg whites until they look nice and frothy. Don’t rush this initial step; it takes about a minute on medium-low. Then, grab that bag of sugar. You absolutely *must* add the confectioners’ sugar slowly, tablespoon by tablespoon, with the mixer still running on low. If you dump it all in, you deflate all the air you just worked to create!
Once it’s all incorporated, you crank that speed up. We’re going for high speed until you see stiff, shiny peaks. That perfect texture is what lets us easily keep decorating cookies beautifully for hours.
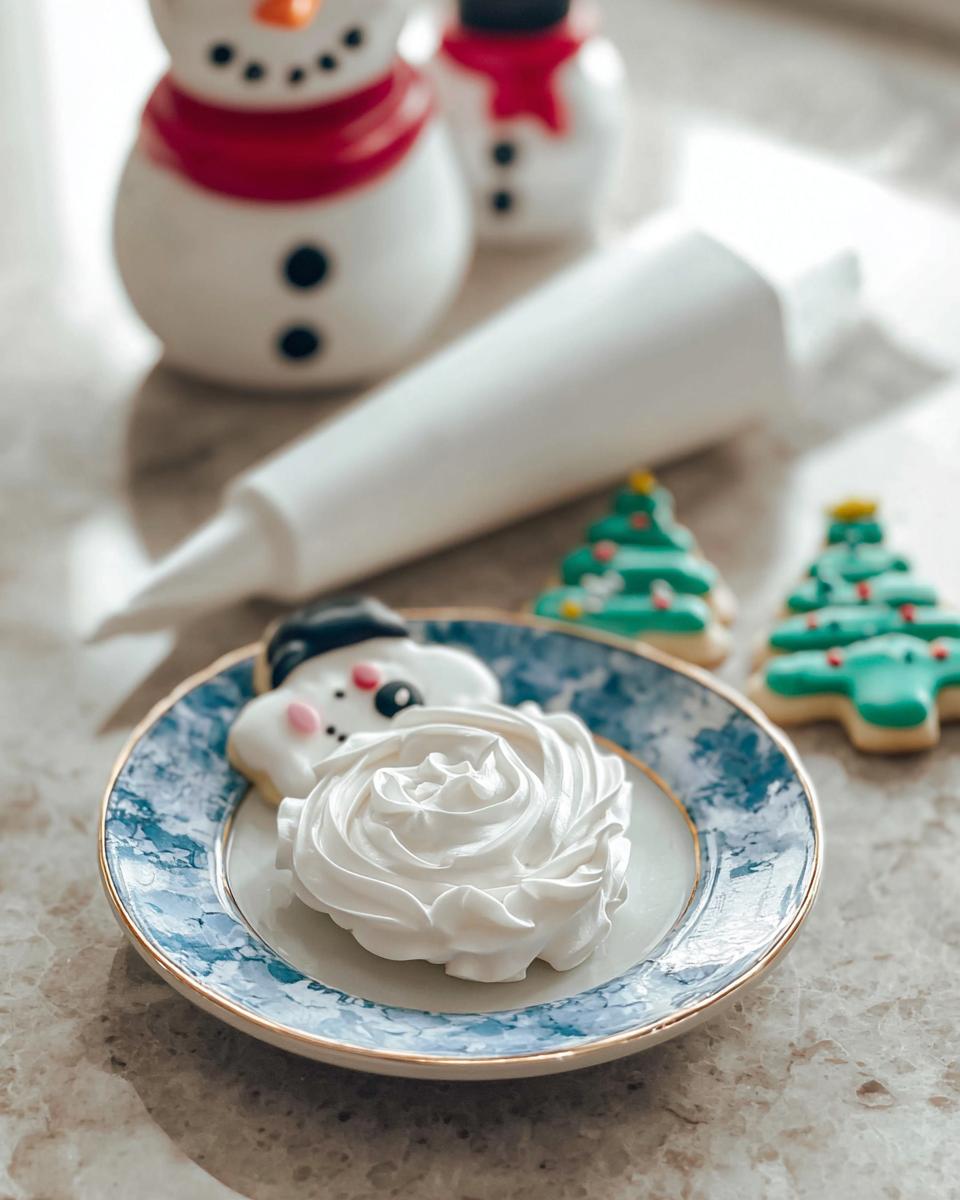
Whipping to Stiff, Shiny Peaks
When you lift that whisk, the icing should hold its shape perfectly, pointing straight up or maybe just gently curling over at the very tip. That’s your stiff peak! Remember what I said about the grease? If your bowl is sparkling clean—seriously, wipe it down with a little vinegar if you’re paranoid—those egg whites will whip up into the most incredible meringue base for your cookie frosting.
Adjusting Consistency: Flooding vs. Piping Tips
The icing you have now, right out of the mixer, is perfect for outlining. It’s thick, so it stays exactly where you pipe it from your piping tips. But if you want to “flood” the center of the cookie, you need less definition and more flow.
Add water one drop at a time. Stir gently with a spatula, not the mixer! You are looking for the 10-second rule: when you drizzle some icing over the pile, it should take about 10 seconds for that drizzle mark to disappear back into the mass. If it disappears too fast, you’ve added too much water—oops! If it stays visible forever, it’s still too thick for flooding. This precision is what gives you that gorgeous, smooth finish when you decorate cookies.

Coloring Your Royal Icing for Decorated Cookies
If you want bright, true colors without watering down your gorgeous icing, forget the liquid food coloring you use for cakes. You absolutely must use gel food coloring for royal icing. Liquid coloring is water-based, and too much water ruins the consistency we worked so hard to achieve!
Gel colors are super concentrated. You only need the tip of a toothpick dipped into the jar to get a vibrant color, especially for reds or dark blues. When you mix, work in small batches if you’re making several colors. Always start lighter—you can always add more color, but you can’t take it out!
Expert Tips for Perfect Royal Icing for Decorated Cookies
We’ve made the icing, we’ve colored it, and now we need it to act right! Honestly, troubleshooting is where you really learn the quirks of this cookie frosting. Don’t panic if something seems off; most issues with royal icing for decorated cookies are totally reversible with a tiny adjustment. Think of it like this: you’ve got the ultimate base, now let’s troubleshoot the small stuff so your final product looks truly professional.
I’ve learned a few tricks over the years to avoid the dreaded presentation disasters. Keeping your workspace clean and dry makes a huge difference, especially when you are trying to flood intricate designs. Sometimes, when I’m troubleshooting a tricky recipe, I look back at completely different guides, like checking out this great read on making things foolproof—it helps reset my brain! You can find great basic kitchen tips here.

Troubleshooting Royal Icing Issues: Cracking and Bubbles
The two biggest complaints I hear are cracking and excessive bubbles. Cracking usually happens if your flooding icing was just a touch too thin, or if you overloaded it with coloring. If you notice it cracking as it dries, next time use less water!
For bubbles, you just need to let the icing sit for about 15 minutes after whipping before you start decorating. If you see a few popping up, gently run a toothpick over the surface to release them before piping. If your icing is too runny to outline, just slowly mix in small spoonfuls of confectioners’ sugar until it holds its shape again.
Storage and Keeping Royal Icing for Decorated Cookies Fresh
Don’t you hate wasting that beautiful, perfect batch of cookie frosting? Me too, which is why storage is key!
If you aren’t going to use all your royal icing right away—and honestly, you usually make too much, don’t you?—you need to seal it up tight. Divide the unused portions into airtight containers or small zip-top bags. This is super important: press a piece of plastic wrap directly onto the surface of the icing before you seal the lid or bag. This keeps air from touching it and stops that dry, crusty layer from forming.
This icing keeps really well at room temperature for several days, sometimes even a week, as long as it stays sealed. If it gets a little stiff after a few days, just stir in a tiny, tiny dash of water to bring your Glossy Icing back to a usable consistency. Easy peasy!
Frequently Asked Questions About Royal Icing Recipe
I get so many questions after I share my favorite methods for making this icing! It’s only natural; working with royal icing for decorated cookies can feel a little intimidating at first, but once you know these little tricks, you’ll be such a pro at making this amazing Cookie Frosting in no time. Here are some of the things I hear most often from folks when they start learning how to decorate cookies.
Can I make this Royal Icing Recipe without raw eggs?
Oh, absolutely! That’s a super common concern, and for good reason. If you aren’t comfortable using raw egg whites, you can totally swap them out for meringue powder, which is pasteurized, dried egg white! It works like a charm.
The general expert rule I follow for substitution is this: for every one large egg white required, use about two teaspoons of meringue powder mixed with two tablespoons of water. You’ll still mix it up the same way with the sugar. It gives you that perfect stability without any worry!
How long does it take for the finished Cookie Frosting to dry?
This is one of those variables that really bugs people, because everyone wants them dry *now*! It completely depends on two big things: how thick your drizzle was and how humid it is outside. If you’re doing thin flooding on a warm, dry day, the outlines might be dry enough to handle in about an hour.
However, if it is muggy or rainy, or if you put down a very thick line for detailing, I always tell people to budget at least 8 to 12 hours before stacking or even touching them too much. For safe stacking, I usually let them sit overnight. You can actually learn more about general cooking confidence over at my About page if you ever need a general kitchen pep talk!
Estimated Nutritional Data for Royal Icing for Decorated Cookies
Alright, let’s talk numbers for a second, even though I usually focus more on taste than tracking macros! Keep in mind, since this is one big batch of cookie frosting that you divide up onto dozens of cookies, these numbers are going to look a little wild if you try to eat the whole batch yourself—don’t do that!
Per serving calculation: Calories are about 51, Carbs sit around 13g, Protein is 1g, and Fat pulls in at about 1g. This is just an estimate based on the ingredients I listed, so your actual nutritional data might shift depending on the brands you use. But hey, they look gorgeous, and that’s what matters most, right?
Share Your Royal Icing for Decorated Cookies Creations
Seriously, I want to see what you’ve been up to! Once you master this icing, you have to show off those beautiful cookies you managed to decorate cookies with. Did you get that perfect shine? Let me know down in the comments if this recipe worked for you, and please rate it below!
If you share photos on social media, tag me! I love seeing how my readers use these techniques. If you need anything else, don’t hesitate to reach out through my contact page—happy decorating!

Royal Icing for Decorated Cookies
Ingredients
Equipment
Method
- In a stand mixer bowl or large mixing bowl, beat the egg whites on medium-low speed until they are frothy, about 1 minute.
- With the mixer on low speed, slowly add the confectioners’ sugar and vanilla extract. Mix until everything is fully incorporated.
- Increase the mixer speed to medium-high and beat until stiff, shiny peaks form.
- If you are not using the icing immediately, divide it among small bowls and add gel food coloring as desired. Cover any unused icing with plastic wrap to prevent it from drying out.
- Transfer the icing to piping bags. For flooding, add a few drops of water to the icing and stir with a spatula until you reach a thinner consistency. Add more water gradually until you achieve the desired flooding consistency.
- To decorate cookies, first pipe an outline of the cookie with thicker icing. Then, fill the center with the thinner flooding icing.
Nutrition
Notes
Tried this recipe?
Let us know how it was!
Visual Culinary Artist & Aesthetic Designer
When the pandemic killed my career as a luxury hotel photographer overnight, I was stuck in my studio apartment with nothing but time and vegetables. That’s when I started treating meal prep like photography projects—and discovered that the same principles that made five-star dishes camera-ready could turn humble zucchini noodles into social media gold.
My fine arts degree from Parsons taught me that people eat with their eyes first. After years behind the lens capturing haute cuisine, I realized that successful dieting often depends more on visual satisfaction than pure nutrition. When your food looks amazing, you actually want to stick with your eating plan.
My recipe development feels more like an art studio than a test kitchen. I use color theory to guide ingredient selections—purple cabbage with golden cauliflower, emerald herbs against ivory cheese. My “Edible Landscapes” series transforms standard low-carb ingredients into miniature scenic compositions that make vegetables feel aspirational rather than obligatory.
I spend evenings exploring art galleries and practicing watercolor painting, always looking for inspiration. My philosophy is simple: make low-carb food visually irresistible, and dietary compliance becomes an aesthetic choice rather than a health sacrifice.