
Oh, baking for a party shouldn’t feel like running a marathon, right? We all want those gorgeous, perfectly portioned treats without spending the entire day over the counter. That’s why I’m obsessed with the magic of the log method! It’s pure genius for busy weekends.
I still remember the excitement of my childhood baking days, especially when my mom introduced me to the art of slice-and-bake cookies. It was a busy Saturday afternoon, and the kitchen was filled with laughter and the aroma of vanilla and chocolate. We’d roll the dough into logs, wrap them in wax paper, and pop them in the fridge, waiting for that magical moment when we could slice them up and bake them into perfect rounds of deliciousness.
Now, as a mindfulness and emotional wellness specialist, I’ve come to appreciate those moments not just for the treats, but for the connection and presence they foster. These Slice-and-Bake Party Cookies have become a staple in my home—a delicious way to turn gathering and baking into a mindful practice that brings us all together. Trust me, these are about to become your go-to!
Why You Will Love These Slice-and-Bake Party Cookies
Seriously, if you are looking for cookies that look like you spent hours prepping, these are it. They truly save the day when unexpected guests pop over or when you need a fast contribution to a bake sale. Here’s why my kitchen is never without a log chilling in the fridge:
- They are the ultimate Make Ahead Dough! Roll them up days before needed, and you’re set.
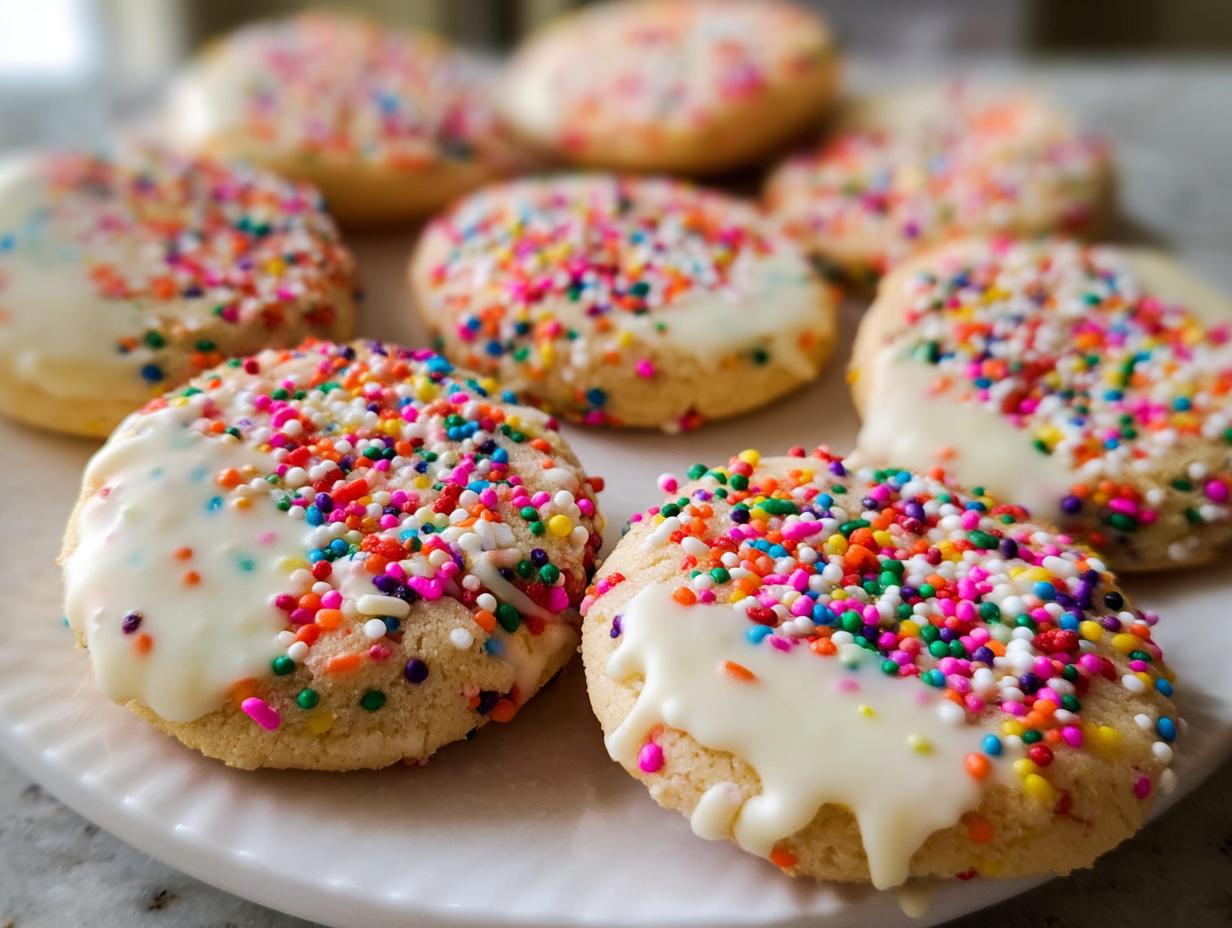
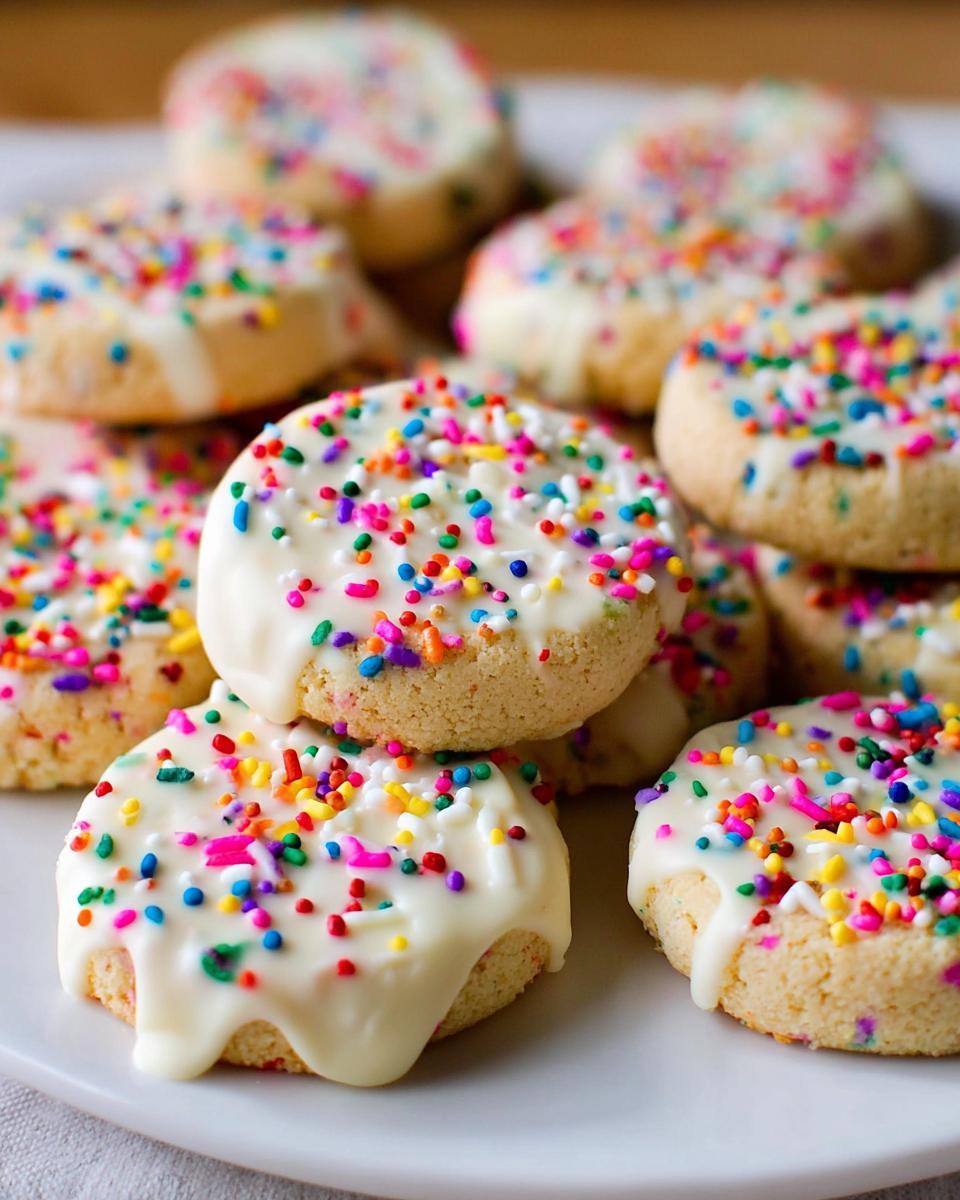
- The resulting cookies are super festive looking—those sprinkles just scream ‘party’ without needing complicated icing.
- It’s a true Quick Bake; once you slice them, they hit the oven and are done in under 15 minutes.
- Cleanup is a breeze! Since you aren’t scooping batter all afternoon, things stay surprisingly tidy.
- They hold their fun shape beautifully because the chilled dough doesn’t spread like crazy.
- Portion control is naturally built-in, since you pre-slice exactly how thick you want your cookies!
Gathering Supplies for Your Slice-and-Bake Party Cookies
You don’t need a ton of fancy gear for these, which I love. Most of this stuff is already hiding in your drawers! Having your ingredients ready is key here, though. We need that butter soft enough to blend but not melty—you know, the perfect texture that makes the dough smooth.
Expert Tip: Make sure your butter is actually room temperature, and your egg isn’t staring at you straight from the fridge! That temperature difference makes sure the creaming step totally works, giving us the best structure for when we slice them later.
Essential Equipment List
- A mixer, whether it’s your trusty handheld or a big stand mixer.
- A large bowl for all that mixing action.
- Plastic wrap—this is crucial for making those neat little logs!
- Baking sheets; I like the big ones so I can bake more at once.
- Parchment paper or those silicone mats; it makes cleanup zero effort.
- Something to melt chocolate in, like a double boiler or just a microwave-safe bowl.
- A cooling rack so the bottoms don’t get soggy while they cool off.
Ingredients for Perfect Slice-and-Bake Party Cookies
Okay, gather your arsenal! Getting the ingredients right is where the “perfect” part of these cookies really starts. Remember, we are aiming for a dough sturdy enough to slice cleanly, so no cheating on the measurements here. It’s all about balance.
The sprinkles are the star, but don’t forget that tiny bit of almond extract—it brightens up the vanilla and makes everyone ask, “What gives these cookies that amazing zing?”
For the drizzle, use high-quality white chocolate. Cheap stuff melts weirdly and then refuses to set right. Here’s what you need for about two dozen beauties:
For the Cookies
- 3/4 cup unsalted butter, softened (That’s 12 tablespoons, or 170g; make sure it’s soft!)
- 2/3 cup packed light brown sugar (133g—that molasses gives us depth!)
- 1 large egg, room temperature (Very important!)
- 1 1/2 teaspoons pure vanilla extract
- 1/2 teaspoon almond extract
- 2 cups all-purpose flour (Weighing it, 250g, is best, but spoon and level works!)
- 1/4 teaspoon salt
- 2/3 cup sprinkles (Plus more if you want to roll the logs in them before slicing!)
- Optional: coarse sugar for rolling
For the White Chocolate Drizzle
This part is easy shine! You just need 8 ounces (226g) of white chocolate, and make sure it’s coarsely chopped so it melts smoothly.
If you’re looking for inspiration on getting those sprinkles mixed in just right, I always check out what other bakers are doing for color combos!
Step-by-Step Instructions for Slice-and-Bake Party Cookies
This is where our culinary magic starts! Don’t rush this part—it sets up the promise of those perfectly uniform, colorful cookies later. We’re building a sturdy, beautiful dough that behaves when it hits the heat. If you see me in the kitchen, I usually blast some happy music for this part!
Mixing the Slice-and-Bake Party Cookies Dough
First up, grab that mixer. Beat the softened butter until it’s smooth and happy—about a minute. Then, slowly beat in your beautiful brown sugar until it gets fluffy. Next, we add in our flavor boosters: the room-temperature egg, vanilla, and that tiny splash of almond extract. Mix until everything is blended really well, just scrape down the sides so nothing gets left behind!
Now, the dry stuff! Gently beat in the flour and salt until you just see the flour disappear. Don’t overdo it! Then, switch the mixer to high speed and just beat in those colorful sprinkles until they are totally mixed through. The dough will feel thick, almost like playdough, and that’s exactly what we want for our Slice-and-Bake Party Cookies.
Chilling and Shaping the Make Ahead Dough
Time to transform that dough blob into something manageable! Turn the dough out onto a lightly floured surface. Divide it into two equal piles. Now, with floured hands—this keeps things from getting too sticky—shape each piece into an 8-inch long log, aiming for about 2.5 inches in diameter.
This is the most patient part, but it is non-negotiable! Wrap each log up super tight in plastic wrap. They absolutely must chill for a minimum of 4 hours, but honestly, overnight is even better. This chilling time develops the flavor and, critically, makes sure those logs stay firm so you can slice them into perfect rounds later.
Baking and Decorating Your Party Cookies
When you’re ready for that Quick Bake, go ahead and preheat your oven to 350°F (177°C) and get two baking sheets lined with parchment paper. Take one log out and slice it into about 12 even cookies. We want them about half an inch thick for the best results.
Place the slices on the sheets, giving them space to breathe—about 2 inches apart. Bake for 12 to 14 minutes until the edges start looking just golden brown. Let them sit on the hot sheet for about five minutes (this lets them set up!), and then move them to a cooling rack.
Once they are totally cool, you can melt your white chocolate. Dip half of each cookie into that melted goodness and lay them onto parchment paper. Throw some extra sprinkles on top while the chocolate is wet! Pop them in the fridge for just a few minutes to set that delicious coating.
Tips for Success with Slice-and-Bake Party Cookies
Even the simplest recipes can have little hiccups, but I have a few tricks up my sleeve to make sure your logs slice like butter! The biggest thing? Don’t let your dough get too warm before slicing, or those perfect circles turn into puddles. If you notice things getting soft, just pop the log back in the freezer for 15 minutes. That quick chill is a game-changer!
If you decide to pull a log straight from the freezer—because you’re being super proactive and planning ahead—you don’t have to thaw it completely. Just let it sit on the counter for about 10 minutes, and then slice it. You might need an extra minute or two in the oven, but they bake up beautifully because that dough is rock solid!
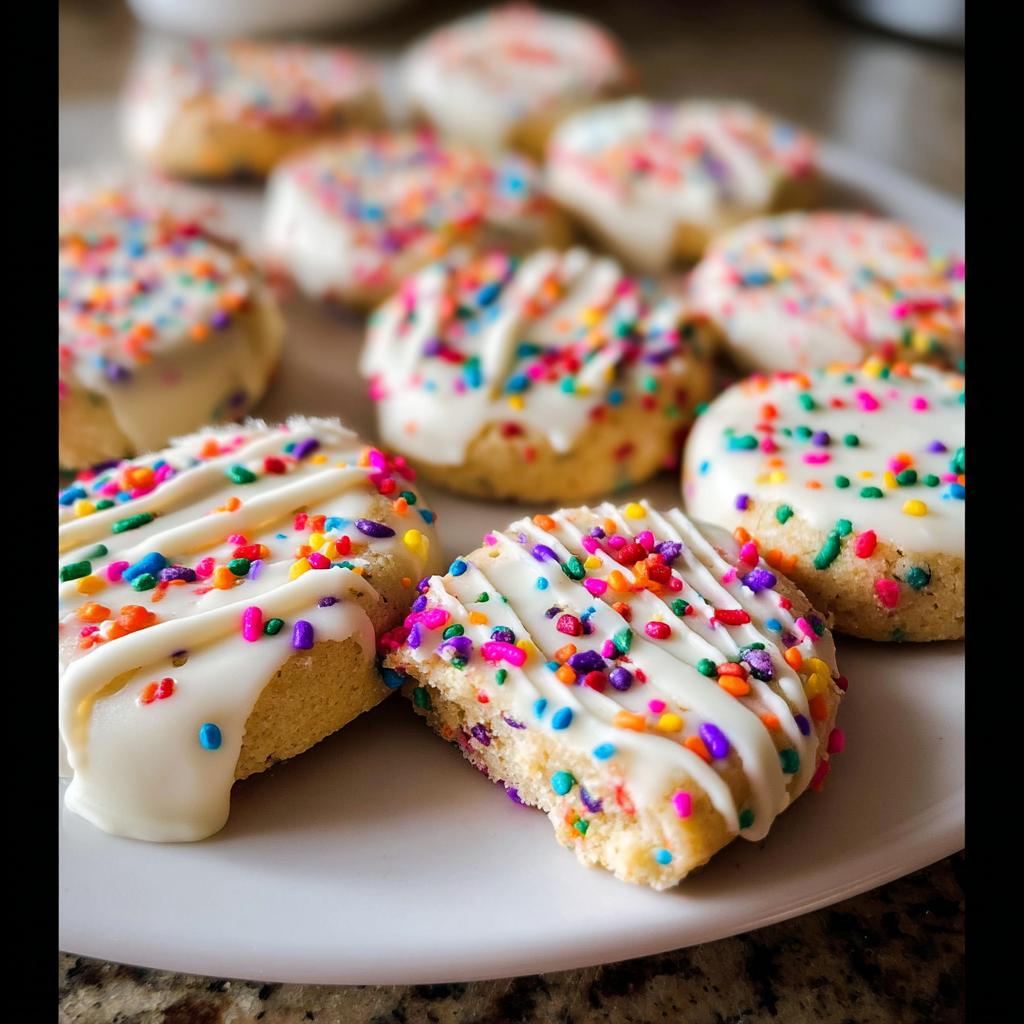
For that gorgeous drizzle, don’t try to stir oil into your melted white chocolate if it seizes up on you. Instead, try thinning it out with a tiny drop of coconut oil. It helps keep that smooth coating for a really professional finish on these easy Party Cookies!
Make-Ahead and Storage for Slice-and-Bake Party Cookies
This is honestly where these cookies shine for busy people like us! You can make the dough logs ahead of time, and they are fantastic for planning parties weeks in advance. Wrapped tightly, the dough stays wonderful in the refrigerator for up to five days. It’s the perfect Make Ahead Dough trick!
Better yet, throw those logs right into the freezer! They keep well for up to three months this way. That means if you have a random birthday popping up, you just run inside, slice off 12 cookies, and have warm Party Cookies ready to go! For the baked cookies, just store them in an airtight container at room temperature for about a week. I find the chocolate drizzle lasts best if they aren’t in high humidity, though!
Variations on Classic Slice-and-Bake Party Cookies
Just because the basic recipe is amazing doesn’t mean we can’t have fun experimenting! Once you have mastered the dough technique, you can swap out ingredients to match any theme or craving you have. These little logs are like our own personal flavor canvases!
Instead of vanilla and almond, try swapping in lemon extract for a sunny, bright vibe—it goes surprisingly well with the slight sweetness of the brown sugar. Another big win for holiday parties is adding a teaspoon of peppermint extract instead of the almond. Wow! Instant festive flavor!
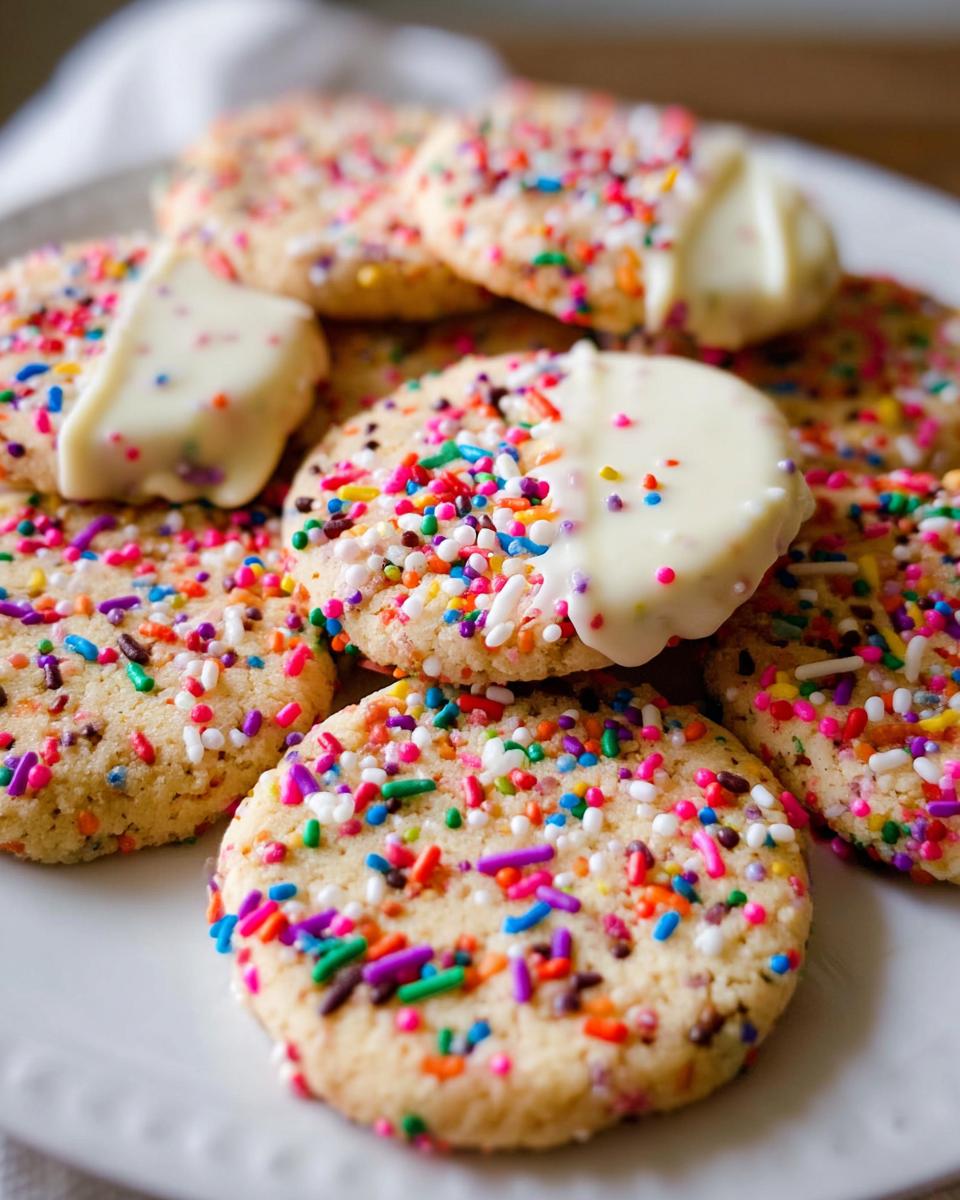
If you don’t want to mess with the white chocolate drizzle, you can skip that step entirely! Or, use melted milk chocolate for a richer look. For ultimate party impact, try rolling the chilled logs in colored sanding sugar before you slice them. It gives that crust such a gorgeous crunch. See all sorts of inspiration over in my recipe archives!

Frequently Asked Questions About Slice And Bake Cookies
I get so many wonderful messages once people start making these! It’s helpful to go over the few things that trip people up, just so your cookie experience is absolutely stress-free. Getting the answers right takes the guesswork out of baking, ensuring you get perfect Party Cookies every single time.
Can I skip the chilling time for these Slice-and-Bake Party Cookies?
Oh, I know why you ask this! It’s tempting to scoop the dough onto the sheet right away, but please, please don’t skip the chilling! Chilling is mandatory for these cookies. If you try slicing soft dough, it smears, it won’t look like a clean circle, and you’ll just end up with a bumpy mess that spreads too much in the oven. Give those dough logs their mandatory 4 hours (or more!) to firm up. It’s worth the wait!
How long do these Party Cookies stay fresh?
If you manage to have any leftovers—which is rare in my house—the baked cookies are really well-behaved! Stored correctly in a good airtight container at cool room temperature, they stay perfectly delicious for about a full week. Because they don’t have a creamy filling, they hold up wonderfully. Just keep them away from direct sunlight or really hot air!
How can I make the baking process quicker?
The absolute key to a super Quick Bake experience is maximizing your prep time! Don’t wait until you need cookies tomorrow to make the dough today. Roll those logs, wrap them, and freeze them solid. When you suddenly need warm Party Cookies for an impromptu gathering, you just pull the frozen log out. You slice them straight from frozen—it’s the best kind of spontaneous baking!
Sharing Your Slice-and-Bake Party Cookies Creations
Part of the joy of baking, especially when planning parties, is seeing how others bring their own spin to a recipe! Once you’ve tried these Slice-and-Bake Party Cookies, I absolutely want to know how they turned out for your gathering. Did everyone love the chocolate drizzle, or did you try a fun color swap with the sprinkles?
Don’t be shy! Leave a comment below and tell me about the party moment these cookies helped create. Were they a huge hit at a birthday? Did they make a quiet Tuesday night feel special? Knowing these easy treats are helping busy folks like us create connection is the best feedback I could ask for.
If you loved this simple recipe, please give it a star rating right down below. It lets me know I’m hitting the mark with these fuss-free, yet festive, treats! Happy baking, and I hope your next party is packed with perfectly uniform, delicious cookies!
Slice-and-Bake Party Cookies
Ingredients
Equipment
Method
- In a large bowl, beat the softened butter for 1 minute until smooth. Add the brown sugar and beat until fluffy. Beat in the egg, vanilla extract, and almond extract until fully combined.
- Beat in the flour and salt until combined. Switch to high speed and beat in the sprinkles. The dough will be thick and slightly sticky. Add more sprinkles if desired.
- Turn the dough onto a floured surface. With floured hands, divide the dough in half. Shape each half into an 8-inch log, about 2.5 inches in diameter. Tightly wrap each log in plastic wrap. Chill in the refrigerator for at least 4 hours, or up to 5 days. Chilling is mandatory.
- Preheat your oven to 350°F (177°C). Line two large baking sheets with parchment paper or silicone baking mats.
- Remove the chilled logs from the refrigerator. Roll in coarse sugar, if using. Slice each log into about 12 equally thick cookies. Place the cookies on the prepared baking sheets, about 2 inches apart.
- Bake for 12-14 minutes, or until the edges are brown. Let the cookies cool on the baking sheets for 5 minutes before transferring them to a cooling rack to cool completely.
- Melt the chopped white chocolate using a double boiler or in the microwave. If using the microwave, place the chocolate in a heat-proof bowl and melt in 15-second increments, stirring after each, until smooth.
- Dip each cooled cookie halfway into the melted white chocolate. Place the dipped cookies onto a parchment or silicone mat-lined baking sheet. Top the chocolate with extra sprinkles.
- Place the baking sheet in the refrigerator to help the chocolate set. Once set, enjoy your cookies!
Notes
Tried this recipe?
Let us know how it was!
Mindfulness & Emotional Wellness Specialist
I never thought I’d leave my career as a corporate litigation attorney, but a panic attack in a courthouse bathroom changed everything. After struggling with emotional eating for over a decade—starting in college and getting worse through the stress of law school—I realized that no diet could fix what was really going on inside me.
My breakthrough came through mindfulness meditation training. Working with Jon Kabat-Zinn’s protocols, I discovered that my relationship with food reflected deeper patterns of anxiety and perfectionism that I’d been avoiding for years. That’s when I understood that sustainable eating changes require internal transformation, not just external rules.
Now I treat meal preparation as meditation practice. My “Mindful Kitchen” workshops help people transform ordinary cooking into opportunities for self-awareness and emotional healing. I’ve developed over 180 recipes designed for slow, mindful preparation—complex enough to keep you present, simple enough not to overwhelm your nervous system.
I believe food becomes medicine when we approach it with presence rather than reactivity. The kitchen can be our monastery if we choose to enter it with reverence.