
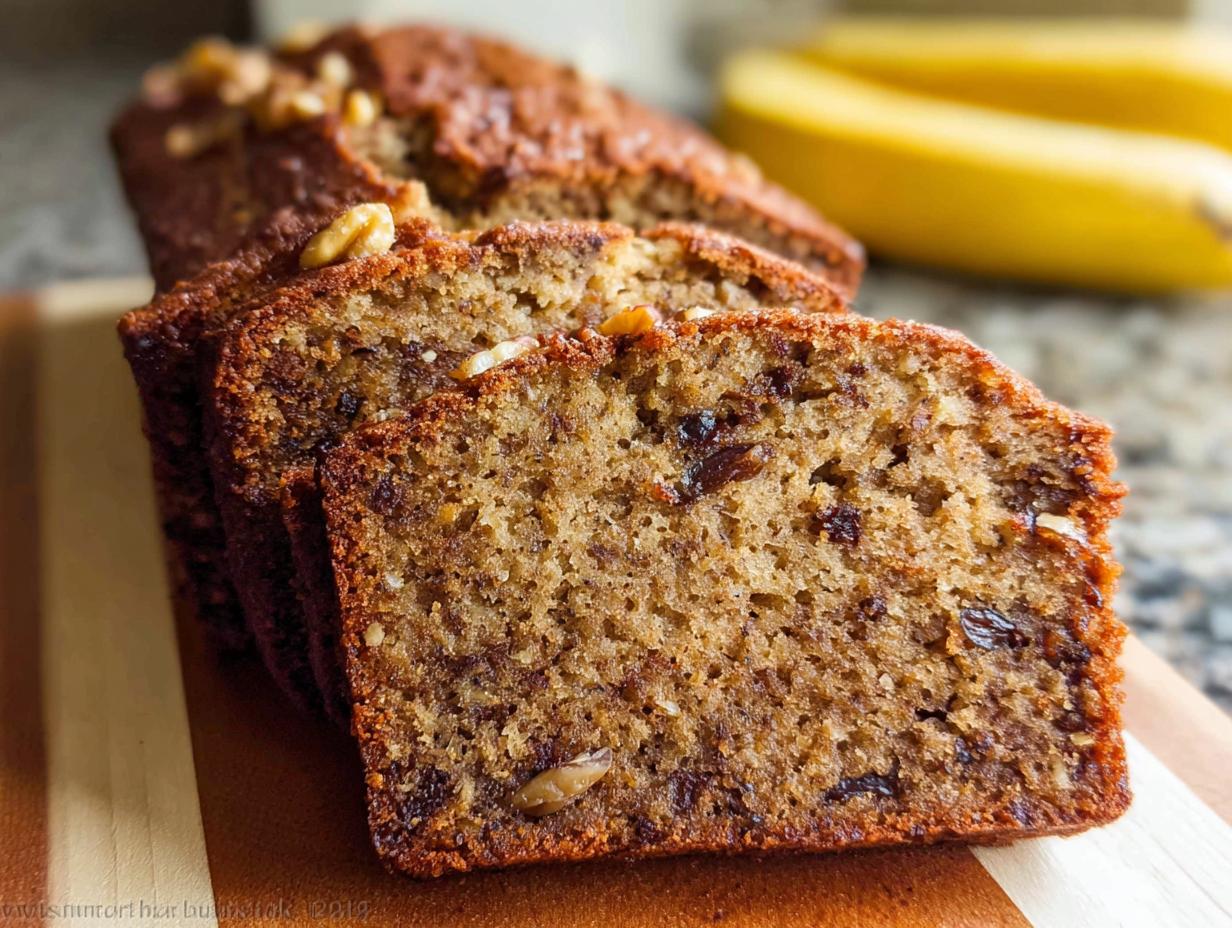
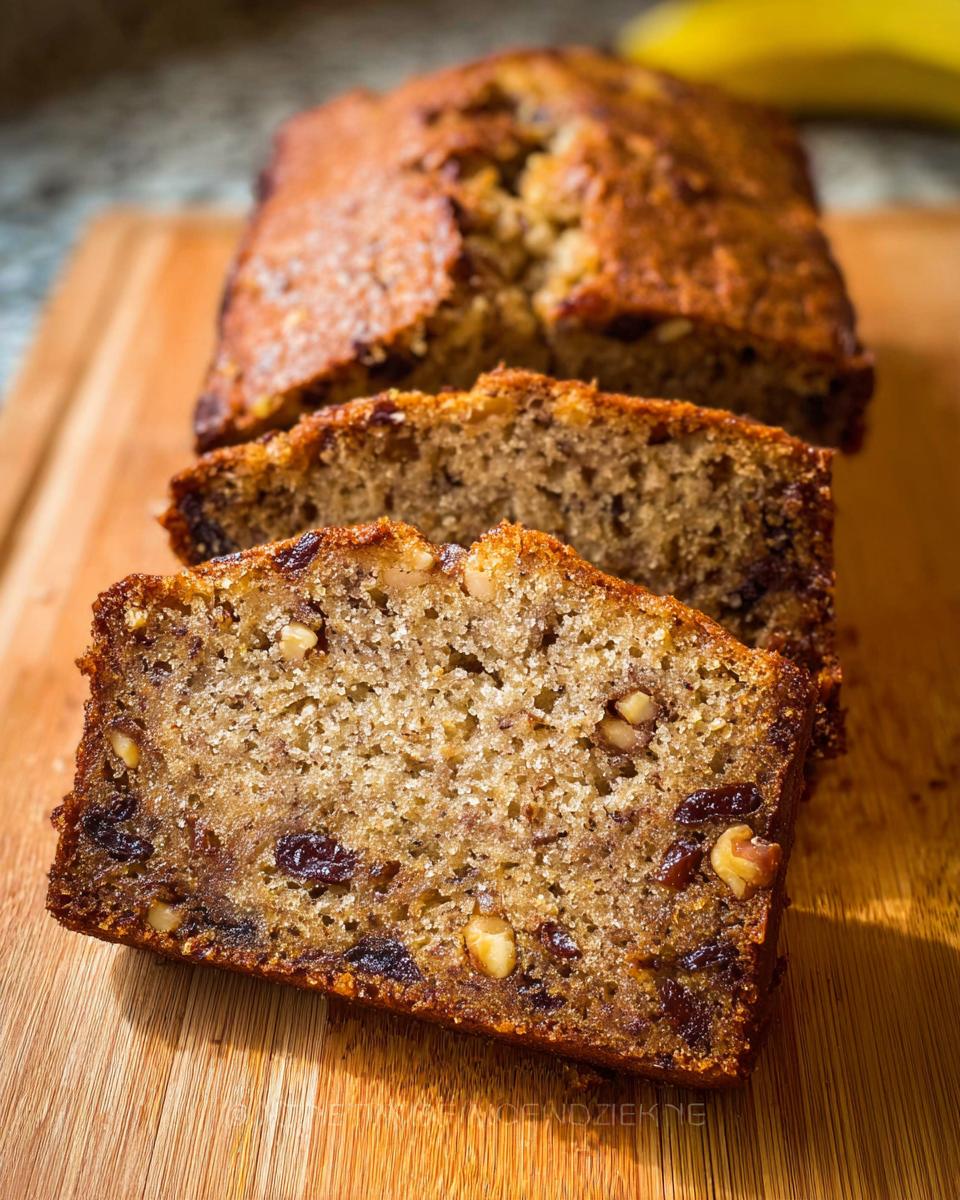
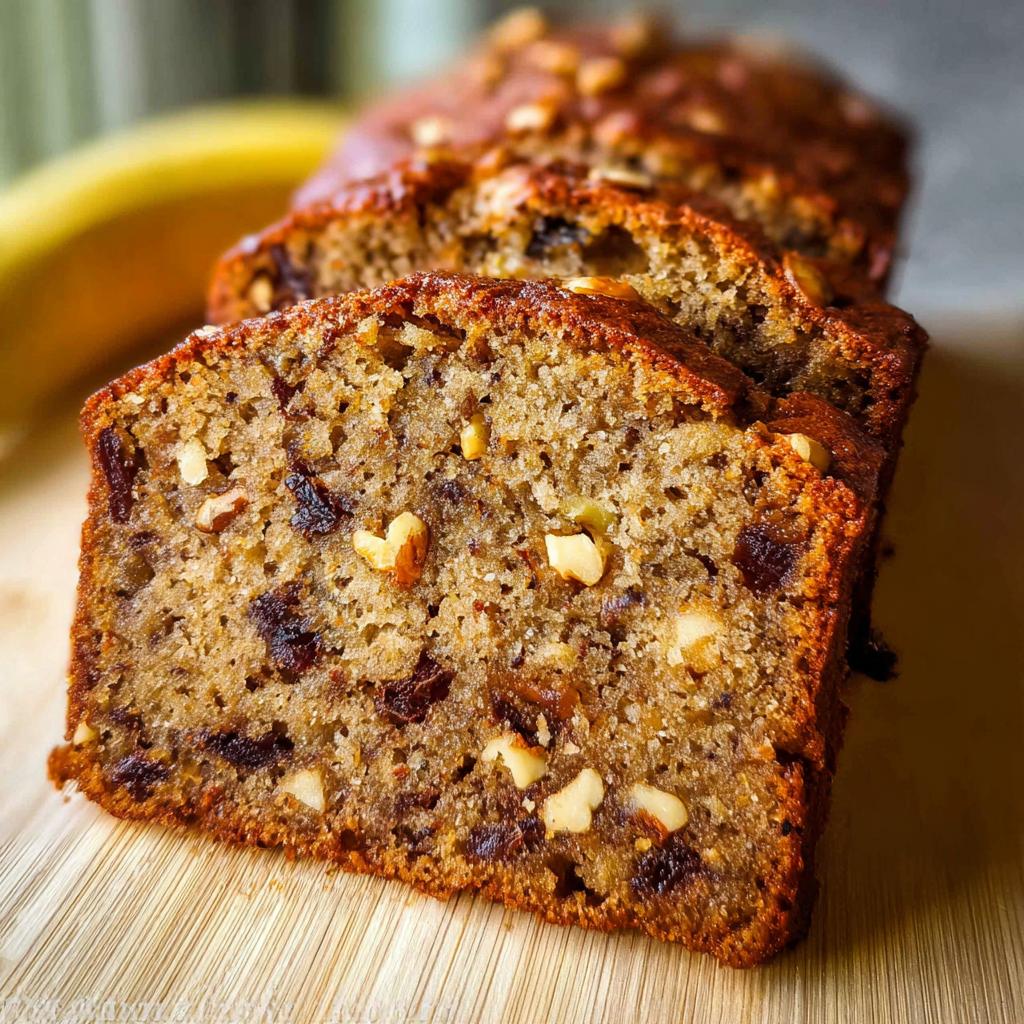
Oh, that deep, undeniable craving for perfect banana bread hits so hard sometimes, doesn’t it? You know the one—where you see those sad, spotty bananas sitting on the counter and think, “Today is the day.” Well, my friends, I finally nailed it. After years of chasing that perfect loaf, I’m handing over the absolute secret to making the Best Ever Banana Bread (Moist & Easy). Seriously, this recipe is my go-to because it delivers that gorgeous, moist and tender crumb every single time, using just simple pantry ingredients.
I still remember the first time I baked banana bread in my tiny studio kitchen. It was a rainy afternoon, and I had a couple of overripe bananas staring back at me, their soft spots begging to be used. With a mix of excitement and apprehension, I turned to my well-worn recipe book, and as I combined the ingredients, the familiar scent of vanilla and spice filled the air. The moment I pulled that golden loaf from the oven, I felt an overwhelming sense of accomplishment. Slicing into that moist bread and sharing it with friends made me realize that baking is not just about the final product; it’s about creating connections and memories in the kitchen. Since then, banana bread has become a staple in my home, reminding me that even in uncertain times, there’s always something comforting about a freshly baked loaf.
I’m Leonardo Rodriguez, and trust me when I say this recipe is the one that finally stopped my search. Forget dry, crumbly disappointments. We are going for pure, comforting banana goodness here. Let’s get baking!
Why This is the Best Ever Banana Bread (Moist & Easy)
If you’ve been burned by dry, disappointing banana bread recipes before, you can officially stop looking. This recipe is formulated for supreme moisture and ease. We use straightforward methods that guarantee success, even if you’re just dusting off an old whisk. It’s the ultimate comforting bake done right!
- Incredible Moist And Tender crumb, every time.
- Surprisingly simple, thanks to its One Bowl approach.
- It’s an Easy Bake that relies on basic skills.
- Made almost entirely from ingredients you probably already have among your Pantry Ingredients.
If you want to see some other fantastic things you can whip up with basic ingredients, check out what else I’ve been perfecting over at my recipe index!
Achieving That Moist And Tender Texture
The secret weapon here is twofold: super-ripe bananas and the perfect ratio of fat to flour. We use the darkest brown bananas—the ones practically black—because they convert more starch to sugar, making the bread naturally sweeter and wetter. Plus, the proportions of butter and those two eggs create a beautiful structure that locks in moisture while baking. That’s how we get that divine, Moist And Tender bite we all crave!
Essential Ingredients for Your Best Ever Banana Bread (Moist & Easy)
When it comes to making truly amazing banana bread, you don’t need to run out to the specialty store for anything wild! In fact, this is why I call it the Best Ever Banana Bread (Moist & Easy)—it relies almost entirely on what you likely already have tucked away in your fridge or pantry. Overripe bananas are non-negotiable, of course, but everything else plays nicely together to create that perfectly sweet, rich loaf we are aiming for. These are the foundational components that guarantee that classic comfort flavor, so make sure you have these ready before you even think about preheating the oven!
For the Banana Bread
Here’s what you need for the loaf itself. Don’t substitute the butter for oil here; that soft, room-temperature butter is key to the texture:
- 3 very ripe bananas (medium/large)
- 8 Tbsp unsalted butter (at room temperature)
- 3/4 cup granulated sugar
- 2 large eggs (lightly beaten)
- 1 1/2 cups all-purpose flour
- 1 tsp baking soda
- 1/2 tsp salt
- 1/2 tsp vanilla extract
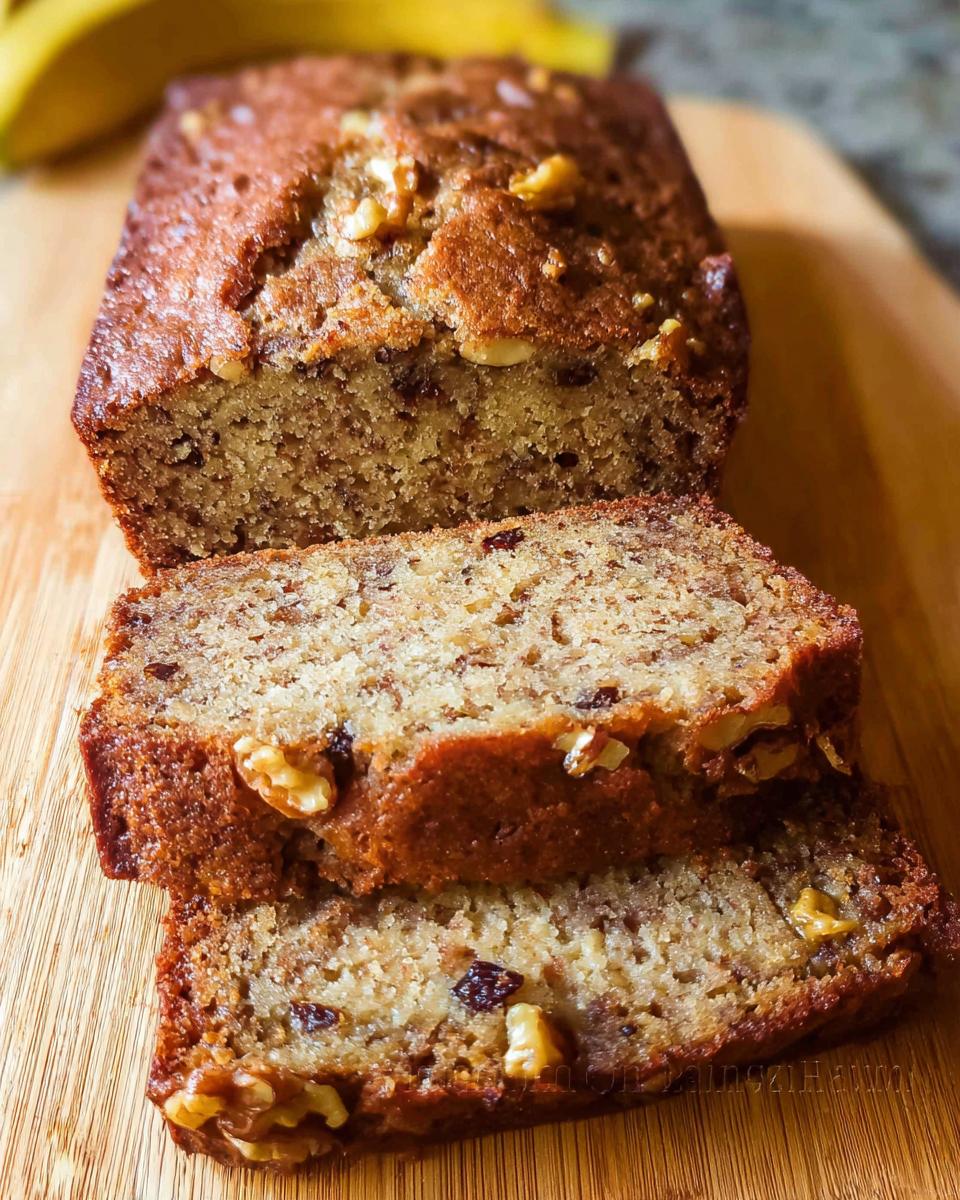
- 1 cup walnuts (chopped)
- 1/2 cup raisins
Simple Equipment for Your Best Ever Banana Bread (Moist & Easy)
Because this recipe is all about being an Easy Bake effort, you don’t need any fancy gadgets! Most of this stuff is probably already sitting on your counter, ready to go. Having these simple tools on hand is really all it takes to move from spotting those brown bananas to enjoying a fresh slice of banana bread. It’s wonderfully straightforward equipment for a delicious outcome.
You’ll definitely want these essentials ready:
- A standard Bread loaf pan (9×5 inches is perfect).
- A small Skillet for toasting those walnuts—trust me, it makes a huge difference!
- One good-sized Mixing bowl for creamed ingredients.
- A sturdy Wire rack for cooling the loaf properly.
Step-by-Step Instructions for Easy Bake Banana Bread
We’re keeping this as close to a One Bowl recipe as possible, even though the baker in me insists on prepping the dry ingredients separately—it just keeps things neater! Follow these steps closely, and you’ll have the most delightfully Moist And Tender banana bread waiting for you. We are using simple techniques here, so there’s no need to stress about complicated folding or timing your ingredients perfectly; just have fun with it!
Preparing the Pan and Toasting Nuts
First things first, get that oven warmed up to 350°F (175°C). Then, grab your 9×5 loaf pan and grease it up really well, maybe even dusting it with a little flour so you know for sure that loaf is coming out perfectly in the end. Now, for an expert trick: take those walnuts and toss them into a dry skillet over medium heat for just a few minutes. Stir them constantly! This quick toast wakes up their flavor tenfold. Once they cool down, give them a rough chop and set them aside.
Mixing Wet Ingredients for Moist Banana Bread
Time to start building flavor! Grab your large mixing bowl and use a hand mixer or a sturdy wooden spoon to cream that room temperature butter with the sugar until it looks pale and happy. This is called creaming, and it whips in essential air! Next, you’ll mash those three extremely ripe bananas until they look a bit like chunky applesauce. Don’t worry about getting them perfectly smooth. Add the mashed bananas and your lightly beaten eggs right into the creamed butter mixture. Just mix until things look combined; we aren’t whipping this part, just marrying the ingredients!
Combining Dry Ingredients and Final Batter Mix
In a separate, smaller bowl—that’s our only other bowl, I promise!—get your flour, baking soda, and salt whisked together really well. Now, add that dry blend gradually into your wet ingredients, mixing only until the flour streaks disappear. Stop right there! Overmixing is the enemy of Moist And Tender bread. Listen, I’m always trying to figure out foolproof baking, and for more foolproof tips on everything from breads to proteins, you should definitely take a look at my notes on how to make chicken foolproof—the principles of careful mixing apply everywhere!
Finally, gently fold in the vanilla, your toasted walnuts, and the raisins. Pour that gorgeous batter evenly into your waiting loaf pan. If you want to see a super helpful visual guide on combining ingredients without overmixing, you can check out this great visual resource on baking techniques here: Natasha’s Banana Bread Video.
Baking and Cooling the Best Ever Banana Bread (Moist & Easy)
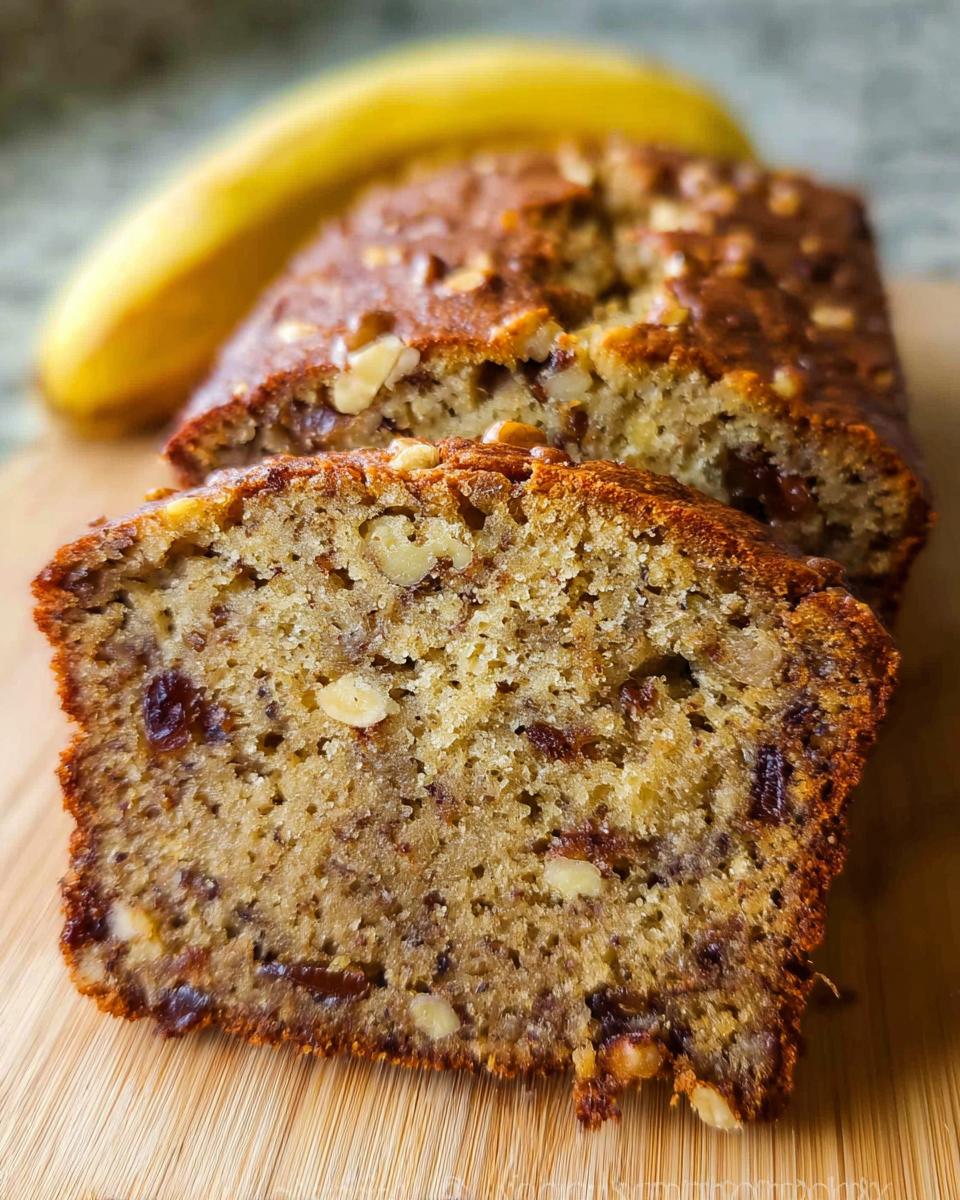
Slide that pan into the preheated oven and plan on about 55 to 60 minutes. How do you know when it’s done without cutting into it prematurely? Try the classic toothpick test: insert one right into the center, and if it comes out clean or with just a few moist crumbs clinging to it, you’re golden. But hold on! Don’t rush it out of the pan. This is maybe the biggest mistake folks make with the Best Ever Banana Bread (Moist & Easy). Let it sit cooling inside that hot pan for a full 10 minutes. Then, carefully turn it out onto a wire rack to cool completely. That resting time really helps it set up perfectly!
Tips for Success When Making Your Best Ever Banana Bread (Moist & Easy)
Baking this bread is mostly intuitive, but I learned a few crucial things along the way that elevate it from good to truly the Best Ever Banana Bread (Moist & Easy). If you want that guaranteed Moist And Tender result, focus on these areas. It’s all about respecting the ingredients and mixing gently!
My top tip, and I can’t stress this enough, is the ripeness of your bananas. They can’t just be yellow with a few spots; they need to look like they’re about to turn into banana bread whether you bake them or not! Seriously, black peels mean success.
Also, when you add the dry ingredients, treat them gently! We want to mix just until the flour disappears. If you stir too vigorously, you develop gluten, and suddenly your bread gets tough instead of soft. Think of it as folding everything together delicately. For more details on getting textures just right, sometimes thinking about cooking proteins helps—it’s all about technique! You can read some of my general thoughts on technique in my ultimate chicken guide, as careful handling matters everywhere in the kitchen.
One last thing: Make sure that butter and those eggs are truly room temperature. Cold butter won’t cream properly, and that step is vital for incorporating the air that keeps the loaf light despite being so moist!
Ingredient Notes and Substitutions for Banana Bread
Since this recipe relies heavily on easy Pantry Ingredients, you might occasionally need to swap things out based on what you have around! If you only have brown sugar instead of white, go ahead and use it—it adds a nice, deeper flavor for a slightly different take on the Best Ever Banana Bread (Moist & Easy). You’ll get a slightly richer color, but it’s still delicious.
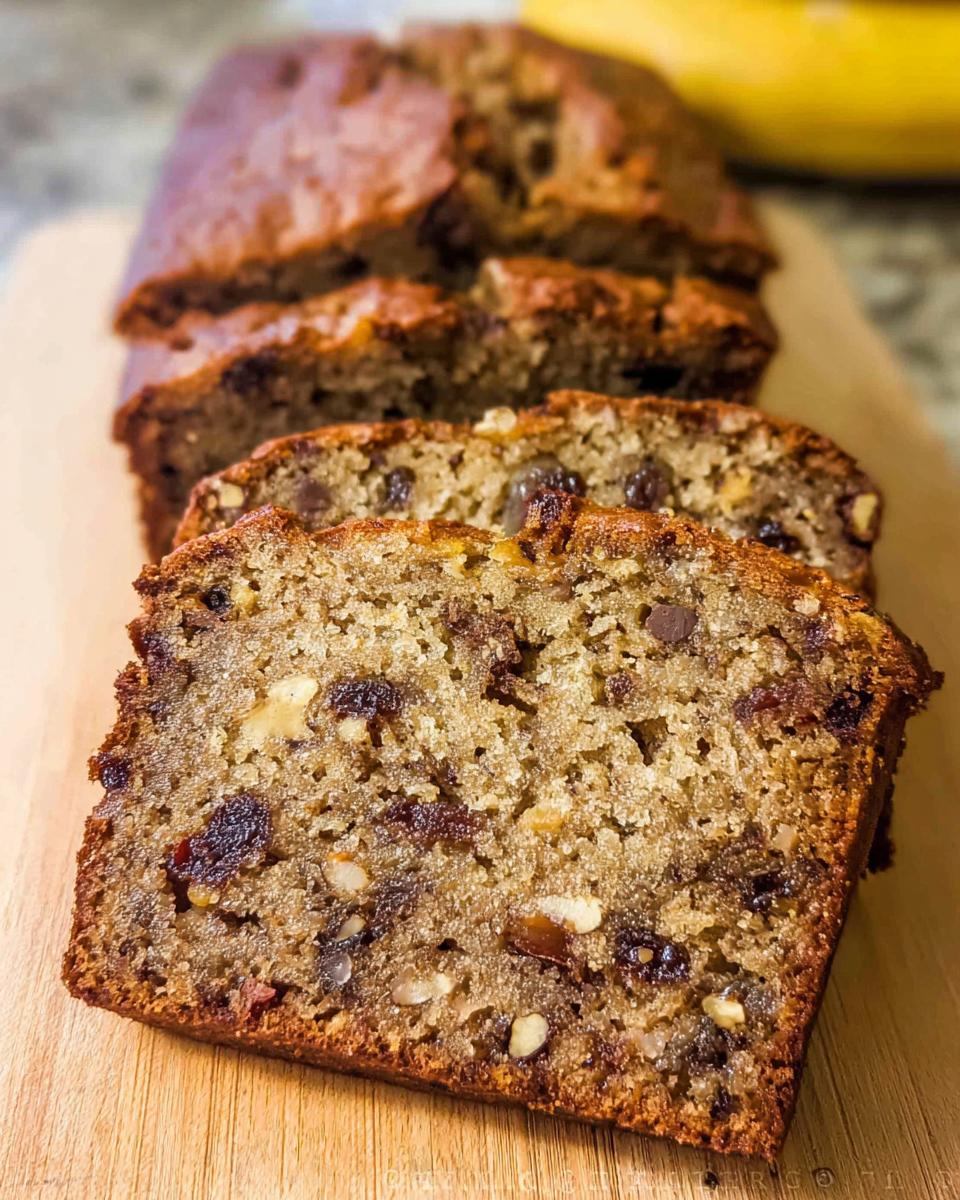
What about the mix-ins? If nuts aren’t your thing, just leave them out entirely! That’s perfectly okay; the bread will still be wonderfully soft. And if you don’t have raisins, maybe try a quarter cup of mini chocolate chips instead. Either way, the core structure of the bread remains perfectly Moist And Tender because we aren’t messing with the main wet ingredients!
Storing Your Moist Banana Bread
You won’t manage to keep this loaf around for long, I promise, but when you do need to save some for later, storage is really easy. The recipe notes mention that this bread keeps beautifully at room temperature for up to three days. The absolute key is an airtight container—this locks in that well-earned moisture!
If you somehow have leftovers clinging around after day three, you can wrap slices tightly in plastic wrap and keep them frozen for a couple of months. When you want a treat, just microwave a slice for about 15-20 seconds. It warms right up and tastes almost fresh-baked! For more great mealtime planning ideas, take a peek at my advice on dinner ideas for busy weeknights.
Frequently Asked Questions About Best Ever Banana Bread (Moist & Easy)
Can I use frozen bananas instead of fresh ripe ones?
Yes, you absolutely can! Frozen bananas are often even better because they release more liquid as they thaw. Just make sure you thaw them completely and drain off any excess water before mashing them up. Using frozen bananas actually helps lock in that sought-after Moist And Tender quality we love so much.
If I follow this recipe, is it truly a One Bowl experience?
Well, honestly? Almost! For the best results and to control the texture, I do insist on whisking the dry ingredients separately for a second. But the wet ingredients all go into one big bowl! We only use a second small dish for the flour mixture. This keeps the mixing fast and drastically reduces cleanup, making it feel very much like an Easy Bake, one-bowl wonder!
How can I guarantee the bread is done without drying it out?
The toothpick test is your main friend here, but remember what I said—you’re looking for *moist crumbs*, not a perfectly dry stick coming out. If the toothpick comes out completely clean, it’s probably already a little overdone, which we don’t want! Also, look for the bread pulling slightly away from the edges of the pan; that’s a beautiful visual cue that it’s ready to come out for its crucial 10-minute rest.
Can I make this recipe without any nuts?
Of course! If you have allergies or just aren’t a fan of walnuts, feel free to skip them entirely. The bread will still be wonderfully rich and flavorful. You might want to replace the volume just to make sure the batter distributes evenly, so toss in an extra quarter cup of raisins or maybe some chocolate chips instead. You can find more variations and trends in my banana bread category if you’re looking for more ideas!
Estimated Nutritional Data for Best Ever Banana Bread (Moist & Easy)
So you want to know what you’re fueling up with? I totally get that! While I focus mostly on flavor and texture, I always run the ingredients through a quick calculator just to have a general idea. Remember, this is just an estimate, and where you get your flour or if you add extra nuts really swings these numbers around. This data is based on dividing the recipe into 10 generous slices, which is how I usually serve up this delicious loaf.
If you are keeping track, here are the ballpark figures for what goes into one slice of this wonderfully Moist & Easy banana bread:
- Calories: Approximately 350
- Carbohydrates: Around 45 grams
- Protein: About 5 grams
- Fat: Roughly 18 grams
This isn’t exactly a diet snack, but hey, it’s banana bread! It’s packed with flavor because of that butter and sugar, but remember all that natural sweetness is coming from those amazing, ripe bananas we use. As the note says, please take these numbers as a guide only; homemade baking always leads to slight variations!
Share Your Experience Baking This Banana Bread
Alright, your turn! I genuinely want to know what you thought of this recipe. Did it earn the title of the Best Ever Banana Bread (Moist & Easy) in your house? Don’t be shy—please leave a star rating right below and drop a comment!
I’m especially eager to hear if you achieved that perfect, Moist And Tender crumb. If you had any tweaks or just want to say hello, head over to the contact page and let me know. Happy baking, everyone!
Best Ever Banana Bread (Moist & Easy)
Ingredients
Equipment
Method
- Preheat your oven to 350°F (175°C). Grease and flour a 9×5 inch loaf pan.
- Lightly toast the walnuts in a dry skillet over medium heat, stirring constantly to prevent burning. Once cooled, chop them coarsely.
- In a large mixing bowl, cream together the softened butter and sugar until smooth.
- Mash the ripe bananas with a fork until they have a chunky applesauce consistency. Add the mashed bananas and the lightly beaten eggs to the butter and sugar mixture. Mix until well combined.
- In a separate bowl, whisk together the flour, baking soda, and salt. Gradually add this dry mixture to the wet ingredients, mixing until just combined. Do not overmix.
- Stir in the vanilla extract, chopped walnuts, and raisins.
- Pour the batter into the prepared loaf pan and spread evenly.
- Bake for 55-60 minutes, or until a toothpick inserted into the center of the bread comes out clean.
- Let the banana bread cool in the pan for 10 minutes before carefully transferring it to a wire rack to cool completely.
Nutrition
Notes
Tried this recipe?
Let us know how it was!
Visual Culinary Artist & Aesthetic Designer
When the pandemic killed my career as a luxury hotel photographer overnight, I was stuck in my studio apartment with nothing but time and vegetables. That’s when I started treating meal prep like photography projects—and discovered that the same principles that made five-star dishes camera-ready could turn humble zucchini noodles into social media gold.
My fine arts degree from Parsons taught me that people eat with their eyes first. After years behind the lens capturing haute cuisine, I realized that successful dieting often depends more on visual satisfaction than pure nutrition. When your food looks amazing, you actually want to stick with your eating plan.
My recipe development feels more like an art studio than a test kitchen. I use color theory to guide ingredient selections—purple cabbage with golden cauliflower, emerald herbs against ivory cheese. My “Edible Landscapes” series transforms standard low-carb ingredients into miniature scenic compositions that make vegetables feel aspirational rather than obligatory.
I spend evenings exploring art galleries and practicing watercolor painting, always looking for inspiration. My philosophy is simple: make low-carb food visually irresistible, and dietary compliance becomes an aesthetic choice rather than a health sacrifice.