
Oh, shrimp! I just love playing around with shrimp. It all started for me one balmy evening at a food truck festival, where I had my very first shrimp taco. My tastebuds did a happy dance! I was instantly hooked and just *had* to figure out how to make that magic happen in my own kitchen. You know how it is when a recipe just clicks? That’s exactly what happened here. This dish is so versatile and surprisingly easy, making it my absolute go-to. Seriously, it’s The Only Shrimp Recipes Recipe You’ll Need (2025), whether you’re whipping up a quick weeknight dinner or impressing guests at a party.
It’s become a total showstopper at family gatherings, and I can’t wait for you to try it!
Why This is The Only Shrimp Recipes Recipe You’ll Need (2025)
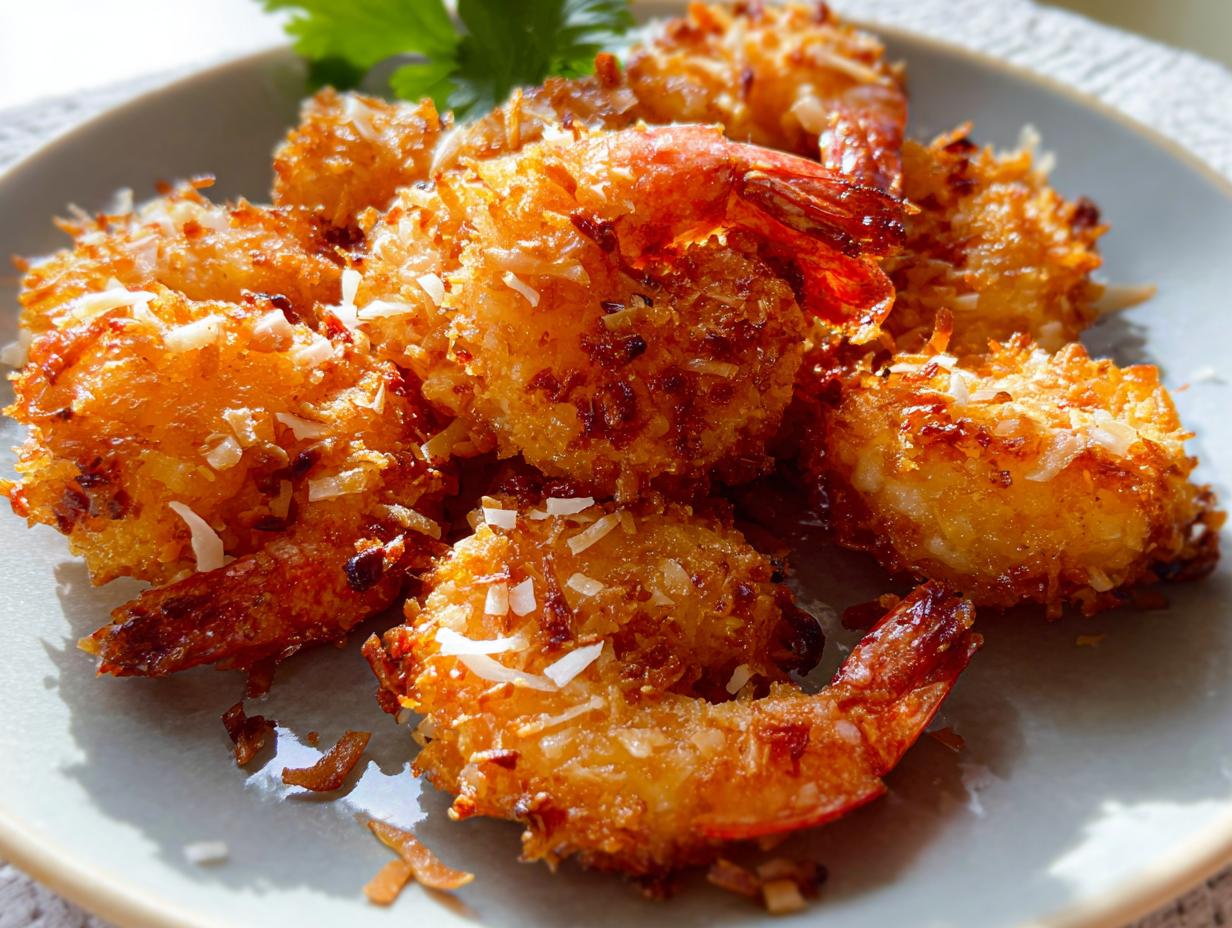
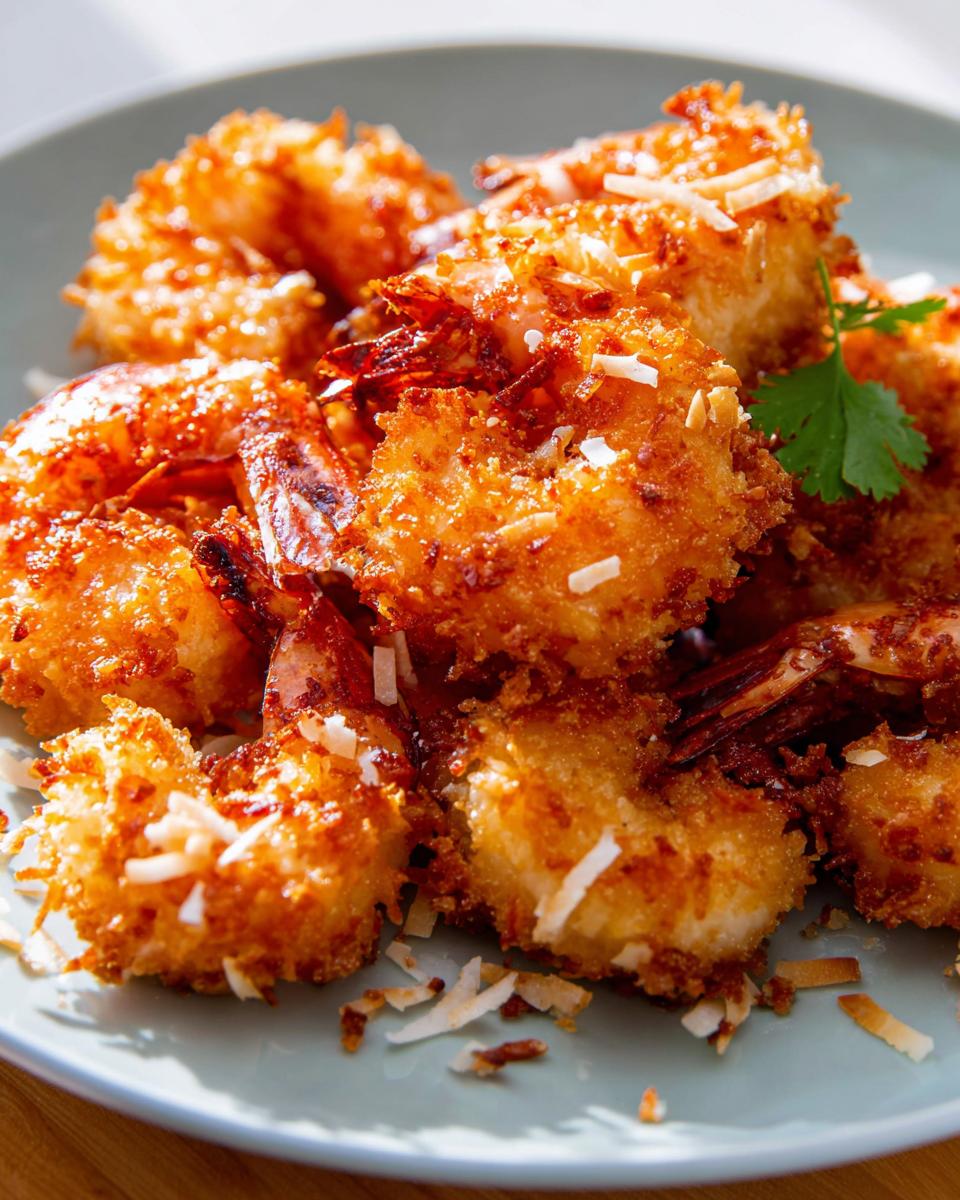
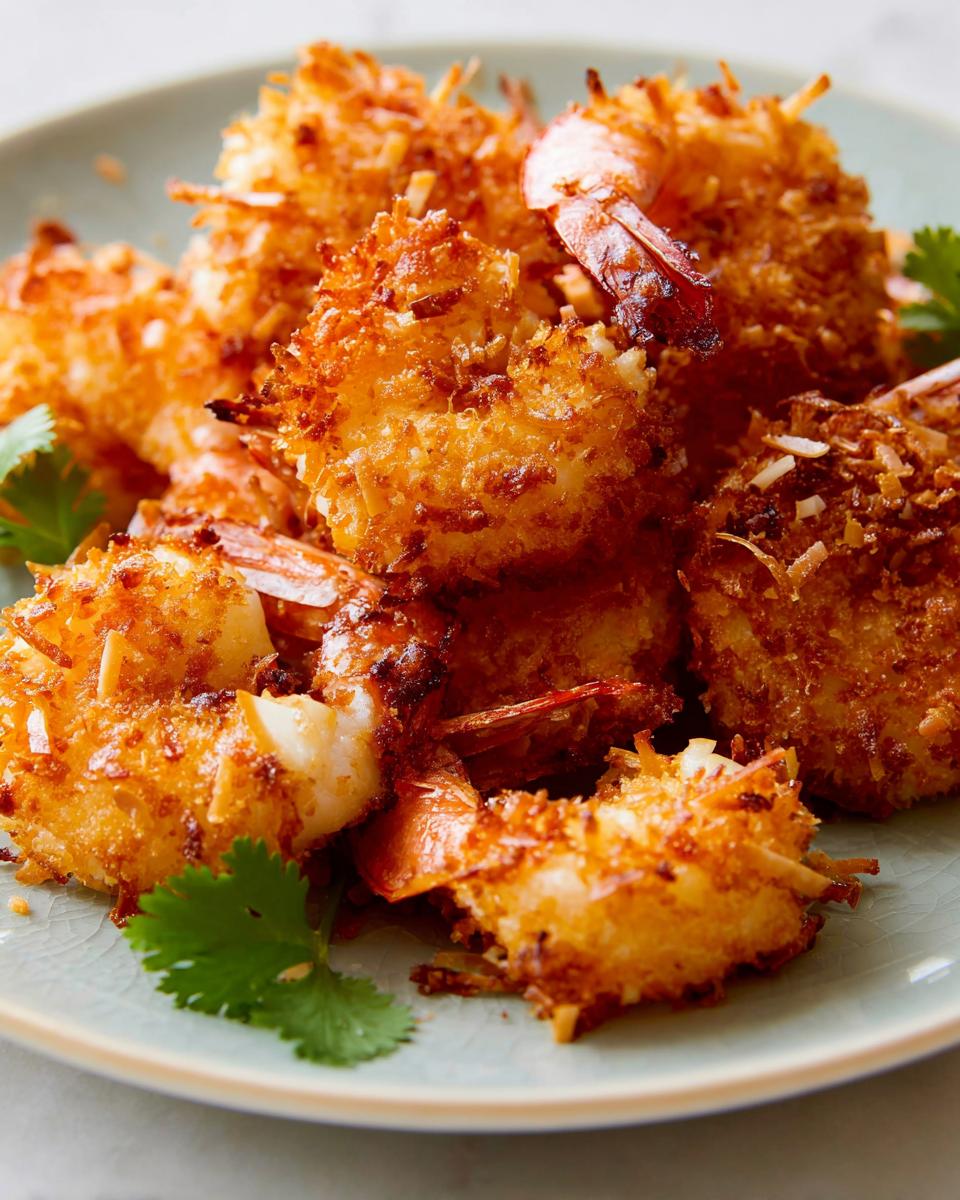
Okay, so what makes this recipe *the* one? It’s all about that perfect balance, trust me! We’re talking super simple steps that give you incredibly flavorful, restaurant-worthy coconut shrimp without any fuss. The sweet shredded coconut and crunchy Panko breadcrumbs create this amazing texture, and the hint of sweetness from the jam-based dipping sauce is just divine.
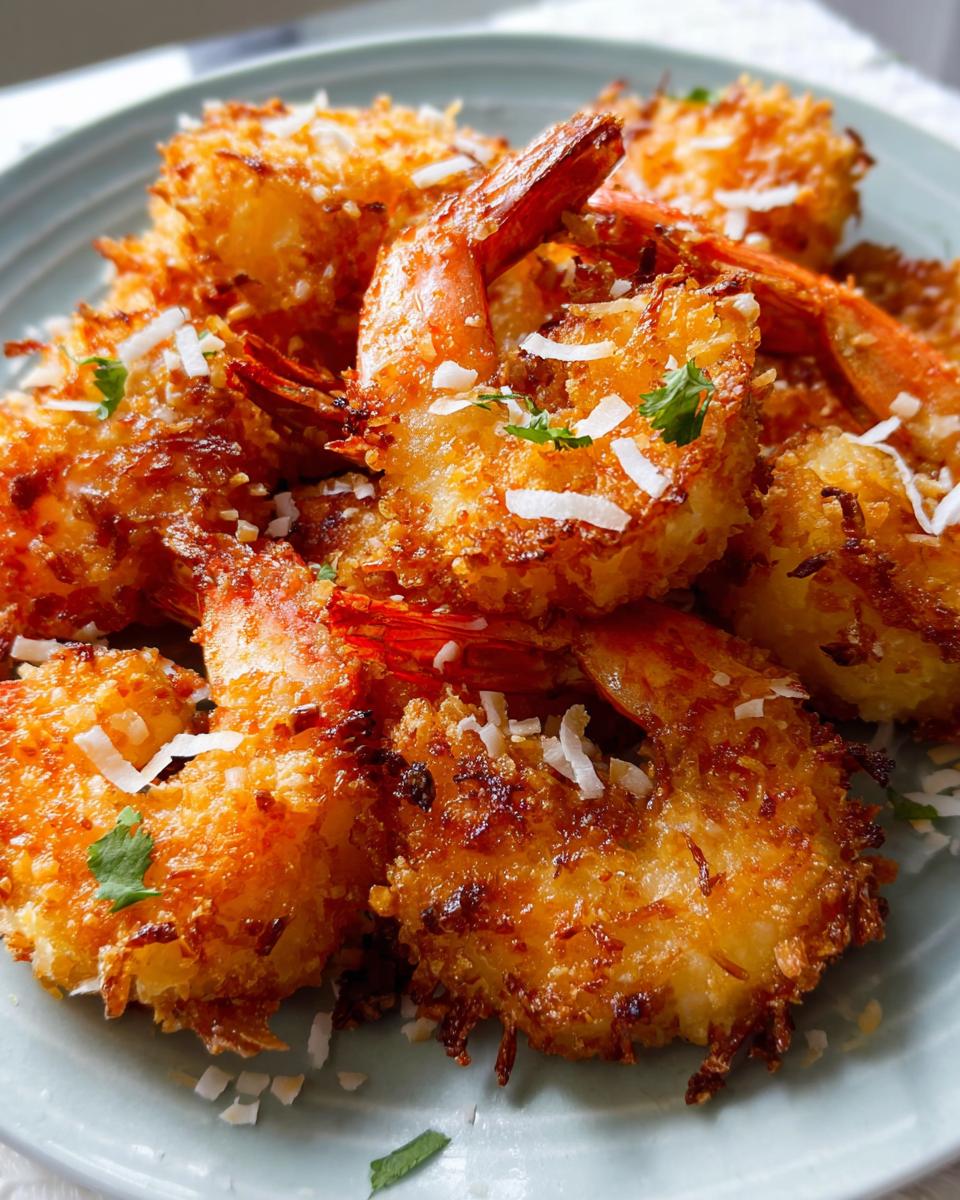
But the real magic? It’s how adaptable this recipe is! Serve it as a crowd-pleasing appetizer with that tangy dipping sauce, or make it a star entrée alongside some rice and a crisp salad. It’s proof that easy recipes can totally blow people away, and that’s why The Only Shrimp Recipes Recipe You’ll Need (2025) will earn a permanent spot in your kitchen.
Ingredients for The Only Shrimp Recipes Recipe You’ll Need (2025)
Alright, let’s get cooking! Here’s everything you’ll need to make these absolutely irresistible coconut shrimp. Don’t worry if you don’t have *exactly* everything; I’ll show you some easy swaps later!
For the Coconut Shrimp
- 1/3 cup all-purpose flour (or whole wheat flour, spooned & leveled)
- 1/2 teaspoon salt
- 1/2 teaspoon ground black pepper
- 2 large eggs, beaten
- 3/4 cup Panko bread crumbs
- 1 cup sweetened shredded coconut
- 1 pound raw large shrimp, peeled and deveined with tails attached
- 3–4 Tablespoons vegetable oil, coconut oil, or olive oil (for frying)
- 1 Tablespoon finely chopped cilantro (optional, for topping)
Serving Sauce (Optional)
- 3 Tablespoons Thai chili sauce
- 6 Tablespoons jam or preserves (orange, peach, or apricot work beautifully!)
Step-by-Step Guide to Making The Only Shrimp Recipes Recipe You’ll Need (2025)
Alright, let’s get this party started! Making these amazing coconut shrimp is way easier than you think. Just follow these simple steps and you’ll be digging into crispy, golden perfection in no time. Here’s how we bring The Only Shrimp Recipes Recipe You’ll Need (2025) to life!
-
Get Your Bowls Ready: First things first, grab three medium-sized bowls. In the first one, whisk together the flour, salt, and pepper. Give the eggs a good beat in the second bowl. In that third bowl, mix together your Panko bread crumbs and the shredded coconut. This little setup is your dipping assembly line!
-
Coat Those Shrimp: Now for the fun part – making them pretty! Take each shrimp, give it a little dip in the flour mixture to coat it lightly, then give it a good swish in the beaten eggs. Finally, dredge it generously in that coconut Panko mix. Gently press the coating onto the shrimp to make sure it really sticks. It’s like giving them a cozy little coat! Set them aside on a plate as you go. For more amazing shrimp ideas, check out this garlic butter shrimp sheet pan recipe!
-
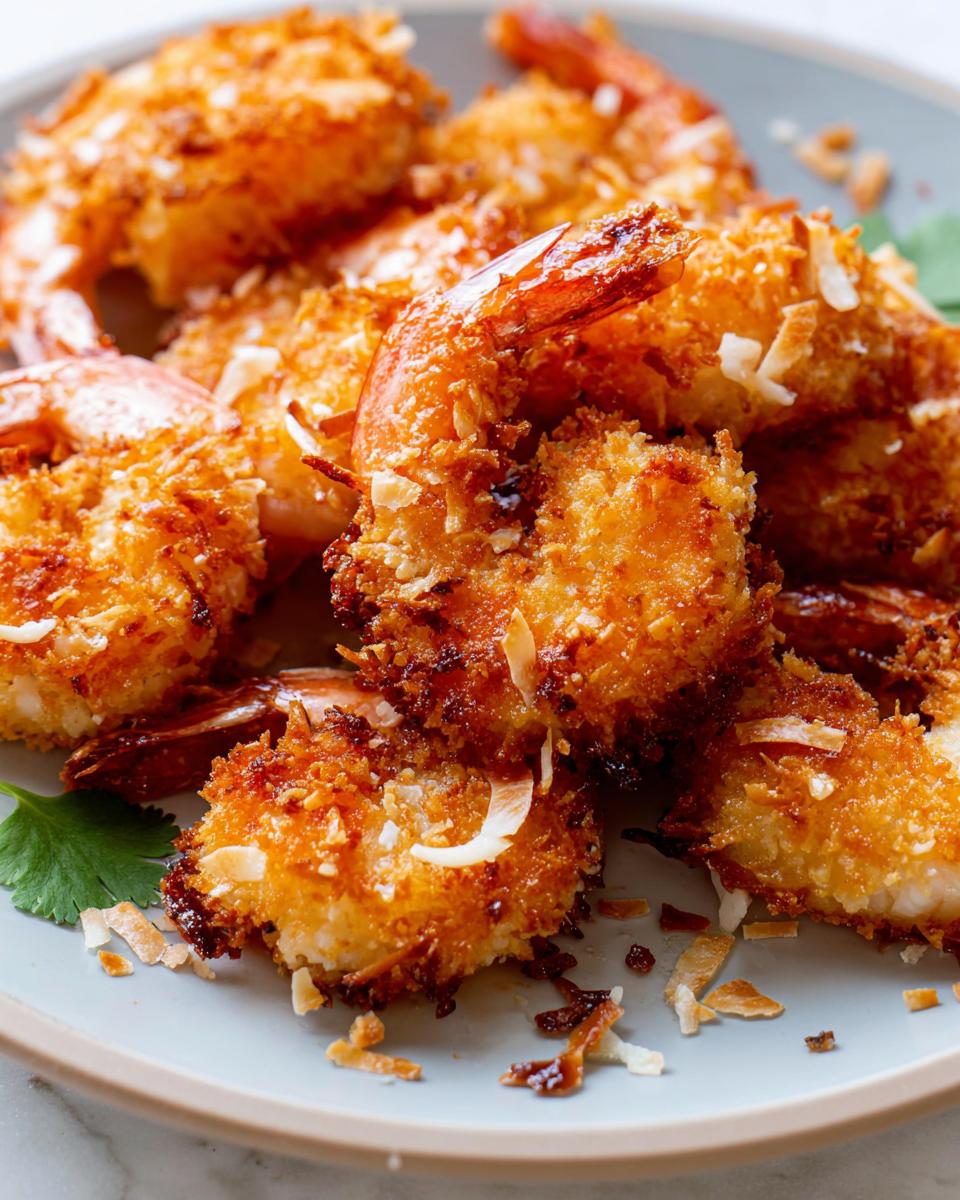
Fry ‘Em Up Golden: Heat about 3 to 4 tablespoons of vegetable oil (or coconut oil for extra flavor!) in a large skillet over medium heat. You want enough oil to lightly coat the bottom. Carefully add about 7-8 coated shrimp at a time – don’t crowd the pan, or they won’t get crispy! Fry them for about 2 minutes per side until they’re a beautiful golden brown. If you like them extra crisp, go for 2:30-3 minutes per side. Use your tongs to flip them so they cook evenly! For tips from other shrimp lovers, you can peek at Sally’s Baking Addiction.
-
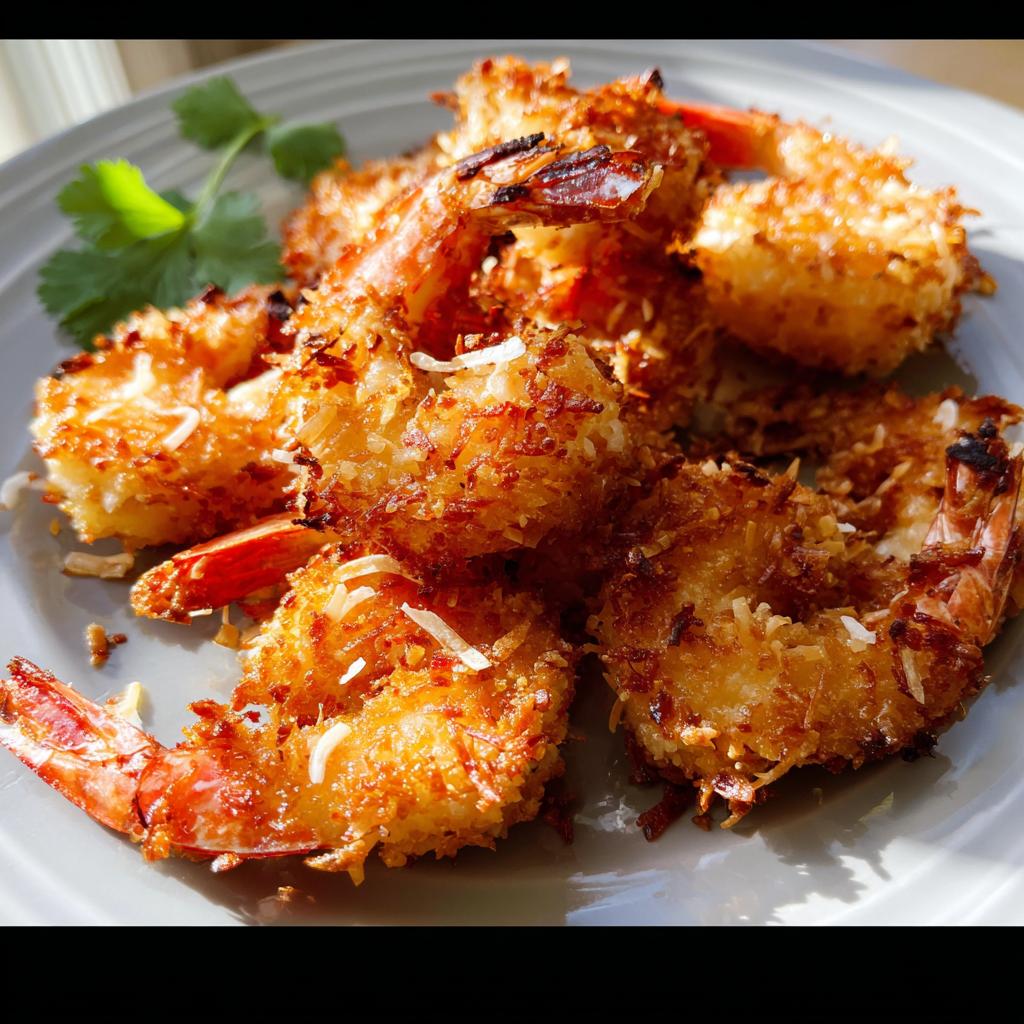
Drain and Serve!: As they come out of the pan, pop them onto a plate lined with paper towels. This helps soak up any extra oil. Repeat with the rest of your shrimp. If you’re feeling fancy, sprinkle on some chopped cilantro. For the optional dipping sauce, just mix the Thai chili sauce with your jam or preserves in a small bowl. Easy peasy and totally delicious!
-
Leftover Love: Got any left? Lucky you! Just cover and pop them in the fridge. They’ll be good for up to 3 days.
See? Not hard at all! This recipe always gets rave reviews, and it’s one of my absolute favorites to share.
Tips for Perfect Coconut Shrimp Every Time
Okay, so you’ve got the recipe, but a few little tricks can really make these coconut shrimp sing! It’s all about those small details that take them from good to absolutely spectacular. Trust me, these tips have been gathered from a few kitchen experiments (and a few oopsies!) over the years.
First off, oil temperature is key. You want it hot enough to crisp them up fast, but not so hot that they burn before the inside cooks. Medium heat is your friend here. Frying in small batches is also super important – don’t cram too many shrimp into the pan at once! Give them space so they can get that beautiful, even golden-brown crisp. And for an extra touch of flavor, consider using coconut oil for frying; it just amplifies that lovely coconutty goodness!
If you’re looking for a dreamy sauce to go with these, you’ve *got* to try this amazing champagne cream sauce for seafood. It’s pure heaven!
Serving Suggestions for Your Shrimp Recipe
So, you’ve got these gorgeous, crispy coconut shrimp hot out of the pan. Now what? Well, you could honestly just eat them straight from the plate (no judgment here!), but they really shine when paired with a few tasty sides. That sweet and tangy jam-chili sauce is my go-to, but don’t be afraid to get creative!
Serve them over a bed of fluffy jasmine rice, or maybe with some zesty lime wedges and a fresh, crisp slaw. For a fun weeknight meal, how about a honey garlic shrimp stir-fry? It’s a fantastic way to use up any leftovers too!
Storage and Reheating Instructions
Got a few of these delicious coconut shrimp leftover? Lucky you! Just pop them into an airtight container and store them in the fridge. They’ll keep nicely for up to 3 days. The real trick is how you reheat them to get that glorious crispiness back.
Forget the microwave, it just makes things soggy! Your best bet is to pop them in a preheated oven at 350°F (177°C) for about 10 minutes. This will thaw them out and bring back that lovely crunch. So simple, and it makes them taste almost as good as when they were freshly fried!
Frequently Asked Questions about The Only Shrimp Recipes Recipe You’ll Need (2025)
Got questions about whipping up these amazing shrimp? I get it! There are always a few things that pop into mind when you’re trying a new recipe. Don’t worry, I’ve got you covered with some quick answers to make sure your shrimp game is always on point. If you’re looking for even more ideas, be sure to check out all the recipes over at lowcarbglutenfreedishes.com!
Can I use frozen shrimp for this recipe?
Absolutely! If you’re using frozen shrimp, just make sure you thaw them completely before you start. Pat them really dry with paper towels before you coat them. This helps everything stick better and keeps them from getting watery.
What kind of oil is best for frying?
For the best flavor and crispiness, I love using coconut oil if you have it – it just enhances that coconut taste! Vegetable oil or even olive oil works great too. The key is to use an oil with a higher smoke point so it doesn’t burn too quickly. You’ll need about 3-4 tablespoons to coat the bottom of the skillet nicely.
Can I make this recipe gluten-free?
You sure can! To make these gluten-free, just swap out the all-purpose flour for your favorite gluten-free flour blend. For the breadcrumbs, use gluten-free Panko breadcrumbs. It’s really that simple! You’ll get all the same great flavor and crunch. Check out these easy low-carb gluten-free recipes for more ideas!
Nutritional Information
Just a heads-up, the nutritional info can wiggle around a bit depending on exactly what brands you use and how much oil gets absorbed. But, as a general idea for about 4 servings, you’re looking at roughly 350-400 calories per serving, with about 20-25g of fat, 15-20g of protein, and 25-30g of carbs. These are just estimates, of course!
The Only Shrimp Recipes Recipe You’ll Need (2025)
Ingredients
Equipment
Method
- Prepare three medium bowls. In the first bowl, combine the flour, salt, and pepper. Beat the eggs in the second bowl. In the third bowl, mix the Panko bread crumbs and shredded coconut.
- Dip each shrimp first into the flour mixture, then into the beaten eggs, and finally dredge it in the coconut mixture. Press gently to ensure the coconut adheres well. Set the coated shrimp aside on a plate.
- Heat enough oil to cover the bottom of a large skillet over medium heat. Fry the coconut shrimp in batches of 7-8 shrimp at a time, ensuring not to overcrowd the pan. Flip the shrimp after 2 minutes and fry the other side for another 2 minutes, or until golden brown. For a darker crisp, fry each side for 2:30-3 minutes.
- Place the cooked coconut shrimp on a plate lined with paper towels as you continue frying the remaining shrimp. Sprinkle with optional chopped cilantro. If making the serving sauce, mix the Thai chili sauce and jam or preserves together and serve with the shrimp.
- Cover and store any leftover shrimp in the refrigerator for up to 3 days.
Notes
Tried this recipe?
Let us know how it was!
Dual-Restriction Recipe Engineer & Cross-Contamination Specialist
Everything changed when my teenage son got hit with celiac disease and Type 1 diabetes diagnoses within six months of each other. Suddenly, pizza and pasta were off the table, and most “diabetic-friendly” foods contained gluten. I went from regular mom cooking to navigating what I call “compound restriction cooking”—and I had a kid’s appetite and taste buds to satisfy.
Lucky for us, my background in pharmaceutical quality control gave me the systematic mindset this level of precision requires. My kitchen now operates under pharmaceutical-grade protocols adapted for home use: dedicated prep surfaces, separate storage systems, and testing procedures that verify both carb counts and gluten absence before any recipe gets published.
I’ve developed over 220 recipes that clear multiple dietary hurdles simultaneously—finding gluten-free thickeners that don’t spike blood sugar, creating bread alternatives that meet both keto ratios and celiac safety, and developing desserts that actually taste good to a teenager despite impossible restrictions.
Through my “Safe Kitchen Certification” program, I teach other parents that managing multiple dietary restrictions isn’t about multiplying limitations—it’s about systematic thinking that reveals unexpected possibilities. When you engineer solutions instead of making compromises, restriction becomes innovation rather than deprivation.