
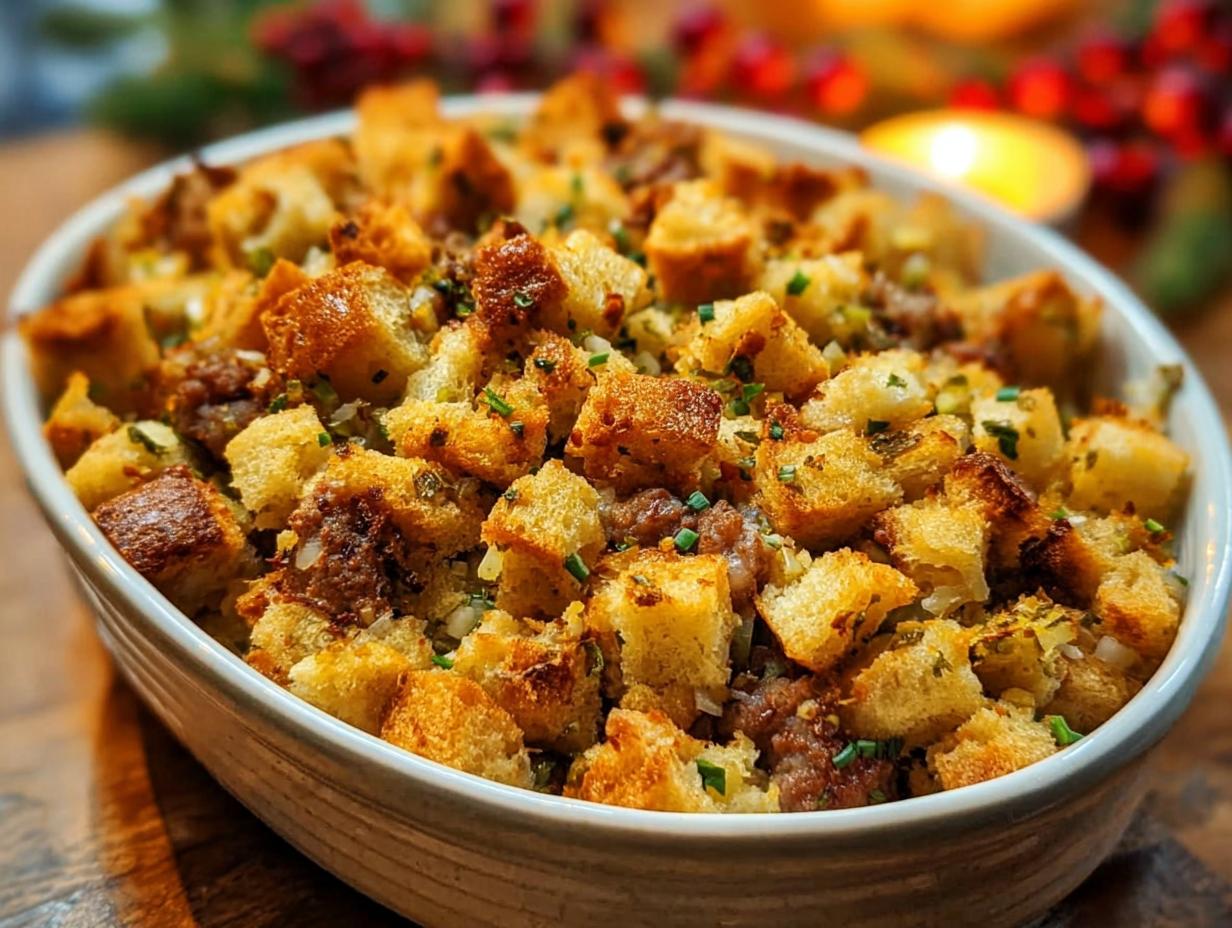
Oh, the holidays! That magical time when the smell of roasting turkey fills the air, and the *real* star of the show, the stuffing, is on everyone’s mind. But let’s be real, making stuffing that’s truly spectacular, especially when you’ve got dietary needs like gluten-free or diabetes to juggle? It can feel like a culinary quest! Trust me, I’ve been there. After my son’s celiac and Type 1 diabetes diagnoses, I dove headfirst into making compound restriction cooking work, and let me tell you, there were *many* hilariously failed attempts before I cracked the code. But the look on his face when he finally enjoyed a stuffing that tasted just like the traditional ones? Pure gold! That’s why I’m so excited to share exactly How to Make Stuffing Recipes Like a Pro (2025), creating those comforting, delicious holiday flavors that literally *everyone* can enjoy. Get ready to impress!
Why You’ll Love How to Make Stuffing Recipes Like a Pro (2025)
You’re going to absolutely adore this approach to stuffing, trust me! It’s all about making those classic holiday flavors accessible and delicious for everyone at your table.
- Super Easy Prep: Seriously, even if you’re a kitchen newbie, you can nail this.
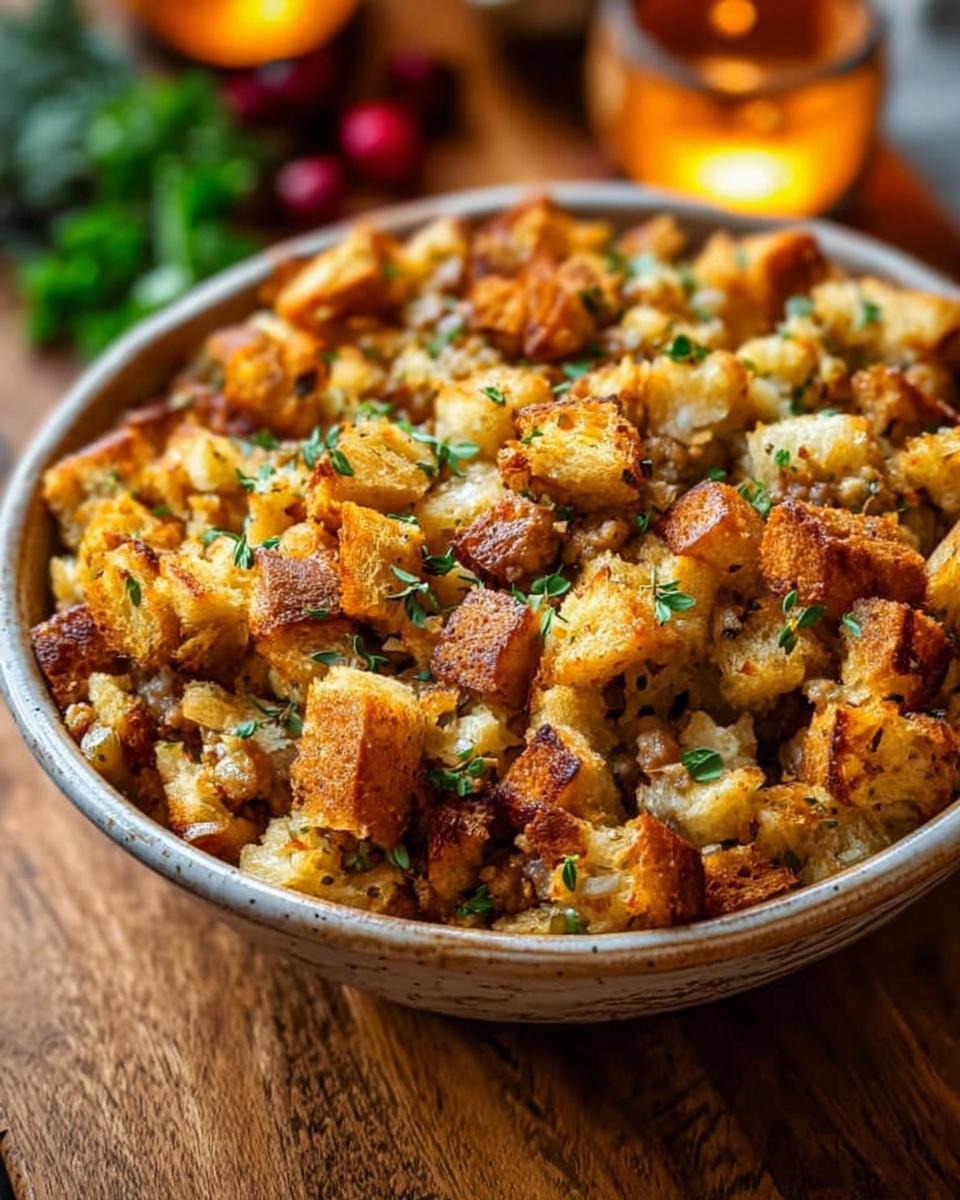
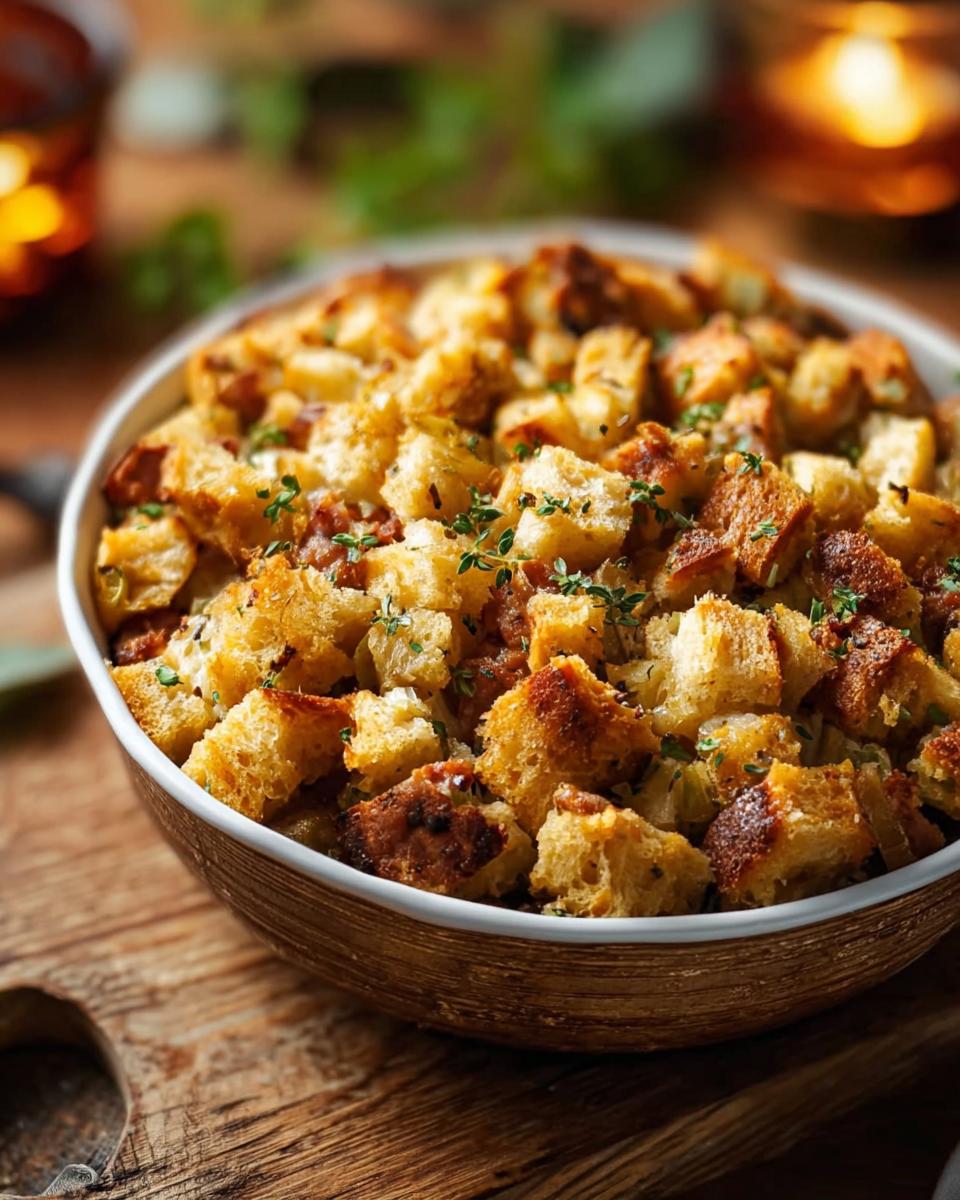
- Incredible Flavor: We’re talking savory, herby, and perfectly moist – the works!
- Dietary Darling: It’s built from the ground up to be easily made gluten-free and diabetic-friendly without sacrificing taste.
- Total Versatility: Whether you bake it in a dish or stuff your turkey, it shines.
Essential Ingredients for Perfect Stuffing
Alright, let’s talk about what makes stuffing sing! It all starts with good ingredients. For our go-to stuffing, I like to use day-old sturdy bread, cut into cubes – it soaks up all those yummy flavors so much better than fresh bread, trust me. Think sourdough, French bread, or even a good whole wheat. Quality really matters here, so grab the best bread you can find. For those doing gluten-free, there are fantastic GF loaves out there now that work like a charm. And for the diabetic-friendly folks, a low-carb bread is your best friend! You can find all sorts of easy low-carb and gluten-free recipe ideas that can help inspire your choices.
For the Stuffing Base
- 6 cupsHomemade garlic croutons (or sturdy bread cubes) – This is your canvas!
- 4 tbsp Butter (57g) – Real butter makes a difference, but you can use vegan butter if needed.
- 1 Onion, chopped – A yellow or sweet onion is perfect.
- 1 Celery stalk, chopped – Adds that classic savory note.
- 1 3/4 cups Chicken or vegetable broth (415ml) – Use low-sodium if you’re watching your salt intake.
Fresh Herbs and Seasonings
- 2 tbsp Fresh parsley, chopped – For brightness!
- 1 tsp Fresh sage, chopped – The quintessential stuffing herb.
- 1 tsp Fresh thyme, chopped – Lovely aroma and flavor.
- 1 tbsp Poultry seasoning – A handy blend, but check the ingredients if you have dietary restrictions.
- 1/2 tsp Salt – Or to taste, especially important if using low-sodium broth.
- 1/4 tsp Black pepper
Optional Additions
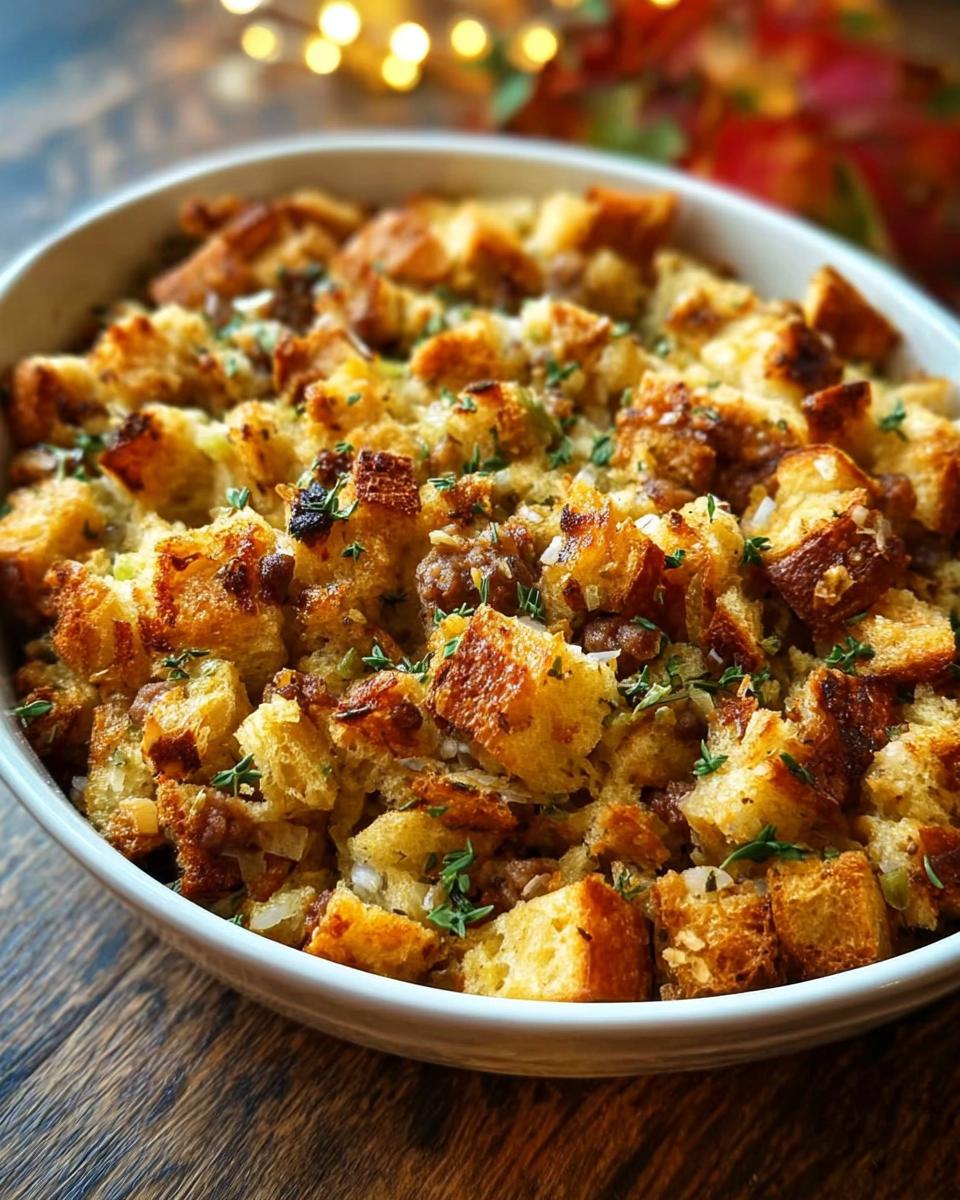
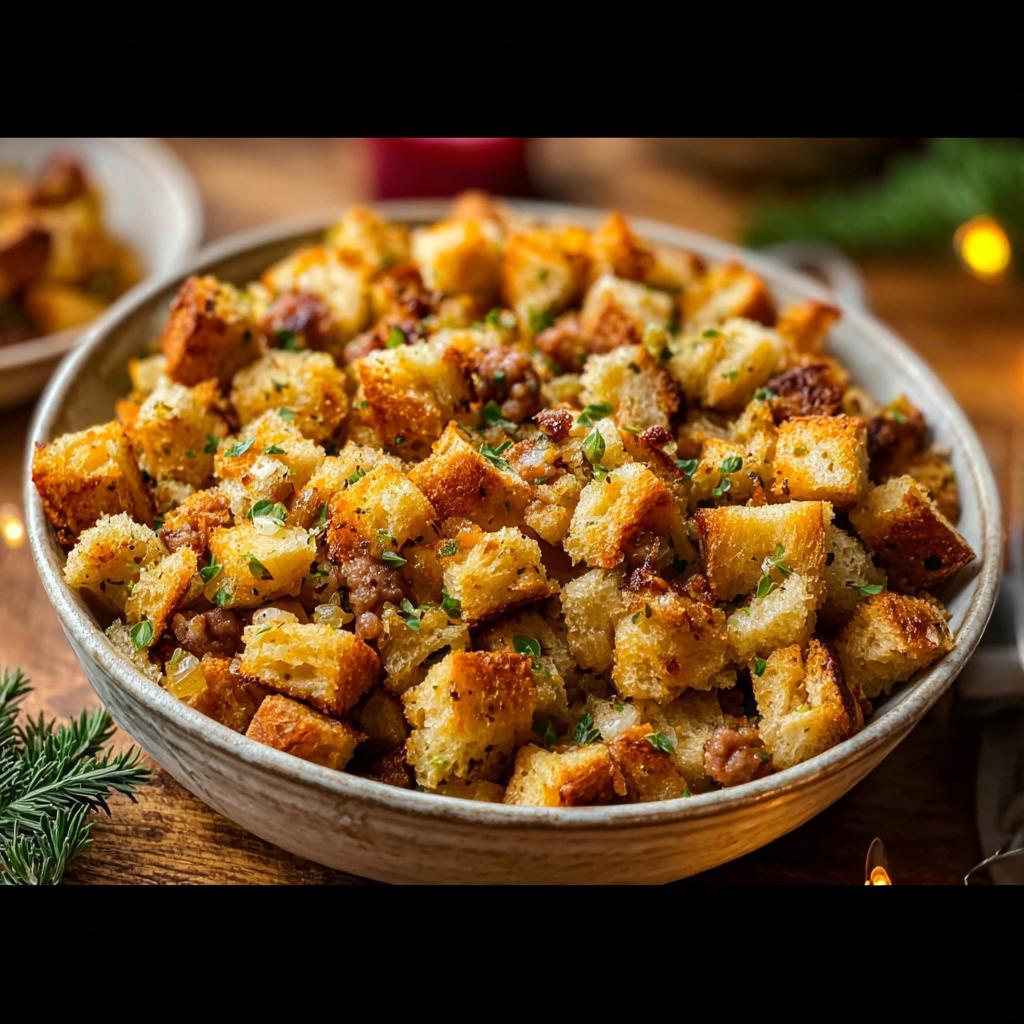
- 1/2 cup Ground sausage, cooked – Adds loads of flavor and a heartier texture.
- 1 Egg, beaten (if using) – This helps bind everything together, especially if you’re going for a moister stuffing.
Step-by-Step Guide: How to Make Stuffing Recipes Like a Pro (2025)
Alright, let’s get down to business and make some truly amazing stuffing! It’s not hard, I promise, and following these steps will ensure your stuffing is perfectly textured and flavored. This is where the magic of How to Make Stuffing Recipes Like a Pro (2025) really comes alive!
Preparing the Bread Base
First things first, get your bread ready. You absolutely want to dry it out – this is key to preventing soggy stuffing. You can totally leave your bread cubes out on a baking sheet for a day or two until they feel dry to the touch. Or, if you’re short on time, just toast them in the oven at a low temp, like 250°F (120°C), for about 45-60 minutes, stirring them around so they dry evenly. Think of them as little flavor sponges! This also helps them absorb flavor, kind of like how a perfect gluten-free roux needs to cook properly to get rid of that raw flour taste.
Sautéing Aromatics
Now, grab a big skillet. Melt your butter over medium heat. Then, toss in your chopped onion and celery. We’re just going to soften these up until they’re nice and tender, usually about 5 to 7 minutes. This really brings out their sweetness and makes the stuffing smell incredible!
Combining and Seasoning
Next, take those softened veggies over to your largest mixing bowl. Add your dried bread cubes, all those fragrant fresh herbs – parsley, sage, and thyme – plus the poultry seasoning, salt, and pepper. Give it a gentle stir. You don’t want to smash everything, just get those flavors mingling. It’s like getting dressed for the party – everything needs to be just right!
Adding Moisture
Here’s where we bring it all together. Start adding your broth, but do it GRADUALLY! Pour in about half a cup first and mix it in. You want the stuffing to be moist, like a perfectly damp sponge, but definitely not swimming. Keep adding a little more broth at a time until you get that perfect stuffing consistency. You might not need all of it, or you might need a tiny bit more, so just feel it out.
Incorporating Optional Additions
If you’re going for the full experience and adding cooked sausage, now’s the time to stir it in. And if you’re using that egg for extra binding and moisture, whisk it in gently too. This is where you can really customize your stuffing to be exactly how you like it.
Cooking Methods
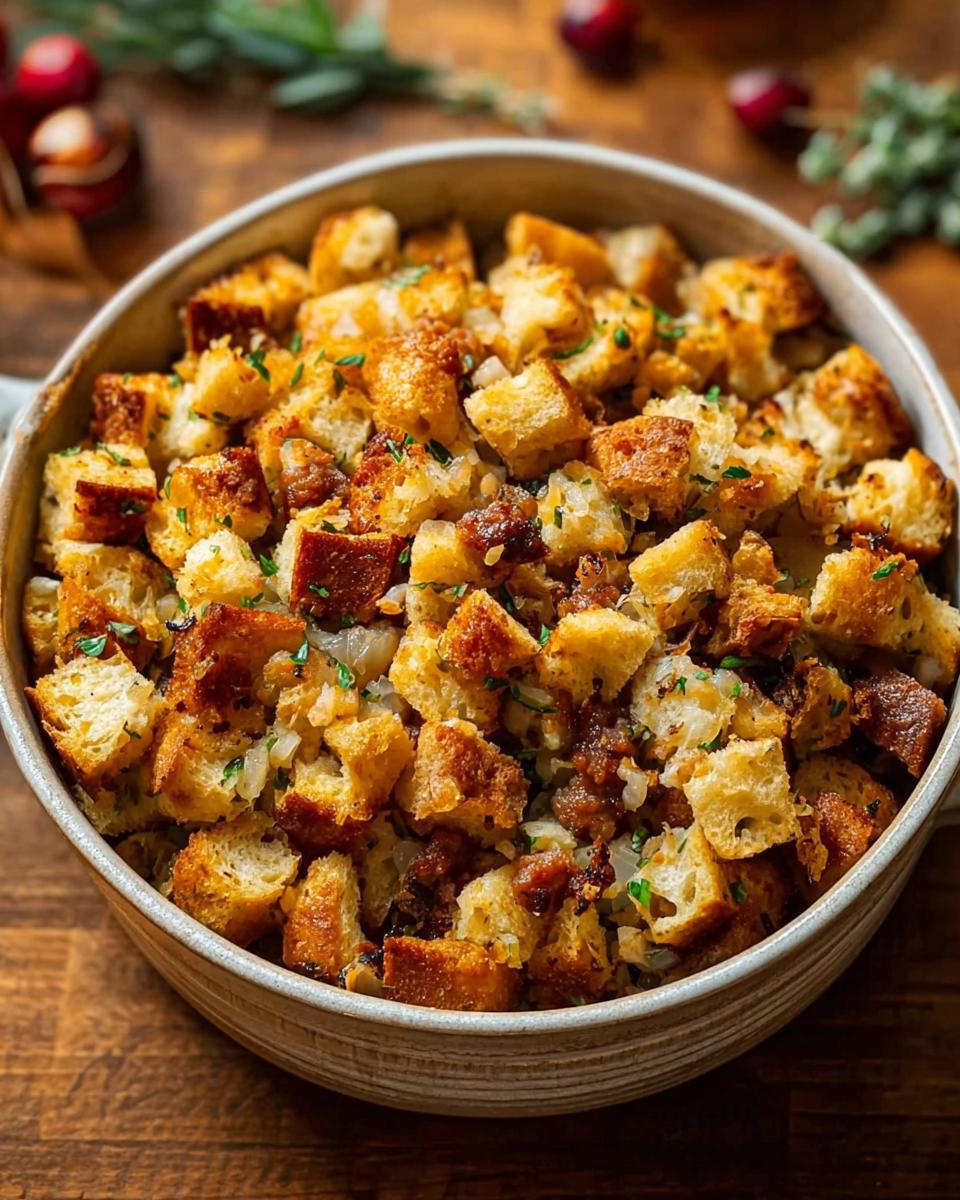
Okay, decision time! For baked stuffing, just pour the whole glorious mixture into a greased baking dish. Pop it into a preheated oven at 350°F (175°C) for about 30 to 40 minutes. You want that top to get beautifully golden brown and a little crispy.
 If you’re stuffing your turkey, make sure you fill the cavity loosely just before you put the bird in to roast. And remember, safety first – make sure the stuffing inside the turkey reaches an internal temp of 165°F (74°C).
Tips for Stuffing Success
Alright, let’s talk about making your stuffing absolutely legendary! Over the years, I’ve picked up a few tricks that make all the difference, especially when we’re talking about dietary needs. First off, always, *always* use bread that’s a day or two old. Fresh bread just turns into mush. My experience with making other things flaky and amazing has taught me that texture is everything, and dry bread is your best friend for that perfect bite.
Don’t be shy with the seasonings! Stuffing can be kinda bland if you underdo it. Taste your broth and your mixture before you put it in the oven (just make sure there’s no raw egg if you added it!). Also, be mindful of your liquid. You want it moist, yes, but soggy is a no-go. You can always add more broth, but you can’t take it out! I learned this lesson the hard way when I was coming up with all sorts of holiday treats – getting the balance just right is key! And if you’re stuffing a turkey, remember to pack it loosely; the stuffing needs room to expand as it cooks. Overstuffing can be a safety hazard and lead to uneven cooking.
Ingredient Notes and Substitutions
So, let’s get you sorted with all the details on these ingredients, especially if you’re navigating special diets. For the bread, like I mentioned, stale is best! For gluten-free, look for hearty loaves made with almond flour, coconut flour, or a good GF blend – they hold up way better than those super soft GF breads that can get mushy. If you’re going low-carb or diabetic-friendly, a good quality keto bread or even some crushed pork rinds can work! And speaking of base ingredients, check out these low-carb Thanksgiving side dishes for more inspiration. For the broth, chicken or vegetable broth are classics, but always opt for low-sodium if you’re watching your salt. You can even use mushroom broth for a deeper, earthier flavor!
Frequently Asked Questions About Stuffing
Can I make stuffing ahead of time?
Oh yes, you totally can! You can prepare the dry ingredients (bread, veggies, herbs) a day ahead and store them in an airtight container. Mix in the wet ingredients and broth right before baking. Or, bake it completely and then reheat gently in the oven – just add a splash more broth if it seems a bit dry!
What kind of bread is best for stuffing?
For that perfect texture, you absolutely want sturdy, day-old bread. Think sourdough, French bread, or a hearty whole wheat loaf. For gluten-free, find a dense GF bread that holds up well. Avoid super soft breads; they’ll just turn mushy. Stale bread is your best friend here!
How do I ensure my stuffing isn’t soggy?
The biggest trick is to dry out your bread cubes really well! Toasting them or letting them air dry is key. Also, add the broth gradually. You want it moist, not drowning. Remember, a little bit of moisture goes a long way. Bake it uncovered so any excess steam can escape! This is a great tip that applies to so many baked goods, even fun breakfast ideas!
Can I make this stuffing gluten-free and diabetic-friendly?
Absolutely! For gluten-free, just swap out the bread for a good quality gluten-free loaf. Use a low-sodium broth. For a diabetic-friendly version, use a low-carb or keto-friendly bread, and opt for low-sodium broth. You can also skip the sausage or use a sugar-free variety. It’s all about smart substitutions!
Serving and Storage
This stuffing is a dream alongside your holiday turkey or roast chicken, but honestly, it’s so good you could eat it on its own! It’s also amazing with a dish like garlic butter salmon and asparagus for a less traditional but equally delicious meal. Leftovers? Lucky you! Store them in an airtight container in the fridge for up to 3 days. To reheat, just pop it in a baking dish at 350°F (175°C) for about 15-20 minutes, adding a splash more broth if it seems dry.
Nutritional Information
Just a heads-up, these numbers are estimations, okay? What you put into your stuffing can change things up! This is a general idea per serving for a basic version. For a more accurate breakdown, you’d want to plug your exact ingredients into a recipe calculator.
Estimated Per Serving:
- Calories: Around 250-300 kcal
- Fat: 12-15g
- Protein: 8-10g
- Carbohydrates: 25-30g (this will vary *hugely* depending on bread choice!)
How to Make Stuffing Recipes Like a Pro (2025)
Ingredients
Equipment
Method
- Dry your bread cubes. You can leave them out for 1-2 days or toast them in an oven at 250°F (120°C) for 45-60 minutes, stirring occasionally, until dry.
- Melt butter in a large skillet over medium heat. Add chopped onions and celery. Cook until softened, about 5-7 minutes.
- Transfer the cooked vegetables to a large bowl. Add the dry bread cubes, chopped fresh herbs (parsley, sage, thyme), poultry seasoning, salt, and pepper. Mix gently to combine.
- Gradually add the chicken or vegetable broth, starting with 1/2 cup, mixing until the stuffing is moist but not soggy. Add more broth if needed, up to 1 cup.
- If using, stir in cooked sausage and the beaten egg.
- For baked stuffing, transfer the mixture to a greased baking dish. For stuffed turkey, fill the turkey cavity loosely just before roasting.
- Bake the stuffing in a dish at 350°F (175°C) for about 30-40 minutes, or until the top is golden brown. If stuffing the turkey, ensure the stuffing reaches an internal temperature of 165°F (74°C).
Notes
Tried this recipe?
Let us know how it was!
Mindfulness & Emotional Wellness Specialist
I never thought I’d leave my career as a corporate litigation attorney, but a panic attack in a courthouse bathroom changed everything. After struggling with emotional eating for over a decade—starting in college and getting worse through the stress of law school—I realized that no diet could fix what was really going on inside me.
My breakthrough came through mindfulness meditation training. Working with Jon Kabat-Zinn’s protocols, I discovered that my relationship with food reflected deeper patterns of anxiety and perfectionism that I’d been avoiding for years. That’s when I understood that sustainable eating changes require internal transformation, not just external rules.
Now I treat meal preparation as meditation practice. My “Mindful Kitchen” workshops help people transform ordinary cooking into opportunities for self-awareness and emotional healing. I’ve developed over 180 recipes designed for slow, mindful preparation—complex enough to keep you present, simple enough not to overwhelm your nervous system.
I believe food becomes medicine when we approach it with presence rather than reactivity. The kitchen can be our monastery if we choose to enter it with reverence.