
Oh, holidays! The aroma of cinnamon, the twinkle of lights, and of course, the food! For me, stuffing is right up there with turkey and mashed potatoes – it’s just not Thanksgiving without it. But let’s be real, holiday cooking can get pretty crazy, right? That’s exactly why I developed this recipe. It’s a game-changer because it’s not just incredibly delicious, but it’s also super practical, especially with those make-ahead tips I’ve perfected. This isn’t just any stuffing; it’s the stuffing that finally let my son, who has celiac disease, join in on that classic holiday flavor without a second thought. It’s about bringing everyone together, making sure no one feels left out, and easing some of the kitchen stress so we can all actually *enjoy* the day. Seriously, this is Why Everyone Loves This Stuffing Recipes (+ Make-Ahead Tips), and I can’t wait for you to try it!
Why Everyone Loves This Stuffing Recipes (+ Make-Ahead Tips)
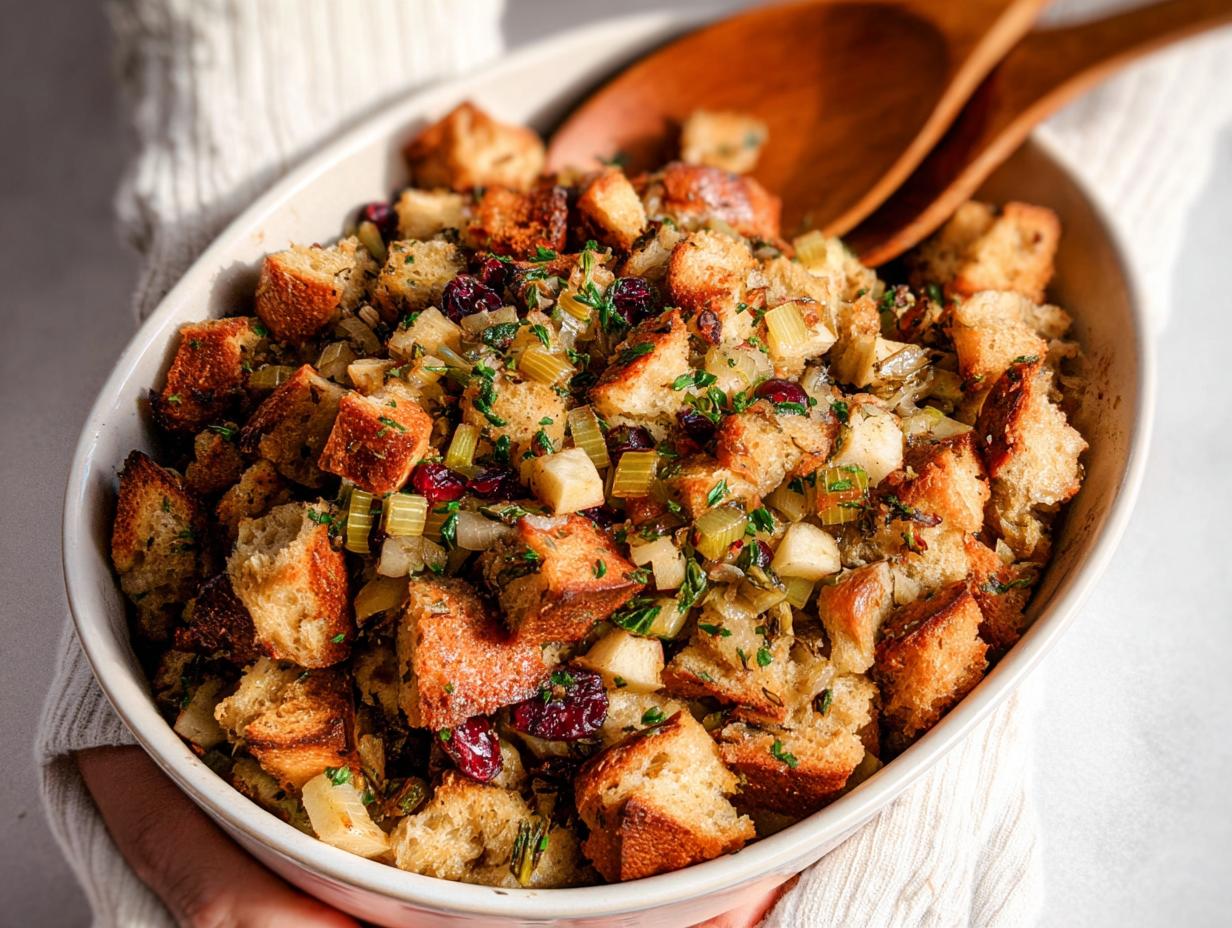
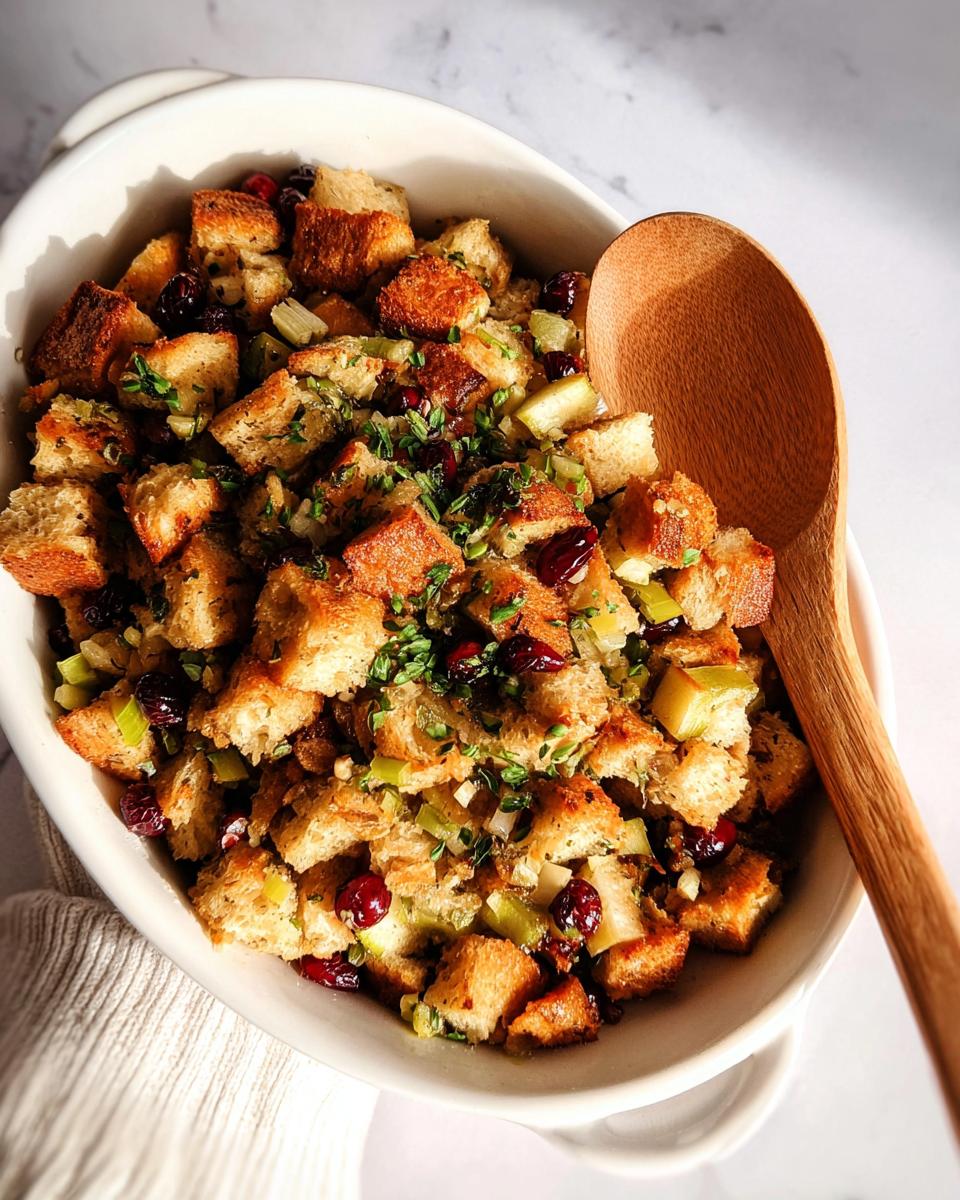
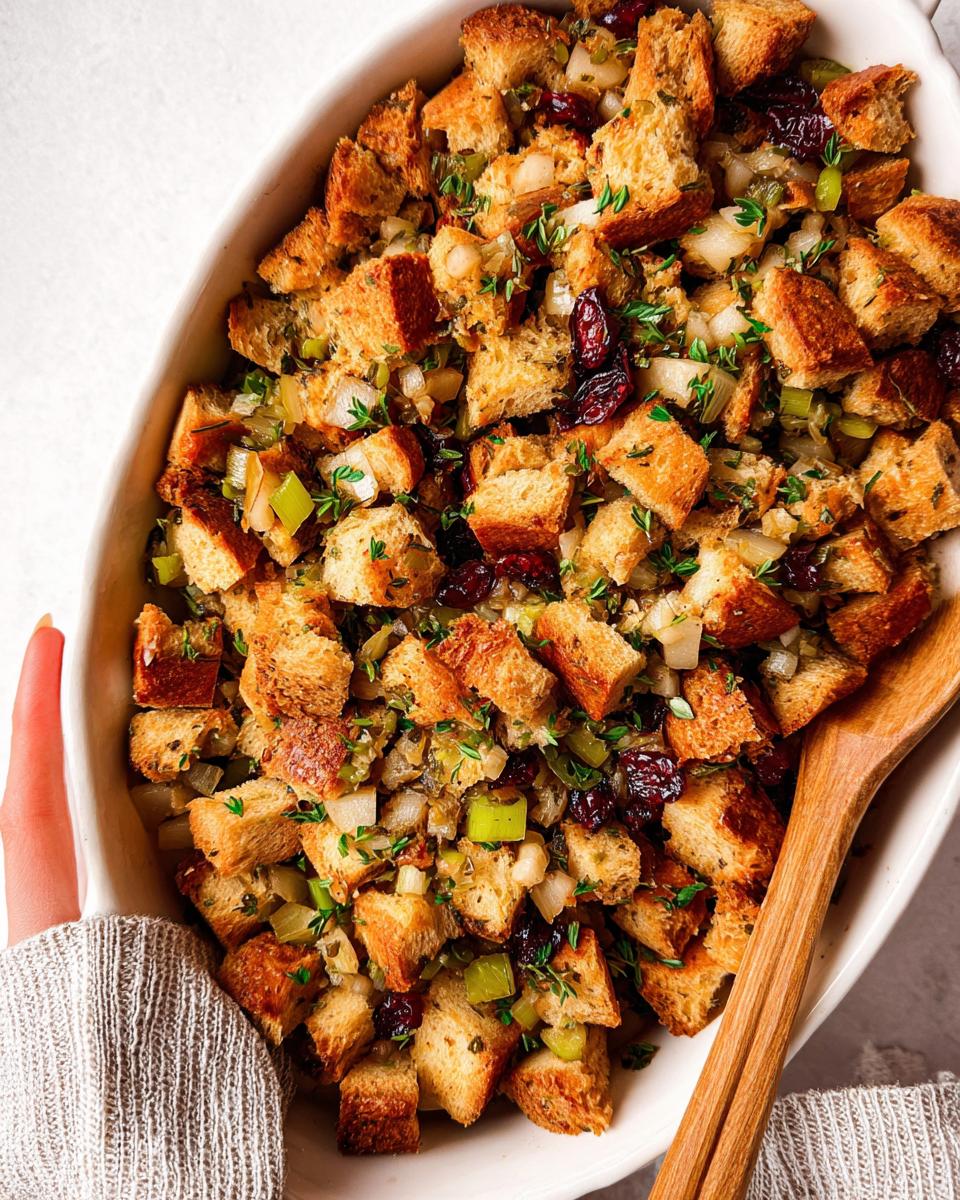
So, what makes this stuffing recipe so darn special that people rave about it? Honestly, it’s a few things! First off, the flavor is just *chef’s kiss*. We’re talking the perfect balance of savory herbs, sweet apples and onions, and that satisfyingly toasty bread. It has this wonderful texture – not too mushy, not too dry, just perfectly tender. And let’s not forget the real hero: the make-ahead magic! You can prep most of it the day before, which is a lifesaver when you’re juggling a whole Thanksgiving feast. This stuffing really fits into those cherished holiday traditions, bringing comfort and joy to the table. It’s also fantastic because it’s so adaptable, and you can add your own favorite twists to make it even more personal. Plus, knowing you can get a head start makes the whole holiday cooking process feel so much less daunting. For anyone looking to simplify their holiday prep or just wanting an absolutely delicious stuffing, this is it! Check out more make-ahead stuffing ideas if you want to play around even more!
Gathering Your Ingredients for This Delicious Stuffing
Alright, let’s get our ducks (or perhaps, our bread cubes!) in a row. To make this incredible stuffing that everyone goes nuts for, you’ll need a few things. Make sure you’ve got everything handy so we can make this as smooth as possible.
For the Stuffing Base:
- 16 slices whole wheat bread, cut into 1 inch cubes
For the Flavor Base:
- 3/4 cup unsalted butter
- 1 tbsp chopped fresh rosemary
- 1 tbsp fresh thyme leaves
- 1 1/2 tsp salt
- 1 1/2 tsp salt-free chicken seasoning
- 1 tsp dried parsley
- 1/2 tsp black pepper
- 1/2 tsp garlic powder
For the Mix-ins:
- 1 Honeycrisp apple, cored and diced
- 3 celery stalks, diced
- 1/2 medium sweet onion, diced
- 1/4 cup dried cranberries
For Binding and Baking:
- 2 cups chicken broth
Mastering the Art of Why Everyone Loves This Stuffing Recipes
Okay, time to get our hands dirty and make some stuffing magic happen! This is where all those yummy ingredients come together. It’s really not complicated, and if you follow these steps, you’ll see why this recipe is such a hit, especially for Thanksgiving.
Step 1: Toasting the Bread Cubes
First things first, we need to get our bread nice and toasty. This is super important because it stops the stuffing from getting all mushy later on. So, preheat your oven to 325°F (160°C), grab a big baking sheet, and line it with parchment paper (makes cleanup a breeze!). Spread out your cubed bread, and pop it in for about 30 minutes. You want it dried out but not burnt, just a lovely golden brown.
Step 2: Creating the Flavorful Butter Base
While the bread is doing its thing, let’s whip up the flavor-packed butter. Melt your butter in a medium saucepan over low heat – we don’t want it to brown too quickly. Then, stir in all those wonderful herbs and spices: the fresh rosemary and thyme, salt, that chicken seasoning (trust me on this one!), dried parsley, pepper, and garlic powder. Just give it a good stir until everything is nicely combined. These amazing herbs are key to that classic stuffing aroma.
Step 3: Simmering the Mix-ins
Now, toss in your diced apple, celery, onion, and those sweet dried cranberries into the buttery herb mixture. Give it all a good stir and let it simmer gently for about 10 minutes. This just helps everything soften up a bit and get friendly with the butter and herbs, making sure all those yummy flavors meld together beautifully.
Step 4: Combining and Preparing for Baking (Make-Ahead Option)
Time to bring it all together! Dump your lovely toasted bread cubes into your 9×13 baking dish. Pour that glorious butter mixture right over the top. Now, gently toss everything so every single bread cube gets coated in that deliciousness. Here’s the make-ahead part: you can cover this whole thing tightly with aluminum foil and pop it in the fridge for up to 24 hours. Seriously, it’s a lifesaver! When you’re ready to bake it, just pull it out, add the broth, and proceed to the next step.
Step 5: Final Baking and Serving
When you’re ready to bake (whether it’s right away or after refrigerating), preheat your oven to a hotter 425°F (220°C). Stir in those 2 cups of chicken broth, tossing gently to make sure everything is moistened. Cover the dish with foil again and bake for 20 minutes. This steams it perfectly. Then, take off the foil and bake for another 15 minutes, or until the top is beautifully golden brown and everything is heated through. And there you have it! Ready to serve warm and enjoy.
Tips for Stuffing Success
Okay, let’s talk about making this stuffing absolutely, positively perfect every single time. It’s really not hard, but a few little tricks make a world of difference, trust me! First off, bread choice matters. While I love whole wheat for its heartiness, feel free to use a good quality sourdough or even a basic white bread if that’s what you have. The key is just making sure it’s a little stale or nicely toasted – nobody wants a mushy stuffing! For the herbs, nothing beats fresh if you can get it, but don’t stress if you need to use dried. Just remember that dried herbs are more potent, so you might use a little less. And for that apple and onion? Dice them pretty small so they get nice and tender during the simmer and bake without taking over. Oh, and a little personal tip: if you’re not making this ahead, you can actually toast your bread cubes in the oven at 350°F (175°C) for about 10-15 minutes until golden for extra crispness, then let them cool completely before tossing with everything else. It gives it a little extra textural oomph! You can find more general baking tips that apply here too!
Ingredient Spotlight: Why These Specific Ingredients Shine
You know, a lot of stuffing recipes are great, but there’s something about the specific ingredients we’re using here that just takes it to the next level. Take the Honeycrisp apple, for instance. It’s not just any apple; it has this perfect balance of sweetness and tartness, and it holds its shape beautifully when cooked, giving you little bursts of deliciousness instead of turning to mush. And don’t even get me started on the herbs! Fresh rosemary and thyme? Pure magic! They bring this incredible fragrant aroma that just screams holidays. It’s these thoughtful choices that really make this stuffing sing, turning simple ingredients into something truly special that complements your Thanksgiving feast so perfectly.
Frequently Asked Questions About This Stuffing Recipe
Got questions about making this amazing stuffing? I’ve got you covered! It’s no secret that prepping for the holidays can bring up a few queries, and this stuffing recipe is so popular, I get asked a lot!
Can I use different types of bread for this stuffing?
Absolutely! While I adore the heartiness of whole wheat bread for this recipe, you can totally switch it up. Sourdough, a good crusty country loaf, or even challah would be delicious. The key is to use bread that’s a day or two old, or toast it really well beforehand, so it doesn’t turn into mush when you add the liquids. That toasting step is our secret weapon for great texture!
How do I store leftovers of this stuffing?
Leftover stuffing is the best! Once it’s cooled down, store it in an airtight container in the refrigerator for up to 3-4 days. Reheat it gently in the oven (covered with foil at around 350°F or 175°C) until warmed through. It’s also fantastic the next day crumbled over a salad or just eaten cold straight from the fridge – no judgment here!
Can I add other ingredients to this stuffing?
Oh, for sure! This recipe is a fantastic base for adding your favorite mix-ins. Many people love to add crumbled cooked sausage (pork or turkey!) or bacon for extra salty goodness. Sautéed mushrooms, chopped pecans, or even some extra herbs like sage are also wonderful additions. Just make sure if you add raw meats, you cook them thoroughly before adding them to the mix. Get creative! For more fun ideas similar to this, check out this recipe!
My stuffing seems a little dry, what went wrong?
If your stuffing turns out a bit on the dry side, it usually means the bread absorbed all the liquid during the baking. Next time, you might want to try adding a touch more chicken broth, maybe an extra half cup, stirred in before the final uncovered bake. Also, make sure your bread wasn’t *too* dry to begin with, or that it wasn’t covered tightly enough during the initial baking stage. A little extra moisture control is key!
Nutritional Information
Just a heads-up, the nutritional info is always an estimate, right? It can change a bit depending on the exact brands of ingredients you use and how you measure things. But, for about one serving of this yummy stuffing, you’re looking at roughly 240 calories, 25g carbs, 6g protein, and 13g fat, with about 4g of fiber and 529mg of sodium. Enjoy every bite!
Share Your Culinary Creations!
Okay, now it’s your turn! Did you whip up this stuffing for your Thanksgiving table? I’d LOVE to hear all about it! Drop a comment below with your thoughts, how it turned out, or any fun twists you added. And if you tried it, please hit those stars to give it a rating – it really helps other cooks out there know if it’s a winner. For more amazing recipes, don’t forget to check out my full recipe collection!
Why Everyone Loves This Stuffing Recipes (+ Make-Ahead Tips)
Ingredients
Equipment
Method
- Preheat your oven to 325°F (160°C). Line a large baking sheet with parchment paper.
- Cube the bread slices and place them in a single layer on the prepared baking sheet. Bake for 30 minutes until toasted.
- While the bread toasts, melt the butter in a medium saucepan over low heat. Stir in the rosemary, thyme, salt, chicken seasoning, parsley, pepper, and garlic powder until combined.
- Add the diced apple, celery, onion, and dried cranberries to the butter mixture. Stir to combine and bring to a simmer. Let it simmer for 10 minutes.
- Transfer the toasted bread cubes to a 9×13 baking dish. Pour the butter mixture over the bread and toss to coat. You can cover with aluminum foil and proceed to the next step, or cover and refrigerate for up to 24 hours for make-ahead. If making ahead, proceed to step 6 when ready to bake.
- Preheat your oven to 425°F (220°C). Stir the chicken broth into the stuffing mixture, tossing to combine. Cover the dish with aluminum foil and bake for 20 minutes. Then, uncover and bake for an additional 15 minutes, or until golden brown and heated through. Serve warm.
Nutrition
Notes
Tried this recipe?
Let us know how it was!
Mindfulness & Emotional Wellness Specialist
I never thought I’d leave my career as a corporate litigation attorney, but a panic attack in a courthouse bathroom changed everything. After struggling with emotional eating for over a decade—starting in college and getting worse through the stress of law school—I realized that no diet could fix what was really going on inside me.
My breakthrough came through mindfulness meditation training. Working with Jon Kabat-Zinn’s protocols, I discovered that my relationship with food reflected deeper patterns of anxiety and perfectionism that I’d been avoiding for years. That’s when I understood that sustainable eating changes require internal transformation, not just external rules.
Now I treat meal preparation as meditation practice. My “Mindful Kitchen” workshops help people transform ordinary cooking into opportunities for self-awareness and emotional healing. I’ve developed over 180 recipes designed for slow, mindful preparation—complex enough to keep you present, simple enough not to overwhelm your nervous system.
I believe food becomes medicine when we approach it with presence rather than reactivity. The kitchen can be our monastery if we choose to enter it with reverence.