

I’ll never forget the first time I decided to experiment with a Lemon Tiramisu recipe after my son’s diagnoses. It felt like a mountain to climb, trying to recreate that classic, decadent dessert experience in a way that was safe for him, you know? But as a Dual-Restriction Recipe Engineer & Cross-Contamination Specialist, I just knew it was possible! This Lemon Tiramisu is my answer to those culinary challenges, offering a bright, citrusy twist that is surprisingly gluten-free and diabetic-friendly. Seeing my son’s delighted grin and hearing my relatives say, “This is so good!” after realizing it fit their dietary needs? Priceless. It truly proved that with a little ingenuity, we can all enjoy those sweet moments together.
Why You’ll Love This Lemon Tiramisu
This Lemon Tiramisu is a total game-changer! Here’s why you’ll be making it again and again:
- Bright & Zesty Flavor: It’s a refreshing twist on the classic, bursting with fresh lemon that just sings.
- Dietary Friendly: It’s wonderfully adaptable for gluten-free and diabetic needs – you won’t miss a thing!
- Surprisingly Easy: Honestly, you’ll be amazed at how simple it is to create such an elegant dessert.
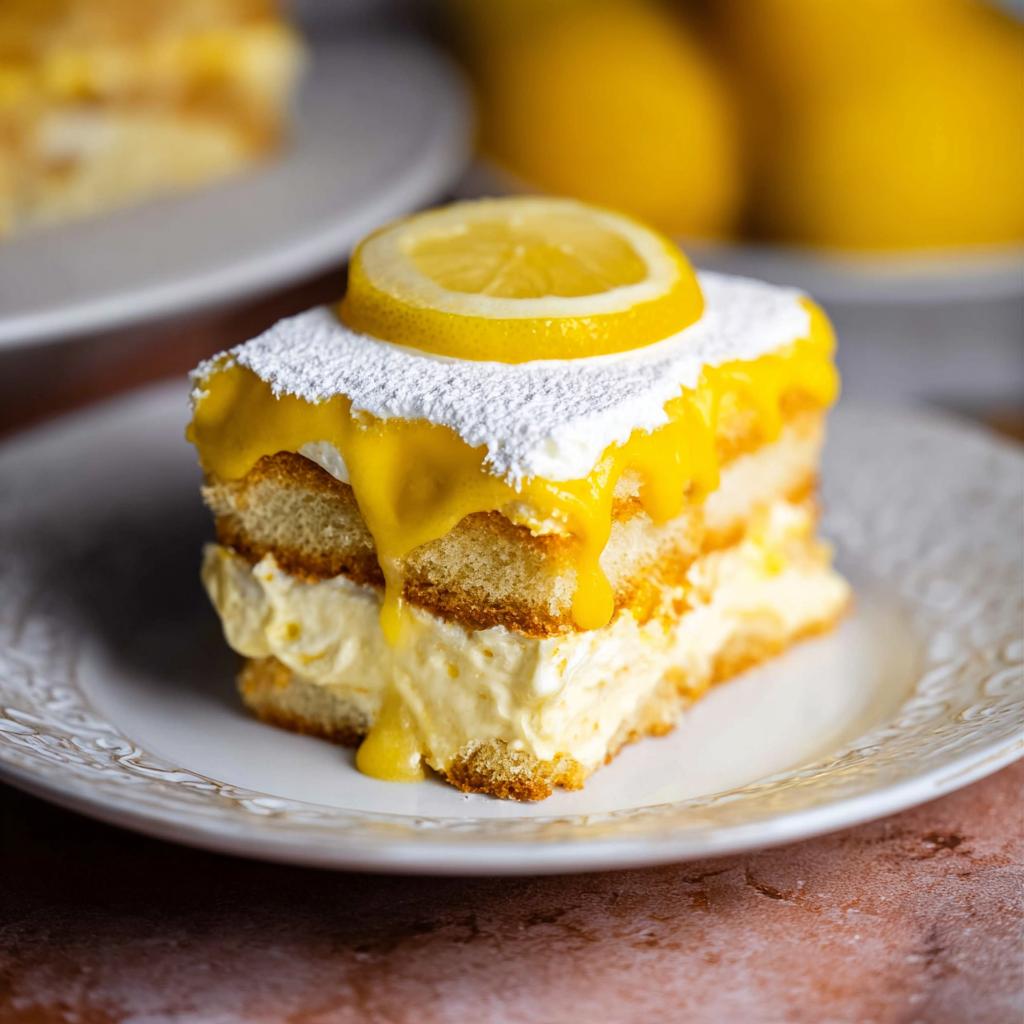
- Luxurious Feel: It looks and tastes totally gourmet, perfect for impressing guests or just treating yourself.
- Make Ahead Magic: It actually tastes even better after chilling, making it your go-to for stress-free entertaining.
Gather Your Ingredients for Lemon Tiramisu
Alright, let’s get down to business! To whip up this dreamy Lemon Tiramisu, you’ll need to round up a few key players. Trust me, having everything ready makes the whole process so much smoother!
Lemon Curd
This is where all that bright, zesty goodness comes from! You’ll need:
- 4 large egg yolks
- 4 large eggs
- 1/4 teaspoon sea salt
- 1 1/4 cups granulated sugar
- Zest from 2 lemons
- 2/3 cup freshly squeezed lemon juice (about 2-3 lemons’ worth)
- 1/2 cup unsalted butter, cubed
Lemon Syrup
This little soak makes all the difference for the ladyfingers:
- 1/2 cup water
- 1/4 cup granulated sugar
- 1 lemon, peeled (just the zest part!) and juiced
- 1 sprig of basil (optional, but it adds a lovely whisper of freshness!)
- 1/4 cup limoncello (optional, for a grown-up kick!)
Filling
This is the creamy, dreamy heart of our Tiramisu:
- 1 1/2 cups heavy whipping cream, super cold
- 1 1/2 cups lemon curd (this is about half of what you’ll make)
- 1 lb mascarpone cheese, softened to room temperature
Assembly
Just a couple more things to bring it all together:
- 2 packs of ladyfingers (get the gluten-free ones if you need them!)
- Fresh lemon slices for that pretty garnish
Essential Equipment for Making Lemon Tiramisu
You don’t need a fancy professional kitchen for this! Just a few basics will do the trick to get this gorgeous Lemon Tiramisu made. Having these handy will make the whole process a breeze. Grab your apron, and let’s get started!
- A medium saucepan
- A trusty whisk
- A wire strainer or cheesecloth
- A heat-safe bowl
- A mixing bowl (or two!)
- An electric mixer (handheld or stand mixer works great!)
- A flexible spatula
Step-by-Step Guide to Preparing Your Lemon Tiramisu
Alright, let’s dive into making this incredible Lemon Tiramisu! It might seem fancy, but honestly, it’s more about patience and following a few key steps. Trust me, the end result is so worth the little bit of effort. We’re going to break it all down, component by component, so you can create a dessert that’s both beautiful and delicious!
Crafting the Zesty Lemon Curd
This is where the magic really starts, folks! In a medium saucepan, whisk together those egg yolks, whole eggs, a pinch of salt, sugar, both the lemon zest and juice. Now, gently heat this mixture over medium heat, whisking *constantly*. You really don’t want to walk away here! Let it simmer and thicken for about a minute.
Once it’s thickened up nicely, pour it through a fine-mesh strainer or even some cheesecloth. This gets rid of any tiny lumps or zest bits for a super smooth curd. Transfer that lovely yellow goodness into a heat-safe bowl, toss in the butter cubes, and let it sit for a minute to melt. Stir until it’s all smooth and shiny. Cover the surface directly with parchment paper to prevent a skin from forming, and pop it in the fridge to chill until it’s completely cold and firm.
Preparing the Refreshing Lemon Syrup
While that curd is getting nice and chilly, let’s whip up the syrup for dipping our ladyfingers. It’s super simple: just combine the water, sugar, that peeled lemon zest (you know, just the yellow part, no white pith!) and lemon juice in a small saucepan. If you’re using basil, toss that in too! Bring it to a gentle simmer over medium heat and let it bubble away for a few minutes. Once it’s cooled a bit, strain out the lemon peel and basil. If you decided to go for that optional limoncello for an extra zing, stir it in now.
Whipping Up the Creamy Filling
Okay, time for the luscious filling! First things first, pop your mixing bowl and whisk attachment into the freezer for about 5 minutes. Cold tools make for perfectly whipped cream, trust me on this! Pour your *very* cold heavy whipping cream into that chilled bowl and whip it up with your electric mixer until you’ve got lovely stiff peaks. Don’t overdo it, or you’ll end up with butter!
Now, in a separate large bowl, combine about half of your cooled lemon curd with the room-temperature mascarpone cheese. Give that a good whisk until it’s totally smooth and creamy. Then, *gently* fold in that glorious whipped cream. Use your spatula or whisk and just fold it in until it’s combined, being super careful not to knock all the air out. We want it light and fluffy!
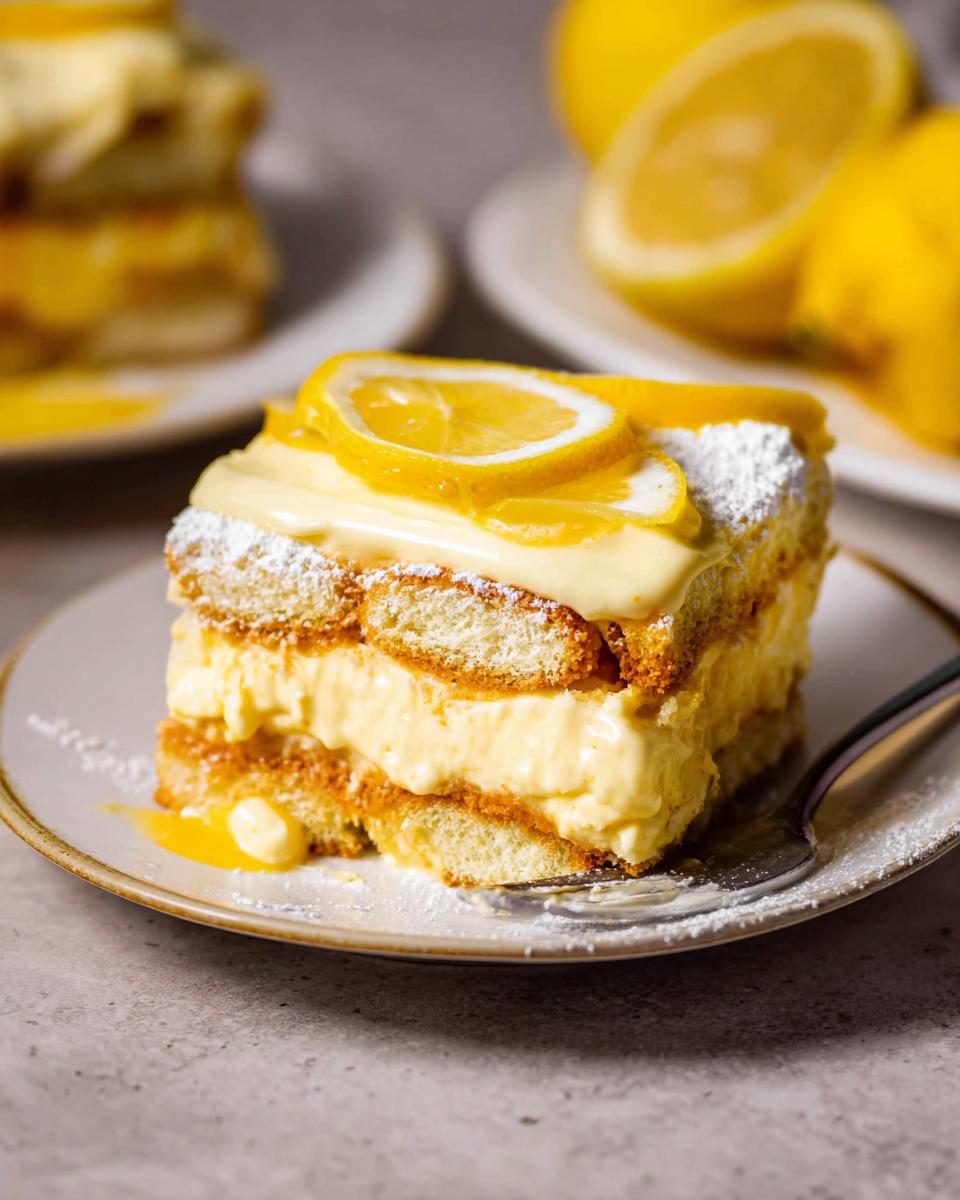
Assembling Your Beautiful Lemon Tiramisu
Here comes the fun part – putting it all together! Grab your serving dish – an 8×8 inch square pan or a similar-sized shallow dish works great. Quickly dip each ladyfinger into the lemon syrup, just a second or two per side so they don’t get soggy. Arrange them in a single layer at the bottom of your dish. Spread about half of that amazing creamy filling over the ladyfingers. Then, repeat – another layer of dipped ladyfingers and the rest of the filling!
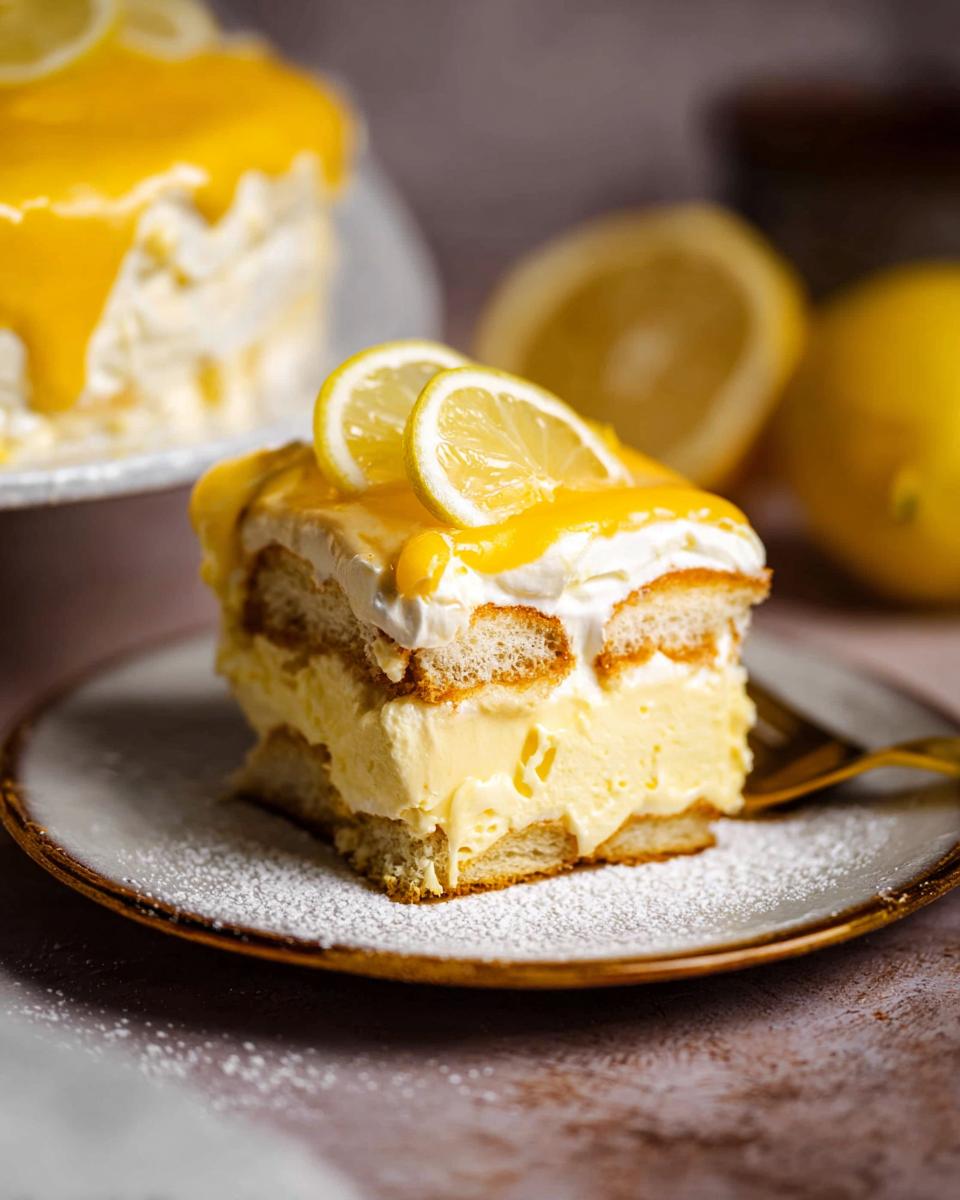
Finish it off with some pretty lemon slices on top for decoration. Once it’s all assembled, cover it snugly with plastic wrap and let it chill in the refrigerator for at least 2 hours, or better yet, overnight. This chilling time is crucial for the flavors to meld and for the Lemon Tiramisu to firm up perfectly.

Tips for the Perfect Lemon Tiramisu
Alright, let’s chat about how to make sure your Lemon Tiramisu is absolutely spectacular! Little tricks make such a big difference, you know? My biggest tip is to use the freshest lemons you can find – that bright, zesty flavor is the star here, so don’t skimp! Also, don’t rush the chilling time; it really lets all those beautiful flavors meld together. And please, don’t overmix the mascarpone and whipped cream; gentle folding is key to keeping it light and airy.
Ingredient Notes and Substitutions for Lemon Tiramisu
Making this Lemon Tiramisu adaptable is the fun part! If you’re short on time, using good quality store-bought lemon curd is totally fine – you’ll need about 2 1/2 cups (around 26 ounces by weight). For those watching sugar or carbs, don’t fret! You can easily swap the granulated sugar for your favorite sugar substitute. Just ensure it measures cup-for-cup with regular sugar, or adjust to your taste. The key is that it bakes and dissolves properly, so a baking-specific sweetener is best!

Frequently Asked Questions About Lemon Tiramisu
Got questions about whipping up your very own Lemon Tiramisu? I’ve got answers! It’s totally normal to have a few queries, especially when you’re aiming for that perfect balance of flavor and dietary needs. Let’s clear things up!
Can I make this Lemon Tiramisu ahead of time?
Oh, absolutely! In fact, I highly recommend it. This Lemon Tiramisu actually tastes even better after chilling for at least a few hours, or even overnight. The flavors really get a chance to meld together beautifully, and the ladyfingers soak up all that lovely lemon syrup. Just cover it tightly and keep it in the fridge!
What are the best gluten-free ladyfingers for this recipe?
Choosing the right gluten-free ladyfingers can make a big difference! Look for brands that are specifically made for soaking, so they hold up well in the syrup without completely falling apart. Some brands are drier than others, so you might need to dip them just a tad longer. Experimenting with a couple of different brands might be necessary to find your favorite, but they are definitely out there!
How can I make this recipe sugar-free or low-carb?
You can totally adapt this Lemon Tiramisu for sugar-free or low-carb lifestyles! For the lemon curd and syrup, use a good quality granulated sugar substitute that measures 1:1 with sugar. Brands like erythritol or xylitol (just be careful if you have pets!) work well. For the ladyfingers, your best bet is to find dedicated gluten-free and low-carb ladyfinger recipes online or buy them if you can find them. It just takes a little tweaking!
Storage and Reheating Instructions
Got leftovers? Lucky you! To keep your Lemon Tiramisu tasting super fresh, cover it tightly with plastic wrap or foil and pop it right back into the refrigerator. It’s best enjoyed within about 3 to 4 days. And truthfully, reheating isn’t really a thing for tiramisu – it’s meant to be served cold and delicious, so just give it a little time to come to room temp if it’s super firm from the fridge!
Estimated Nutritional Information
Alright, let’s talk numbers for this dreamy Lemon Tiramisu! Keep in mind these are just estimates, okay? The exact calories, fat, protein, and carbs can totally change depending on the specific brands you use and any little tweaks you make. It’s a rich dessert, so savor every bite!
Lemon Tiramisu
Ingredients
Equipment
Method
- For the Lemon Curd: In a medium saucepan, combine egg yolks, whole eggs, salt, sugar, lemon zest, and lemon juice. Whisk to combine.
- Heat on medium heat, whisking or stirring constantly. Let the lemon curd come to a simmer and thicken for approximately one minute after simmering.
- Once thickened, strain the curd through a wire strainer or cheesecloth to remove the zest and any lumps. Transfer to a non-metal heat-safe bowl. Add butter to the curd and let sit for a minute to melt. Stir until fully melted and smooth.
- Cover with parchment paper placed directly on the surface and refrigerate until cold and thickened.
- For the Lemon Syrup: While the lemon curd chills, prepare the lemon syrup. Combine water, sugar, lemon juice, peeled lemon zest, and basil (optional).
- Bring to a simmer on medium heat and let cool. Once cooled, strain out the lemon peels and set aside. If using limoncello, add it in at this point.
- For the Filling: Chill your mixing bowl and whisk in the freezer for 5 minutes. Pour heavy whipping cream into the chilled mixing bowl and whip to stiff peaks using an electric mixer.
- In a large bowl, combine half of the cooled lemon curd (set aside the other half in the fridge) and all of the mascarpone cheese. Whisk until fully combined and smooth. Do not overmix.
- Add whipped cream into the lemon curd mixture. Gently fold with a whisk or spatula to combine, being careful not to deflate the whipped cream.
- To Assemble: Dip ladyfingers into the lemon syrup and arrange them in a single layer in your serving dish. Spread half of the filling over the ladyfingers. Repeat with another layer of dipped ladyfingers and the remaining filling.
- Decorate with lemon slices. Cover and refrigerate for at least 2 hours, or until firm.