
You know those nights? The ones where work ran late, the kids have a million questions, and the last thing you want to think about is a complicated dinner? Yeah, me too. That’s exactly how this go-to recipe was born. One chilly winter evening, with a package of thin pork chops staring at me from the fridge, I needed something comforting and quick. Turns out, a few pantry staples and a hot skillet can work some serious magic! This is why Why Everyone Loves This Pork Chops Recipes (+ Make-Ahead Tips) so much – it’s simple, ridiculously flavorful, and a lifesaver when time is short. Trust me, it’s become our family’s secret weapon for easy, delicious dinners.
Why Everyone Loves This Pork Chops Recipes (+ Make-Ahead Tips): The Secret to Juicy Pork Chops
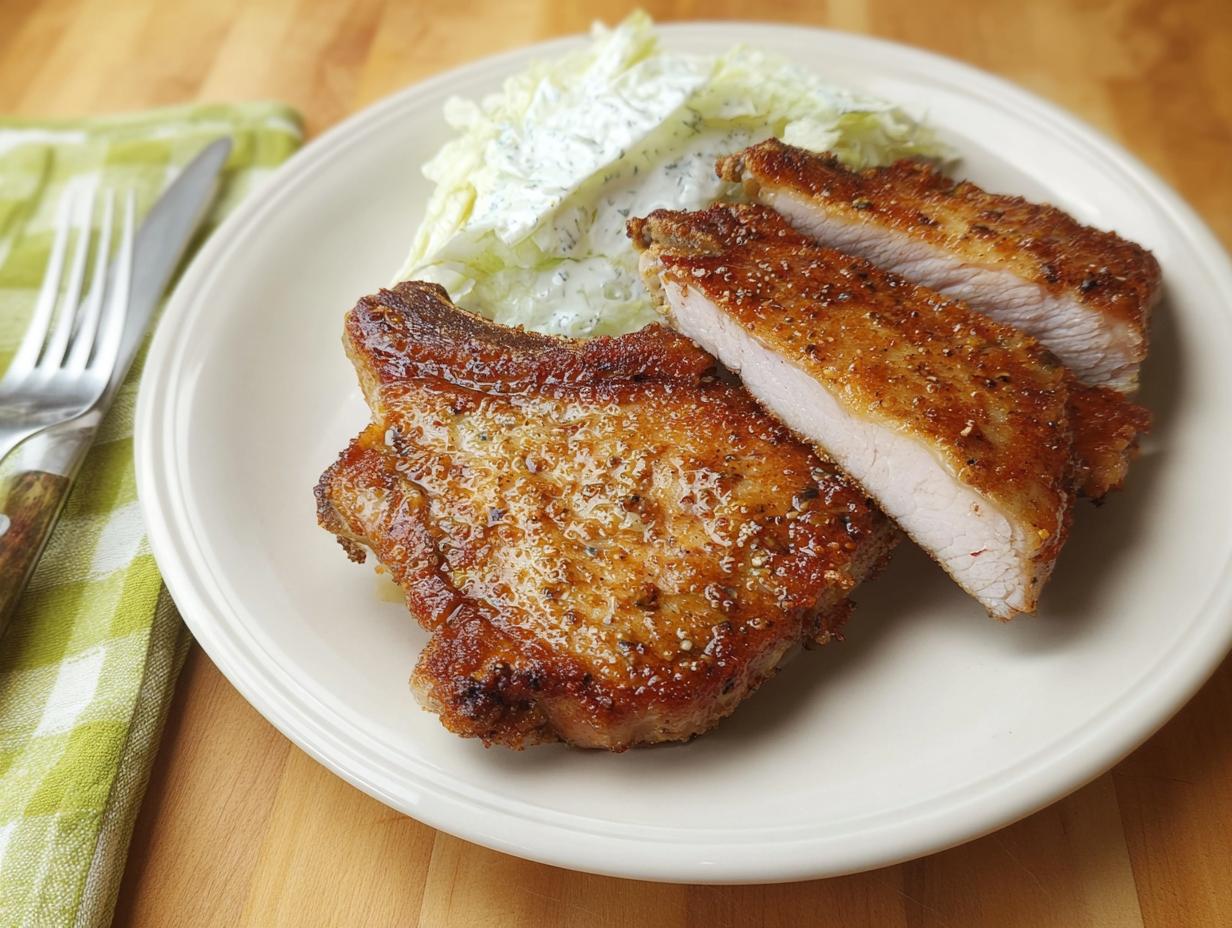
So, what’s the big deal about these pork chops? It all comes down to two things: simplicity and incredible flavor. We’re talking about taking those thin breakfast-cut pork chops, which can sometimes be a little tricky, and turning them into something truly special. The real magic happens in the skillet – a quick sear on each side locks in all those delicious juices, giving you the most tender and juicy pork chops you’ve ever tasted. Seriously, forget dry, bland pork. This recipe proves you don’t need a ton of fancy ingredients or hours in the kitchen to make a meal that feels like a treat. It’s the kind of dish that makes you feel like a culinary hero, even on your busiest weeknights. And the best part? It’s all about getting those perfect, mouthwatering results with minimal fuss. This is why Why Everyone Loves This Pork Chops Recipes (+ Make-Ahead Tips) so much!
Plus, knowing you can whip up dinner this easily, and even get some of it done ahead of time, just adds to the appeal. It’s about enjoying incredible food without adding stress to your day. For other great skillet ideas, check out this Lemon Herb Chicken Orzo Skillet. You can find similar inspiration for easy skillet meals over at The Pioneer Woman, but I promise, our method gives you that perfect juicy finish!
Gather Your Ingredients for Delicious Pork Chops
Okay, so getting ready to make these amazing pork chops really couldn’t be simpler. I love that I can usually grab everything I need right from my pantry! It’s all about those few key players that make these come together so fast.
For the Pork Chops
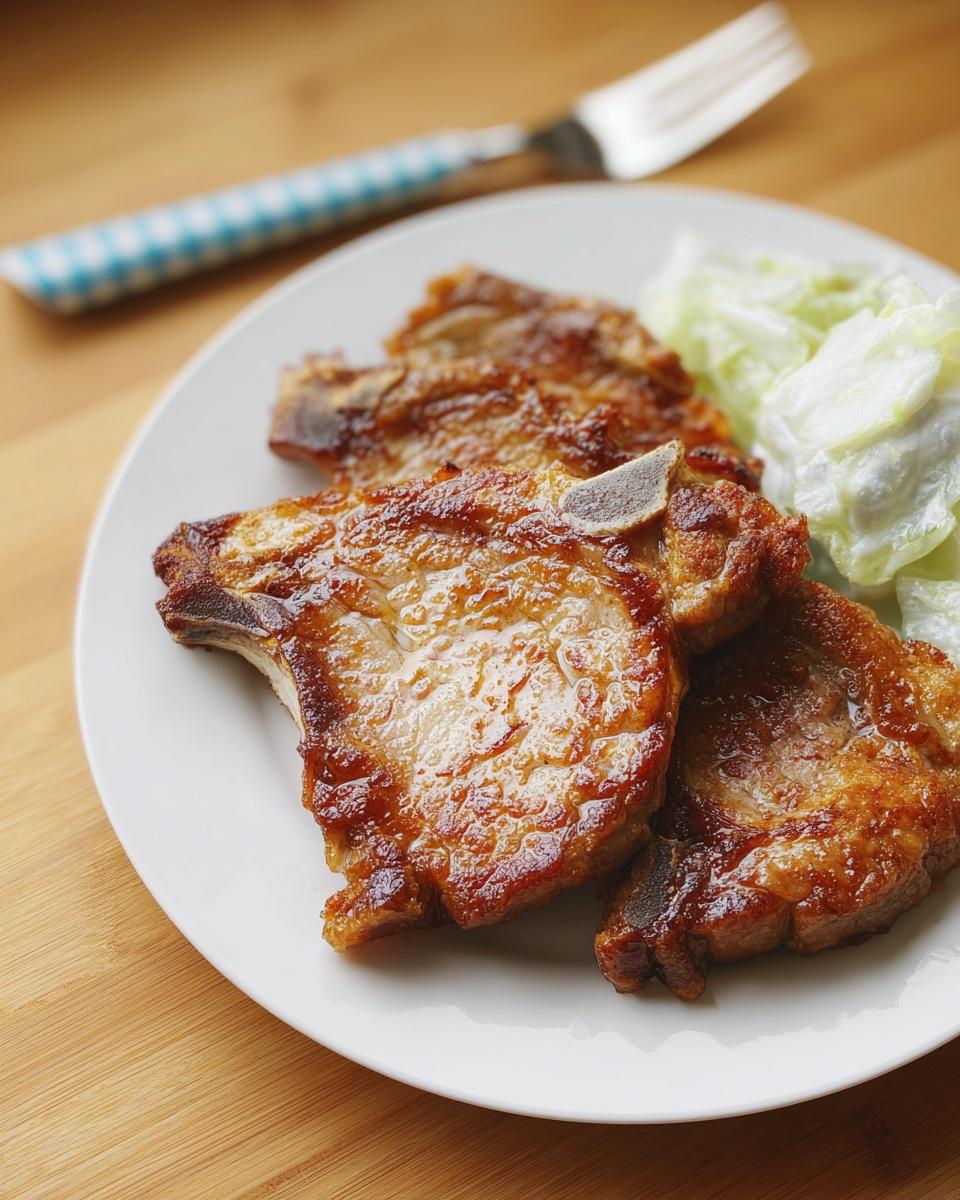
- 7 to 8 breakfast chops (those super thin bone-in ones work best!), about 1 cup all-purpose flour, 1 tsp. seasoned salt, 1 tsp. black pepper, and a pinch of cayenne pepper (if you like a little kick!).
- You’ll also need about 1/2 cup canola oil for frying, and 1 Tbsp. of butter to make everything extra delicious. Don’t forget a little extra salt and pepper for tasting!
How to Make These Amazing Pork Chops
Alright, let’s get cooking! This is where the real magic happens, turning those simple ingredients into an incredible meal right in your favorite skillet. It’s honestly one of the easiest ways to get perfectly cooked pork chops, and you’ll be amazed at how fast it all comes together. This is also a great recipe to keep in mind alongside other easy skillet meals like these Hash Browns Crispy Skillet!
Step 1: Prepare the Pork Chops
First things first, give those pork chops a good splash of lovin’. I like to give them a generous sprinkle of salt and pepper right on both sides. Then, in a shallow dish or pie plate, I whisk together the flour, seasoned salt, black pepper, and that little pinch of cayenne if you’re feeling spicy. Dredge each pork chop really well in this mixture, making sure it’s coated all over, and set them aside on a clean plate. This coating is what helps get that lovely crispy exterior!
Step 2: Cook the Pork Chops to Perfection
Now, heat up your canola oil in a large skillet over medium to medium-high heat. Toss in that tablespoon of butter and let it melt. Once the butter’s melted and the oil is hot – you’ll see it shimmering a bit – it’s time to cook! Carefully place about 3 pork chops in the pan at a time. You want to sear them for about 2 to 3 minutes on the first side until they’re beautifully golden brown. Flip them over and cook the other side for just 1 to 2 minutes – these thin chops cook super fast! Make sure there are no pink juices left. Once they’re done, slide them onto a clean plate.
Step 3: Rest the Pork Chops
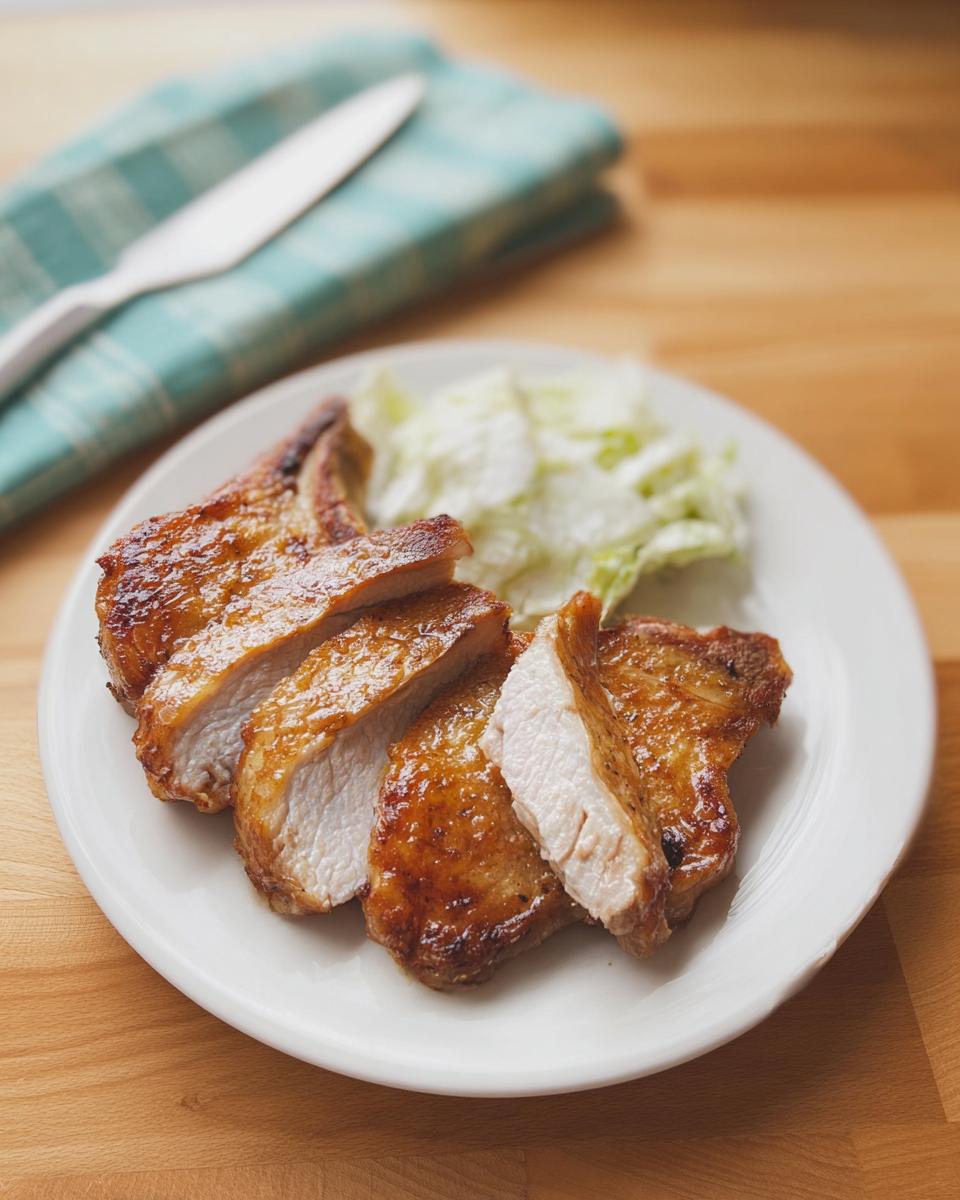
This step is super important, don’t skip it! Once all your pork chops are cooked, let them rest on the plate for about 10 minutes before you even think about serving them. This resting time lets all those juicy flavors redistribute throughout the meat, ensuring every bite is tender and moist. It’s the final secret to that perfect, crave-worthy texture!
Tips for Success with Your Pork Chops Recipes
Okay, so you’ve got the recipe, but let’s talk about making sure these pork chops turn out absolutely perfect *every single time*. Trust me, a few little tricks can make all the difference between a good meal and a *wow* meal. One thing I always stress is not overcrowding the pan. When you put too many chops in at once, they end up steaming instead of searing, and nobody wants soggy chops! Cook them in batches – it might take a smidge longer, but the crispy, golden exterior is totally worth it. Also, pay attention to that heat! Medium to medium-high is your sweet spot. Too low and they’ll never get that beautiful crust; too high and they’ll burn before they cook through. And hey, if you’re looking for more awesome skillet ideas, definitely give these Cinnamon Roll Waffles a whirl!
Make-Ahead Magic: Preparing This Pork Chops Recipes in Advance
One of my favorite things about Why Everyone Loves This Pork Chops Recipes (+ Make-Ahead Tips) is how perfectly it fits into a busy week. You can totally get ahead of the game with this one! If you want to get a head start, I highly recommend doing the dredging step ahead of time. Just mix up your flour and seasonings, dredge the pork chops, and lay them out on a baking sheet lined with parchment paper. Then, cover them snugly with plastic wrap and pop them in the fridge. They’ll be ready to go straight into the hot skillet when you are! This makes weeknight dinners feel like a breeze. You can also cook the pork chops completely, let them cool, and store them in an airtight container in the fridge for up to 2 days. Just reheat them gently in a skillet with a little extra butter and oil to bring back that gorgeous crispiness. It’s like having a delicious, home-cooked meal ready at your fingertips! For other genius make-ahead ideas, you’ve gotta try this Overnight French Toast Bake!
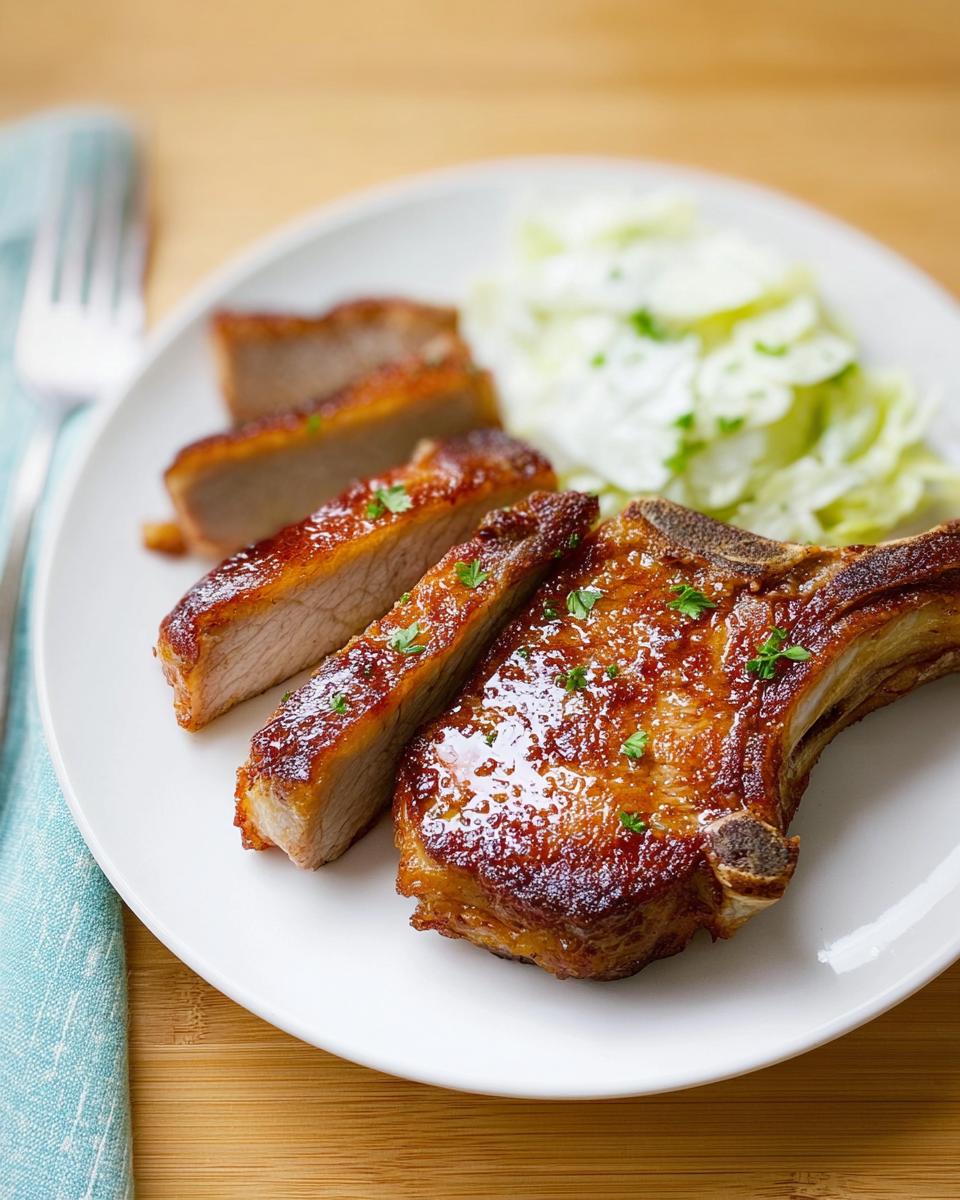
Serving Suggestions for Your Delicious Pork Chops
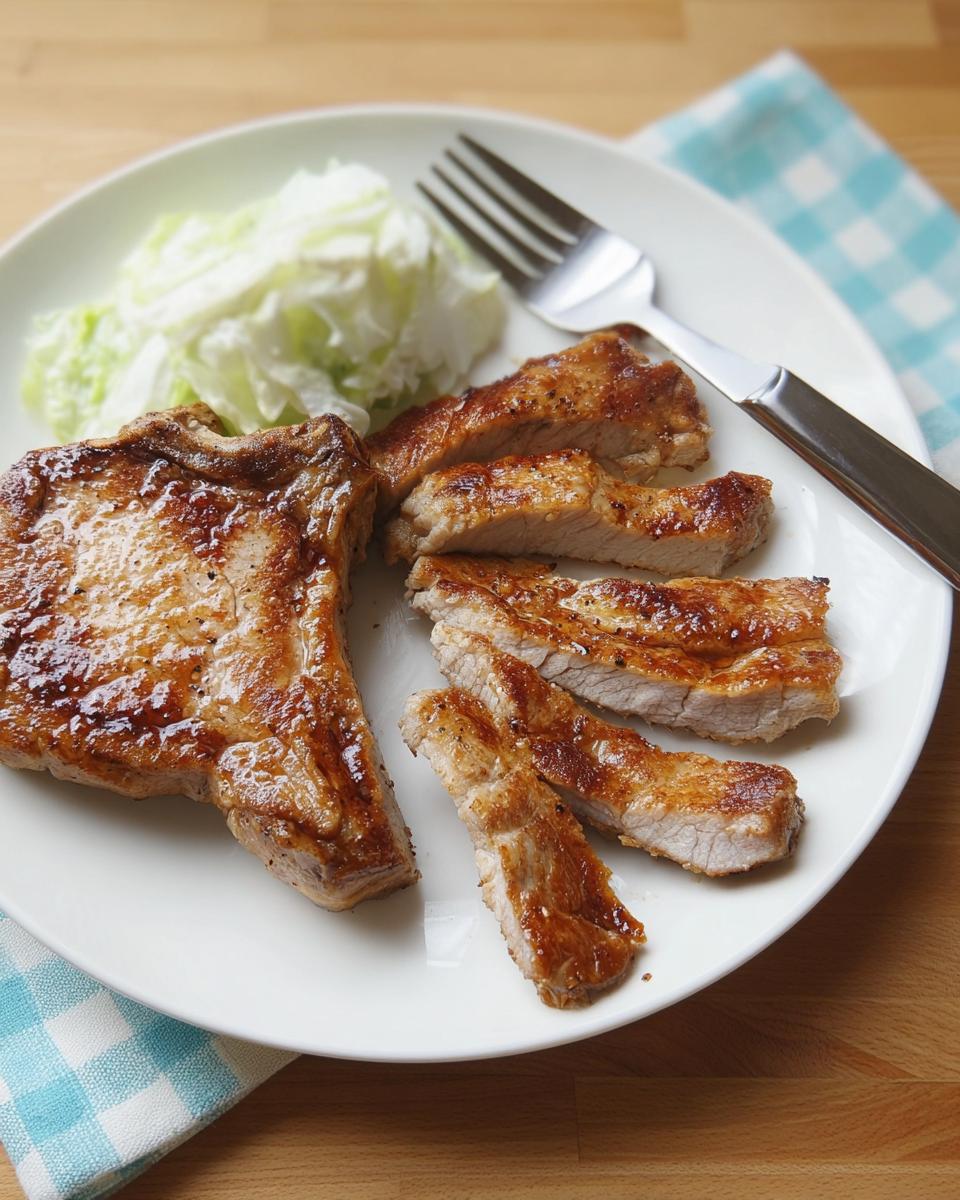
Now that you’ve got these perfectly juicy pork chops, what should you put on the plate next to them? My family loves serving these with a big scoop of fluffy smashed new potatoes – they soak up all those delicious pan drippings like a dream! You could also go for some roasted broccoli or green beans for a bit of color and crunch. For something a little more hearty, a simple side salad or some quick-cooking rice works wonders too. We have a great Creamy Mashed Potatoes Make-Ahead recipe that’s always a hit!
Frequently Asked Questions About This Pork Chops Recipes
Got questions about making these amazing pork chops? I get it! It’s always good to have a few tips in your back pocket. This recipe is pretty straightforward, but sometimes little things pop up. That’s why I love answering those common questions so you can really nail that perfect, juicy pork chop every single time. Don’t forget to check out my Caramel Frappuccino Copycat for another easy win!
Can I use boneless pork chops for this recipe?
You sure can! Boneless pork chops will work, but they cook even faster, so keep a super close eye on them. You might need to shave off a minute or so from each side. Just make sure they reach an internal temperature of 145°F (63°C).
How do I ensure my pork chops are juicy and not dry?
The trick to extra juicy pork chops is all about not overcooking them! Thin chops cook super fast, so a quick sear on each side is key. And please, don’t skip the resting step – that’s where the juices redistribute and make them incredibly tender. Thin bone-in chops also tend to retain moisture better!
What’s the best way to reheat leftover pork chops?
To keep them delicious, gently reheat your leftover pork chops in a skillet over medium-low heat with a little bit of oil or butter. You just want to warm them through so they don’t dry out. Microwaving works in a pinch, but try to use the stovetop for the best texture!
Nutritional Information
Just a heads-up, the nutritional info here is an estimate, okay? Depending on the exact size of your chops and a few other things, the numbers can shift a little. But generally, one serving of these delicious pork chops has around 450 calories, roughly 30g of fat, about 25g of protein, and around 20g of carbs. It’s a good, solid tasty meal!
Share Your Culinary Creations!
I absolutely love hearing about your kitchen adventures! Have you tried making these pork chops? Did you tweak them in a fun way, or did they become your go-to for busy weeknights like they did for us? Snap a pic and share it with me, or leave a comment below telling me all about it! It makes me so happy to know these recipes are bringing joy to your tables too. Feel free to reach out through my contact page with any questions or to share your amazing results!

Why Everyone Loves This Pork Chops Recipes (+ Make-Ahead Tips)
Ingredients
Equipment
Method
- Salt and pepper both sides of the pork chops.
- Combine all dry ingredients. Dredge each side of the pork chops in the flour mixture, then set aside on a plate.
- Heat canola oil over medium to medium-high heat. Add butter. When the butter is melted and the butter/oil mixture is hot, cook 3 pork chops at a time, 2 to 3 minutes on the first side; 1 to 2 minutes on the other side. Make sure no pink juices remain. Remove to a plate and repeat with remaining pork chops.
Notes
Tried this recipe?
Let us know how it was!
Dual-Restriction Recipe Engineer & Cross-Contamination Specialist
Everything changed when my teenage son got hit with celiac disease and Type 1 diabetes diagnoses within six months of each other. Suddenly, pizza and pasta were off the table, and most “diabetic-friendly” foods contained gluten. I went from regular mom cooking to navigating what I call “compound restriction cooking”—and I had a kid’s appetite and taste buds to satisfy.
Lucky for us, my background in pharmaceutical quality control gave me the systematic mindset this level of precision requires. My kitchen now operates under pharmaceutical-grade protocols adapted for home use: dedicated prep surfaces, separate storage systems, and testing procedures that verify both carb counts and gluten absence before any recipe gets published.
I’ve developed over 220 recipes that clear multiple dietary hurdles simultaneously—finding gluten-free thickeners that don’t spike blood sugar, creating bread alternatives that meet both keto ratios and celiac safety, and developing desserts that actually taste good to a teenager despite impossible restrictions.
Through my “Safe Kitchen Certification” program, I teach other parents that managing multiple dietary restrictions isn’t about multiplying limitations—it’s about systematic thinking that reveals unexpected possibilities. When you engineer solutions instead of making compromises, restriction becomes innovation rather than deprivation.