

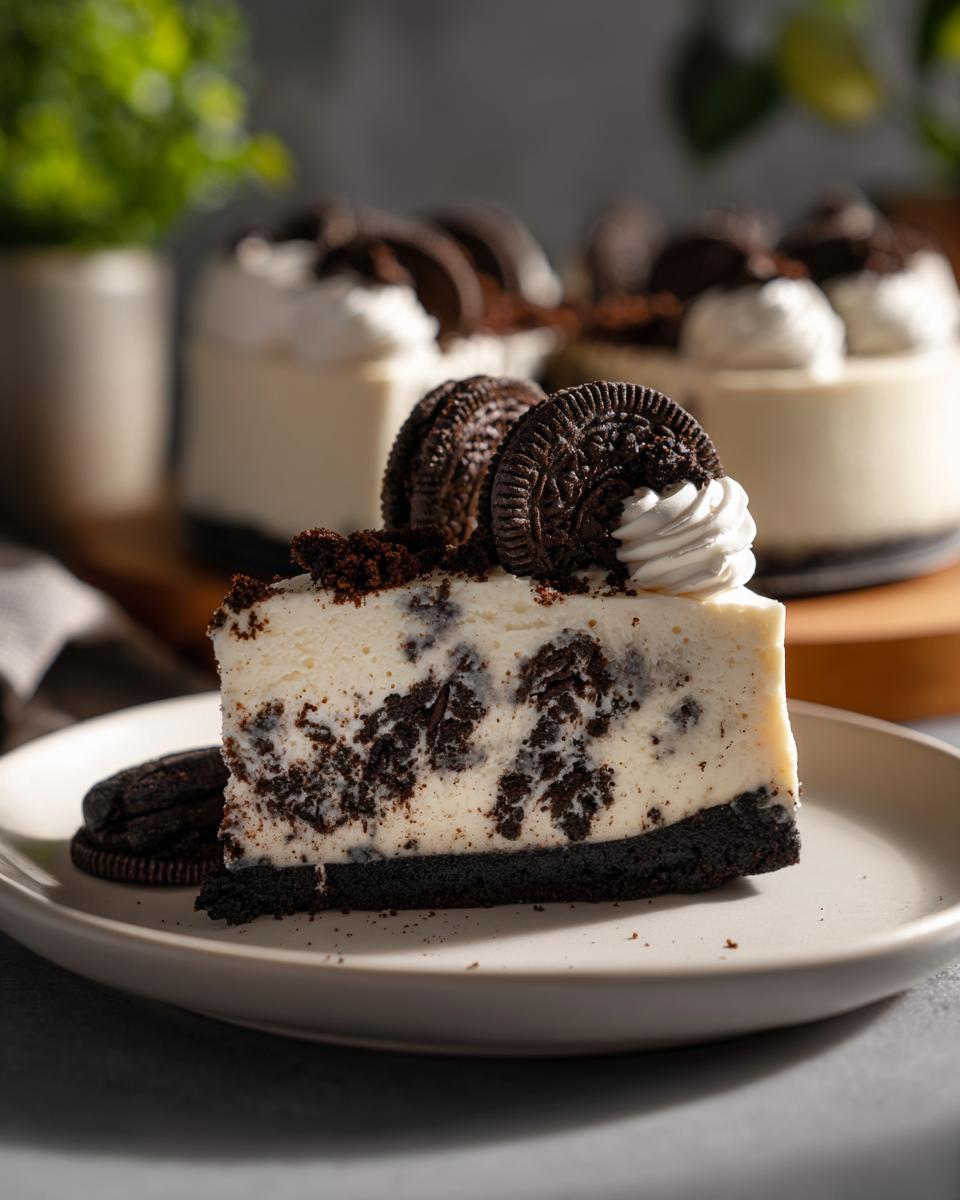
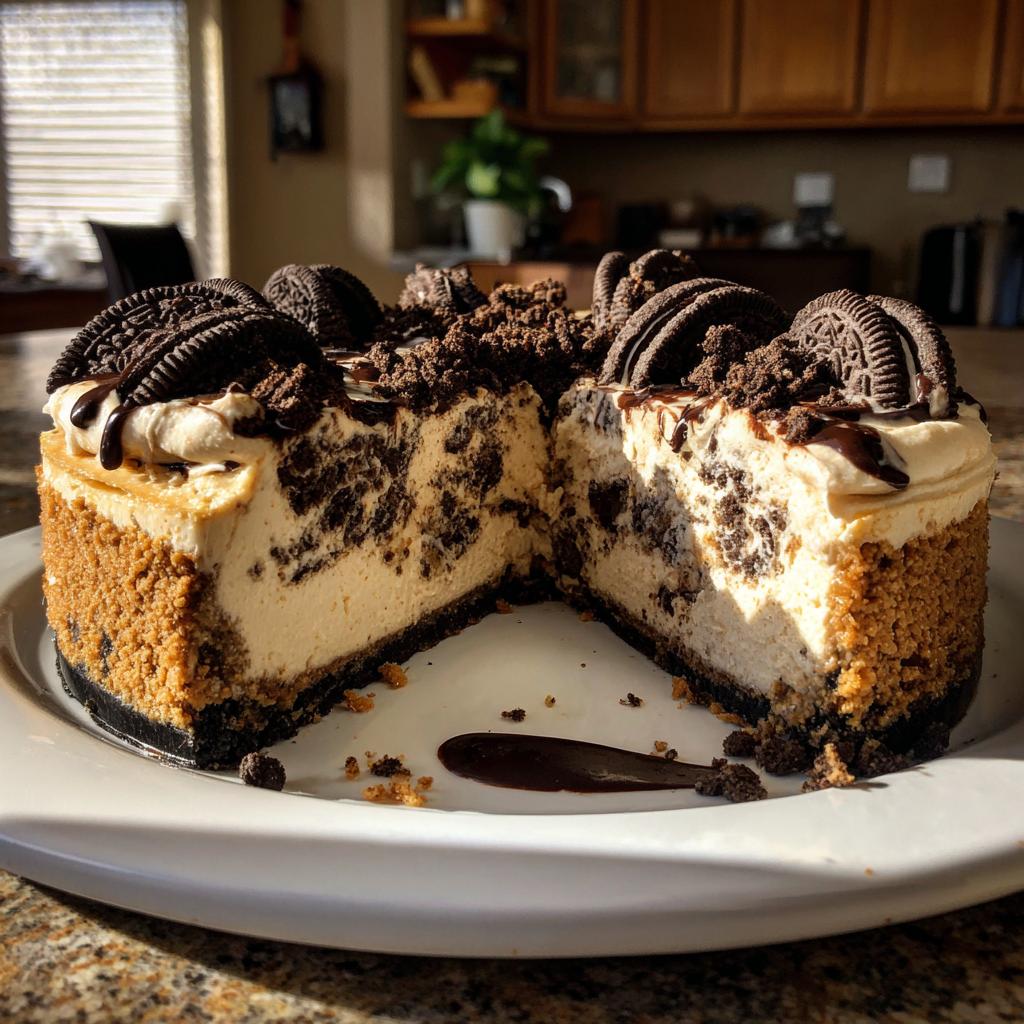
Seriously, if you’re looking for simple yet show-stopping dessert recipes, this no-bake Oreo cheesecake is an absolute game-changer for easy parties! I remember the first time I whipped this up for a last-minute get-together. My friends were raving, and nobody could believe it took practically no time and zero oven-time. It’s just so creamy, chocolatey, and perfectly sweet – a guaranteed hit every single time. Trust me, this is one of those go-to dessert recipes with no bake Oreo cheesecake for easy parties that you’ll make over and over again. You can even find a similar version over at Taste of Home!
Why You’ll Love This No Bake Oreo Cheesecake
There are so many reasons this cheesecake is a winner, I can barely list them all! But here are my top reasons why you’ll absolutely adore making and eating this:
- It’s ridiculously easy – seriously, no baking involved!
- Uses just a handful of simple ingredients you probably already have.
- Super forgiving, meaning even beginners can nail it.
- The chocolatey Oreo flavor is a crowd-pleaser for all ages.
- Perfect for any occasion, from potlucks to casual weeknight treats.
- It tastes like pure magic with minimal effort.
Gather Your Ingredients for No Bake Oreo Cheesecake
Alright, let’s get our ingredients lined up for this dreamy No Bake Oreo Cheesecake. It’s actually ridiculously simple, which is half the fun! For the crust, you’ll need about 24 Oreos – just give them a good crush and mix them with 6 tablespoons of melted butter. That’s it! For the creamy filling, we’ll start with two blocks of cream cheese, make sure it’s nice and soft so it blends smoothly. Then, a cup of powdered sugar to make it sweet and dreamy, and a teaspoon of vanilla extract for that classic cheesecake flavor. The real magic comes from a cup of heavy cream, whipped up until it’s stiff peaks, and then about 10 more Oreos, chopped up to stud the filling with little bits of chocolatey goodness. Easy peasy!
Essential Equipment for Your No Bake Oreo Cheesecake
To make this glorious no-bake Oreo cheesecake, you won’t need much! Just a 9-inch springform pan is ideal so you can easily release the cheesecake later. A food processor is super handy for crushing those Oreos, but you can totally use a Ziploc bag and a rolling pin if you don’t have one! You’ll also want an electric mixer, some trusty mixing bowls, and that’s pretty much it. Simple!
Step-by-Step Guide to Making No Bake Oreo Cheesecake
Alright, let’s get down to business and make this amazing No Bake Oreo Cheesecake! It’s honestly so straightforward, you’ll be amazed. Follow along, and you’ll have a showstopper in no time. We have some great ideas for healthy versions over at Low Carb Gluten Free Dishes too, if you’re feeling adventurous!
Preparing the Oreo Crust
First things first, let’s get that crust ready. Grab your food processor and pulse those 24 Oreos until they’re nice and crumbly. If you don’t have a processor, just pop them in a resealable bag and go at ’em with a rolling pin – good stress relief, right? Then, mix those crumbs with the 6 tablespoons of melted butter. Pour this mixture into your 9-inch springform pan and press it down firmly and evenly along the bottom. Use the back of a spoon or even the bottom of a measuring cup for a nice, flat surface. This is the foundation of our deliciousness!
Creating the Creamy Cheesecake Filling
Now for the star of the show – the filling! In a big mixing bowl, take your softened cream cheese, powdered sugar, and vanilla extract. Beat these together with your electric mixer until everything is super smooth and creamy. No lumps allowed here! Once you’ve got that perfect creamy base, it’s time for the fluffy part. Gently fold in the whipped heavy cream. You want to do this slowly so you don’t lose all that airy volume you worked so hard to get. It should look light and luscious.
Adding the Oreo Chunks and Assembling
Okay, just a few more steps! We’re going to stir in those chopped Oreos. Don’t overmix at this point; just a gentle fold to get them distributed throughout the creamy filling. You want those little pockets of cookie goodness in every bite! Now, carefully spoon this heavenly mixture over your prepared Oreo crust. Use a spatula to spread it out evenly, making sure it’s smooth on top. It’s really starting to look like a proper cheesecake now!
Chilling Your No Bake Oreo Cheesecake
This is the most important part, and arguably the hardest because you have to wait! You need to chill your No Bake Oreo Cheesecake in the refrigerator for at least 2 hours. This gives it time to set up properly and get that lovely firm texture that’s perfect for slicing. If you can resist, 3-4 hours is even better. You’ll know it’s ready when the center feels firm to a gentle touch.
Tips for the Perfect No Bake Oreo Cheesecake
Even though this No Bake Oreo cheesecake is super forgiving, a few little tricks can take it from great to absolutely show-stopping! First off, make sure your cream cheese is truly softened. That means taking it out of the fridge a good hour or so before you plan to mix. Nobody wants lumpy cheesecake, right? Also, when you’re whipping your heavy cream, make sure it’s really cold so it can get those lovely stiff peaks. If your kitchen is really warm, try chilling your bowl and whisk attachment in the freezer for a bit! I sometimes add a tiny bit more vanilla than the recipe calls for – it just boosts that yummy flavor. And if you peeked at other no-bake ideas, you might notice some use different cookies as a base, which is fun, but you really can’t beat Oreos for this one!
Variations and Serving Suggestions
Okay, so this No Bake Oreo Cheesecake is amazing as-is, but you know me – always looking for ways to jazz things up! For starters, you could swap out the Oreos for any of your favorite cookies. Chocolate chip cookies? Yes! Peanut butter cookies? Even better! You could even try a graham cracker crust for a little contrast. If you want to add some extra pizzazz to the filling, a swirl of caramel or hot fudge sauce right before chilling is *divine*. And for serving, forget boring slices! Top it with whipped cream, extra crushed Oreos, chocolate shavings, or fresh berries. It’s also super cute served in individual jars or ramekins, a little like those mini pineapple upside-down cheesecakes – perfect for parties!
Storage and Reheating Instructions
This No Bake Oreo Cheesecake is best served cold, so storing it is a breeze! Just pop any leftovers into an airtight container or cover the springform pan tightly with plastic wrap. It’ll keep beautifully in the fridge for about 3 to 4 days. Since it’s no-bake, there’s no reheating needed – just slice and enjoy! Honestly, though, it rarely lasts that long!
Frequently Asked Questions about No Bake Oreo Cheesecake
Got questions about this amazing No Bake Oreo Cheesecake? I’ve got answers! It’s always great to clear things up so you can bake with total confidence. Plus, I love talking about this recipe!
Can I use different cookies for the crust?
Absolutely! While Oreos are classic for a reason, feel free to get creative. Chocolate chip cookies, shortbread, or even graham crackers would make a fantastic base. Just crush ’em up and mix with melted butter, same as you would with Oreos. It’ll give your cheesecake a whole new personality, kind of like how they do with those fun strawberry cheesecake cookies!
How long does it really need to chill?
The chilling time is super important for this No Bake Oreo Cheesecake to get that perfect firm texture. You absolutely need at least 2 hours in the fridge for it to set up properly. If you can wait longer – like 3 or 4 hours – that’s even better! It helps everything firm up and makes it slice like a dream. Patience is key here!
Can I make this no-bake cheesecake ahead of time?
YES! This is one of the best things about it. You can totally make this cheesecake a day in advance. In fact, I often find it tastes even better the next day after all those flavors have had a chance to meld together. Just keep it covered in the fridge, and it’ll be ready to go when you need it!
My whipped cream isn’t holding stiff peaks. What went wrong?
Oh, that’s a common one! Make sure your heavy cream is really, really cold. Cold cream whips up best. Also, ensure your bowl and whisk attachment are chilled – pop them in the freezer for about 15 minutes beforehand. Sometimes, if your kitchen is super warm, it can affect things too. Just keep beating, and if it’s still not cooperating, a tiny pinch of cream of tartar can sometimes help stabilize it.
Nutritional Information
Now, remember this is a treat, so we’re not talking about health food here! Roughly speaking, one slice of this No Bake Oreo Cheesecake packs about 400-450 calories, with around 25-30 grams of fat, 30-35 grams of carbs, and a modest 5-7 grams of protein. These are just estimates, though, and can totally change depending on the brands of butter, cream cheese, and Oreos you use!
No Bake Oreo Cheesecake
Ingredients
Equipment
Method
- Combine crushed Oreos and melted butter. Press into the bottom of a 9-inch springform pan.
- In a large bowl, beat cream cheese, powdered sugar, and vanilla extract until smooth.
- Gently fold in the whipped heavy cream.
- Stir in the chopped Oreos.
- Spread the filling evenly over the crust.
- Chill for at least 2 hours before serving.