
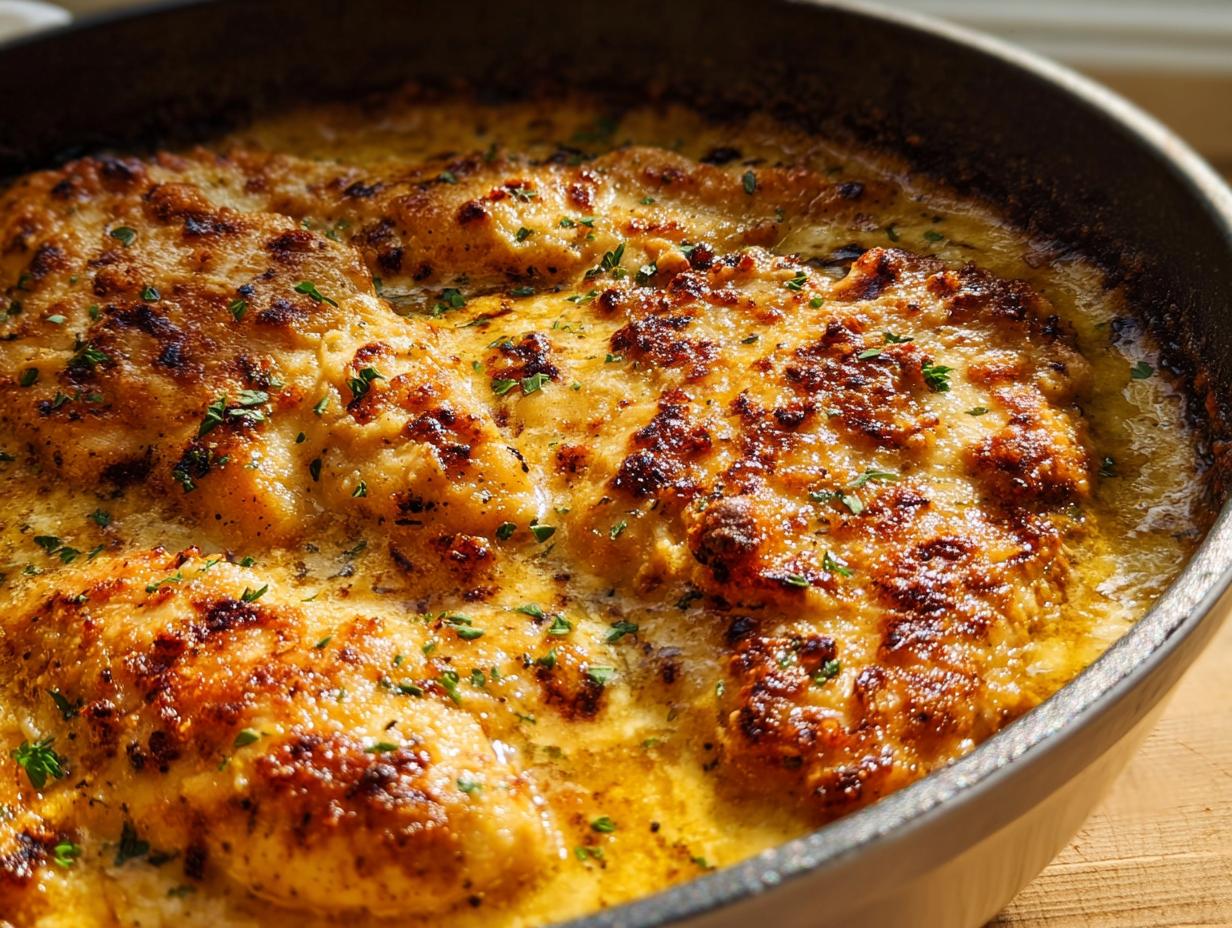
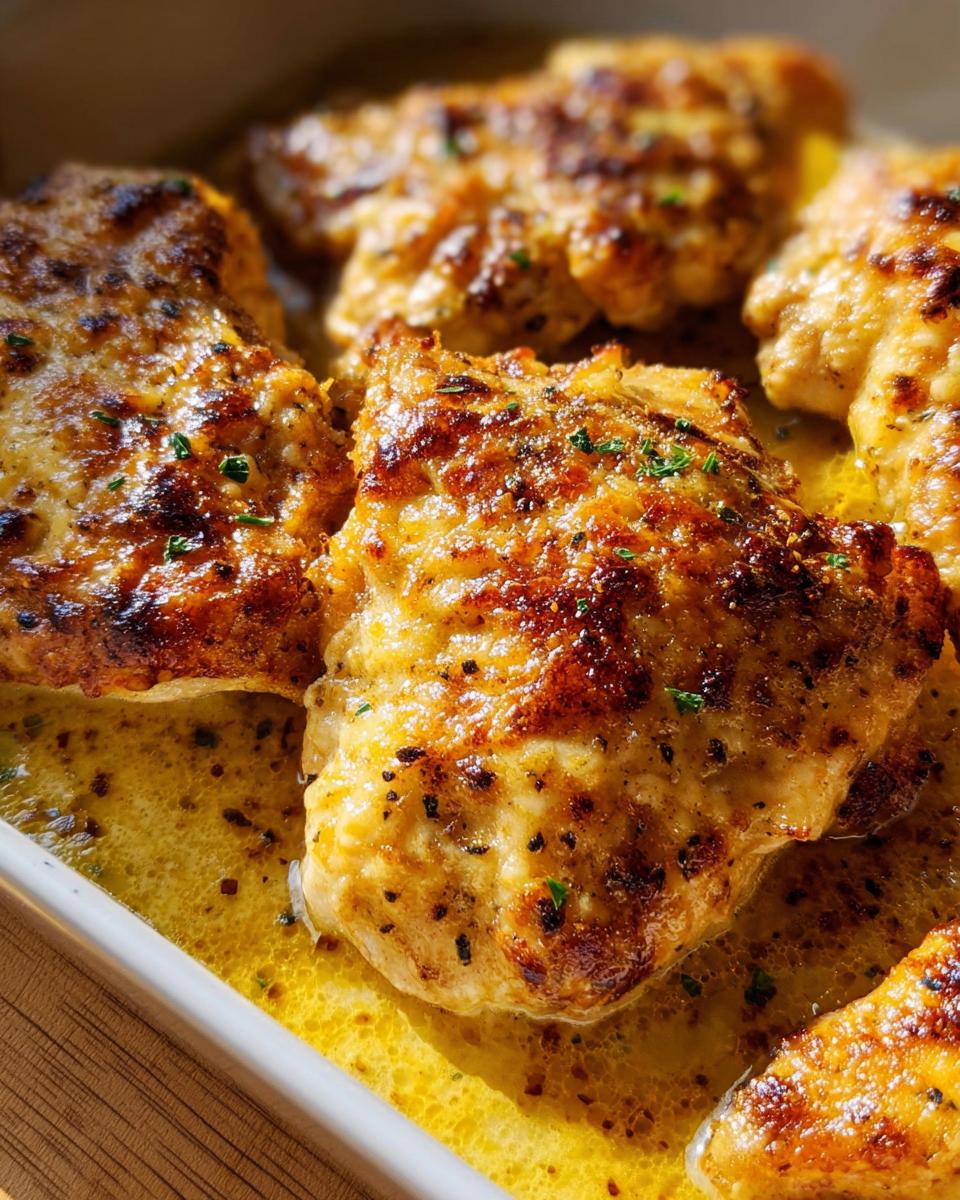
Oh, the weeknight dinner struggle! I swear, some days I feel like I’m running a marathon just to get food on the table that everyone will actually eat—especially when we are juggling dietary needs around here. But I found the answer, you guys, and it’s honestly life-changing. Meet the most unbelievably tender, flavorful chicken you’ll ever pull out of your oven: the Melt in Your Mouth Chicken!
I still remember the first time I tried to create a chicken dish that would satisfy my son’s cravings and also meet his dietary restrictions. One evening, I was racing against the clock to prepare dinner after a long day, and I thought about the flavors he loved most. I tossed together ingredients I knew were safe for him—yogurt for moistness, herbs for flavor, and a hint of spice—and baked it to perfection. When I pulled that *Melt in Your Mouth Chicken* from the oven, the tender, flavorful aroma filled the air, and my son couldn’t wait to dig in. Seeing him enjoy every bite was a magical moment that reminded me that cooking can be a source of love and joy, even within restrictions. You can read a little more about my philosophy on cooking for specific needs over at my About Me page!
Why This Melt in Your Mouth Chicken is Your New Weeknight Go-To
Seriously, ditch those complicated recipes for busy nights. This amazing basic baked chicken dinner comes together in less than 40 minutes total! It gives you maximum flavor for minimum effort, which is exactly what all busy families need. Plus, the creamy topping means you get that incredible texture without needing breadcrumbs.
- It’s unbelievably fast: Only about 10 minutes of prep time and 25 minutes of baking.
- It tastes incredible—seriously rich and flavorful.
- It’s fantastic for meal prepping dinners for later in the week! Check out some tips for easy prep over here: meal prepping dinners.
Dietary Adaptability: Gluten-Free and Low-Carb Appeal
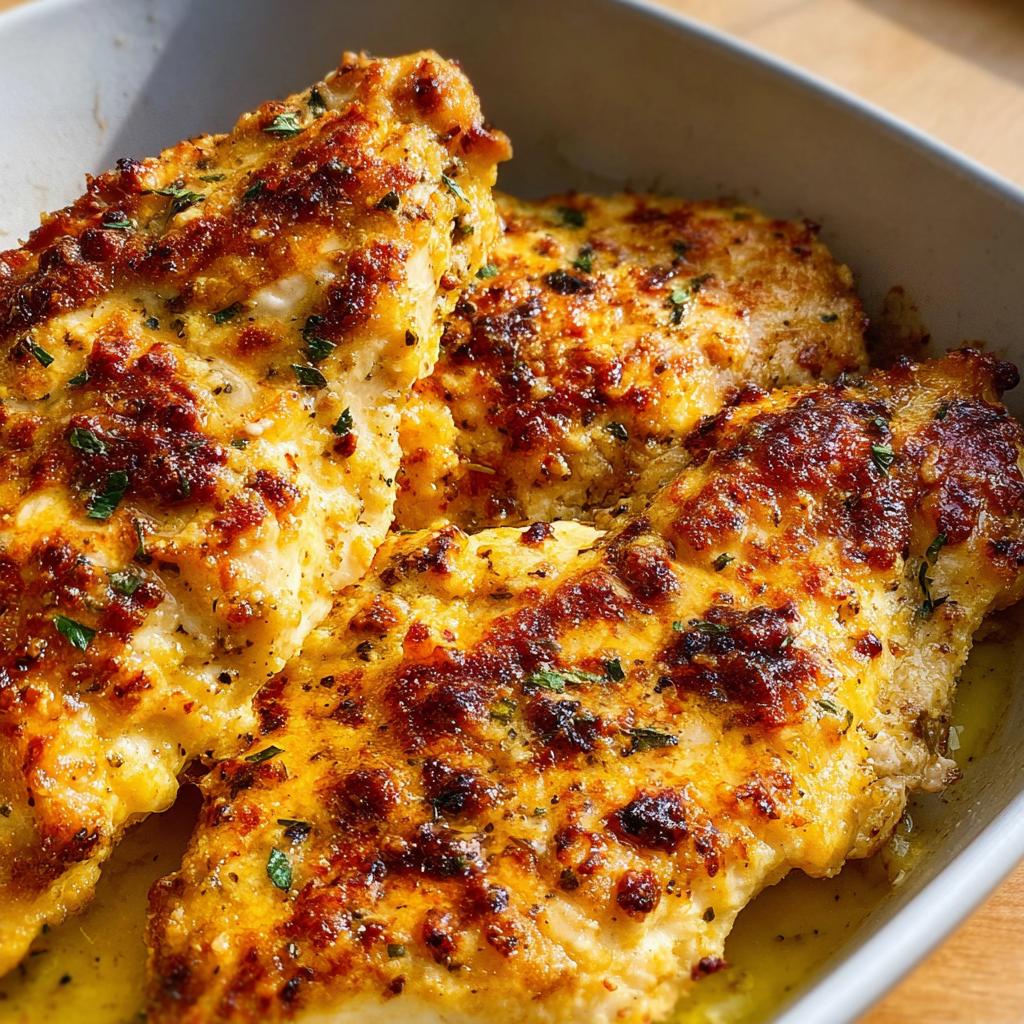
If you’re navigating gluten restrictions or trying to keep things light on carbs, this recipe is your winner. Because we skip traditional flour or breading entirely, this becomes an automatically gluten-free option. The topping relies on the Parmesan and mayo, making it super low in carbs! This is why I call it the perfect chicken in 20 minutes solution.
Gathering Ingredients for Perfect Melt in Your Mouth Chicken
Don’t skip reading this part! Even though this is simple baking, ingredient quality makes a huge difference in getting that signature tenderness. We need three simple things: the topping mix, the chicken itself, and maybe a little green garnish if you feel fancy. Trust me, the topping is where the heavy lifting happens for flavor!
If you want to nail the texture and flavor on the first try, grab your materials soon. You will need the right tools too, make sure you have a good broiler-safe dish ready; we need that heat for the finish!
Ingredient Breakdown
For the topping, grab your 2/3 cup of mayonnaise, which is the secret binder here. Mix that with 1/2 cup of Parmesan cheese, but listen up: it must be finely grated—we want melted creaminess, not chunks! Add in 1 teaspoon of garlic powder for that flavor punch.
For the chicken portion, use 2 large boneless, skinless chicken breasts—that should total about 1 1/2 pounds. Before anything else, cut them horizontally to make four even pieces. This flattening step is key to even cooking! Season them generously with 1 teaspoon of kosher salt and 1/4 teaspoon of black pepper. If you are using parsley for garnish, just chop some fresh leaves when you’re ready to serve.
Step-by-Step Instructions for Easy Oven Dinner
Okay, we’ve got our ingredients ready to go! This whole process is super fast—we’re looking at maybe 10 minutes of prep, about 28 minutes of baking and broiling time combined, and boom, dinner is done. Remember, we need that oven heated up to 375°F before we do anything else.
Preparing the Topping and Chicken
First things first: get that oven preheating to 375°F. While it warms up, take that little bowl you mixed earlier—our fantastic **Mayo Parmesan Chicken** topping—and just set it aside. Now, grab those four pieces of chicken. This is important: use paper towels and pat them down until they are really dry. If they are wet, that topping won’t crisp up right!
Once dried, season them well on all sides with your salt and pepper. Then, lay them nicely in a single layer in your broiler-safe 9×13 dish. Spoon that creamy topping mixture right over the top of each piece, making sure they are all covered like little cheesy blankets.
Baking and Achieving Golden Perfection for Juicy Chicken Breast
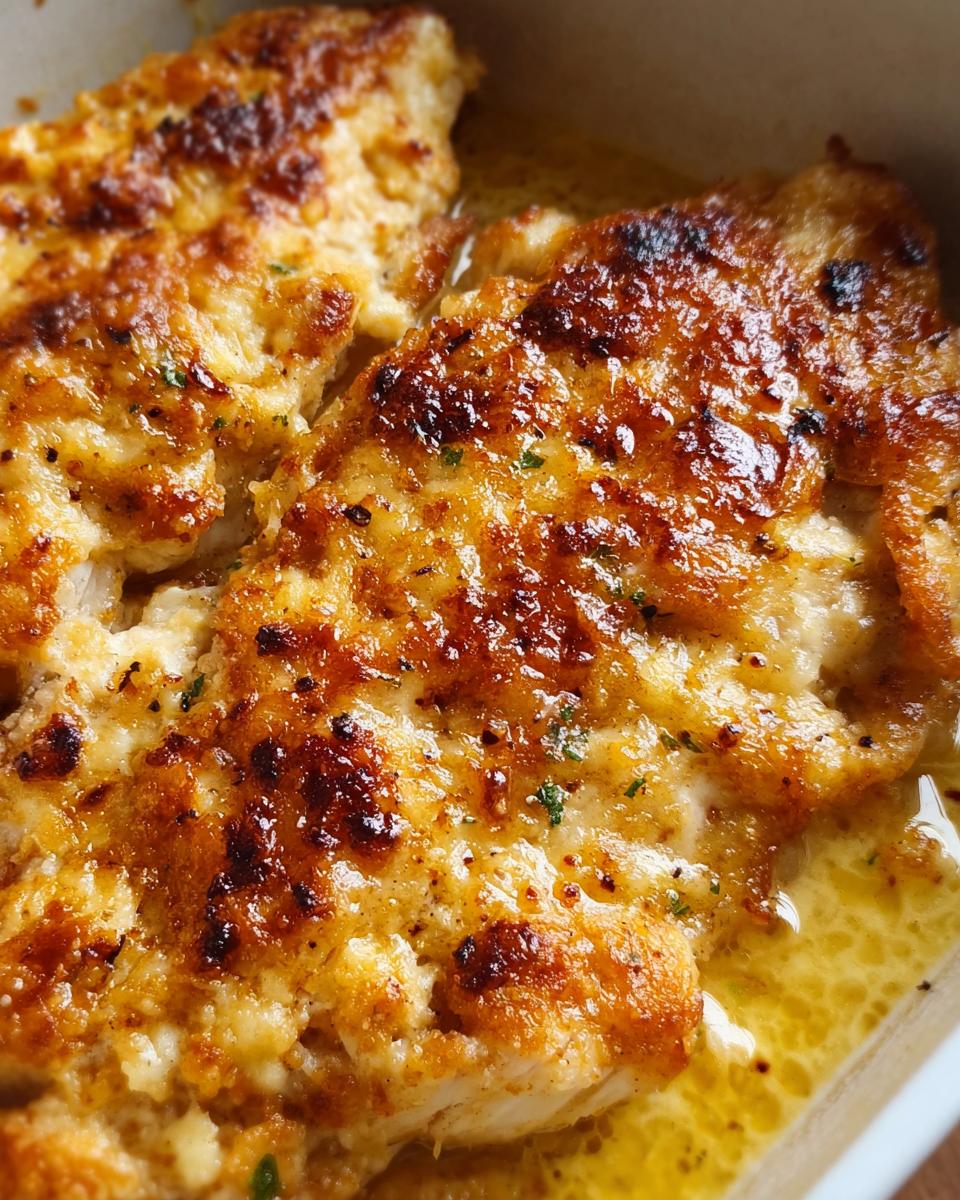
Into the 375°F oven they go for 20 to 25 minutes. You are aiming for an internal temperature of 165°F. Seriously, please use that instant-read thermometer! This is the real secret to getting that **juicy chicken breast** instead of dry hockey pucks. It is the key to making sure every bite is melt-in-your-mouth tender.
When they hit that temp, switch your oven over to the broil setting. This is the dramatic finale! Broil the chicken for just 2 to 3 minutes. You are looking for bubbly, golden-brown perfection on top. But listen to me—stand right there and watch it! Broilers work fast and can burn things in a blink. Once it looks perfect, pull them out, garnish with parsley if you want, and get ready for the best easy oven dinner ever. You can check out my guide on checking temperatures here for extra confidence: ultimate guide for ingredients, temps, and tips.
Expert Tips for Truly Melt in Your Mouth Chicken
Even though this recipe is wonderfully simple, those little professional touches are what take it from good to absolutely show-stopping. You want that melt-in-your-mouth magic every single time, right? I’ve learned a few tricks over the years, especially while trying to please picky eaters!
My biggest struggle used to be getting the thickness right. If one piece was super thick and the adjacent one was thin, that thin one would dry out before the thick one was cooked. My solution? After cutting the breasts in half horizontally, I sometimes place the thinner half between two sheets of plastic wrap and give it just a few gentle whacks with a rolling pin. I don’t want paper-thin, just evening out the playing field so they all finish cooking around the same time. It really ensures maximum juiciness across the board!
Another thing you must do—and this is huge for keeping the topping stuck—is make sure you don’t overload the dish with topping. You need enough to cover the whole surface, but if you glob it on too thick, it slides right off when it melts. I try to keep the layer about 1/4 inch thick over the whole breast. When the Parm melts, it grabs onto that mayo layer and creates that lovely, cohesive crust.
And finally, when you’re checking that internal temperature, be extra diligent about inserting the thermometer into the absolute thickest part of the breast, away from any bone if you happen to have some variance. If you pull it out even five degrees early, it won’t be ready; if you leave it in too long, well, you lose the “melt in your mouth” factor! Getting that 165°F perfectly is the sweet spot we aim for. Master that, and you’ve mastered this dish. For more ways to ensure perfect chicken readiness, go check out my tips on crispy and juicy chicken.
Serving Suggestions for Your Baked Chicken Dinner
Now that you’ve got this amazing, creamy, **juicy chicken breast** masterpiece coming out of the oven, what are we putting beside it? Since we’ve kept the main course rich and satisfying, we want sides that balance that out perfectly while keeping things clean and quick. No one wants to spend another hour cooking after making a delicious, easy oven dinner!
I always try to stick to veggies that roast up quickly because they cook in almost the same amount of time as the chicken, or I use something I prepped earlier. If you need some great ideas, I’ve compiled a massive list of low-carb sides you might find helpful!
Here are my top three combos for making this a complete, balanced meal:
- Roasted Asparagus with Lemon: Toss fresh asparagus with a little olive oil, salt, pepper, and maybe a sprinkle of future Parmesan from your topping batch! Roast it alongside the chicken for the last 15 minutes, or just steam it really quickly. The bright acid of the lemon cuts right through the richness of the mayo topping perfectly.
- Garlicky Sautéed Green Beans: You can literally cook green beans in butter and garlic while the chicken rests for five minutes. It’s fast, it’s flavorful, and it adds that perfect crunch factor we sometimes miss when eating soft chicken.
- Simple Mixed Greens Salad: Sometimes on the busiest nights, you just need crisp lettuce with cherry tomatoes and cucumber. Ditch the heavy dressings and make a quick vinaigrette using red wine vinegar and olive oil. It’s light, refreshing, and honestly, it lets the flavor of that incredible baked chicken really shine.
Storage and Reheating Instructions for Melt in Your Mouth Chicken
The great thing about this easy oven dinner is that it keeps really well! If you have leftovers—which only happens if you actually manage to save some—pop them into an airtight container right away. You want to refrigerate them for up to three or four days max.
When it’s time to eat them again, we have to be careful not to dry them out. Don’t just toss them in the microwave! The best trick is reheating them gently in a low oven, maybe 300°F, covered tightly with foil so the tops don’t burn up.
If you want that beautiful topping crisp again, uncover the chicken for the last minute or two of reheating, or just use the broiler briefly, watching like a hawk. This keeps your chicken tender, just like the first time. For more pointers on making food last for your weeknights, check out some of my meal prep organization tips!
Frequently Asked Questions About Mayo Parmesan Chicken
I always get questions when people try this recipe for the first time, which makes me so happy because it means you’re trying it out! Most of the confusion centers around substitutes or hitting that perfect soft texture we all crave with this **Mayo Parmesan Chicken**. Here are a few things I always hear, and my quick answers!
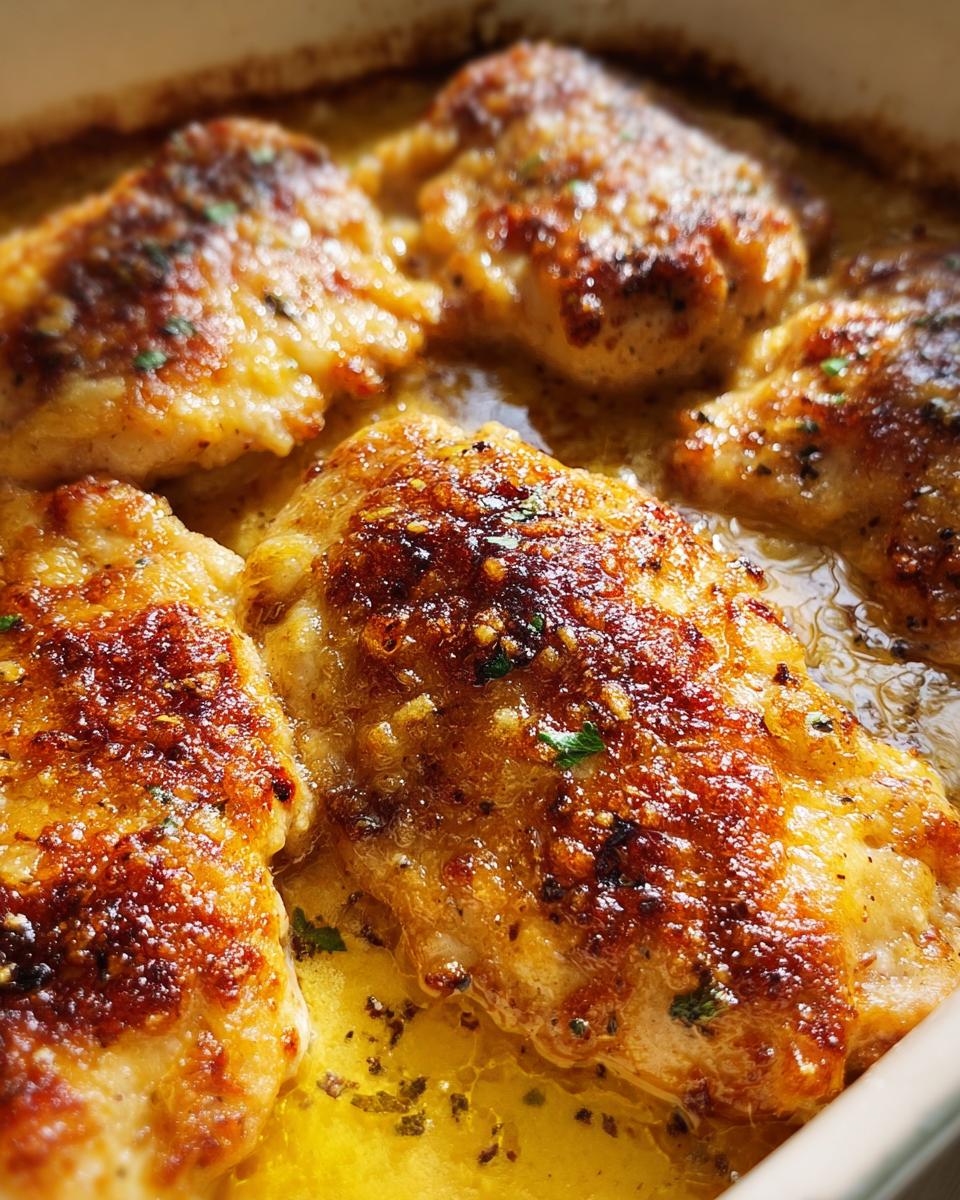
Can I use chicken thighs instead of breasts for this Melt in Your Mouth Chicken?
Oh, absolutely! Chicken thighs are actually really forgiving, and you might even find them even juicier to begin with since they have a little more fat. If you swap in bone-in thighs, you will definitely need to add more time to your bake—probably closer to 35 or 40 minutes at 375°F before broiling. Boneless, skinless thighs can usually stick to the breast timing (20-25 minutes), but always check that internal temp to be safe. If you check out my main recipes page, you’ll see I encourage everyone to experiment!
What is the best way to ensure this is a truly Juicy Chicken Breast?
This is the million-dollar question, isn’t it? The biggest mistake people make is trusting the clock instead of their thermometer. For a truly perfect **juicy chicken breast**, you must pull it out of the oven the *second* it hits 165°F internally. If you let it sit in that heat for another five minutes, that residual heat will push it past the tenderness zone. Pull it, let it rest for five minutes, and I promise it will be spot on tender!
I don’t have mayonnaise; what can I use instead for this Easy Oven Dinner?
If you’re out of mayo, you need a rich, creamy substitute to hold that Parmesan onto the chicken. My first suggestion is full-fat Greek yogurt, but you need to make sure you keep it chilled until just before mixing. You can also use sour cream, though it might lend a slightly tarter taste. Remember, whatever you use, it needs to be cold so it mixes well with the room-temperature Parmesan.
Is this recipe safe for diabetic diets?
It certainly can be! Since this is an **Easy Oven Dinner** that skips added sugars and traditional flour breading, it naturally fits well into many diabetic meal plans. Just be mindful of sodium levels from the Parmesan and salt, and check the ingredients label on your mayonnaise just in case it contains hidden sugars. For most people, this is a fantastic, high-protein, low-carb meal choice!
Understanding the Nutrition of This Melt in Your Mouth Chicken
Now, I know many of you are tracking macros or watching specific nutrients because you’re savvy home cooks like me! When we talk about the nutritional breakdown for this delicious **Melt in Your Mouth Chicken**, I have to give you the standard disclaimer that I always do. The numbers you see for things like calories or fat are just estimates based on what I used in my kitchen.
Seriously, what brand of mayonnaise you grab makes a huge difference in the final count! That’s why I usually skip putting precise data in the main recipe card. You’ll want to check the label on your specific mayo, garlic powder, and Parmesan cheese if you are tracking things super closely for a diabetic-friendly meal plan.
But here’s what I can tell you with confidence: because we skip all flour and sugar binders, this recipe is naturally leaning towards being high in protein and, depending on your mayo choice, usually quite low in carbohydrates. It’s a wonderful way to get a satisfying, high-protein **Baked Chicken Dinner** on the table without feeling weighed down later. For more general info on how nutrition affects cooking, sometimes I look at what the pros are saying over at The Kitchn!
Share Your Experience Making This Easy Oven Dinner
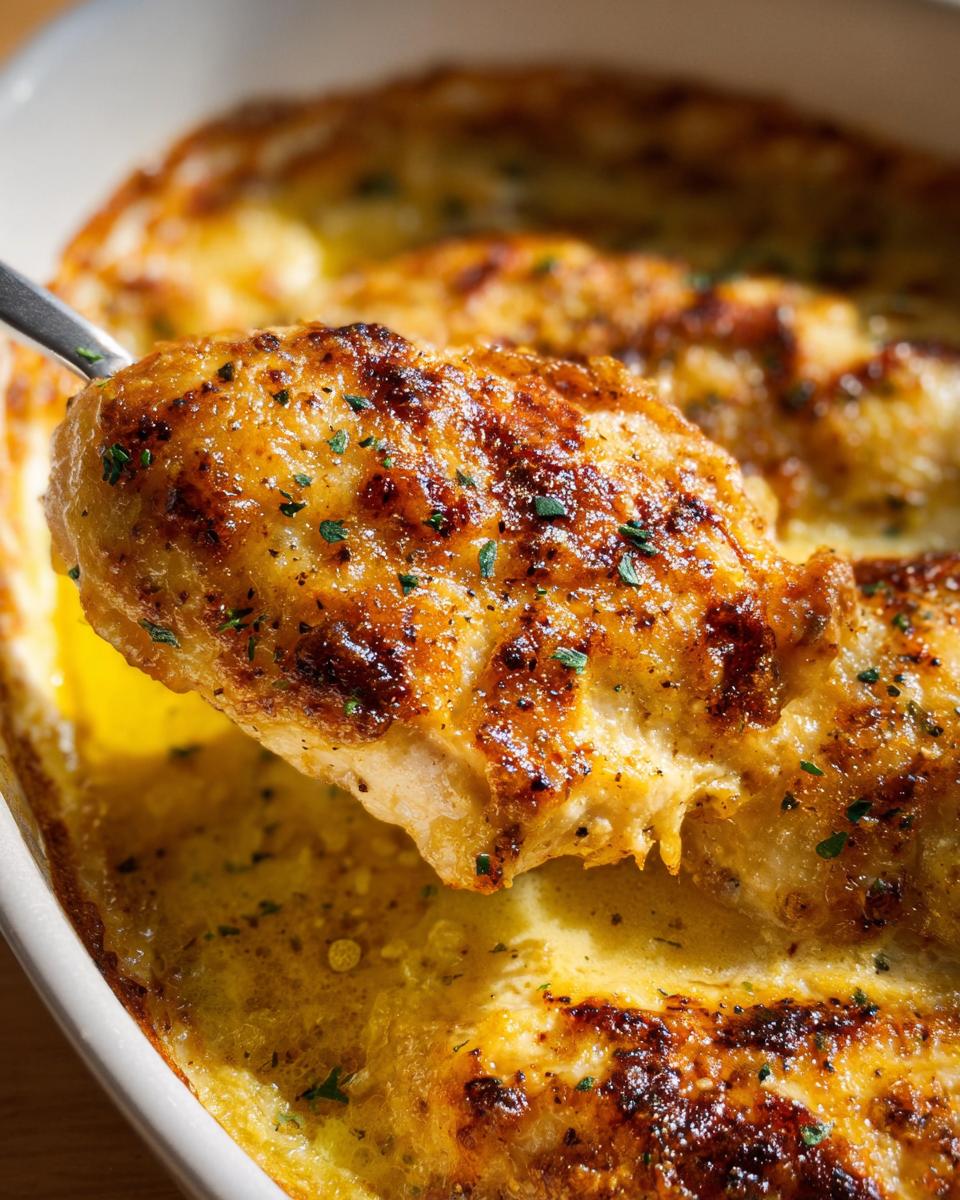
I poured my heart into making this the easiest, most flavorful chicken recipe for you, and now I desperately want to know how it turned out on your table! Did you manage that perfect golden crust?
Please take a moment to leave the recipe a star rating and let me know in the comments if you loved it as a classic **Mayo Parmesan Chicken** or if you made any tweaks of your own. If you snapped a picture of your gorgeous **easy oven dinner**, tag me! I love seeing your creations over on my contact page where you can send direct feedback: Send Me Your Pics!
Melt in Your Mouth Chicken
Ingredients
Equipment
Method
- Preheat your oven to 375°F.
- In a small bowl, mix together the mayonnaise, grated Parmesan cheese, and garlic powder until well combined.
- Cut each chicken breast in half horizontally to create four pieces. Pat the chicken dry with paper towels. Season all sides with kosher salt and black pepper.
- Arrange the chicken pieces in a single layer in a 9×13-inch broiler-safe baking dish. Spread the mayonnaise mixture evenly over the top of each chicken piece.
- Bake for 20 to 25 minutes, or until the chicken is cooked through and an instant-read thermometer inserted into the thickest part registers at least 165°F.
- Switch your oven to the broil setting. Broil for 2 to 3 minutes, watching closely, until the topping is golden-brown and bubbly.
- Garnish with fresh parsley, if desired, before serving.
Notes
Tried this recipe?
Let us know how it was!
Dual-Restriction Recipe Engineer & Cross-Contamination Specialist
Everything changed when my teenage son got hit with celiac disease and Type 1 diabetes diagnoses within six months of each other. Suddenly, pizza and pasta were off the table, and most “diabetic-friendly” foods contained gluten. I went from regular mom cooking to navigating what I call “compound restriction cooking”—and I had a kid’s appetite and taste buds to satisfy.
Lucky for us, my background in pharmaceutical quality control gave me the systematic mindset this level of precision requires. My kitchen now operates under pharmaceutical-grade protocols adapted for home use: dedicated prep surfaces, separate storage systems, and testing procedures that verify both carb counts and gluten absence before any recipe gets published.
I’ve developed over 220 recipes that clear multiple dietary hurdles simultaneously—finding gluten-free thickeners that don’t spike blood sugar, creating bread alternatives that meet both keto ratios and celiac safety, and developing desserts that actually taste good to a teenager despite impossible restrictions.
Through my “Safe Kitchen Certification” program, I teach other parents that managing multiple dietary restrictions isn’t about multiplying limitations—it’s about systematic thinking that reveals unexpected possibilities. When you engineer solutions instead of making compromises, restriction becomes innovation rather than deprivation.