
Oh, mashed potatoes! Is there anything more comforting or satisfying? Seriously, this recipe is my go-to for a reason. It’s all about getting that perfect, dreamy creamy texture that just melts in your mouth, with just the right amount of buttery goodness. And the absolute best part? You can totally make it ahead of time! It’s my secret weapon for busy holidays and hectic weeknights, which is exactly why everyone raves about Why Everyone Loves This Mashed Potatoes Recipes (+ Make-Ahead Tips). I still remember the first Thanksgiving I hosted after leaving my job as a luxury hotel photographer. I was determined to impress my family, and mashed potatoes were my must-have dish. With a mix of buttery goodness and creamy texture, they quickly became a favorite. As I struggled to balance cooking with my other preparations, I realized that prepping them a day in advance not only saved me time but also enhanced their flavor. Now, years later, I cherish those mashed potatoes not just for their taste but for the memories of laughter and connection they brought to our table—a true testament to why everyone loves this classic comfort dish.
Why Everyone Loves This Mashed Potatoes Recipes (+ Make-Ahead Tips)
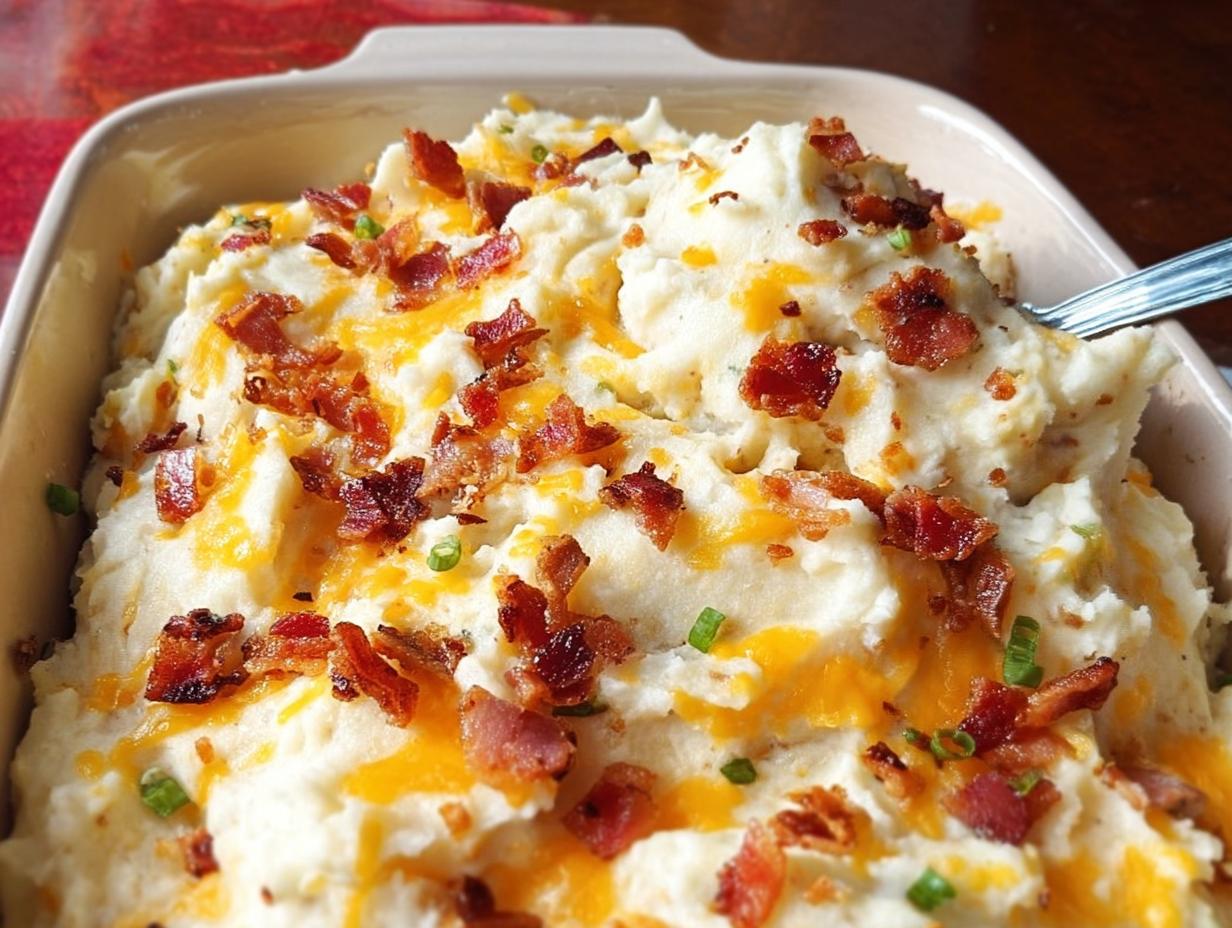
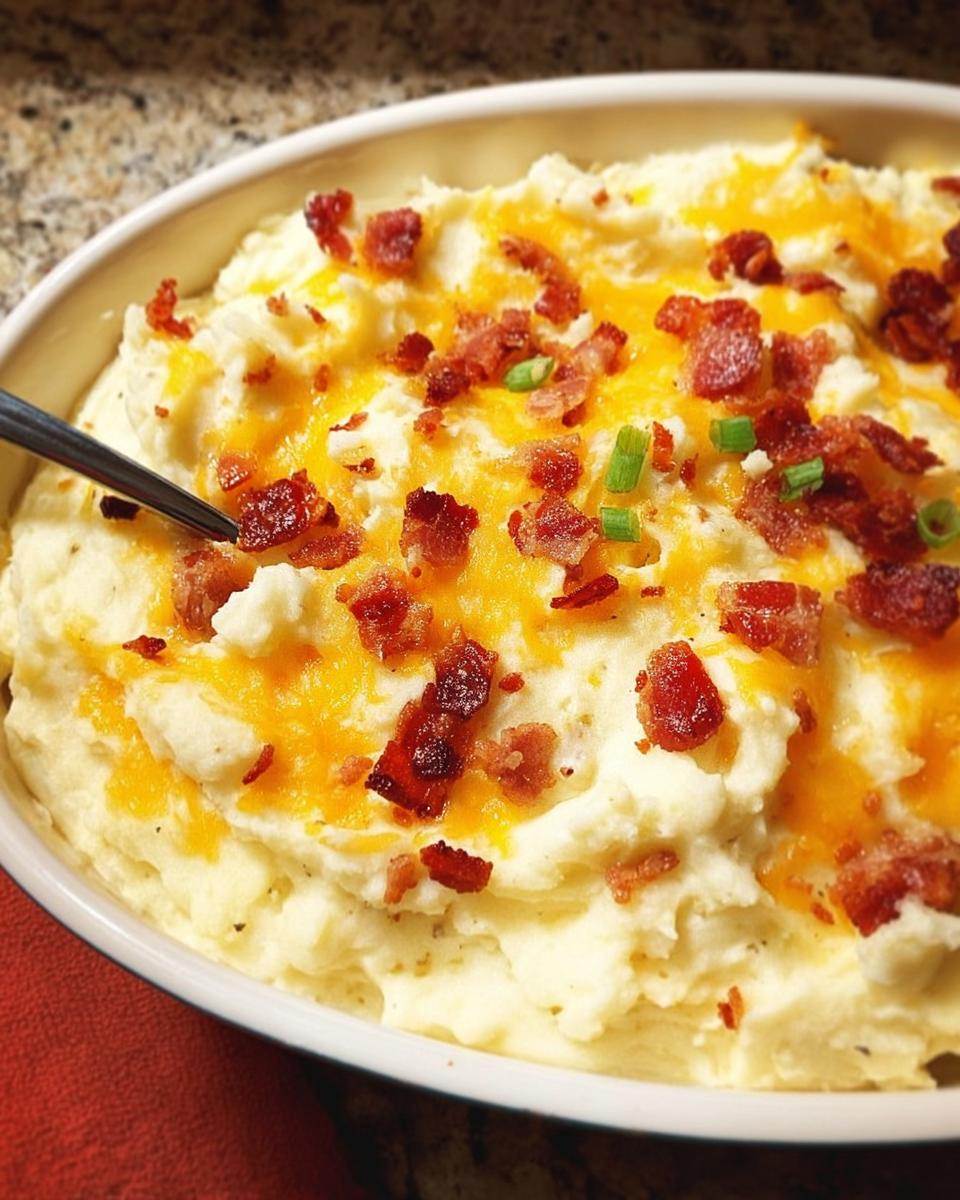
Honestly, who doesn’t adore a heaping scoop of perfect mashed potatoes? This isn’t just *any* mashed potato recipe; it’s the one that brings pure comfort food bliss to your table. We’re talking ultra-creamy, wonderfully buttery, and oh-so-satisfying. Plus, the magic of making it ahead means less stress and more moments to enjoy with your loved ones. It truly is a classic for a reason, making it a go-to side for any meal!
Gather Your Ingredients for the Best Mashed Potatoes
Alright, let’s get down to what you’ll need to make these incredible mashed potatoes. Trust me, the quality of your ingredients really makes a difference here!
For the Mashed Potatoes
- 3 pounds potatoes (that’s about 9 medium ones), peeled and cut into cubes
- 8 ounces cream cheese, make sure it’s softened first
- 1/2 cup sour cream
- 1/2 cup butter, cubed up
- 1/4 cup milk (I usually go for 2% here)
- 1 1/2 teaspoons onion powder
- 1 teaspoon salt
- 1 teaspoon garlic powder
- 1/2 teaspoon pepper
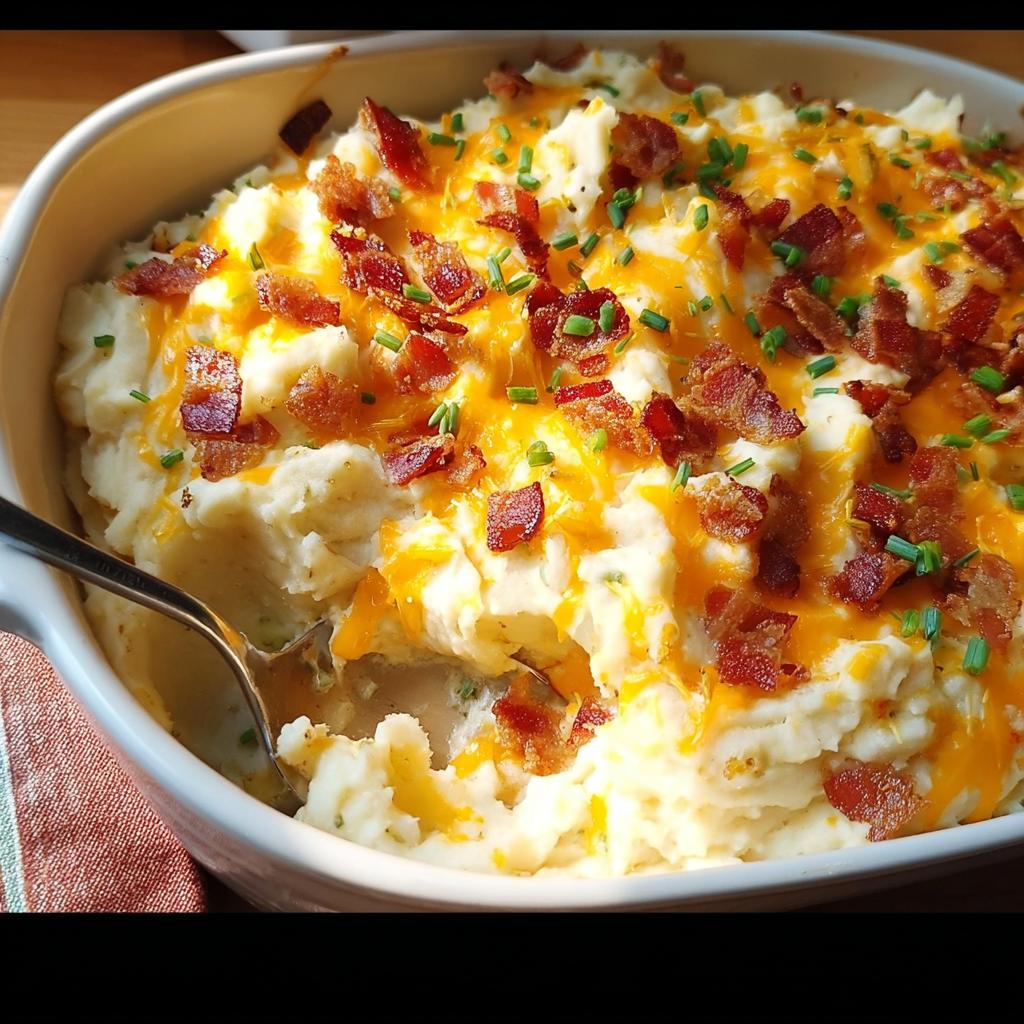
Optional Toppings
- Shredded cheddar cheese (if you’re feeling fancy!)
- Crumbled cooked bacon (because, bacon!)
- Chopped green onions (for a little freshness and color)
Crafting Creamy Mashed Potatoes: Step-by-Step
Alright, let’s get these potatoes whipped up! It’s actually super straightforward, and I’ll walk you through it.
- First things first, grab a big Dutch oven and toss in your cubed potatoes. Cover them with water – make sure there’s enough to fully submerge them. Now, bring that to a boil over high heat.
- Once it’s bubbling away, turn the heat down a bit so it’s just simmering, uncovered. Let them cook for about 10 to 15 minutes. You’ll know they’re ready when they’re nice and tender – you should be able to easily pierce them with a fork. Drain them really well; nobody wants watery mashed potatoes! Then, just pop them right back into the warm pot.
- Now for the fun part! Grab your masher and get to work. As you mash, gradually add in the softened cream cheese, sour cream, and those cubes of butter. It might seem like a lot, but trust me, this is where the creaminess comes from! Stir everything around until it’s smooth and luscious. Then, stir in your milk and all those yummy seasonings – onion powder, salt, garlic powder, and pepper.
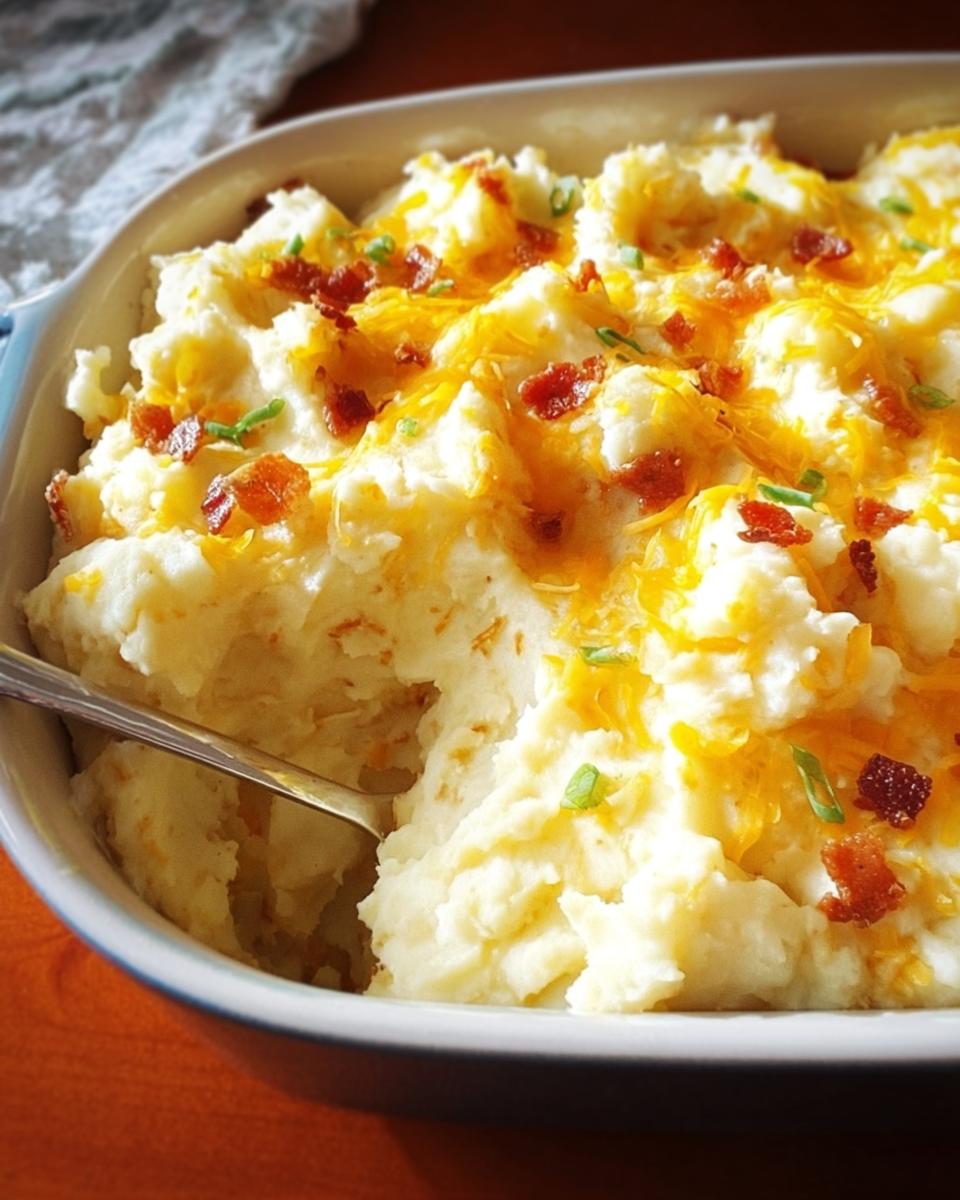
- This is your make-ahead moment! Spoon all those gorgeous mashed potatoes into a greased 13×9-inch baking dish. If you’re planning to bake it later, this is when you’d sprinkle on some cheddar cheese and bacon. Cover it up tightly and pop it into the fridge. It’ll keep just beautifully for up to 1-2 days.

- When you’re ready to serve, preheat your oven to 350°F (175°C). Take the potatoes out of the fridge while the oven heats up – let them sit on the counter for a bit to take the chill off.
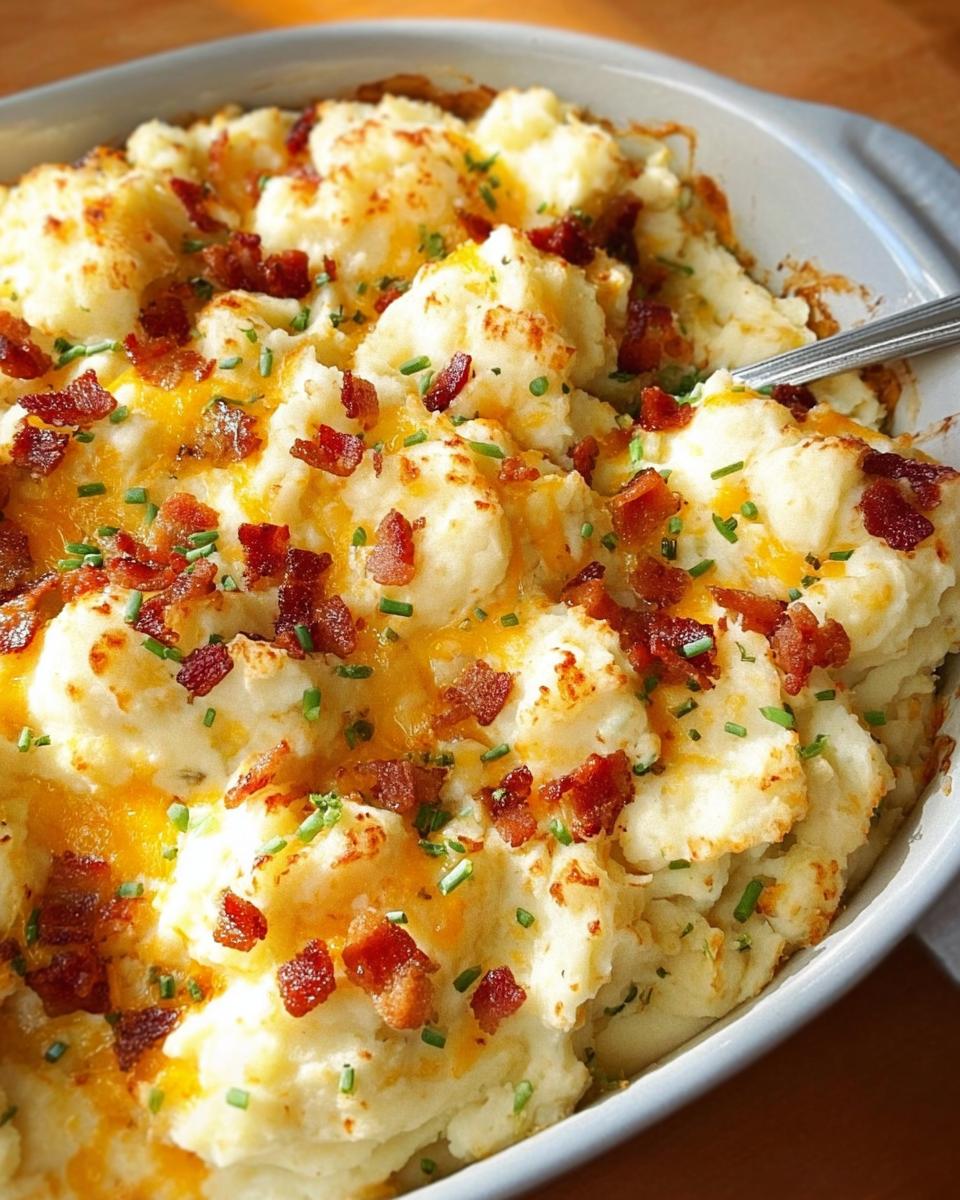
- Cover the dish again and bake it for about 30 minutes. Then, take off the cover and let it bake for another 10 minutes, or until everything is heated all the way through and looking bubbly and delicious. If you held back on the toppings, now’s the time to sprinkle on those fresh green onions! You can find more make-ahead mashed potato tips and even some fun duchess potato ideas over here. And for a classic creamy make-ahead version, this one is fantastic too!
Tips for Perfect Mashed Potatoes Every Time
Alright, so you’ve got the recipe, but let me give you a few little secrets to make your mashed potatoes absolutely legendary, every single time. These are the things I’ve learned over the years that just make a world of difference, especially when you need them to be the star of your side dish spread!
Choose the Right Potatoes
This is SO important! For the fluffiest, creamiest mash, you really want to go with starchy potatoes like Russets or Yukon Golds. They break down beautifully when cooked and absorb all those lovely creamy ingredients without getting gluey. Avoid waxy potatoes like red bliss or fingerlings; they tend to hold their shape too much and can make your mash a bit… well, gummy. Trust me, it’s worth picking the right spuds! If you want to see another fun potato idea, check out these crispy smash potatoes.
Don’t Overmash!
I know, I know, you want them super smooth, but you’ve gotta resist the urge to go crazy with the masher or, heaven forbid, a food processor! Overmixing develops the starches in potatoes, and that’s how you get that sticky, wallpaper-paste texture. Just mash until they’re mostly broken down, and then stir in those creamy additions gently. A few tiny lumps are actually charming and prove they’re homemade!
Warm Your Liquids
This is a small step that makes a HUGE difference. Before you add your milk and sour cream (or anything warm!), give them a quick zap in the microwave or a gentle heat on the stovetop. Adding cold liquids to hot potatoes can really shock them and make your mash cool down too fast, plus it can sometimes make them less smooth. Warm liquids incorporate so much better!
Season Generously (and Taste!)
Potatoes are pretty bland on their own, so don’t be shy with the seasonings! That salt, pepper, onion, and garlic powder are your best friends. And taste, taste, taste! Give your mash a little stir after you’ve added everything and take a spoonful. Does it need more salt? A pinch more pepper? A little extra onion flavor? This is your chance to really dial it in. Remember, these make-ahead mashed potatoes are going to be a star side dish, so they need to shine!
Make-Ahead Magic: Your Mashed Potatoes, Ready When You Are
Okay, this is where the real genius of this recipe shines – the make-ahead part! Seriously, getting these mashed potatoes prepped a day in advance is a total game-changer, especially when you’ve got a big meal or just a busy week ahead. It means less stress on the actual day and, believe it or not, the flavors actually get even better when they have a little time to mingle!
Storing Your Mashed Potatoes
Once you’ve got your mashed potatoes mixed and in their baking dish, just cover it up tight with plastic wrap or foil. You can pop it right into the fridge. They’ll hang out in there happily for a good 1-2 days. This is perfect for getting a head start on holiday prep or just having something delicious ready to go on a weeknight. You can even plan other make-ahead meals alongside it!
Reheating Perfection
When it’s time to serve, just pull those potatoes out of the fridge while your oven preheats to 350°F (175°C). Let them sit on the counter for about 15-20 minutes to take the initial chill off – this helps them heat more evenly. Then, cover the dish (this keeps them nice and moist) and bake for about 30 minutes. Uncover for the last 10 minutes to let them get a little bubbly and golden on top. They’ll be perfectly hot and creamy, like you just made them!
Frequently Asked Questions About This Mashed Potatoes Recipe
Can I use different types of potatoes?
You sure can, but for the fluffiest, creamiest results, I really stand by Russets or Yukon Golds. They just have that perfect starchiness! While you *could* use waxy potatoes, they tend to get a bit gummy rather than nicely mashed. So, if you want that classic smooth texture, stick to the starchy pals!
What if I don’t have cream cheese? Can I skip it?
Oh, you definitely can! While the cream cheese adds that extra luxurious creaminess and a little tang, it’s not a deal-breaker. If you skip it, you might want to add a tiny bit more butter or a splash more milk to keep things moist and creamy. It’ll still be delicious, just maybe a little less rich!
How do I make these dairy-free?
Making these dairy-free is totally doable! You’ll want to swap out the cream cheese for a good dairy-free cream cheese alternative. Replace the butter with your favorite dairy-free butter spread. And instead of regular milk, use a plain, unsweetened dairy-free milk like almond, soy, or oat milk. Just remember to taste and adjust seasonings as needed, as substitutes can sometimes vary in flavor!
Can I mash these by hand instead of using an electric mixer?
Absolutely! In fact, I often prefer it! Using a good ol’ potato masher or even a sturdy fork gives you the best control. Just mash until the potatoes are mostly broken down, then gently stir in your dairy additions and seasonings. It helps prevent overmixing and keeps them from getting too gluey. Plus, a few tiny lumps are totally charming!
Serving Suggestions and Delicious Pairings
Honestly, these mashed potatoes are so versatile, they practically go with everything! They’re the perfect sidekick for a cozy weeknight dinner, like my Lemon Herb Chicken Orzo Skillet. Or, if you’re planning a big feast, they’re an absolute must for any holiday table – think roasted turkey, ham, or pot roast. They also make any meal feel just a little bit special, don’t they? We even featured them on a fabulous New Year’s Eve menu once! So many delicious possibilities!
Nutritional Information (Estimated)
Just so you know, these numbers are estimates and can scoot around a little depending on the exact brands you use and how much you pile on your plate! I’m giving you the breakdown per serving (assuming 8 servings from the whole batch):
- Calories: Around 354
- Fat: About 20g
- Saturated Fat: Roughly 12g
- Cholesterol: Around 56mg
- Sodium: About 400mg
- Carbohydrates: Approximately 40g
- Sugar: Close to 3g
- Fiber: Around 5g
- Protein: About 7g
It’s always good to keep in mind that adding those optional toppings will bump these numbers up!
Share Your Mashed Potato Masterpiece!
I just LOVE hearing from you all! Did you try making these mashed potatoes? I’d be so thrilled to know how they turned out. Please, pretty please, leave a comment below and tell me what you thought, or even give the recipe a star rating! And if you snapped a pic of your amazing creation, share it on social media and tag me – I absolutely live for seeing your kitchen triumphs! You can also reach out via my contact page if you have any questions!
Why Everyone Loves This Mashed Potatoes Recipes (+ Make-Ahead Tips)
Ingredients
Equipment
Method
- Place potatoes in a Dutch oven; cover with water. Bring to a boil.
- Reduce heat; cook, uncovered, 10-15 minutes or until tender. Drain potatoes; return to pan.
- Mash potatoes, gradually adding cream cheese, sour cream and butter. Stir in milk and seasonings.
- Transfer to a greased 13×9-in. baking dish. If desired, sprinkle with cheese and bacon. Refrigerate, covered, up to 1-2 days.
- Preheat oven to 350°F (175°C). Remove potatoes from refrigerator and let stand while oven heats.
- Bake, covered, 30 minutes. Uncover; bake 10 minutes longer or until heated through. If desired, sprinkle with green onions.
Nutrition
Notes
Tried this recipe?
Let us know how it was!
Dual-Restriction Recipe Engineer & Cross-Contamination Specialist
Everything changed when my teenage son got hit with celiac disease and Type 1 diabetes diagnoses within six months of each other. Suddenly, pizza and pasta were off the table, and most “diabetic-friendly” foods contained gluten. I went from regular mom cooking to navigating what I call “compound restriction cooking”—and I had a kid’s appetite and taste buds to satisfy.
Lucky for us, my background in pharmaceutical quality control gave me the systematic mindset this level of precision requires. My kitchen now operates under pharmaceutical-grade protocols adapted for home use: dedicated prep surfaces, separate storage systems, and testing procedures that verify both carb counts and gluten absence before any recipe gets published.
I’ve developed over 220 recipes that clear multiple dietary hurdles simultaneously—finding gluten-free thickeners that don’t spike blood sugar, creating bread alternatives that meet both keto ratios and celiac safety, and developing desserts that actually taste good to a teenager despite impossible restrictions.
Through my “Safe Kitchen Certification” program, I teach other parents that managing multiple dietary restrictions isn’t about multiplying limitations—it’s about systematic thinking that reveals unexpected possibilities. When you engineer solutions instead of making compromises, restriction becomes innovation rather than deprivation.