
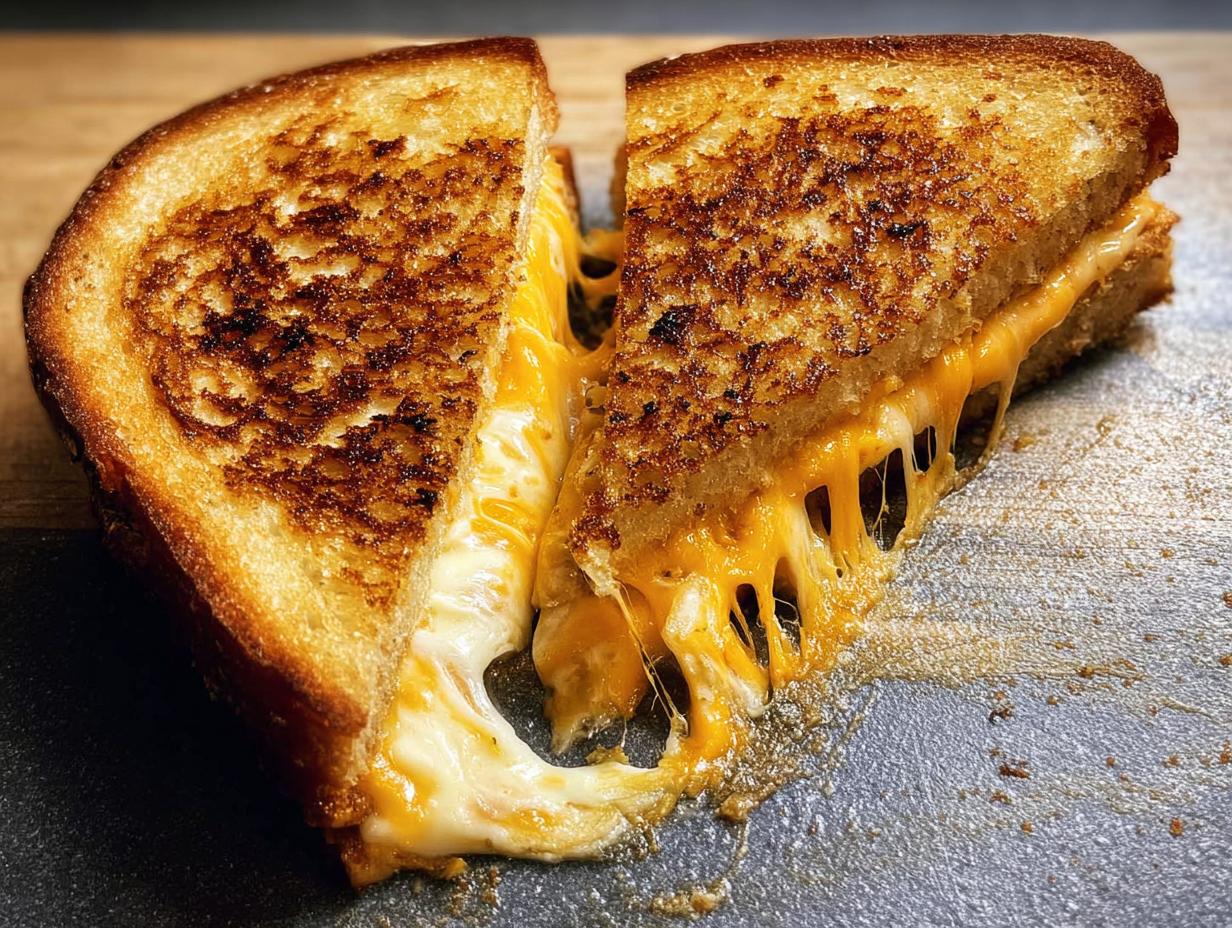
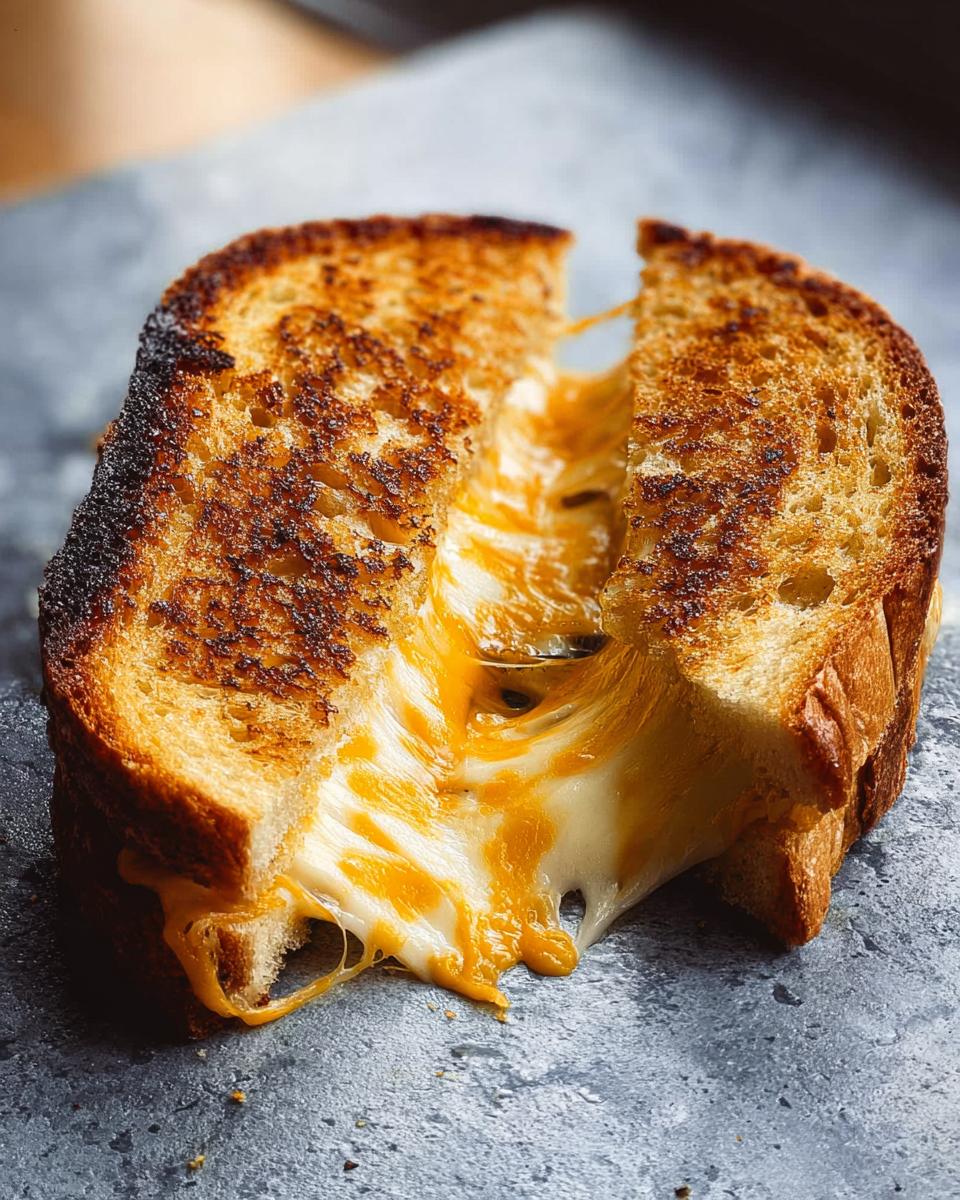
Okay, picture this: it’s one of those crazy afternoons, right? The kids are buzzing, homework is looming, and your stomach is rumbling. What’s the answer? A perfectly melty, gloriously cheesy grilled cheese sandwich, of course! But this isn’t just any grilled cheese. A few years back, when my son had to navigate some new dietary needs, I tinkered and tested until I landed on this absolute gem. It’s the reason Why Everyone Loves This Grilled Cheese Recipes (+ Make-Ahead Tips) – it’s comforting, it’s quick, and a total lifesaver for busy families AND those with tricky dietary restrictions. Trust me, this recipe is about to become your new kitchen hero!
Why Everyone Loves This Grilled Cheese Recipes (+ Make-Ahead Tips)
So, what makes everyone go gaga for this grilled cheese? It’s all about that perfect balance – unbelievably delicious, crazy easy to whip up, and super versatile. Plus, the secret make-ahead magic means you can have that comforting, melty goodness ready whenever the craving strikes. It’s seriously a game changer!
Gather Your Ingredients for the Perfect Melty Grilled Cheese
Alright, let’s get down to business! To make the ultimate grilled cheese that’s both melty and happy for different tummies, you’ll need just a few simple things. And don’t worry, you can totally swap things out if you need to! The beauty of this recipe is its flexibility.
For the Sandwich
You’ll need:
- 2 slices of your favorite sourdough bread (or a good gluten-free option if that’s your jam!)
- About 1 thin layer of creamy mayonnaise, spread on one side of each slice. Trust me on this, it makes the outside so perfectly golden!
- A little thin layer of Dijon mustard on one side of one slice. It adds a tiny bit of zing!
- 1 to 2 ounces of grated sharp cheddar cheese – how much you use is up to you and your bread size!
- 1 to 2 ounces of grated Gruyère or raclette cheese. These melt like a dream together!
- Just enough butter to coat your pan
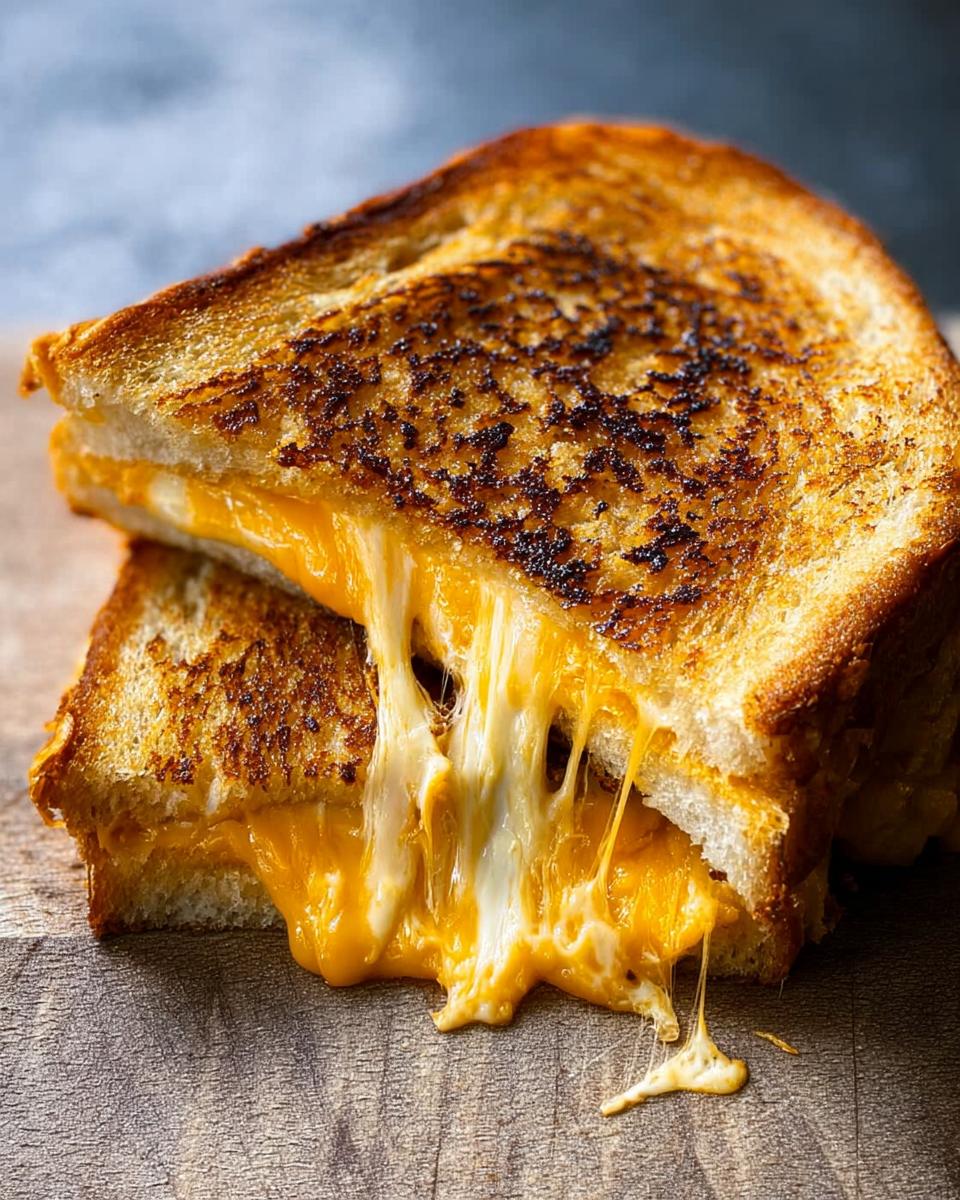
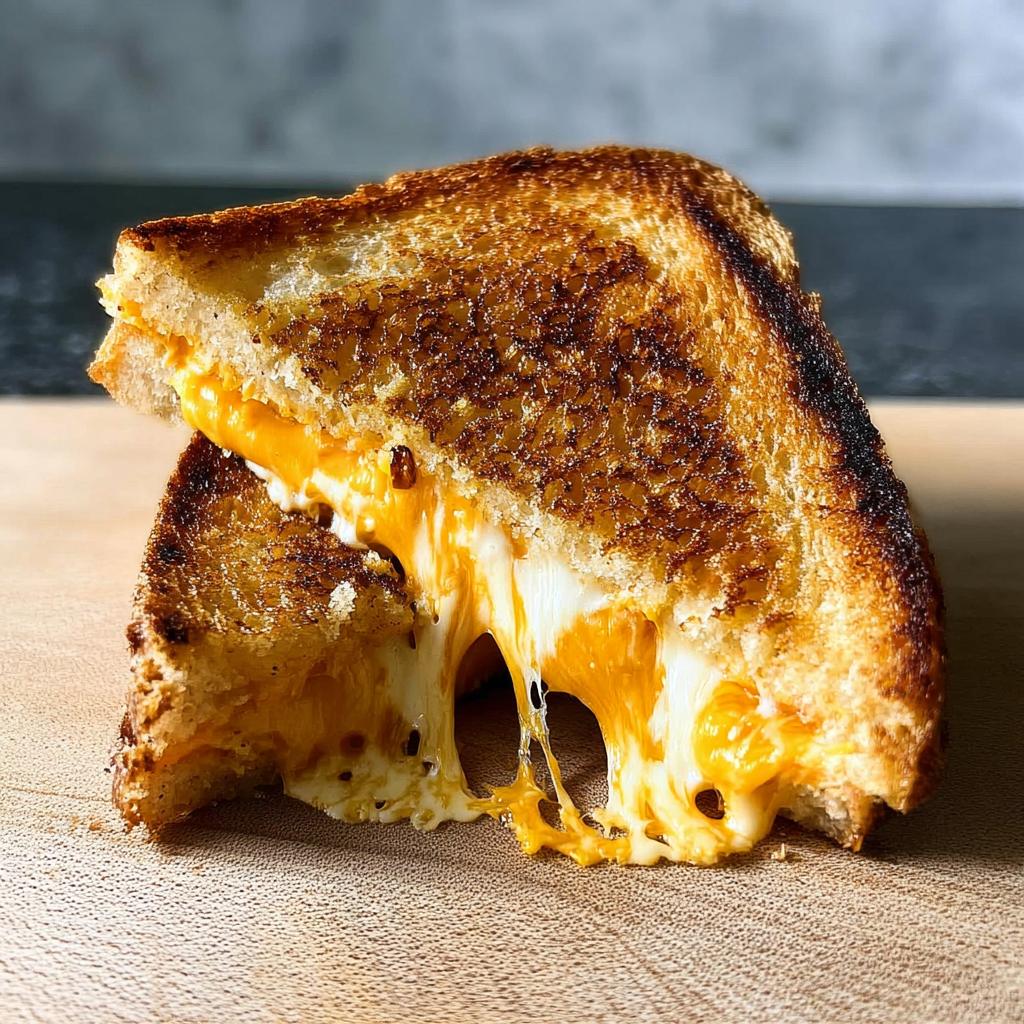
See? Simple, right? This combo of cheeses gives you that incredible gooey, melty pull that’s just irresistible. And using mayonnaise instead of just butter on the bread? Total game-changer for that crispy, golden crust!
How to Make This Quick Grilled Cheese
Okay, get ready for the easiest, quickest, and most satisfying grilled cheese you’ve ever made! Seriously, this whole process takes just about 10 minutes, proof that pure comfort food can be lightning fast. We’re going to build this masterpiece layer by glorious layer to get that perfect golden crust and super melty center. For more cheesy inspiration, check out these other amazing grilled cheese ideas!
Step 1: Prepare the Bread
First things first, grab your bread slices. Spread a thin layer of mayonnaise on the *top* side of each slice. Then, flip one slice over and spread its other side with that little bit of Dijon mustard. This combo is key for that amazing crispy, toasted exterior!
Step 2: Layer the Cheese
Now for the star of the show! Pile on your lovely grated sharp cheddar and Gruyère (or raclette!) cheeses onto the mustard-slathered side of the bread. Don’t be shy – use enough to get a really good cheese layer. Then, top it with the other slice of bread, mayo-side up, of course.
Step 3: Cook the First Side
Melt a nice coat of butter in your skillet over medium-low heat. Once it’s shimmering, carefully place your sandwich in the pan. Pop on a lid if you have one – it helps steam things up and get that cheese melting faster! Let it cook for about 2 to 3 minutes until the bottom is a gorgeous golden brown and feels nice and crisp.
Step 4: Flip and Finish
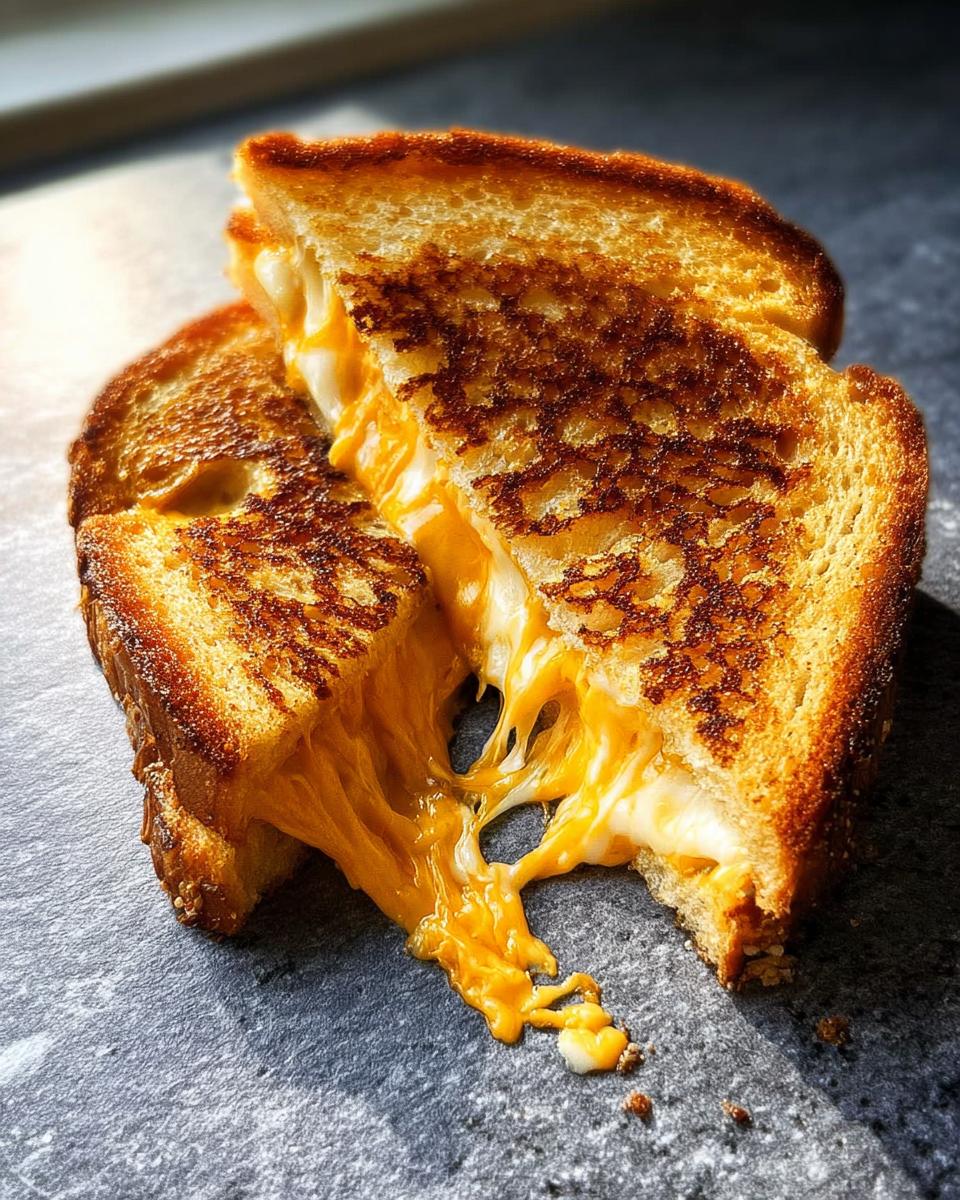
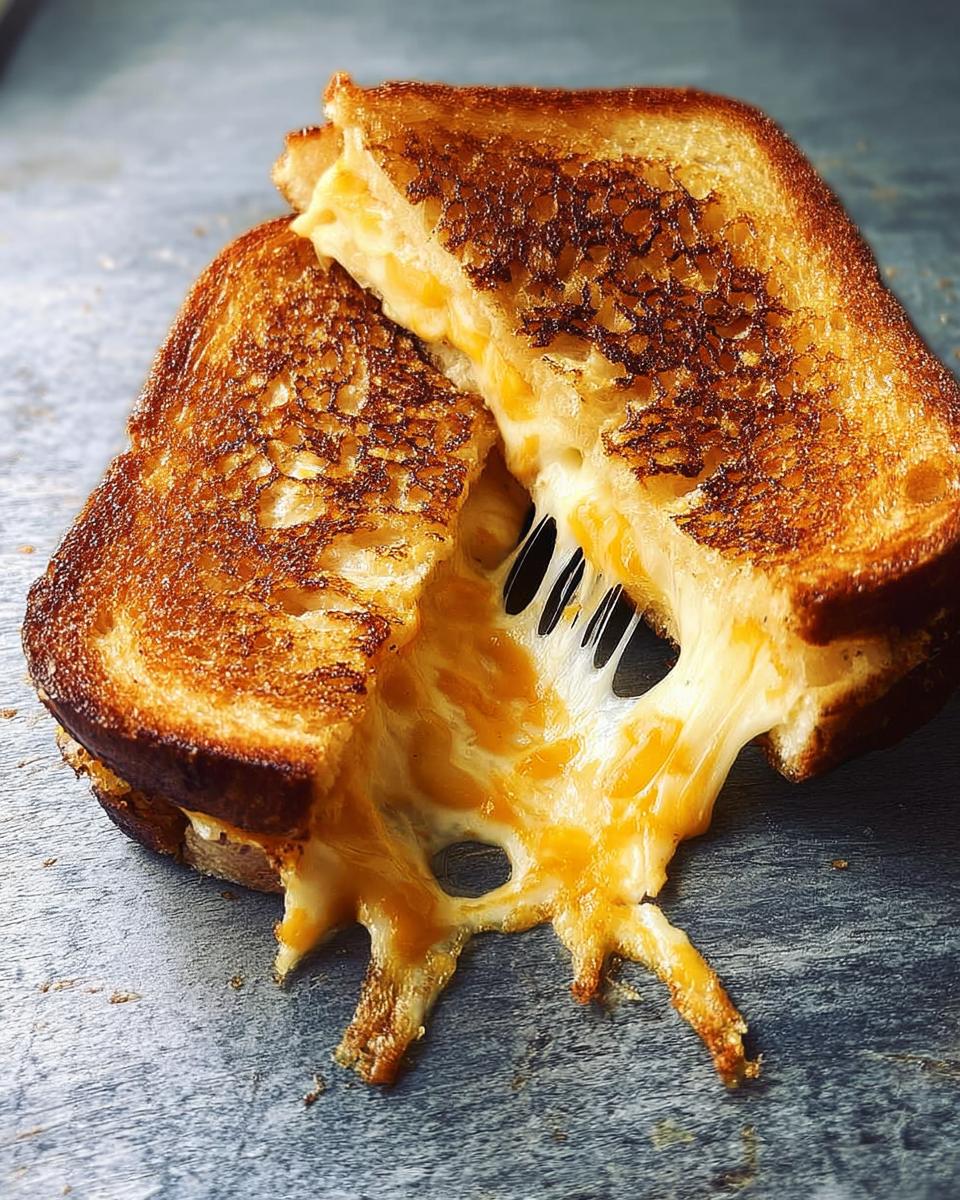
Time for the big flip! Gently turn your sandwich over. If your bread is browning *too* fast before the cheese is gooey, just turn the heat down a touch. Cover it again and cook for another 1 to 3 minutes until that other side is perfectly golden and the cheese is wonderfully melted and oozy. You want that satisfying stretch when you cut it!
Step 5: Serve and Enjoy
And voilà! Carefully slide your masterpiece onto a cutting board. Give it a quick slice, and get ready to dive in. Serve it up immediately while it’s hot and gloriously melty!
Make-Ahead Magic: Your Grilled Cheese Recipes (+ Tips)
Okay, let’s talk about the real MVP for busy days: make-ahead magic! This grilled cheese is an absolute lifesaver because you can totally prep it ahead of time. Seriously, it makes those hectic mornings or evenings so much smoother. For more amazing make-ahead ideas, I love poking around sites like this when I need inspiration!
To get ahead, just assemble the sandwiches completely – mayo, mustard, and all the cheese tucked between the bread. Then, wrap each one snugly in plastic wrap, and tuck them into a freezer-safe bag or an airtight container. They’ll stay good in the fridge for about a day, or pop them in the freezer for up to a month. When you’re ready for that melty goodness, just pull one out!
Reheating is super simple. If it’s straight from the fridge, pop it into a buttered skillet over medium-low heat, just like you would if you were cooking it fresh. If it’s frozen, no need to thaw! Just add a little extra butter to the pan and cook on low, covered, for a few extra minutes until it’s golden and the cheese is perfectly gooey. It tastes just as amazing as the fresh version!
Tips for the Ultimate Melty Grilled Cheese
You know, making a truly spectacular grilled cheese isn’t just about slapping cheese between bread; it’s an art! For that ultimate melty, golden-crisp perfection, a few little tricks go a long way. It’s all about harnessing a bit of kitchen know-how for that quick, satisfying meal.
First off, bread choice is huge! Sourdough is my go-to because it holds up beautifully and gets wonderfully crisp. But don’t be afraid to experiment! A nice hearty whole wheat or even a good quality gluten-free bread works wonders too. The key is a bread that’s sturdy enough to handle the cheese and gets that gorgeous golden toast. And for cheese? A blend is always best! Sharp cheddar gives that classic flavor punch, while Gruyère or Monterey Jack add incredible creaminess for that *ultimate* melty pull. Remember, medium-low heat is your friend – it lets the cheese melt completely before the bread burns. Patience here means pure grilled cheese heaven!
Frequently Asked Questions About This Grilled Cheese
Got questions about making the absolute best grilled cheese, ever? I totally get it! It’s a classic for a reason, and sometimes you just want to know the quick secrets. Here are some things people often ask, and my two cents on them! If you ever have more questions or want to chat about recipes, don’t hesitate to reach out!
Can I use different types of bread for this recipe?
Oh, absolutely! While sourdough is my personal favorite because it gets SO perfectly crisp and has a lovely tang, feel free to get creative. A sturdy whole wheat, a good brioche if you’re feeling fancy, or even a hearty rye can be fantastic. Just steer clear of super soft, thin breads that might get soggy. And of course, if you’re going gluten-free, make sure to grab a loaf that holds its shape well when toasted!
What are the best cheese combinations for a melty grilled cheese?
This is where the fun really begins! The cheddar and Gruyère combo is pretty magical because you get that sharp flavor plus amazing meltiness. But honestly, mix and match! Monterey Jack, provolone, fontina, or even a mild Colby are great melters. Just try to pair a good melting cheese with something that has a bit more flavor, like a sharp cheddar or even a touch of Parmesan for an extra kick. It’s all about that gooey, stretchy cheese pull!
How do I prevent the bread from burning before the cheese melts?
This is probably the most common grilled cheese dilemma, right? The trick is simple: low and slow! Keep your heat on medium-low. This gives the cheese plenty of time to melt all the way through while the bread toasts up to a beautiful golden brown. Covering the pan with a lid for a few minutes during cooking also helps trap heat and encourages that melty goodness without burning the bread. You got this!
Can I freeze assembled sandwiches for later?
Yes, you totally can! That’s part of the make-ahead magic I mentioned. Just assemble them completely (bread, mayo, mustard, cheese) and wrap them well in plastic wrap, then slip them into a freezer bag. They’ll keep for about a month. When you’re ready for that melty goodness, you can cook them straight from frozen in a buttered pan over low heat, covered, until golden and melty. It takes a few extra minutes, but it’s totally worth it for that quick comfort food fix!
Nutritional Information
When it comes to this glorious grilled cheese, the exact numbers can wiggle around a bit depending on the bread you choose and how much cheese you pile on. But as a rough estimate, you’re looking at about 350-450 calories per sandwich. You’ll get a good dose of protein and fat thanks to all that yummy cheese and mayo, plus some carbs from the bread. Remember, this is just a guideline – enjoy that melty goodness!
Share Your Creations!
So, did you try out this amazing grilled cheese recipe? I’d absolutely LOVE to hear what you thought! Drop a comment below and let me know how it turned out for you, or if you added your own special twist. You can also share your melty masterpieces with me on social media – don’t forget to tag me! And for more tasty adventures, check out my about page!
Why Everyone Loves This Grilled Cheese Recipes (+ Make-Ahead Tips)
Ingredients
Equipment
Method
- Place the bread slices on a cutting board. Spread the top side of each slice with mayonnaise. Flip one slice of bread and spread its other side with Dijon mustard.
- Layer the cheddar and Gruyère or Raclette cheeses on top of the mustard. Place the other slice of bread on top of the cheese, mayonnaise side out.
- Heat a nonstick or cast-iron skillet over medium-low heat. Melt enough butter in the pan to coat the bottom. Place the sandwich in the pan, cover, and cook for 2 to 3 minutes, or until the bottom slice of bread is golden brown and crisp.
- Flip the sandwich, replace the lid, and cook until the other slice of bread is golden brown and the cheese is melted, 1 to 3 minutes. Reduce the heat to low if the bread is browning too quickly before the cheese is fully melted.
- Slice and serve.
Notes
Tried this recipe?
Let us know how it was!
Mindfulness & Emotional Wellness Specialist
I never thought I’d leave my career as a corporate litigation attorney, but a panic attack in a courthouse bathroom changed everything. After struggling with emotional eating for over a decade—starting in college and getting worse through the stress of law school—I realized that no diet could fix what was really going on inside me.
My breakthrough came through mindfulness meditation training. Working with Jon Kabat-Zinn’s protocols, I discovered that my relationship with food reflected deeper patterns of anxiety and perfectionism that I’d been avoiding for years. That’s when I understood that sustainable eating changes require internal transformation, not just external rules.
Now I treat meal preparation as meditation practice. My “Mindful Kitchen” workshops help people transform ordinary cooking into opportunities for self-awareness and emotional healing. I’ve developed over 180 recipes designed for slow, mindful preparation—complex enough to keep you present, simple enough not to overwhelm your nervous system.
I believe food becomes medicine when we approach it with presence rather than reactivity. The kitchen can be our monastery if we choose to enter it with reverence.