Ingredients
Equipment
Method
- Prepare your equipment. Line a 20 cm (8-inch) round cake pan with parchment paper. Preheat your oven to 150°C (300°F) and set up a water bath inside. The water should reach about halfway up the sides of the cake tin for even baking and to prevent cracks.
- If you are using a loose-base pan, wrap it thoroughly with aluminum foil to prevent water from entering.
- If your sugar is coarse, pulse it in a blender to make superfine sugar. Separate the eggs into yolks and whites.
- In a saucepan over low heat, combine the cream cheese, butter, and milk. Stir until completely smooth, then remove from heat.
- Sift the cornstarch, salt, and flour into the cream cheese mixture. Stir until the batter is smooth and has no lumps.
- Add the egg yolks to the cream cheese mixture one at a time, mixing well after each addition.
- In a stand mixer or using a hand mixer, whip the egg whites on low speed. Gradually add the sugar, one tablespoon at a time, increasing the mixer speed as you go. Continue until the mixture forms soft peaks.
- Gently fold the whipped meringue into the cream cheese batter using a rubber spatula. Be careful to keep the mixture light and fluffy.
- Pour the batter into the prepared cake pan and place it in the water bath. Bake at 150°C (300°F) for 30 minutes with the oven door closed. Then, continue baking for another 20 minutes with the oven door slightly open. Finally, bake for an additional 20 minutes with the oven door closed.
- Monitor the cheesecake as it bakes. Aim for a gentle rise to prevent cracking. The top should be golden brown but not burnt. Adjust the oven temperature if needed.
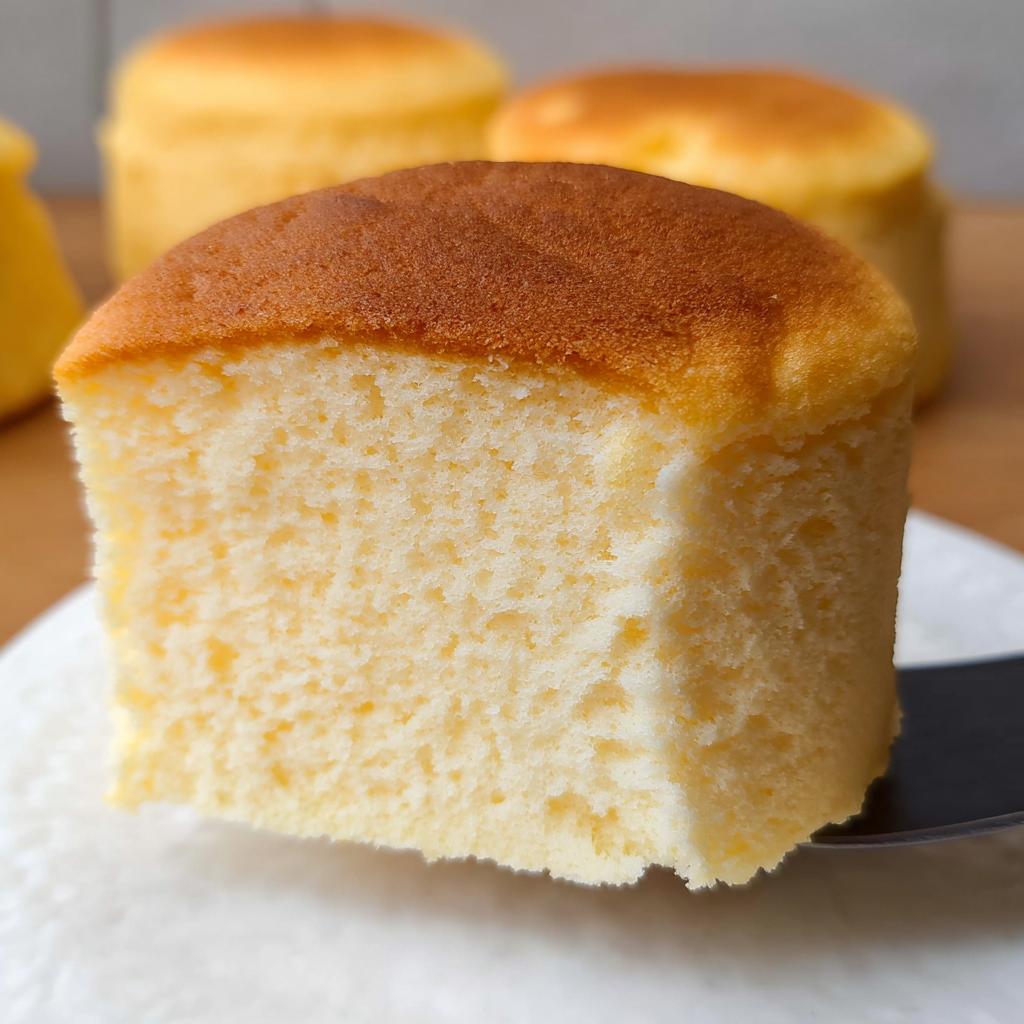
- Remove the cheesecake from the oven when it has a golden-brown top, a slight jiggle in the center, and feels soft and springy to the touch. This may require some testing with your oven.
- Once baked, carefully remove the cheesecake from the oven. Flip it onto a plate, then flip it back onto another plate to maintain its shape.
- Serve the cheesecake immediately while warm and jiggly. Store any leftovers in the refrigerator for up to 2–3 days. The airy texture is best enjoyed fresh.
Nutrition
Notes
For best results, use full-fat cream cheese and milk. Pastry flour with low protein content is recommended. Ensure no egg yolk contaminates the egg whites when separating them, as this can prevent them from whipping properly. While separating eggs is easier when cold, let whites and yolks reach room temperature before mixing for better incorporation. Avoid overwhipping egg whites; stop at soft peaks to prevent lumps. When folding the meringue, use a rubber spatula to cut through the center and sweep along the sides, lifting gently to maintain airiness. A water bath is crucial for even, gentle heat, preventing cracks and ensuring a moist texture.