
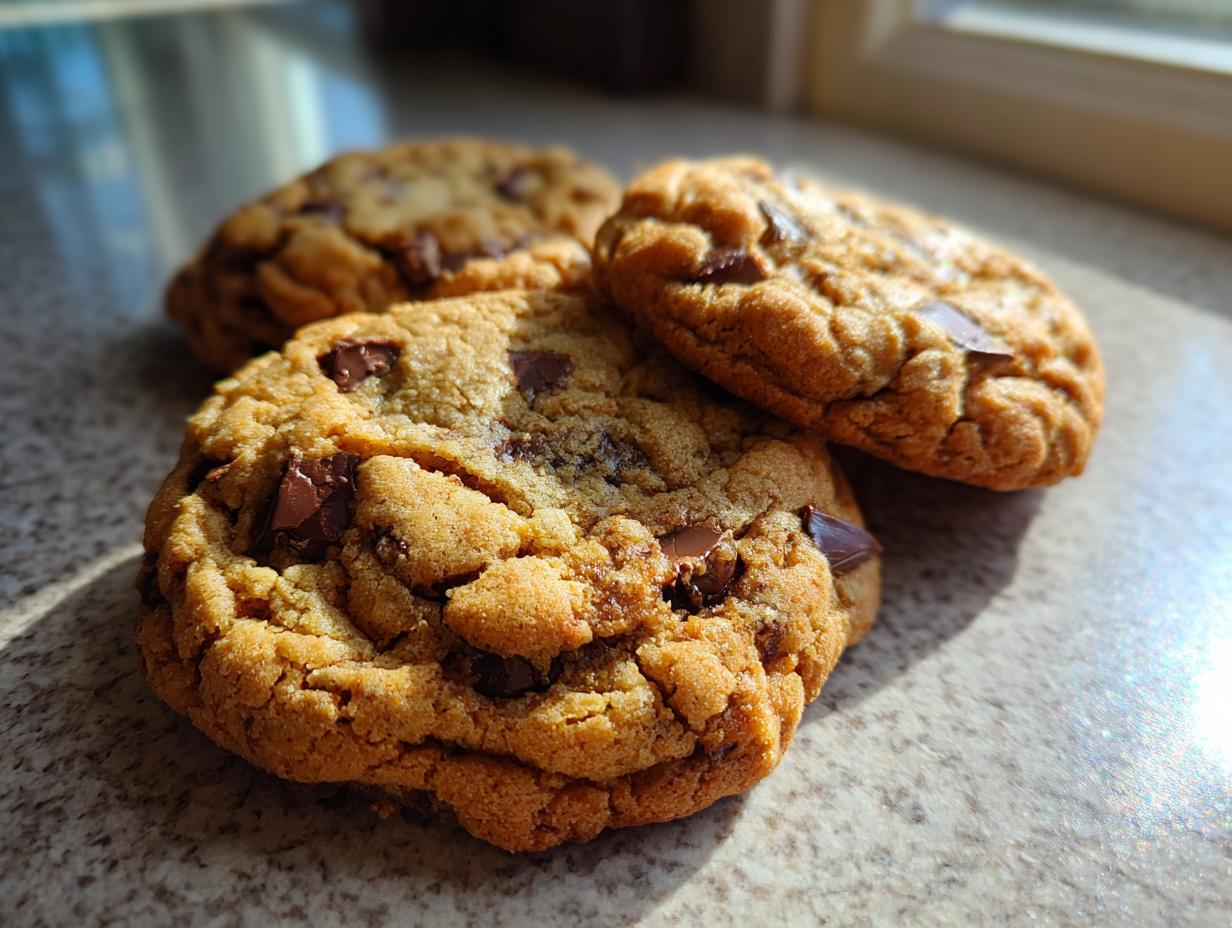
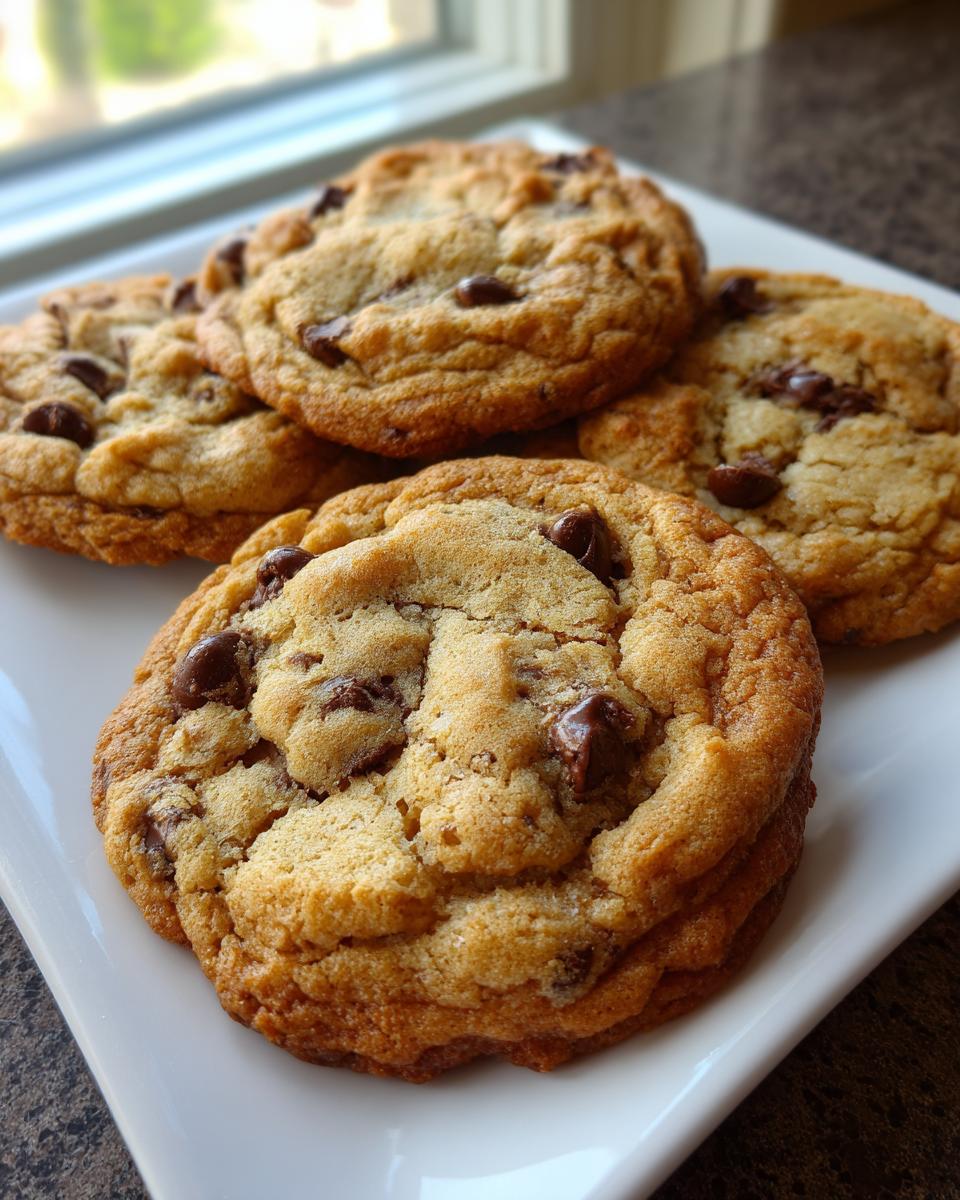
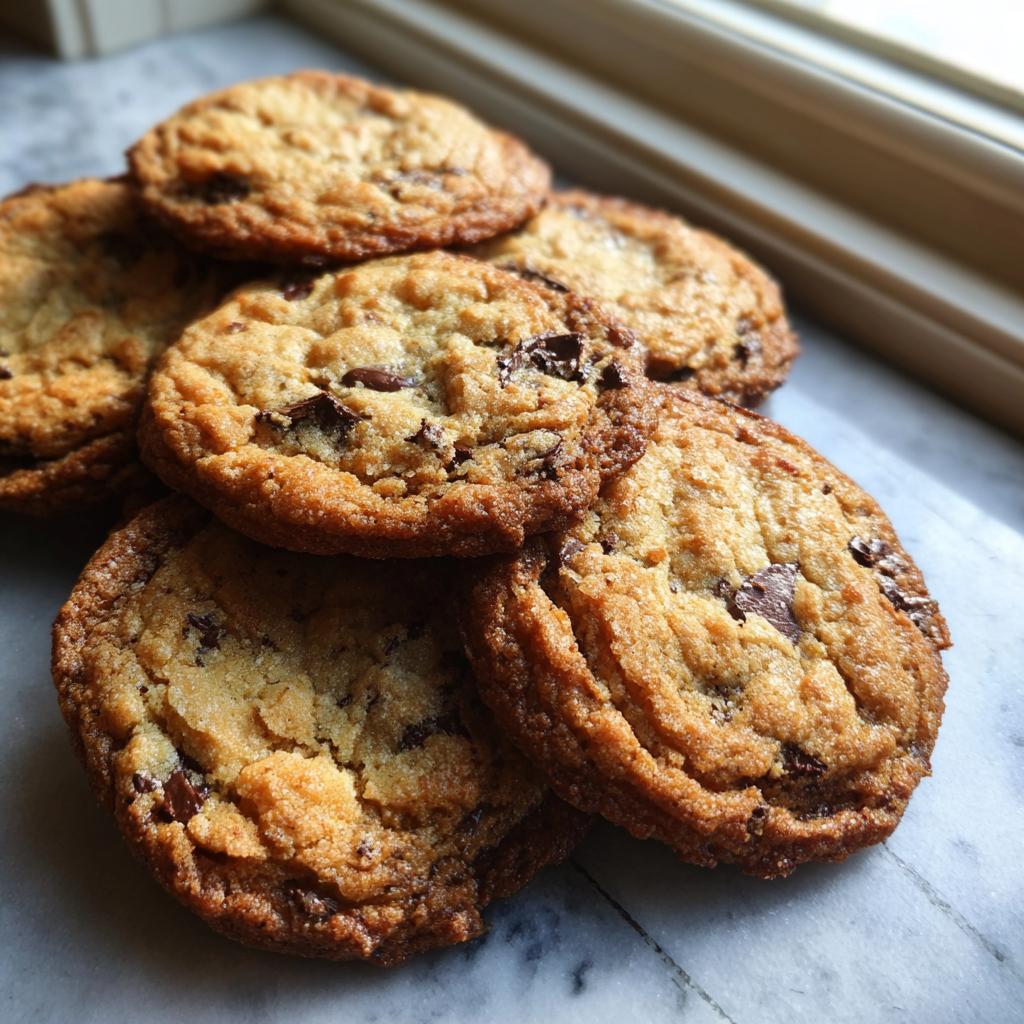
Oh, cookies! My absolute weakness. And not just any cookies, but those perfectly chewy, slightly crisp on the edges, melt-in-your-mouth kind that you swear must have come from a fancy bakery. Well, guess what? I figured out how to get that bakery-fresh taste right here in my own kitchen, and it all starts with brown butter cookies! Trust me, once you try this recipe, you’ll be ditching the store-bought stuff forever. I’ve been baking for years, and this one little trick – browning the butter – is honestly a game-changer for getting that incredible depth of flavor and that perfect texture. It’s that nutty, caramel-like aroma that just makes everything feel a little more special, a little more… well, bakery-fresh!
Why You’ll Love These Dessert Recipes That Make Brown Butter Cookies Taste Bakery Fresh
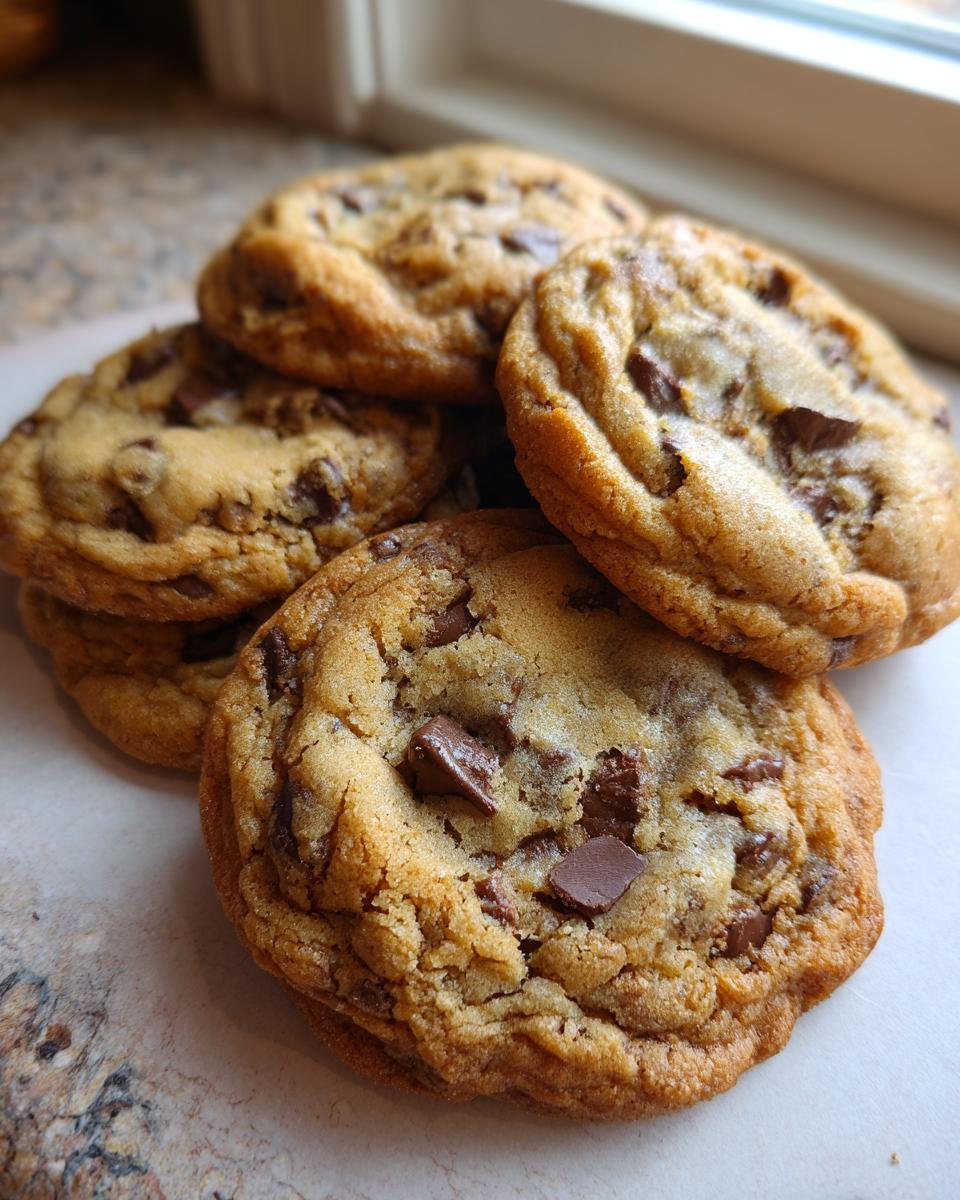
Seriously, these cookies are a dream! Here’s why you’re going to bake them again and again:
- Bakery-Quality at Home: Get that amazing texture and deep flavor you usually only find at your favorite bakery, all in your own kitchen.
- Super Easy to Make: Even if you’re new to baking, these are totally achievable. The browning butter step sounds fancy, but it’s surprisingly simple!
- Incredible Flavor: That nutty, toasted caramel goodness from the brown butter? It takes a simple chocolate chip cookie to a whole new level. It’s pure magic!
- Perfect Texture: They’re just right – chewy in the middle with those slightly crisp edges. The secret is in the chill time!
- So Versatile: Add chocolate chips, nuts, or even a sprinkle of flaky sea salt. They’re perfect plain or jazzed up!
You can find even more delightful cookie inspirations here – but trust me, this brown butter recipe is about to become your new go-to!
Essential Ingredients for Bakery-Fresh Brown Butter Cookies
Alright, let’s get down to what you’ll need! It’s a pretty standard cookie list, but a few things make all the difference for that bakery-fresh taste:
- 1 cup unsalted butter, melted and browned: This is our star player! Make sure it’s good quality butter. Browning it is key for that nutty, caramel flavor.
- 1 cup granulated sugar: For sweetness and that classic cookie structure.
- 1/2 cup packed brown sugar: This adds moisture and a lovely depth of flavor that pairs perfectly with the brown butter. Make sure it’s packed down in the cup!
- 2 large eggs: Room temperature is best here, guys. It helps them incorporate better into the batter.
- 1 teaspoon vanilla extract: Don’t skimp on this! A good vanilla extract really wakes up all the other flavors.
- 2 1/2 cups all-purpose flour: This is your standard baking flour. Make sure to measure it correctly by spooning it into the cup and leveling it off, don’t just scoop your measuring cup into the bag!
- 1 teaspoon baking soda: This gives our cookies a little lift.
- 1/2 teaspoon salt: Just a little bit to balance the sweetness and bring out all those delicious flavors.
- 1 cup chocolate chips (optional): Because, well, chocolate chips! Milk, dark, semi-sweet – whatever floats your boat. Or leave ’em out if you’re feeling minimalist!
Mastering the Art of Brown Butter Cookies: Step-by-Step Instructions
Okay, ready to make some magic happen? It’s not complicated, promise! Just follow these steps, and you’ll be biting into the best brown butter cookies you’ve ever made. For more inspiration on amazing cookie recipes, check out these brown butter brookies or these chewy churro cookies!Browning the Butter: The Key to Bakery Fresh Flavor
First things first, let’s get that butter browned. Pop your butter into a light-colored saucepan over medium heat. Watch it melt, then bubble. You’ll see little milk solids start to form at the bottom. Swirl the pan around every now and then. It’ll go from yellow to a lovely golden hue, and then you’ll smell it – that amazing nutty, toasty, caramel aroma. That’s your cue! Pull it off the heat *immediately* before it burns. Let it cool for just a few minutes so it’s not scorching hot. For more amazing tips for brown butter cookies, you’ve gotta see what Sally’s Baking Addiction has to say!
Combining Wet and Dry Ingredients for Perfect Brown Butter Cookies
In a big bowl, whisk together that gorgeous browned butter with your granulated sugar and the packed brown sugar. Give it a good mix until it’s all combined. Then, beat in your eggs one at a time, making sure each one is mixed in before you add the next. Stir in that lovely vanilla extract. Now, in a separate bowl, whisk together your flour, baking soda, and salt. Gradually dump the dry ingredients into the wet ingredients. Mix it *just* until you don’t see any more dry flour streaks. If you’re adding chocolate chips, now’s the time to fold them in gently. Don’t overmix, or you’ll end up with tough cookies!
Chilling the Dough for Optimal Texture
This step is SO important for that bakery-style texture! Cover the bowl with plastic wrap and pop it in the fridge for at least 30 minutes, or even up to 2 days. Chilling solidifies the fat, which means the cookies won’t spread out too much in the oven. They’ll stay nice and thick with those irresistible chewy centers we love!
Baking and Cooling for Bakery-Fresh Brown Butter Cookies
When you’re ready to bake, preheat your oven to 350°F (175°C). Line your baking sheets with parchment paper – this is a lifesaver for easy cleanup and perfect cookies. Scoop rounded tablespoons of the chilled dough onto the prepared sheets. Leave about 2 inches between each cookie; they will spread a bit! Bake them for about 9 to 12 minutes. You want the edges to be a beautiful golden brown, but the centers should still look a little soft and underdone. They’ll firm up as they cool. Let them hang out on the baking sheets for a few minutes before carefully transferring them to a wire rack to cool completely. That waiting game is tough, I know!
Tips for Achieving Bakery-Fresh Brown Butter Cookies Every Time
You’ve got the recipe, you’ve followed the steps, but sometimes you want that extra *oomph* to make them truly bakery-worthy, right? I’ve learned a few tricks over the years that make a big difference. For starters, the temperature of your ingredients is huge! Make sure your eggs are at room temperature before you add them – they incorporate so much better into the butter and sugar mixture, leading to a smoother, more consistent dough. Also, don’t skimp on that chilling time! I know it’s tempting to bake them right away, but giving the dough at least 30 minutes, or even better, a few hours, in the fridge really stops them from spreading too thin and gives you that perfectly thick, chewy cookie. Oh, and if you have a kitchen scale, use it for the flour! Measuring by weight is WAY more accurate than by volume, and it can seriously prevent dry, crumbly cookies. You can find more awesome cookie tips here – happy baking!
Ingredient Spotlight: The Magic of Brown Butter
So, what’s the big deal about brown butter? It’s actually super simple! You just melt butter in a pan and keep cooking it until the milk solids at the bottom turn a lovely golden-brown color and it smells wonderfully nutty. That process, called browning or *beurre noisette*, toasts the sugars and milk proteins in the butter, giving it this incredible, deep, caramel-like flavor that you just can’t get from regular melted butter. It’s this magic ingredient that really elevates simple baked goods into something truly special, almost like they came straight from a fancy patisserie!
Frequently Asked Questions About Bakery-Fresh Brown Butter Cookies
Got questions about these amazing cookies? I’ve got you! Here are some things people often ask:
Can I skip browning the butter?
Oh, you *could*, but honestly, you’d be missing out on the whole “bakery-fresh” magic! Browning the butter gives these cookies their signature nutty, toasty flavor that regular melted butter just can’t match. It’s really the secret weapon for that delicious depth!
My cookies spread too much. What went wrong?
This is usually because the dough wasn’t chilled long enough! The fat in the butter needs to firm up in the fridge so the cookies don’t melt and spread too quickly in the oven. Make sure you give that dough at least 30 minutes (or longer!) in the cold. Also, room temperature eggs can help prevent excessive spreading. For more tips on perfectly chewy cookies, check out these chewy churro cookies!
Can I make these cookies dairy-free or gluten-free?
To be honest, this recipe relies on good ol’ dairy butter for that perfect texture and flavor. For dairy-free, you’d need to experiment with a really good dairy-free butter substitute, but the browning process might be different. And for gluten-free, you’d need a good gluten-free all-purpose flour blend that substitutes 1:1 for regular flour. It might change the texture a bit, but it’s definitely worth a try if you need to!
How long do these bakery-fresh brown butter cookies last?
Stored properly in an airtight container at room temperature, they’ll stay delicious for about 3-4 days. They’re usually best within the first two days, though, when they still have that lovely chewy texture. If you want more chewy cookie ideas, these pistachio pudding cookies are another fantastic option!
Storage and Reheating for Your Brown Butter Cookies
Now that you’ve baked up a storm of these amazing brown butter cookies, you’ll want to keep them tasting just as fresh as when they came out of the oven. The best way is to store them in an airtight container at room temperature. Seriously, just pop them in a good quality container, and they’ll stay wonderfully chewy and delicious for about 3 to 4 days. If you want to enjoy that freshly baked warmth again, just pop a cookie or two in the microwave for about 10-15 seconds. It’s like magic, bringing back that soft, gooey texture!
Estimated Nutritional Information
When you make these incredible bakery-fresh brown butter cookies, you’re looking at roughly 180-200 calories per cookie. This includes about 10g of fat, 2g of protein, and 22g of carbohydrates, depending on your exact ingredients and portion size. Obviously, these are just estimates, so the numbers can wiggle around a bit!
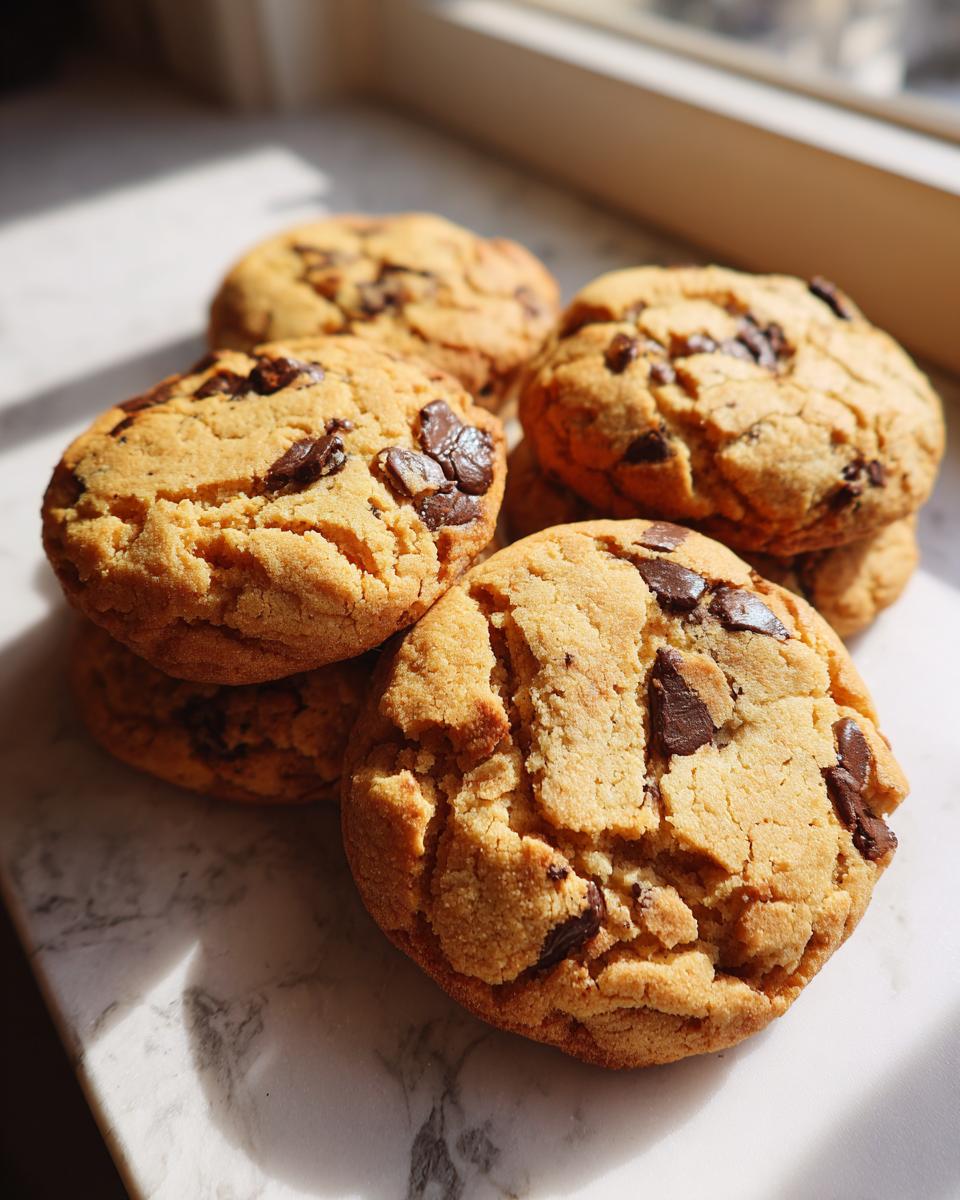
Bakery-Fresh Brown Butter Cookies
Ingredients
Equipment
Method
- Melt the butter in a saucepan over medium heat. Continue cooking, swirling occasionally, until the butter turns a golden brown color and smells nutty. Remove from heat and let cool slightly.
- In a large bowl, whisk together the browned butter, granulated sugar, and brown sugar until well combined.
- Beat in the eggs one at a time, then stir in the vanilla extract.
- In a separate bowl, whisk together the flour, baking soda, and salt.
- Gradually add the dry ingredients to the wet ingredients, mixing until just combined. If using, fold in the chocolate chips.
- Cover the dough and chill for at least 30 minutes. This helps the cookies spread less and develop a chewier texture.
- Preheat your oven to 350°F (175°C). Line baking sheets with parchment paper.
- Scoop rounded tablespoons of dough onto the prepared baking sheets, leaving about 2 inches between cookies.
- Bake for 9-12 minutes, or until the edges are golden brown and the centers are still slightly soft. They will continue to cook as they cool.
- Let the cookies cool on the baking sheets for a few minutes before transferring them to a wire rack to cool completely.