
Oh, are these baked protein bowls *really* that fluffy? I get it, you’re probably skeptical. I used to be too! Finding genuinely fluffy, healthy baked goods that *also* fit into a tight schedule can feel like searching for a unicorn. But trust me, I’ve cracked the code. These baked protein bowls are surprisingly simple to whip up and can be totally tweaked to fit your taste buds and dietary needs. I remember the day my son and I decided to embark on a protein bowl adventure in the kitchen. He was skeptical at first—after all, who would think bowls could be fluffy? But with his love for food and my experience navigating dietary restrictions, we got to work experimenting. As we mixed and folded, laughter filled the air, and to our surprise, the bowls baked up perfectly fluffy. The look on his face when he took the first bite was priceless! It became a memorable moment of joy, combining health, flavor, and a touch of magic in the kitchen. For more inspiration on this style of baking, check out this amazing baked protein pancake bowl. By Laila Stone, Dual-Restriction Recipe Engineer & Cross-Contamination Specialist.
Why You’ll Love These Fluffy Baked Protein Bowls
Seriously, these little bowls are a game-changer! You know I’m all about making healthy eating easy and delicious, and these totally deliver. Here’s why you’re going to be obsessed:
- Super Quick: We’re talking 10 minutes of prep and then hands-off baking time. Perfect for busy mornings!
- So Easy: Just dump everything in a bowl, mix, and bake. No fancy techniques needed, promise!
- Healthy & Satisfying: Packed with protein and fiber, they keep you full and energized without weighing you down.
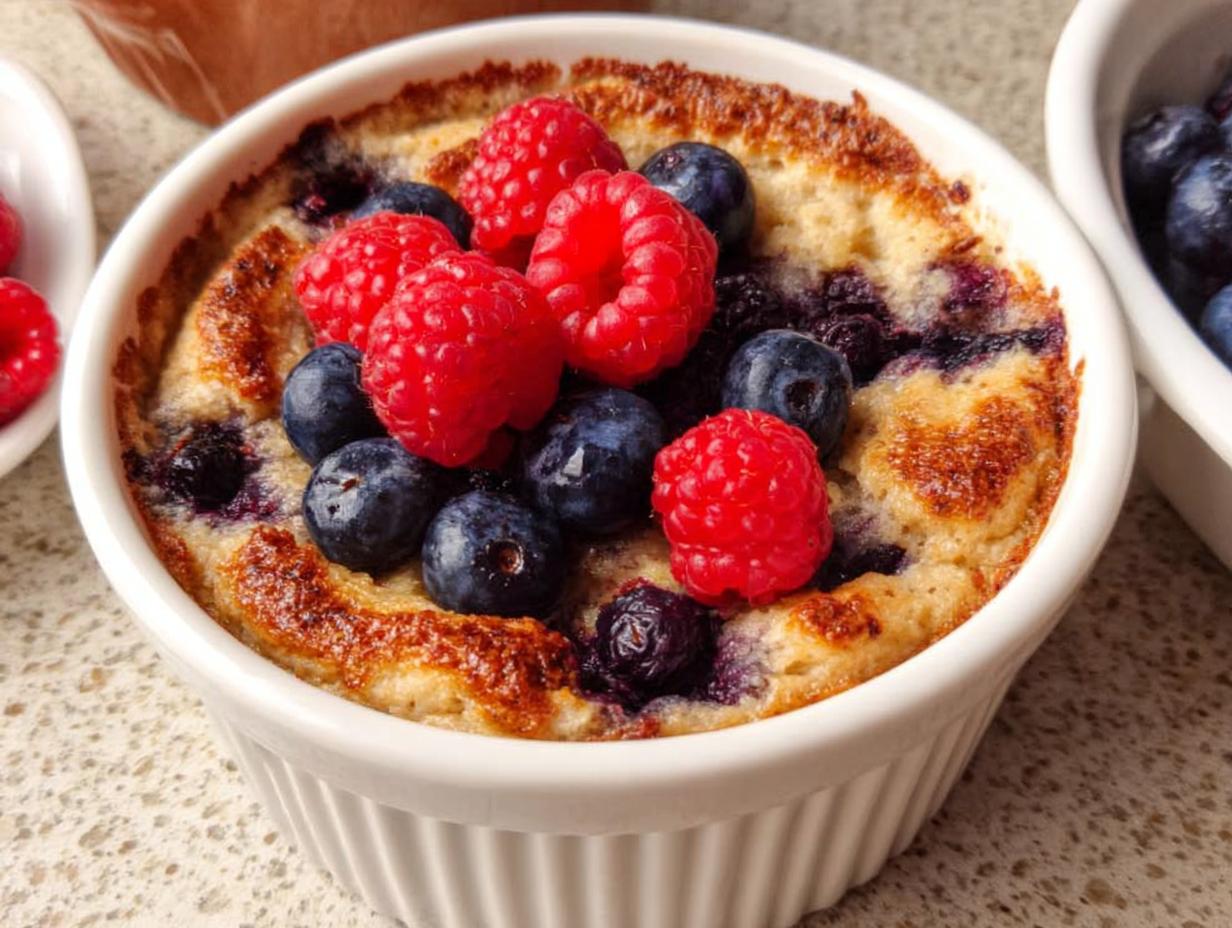
- Incredible Texture: Forget those dense, sad protein-heavy things. These are genuinely FLUFFY!
- Totally Adaptable: Need dairy-free? Gluten-free? Low-sugar? No problem, you can totally play with the ingredients to fit your needs.
Are These Baked Protein Bowls Really That Fluffy? The Science Behind the Texture
Okay, let’s get down to the nitty-gritty of how these bowls achieve that magical fluffiness. It’s not just a fluke, I promise! The secret sauce really comes down to a couple of key players. First up, baking powder! This magical leavening agent is what gives our bowls that lovely lift and airy texture. When it hits the wet ingredients, it creates tiny bubbles of carbon dioxide that expand in the oven, making everything light and fluffy. Think of it as a mini explosion of goodness! Then there’s the protein powder itself. Depending on the type you use, it can absorb moisture and create a structure that holds those air pockets beautifully. I tend to find vanilla protein powder works wonders here. Combined with the egg and yogurt, it creates a batter that bakes up tender and deliciously airy, not dense and heavy like you might expect from something so protein-packed. It’s a beautiful balance that’s totally worth exploring!
Gather Your Ingredients for Fluffy Baked Protein Bowls
Alright, let’s get down to business! To whip up these dreamy, fluffy baked protein bowls, you’ll want to gather a few key players. Don’t worry, it’s nothing too wild, and substitutions are totally doable if you need them. I’ve listed everything right here so you can just grab and go. Trust me, having everything ready makes the whole process a breeze!
For the Bowl Base
This is where all the fluffy magic starts! You’ll need:
- 1 large egg: This is our binder and helps with the structure.
- 1/4 cup plain Greek yogurt: For moisture and a little tang. If you need dairy-free, just use your favorite dairy-free yogurt!
- 1/3 cup milk: Any milk works here – almond, soy, oat, or even good ol’ dairy milk.
- 1-2 Tablespoons flax meal: This is a great binder and adds some extra fiber.
- 1/3 cup flour: I love using Bob’s Red Mill 1:1 gluten-free flour, but any all-purpose or gluten-free blend works too.
- 1 scoop vanilla protein powder: This is key for the protein boost and adds great flavor!
- 1 Tablespoon maple syrup or stevia: To get that subtle sweetness just right. Adjust to your liking!
- 3/4 teaspoon baking powder: Don’t skimp on this; it’s crucial for the fluffiness!
Delicious Topping Ideas
This is where you can really have fun and let your personality shine!
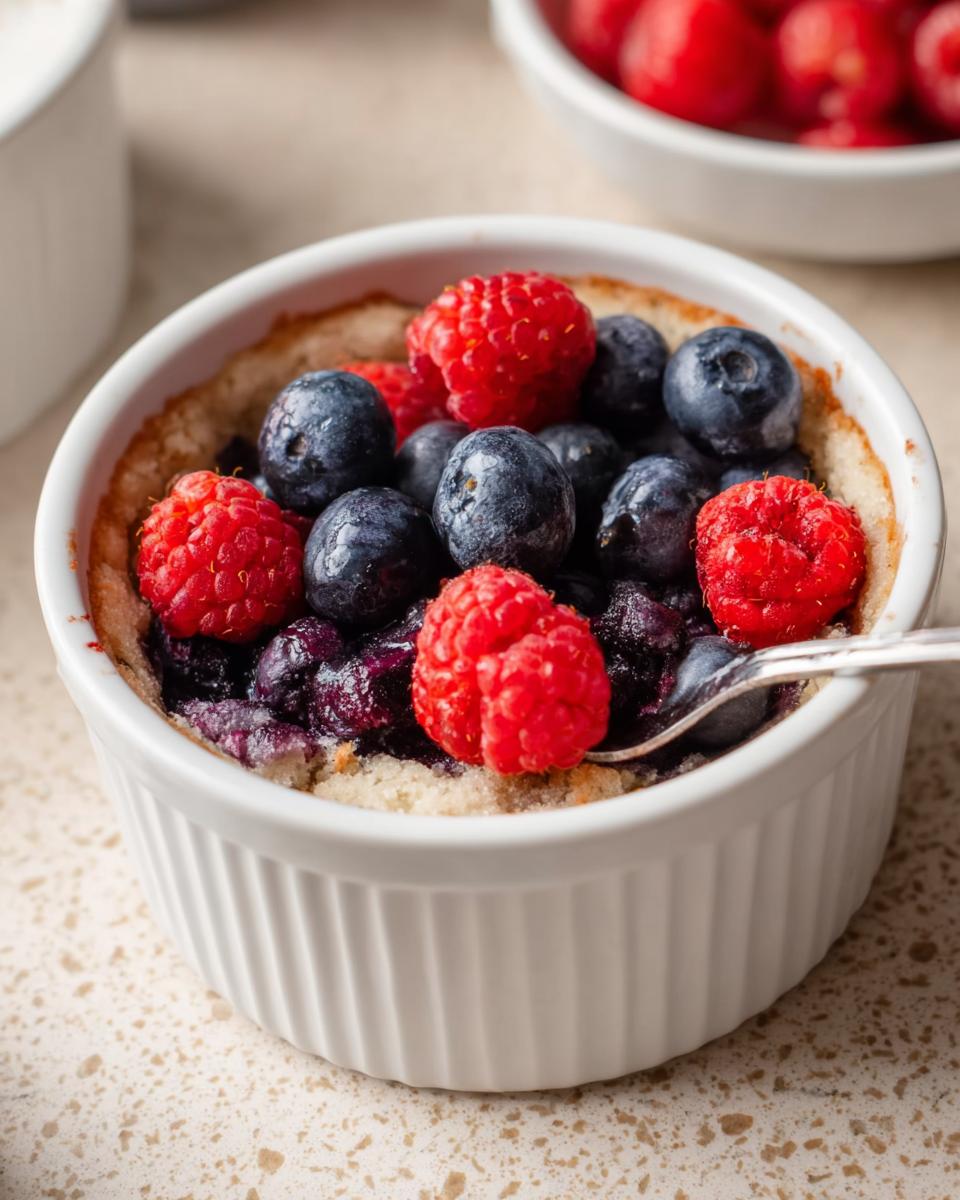
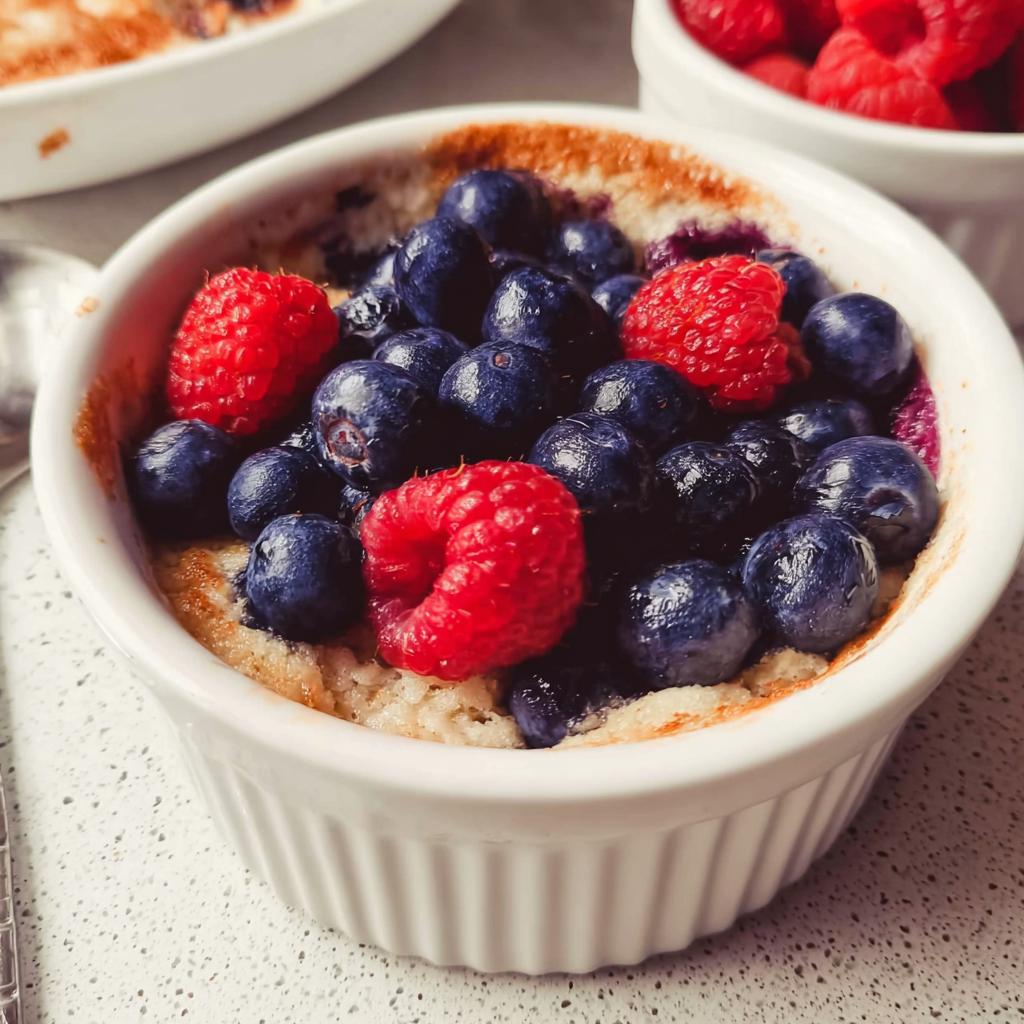
- Before baking: Think berries like raspberries, strawberries, or blueberries. Chocolate chips are always a good idea, or even some sliced bananas!
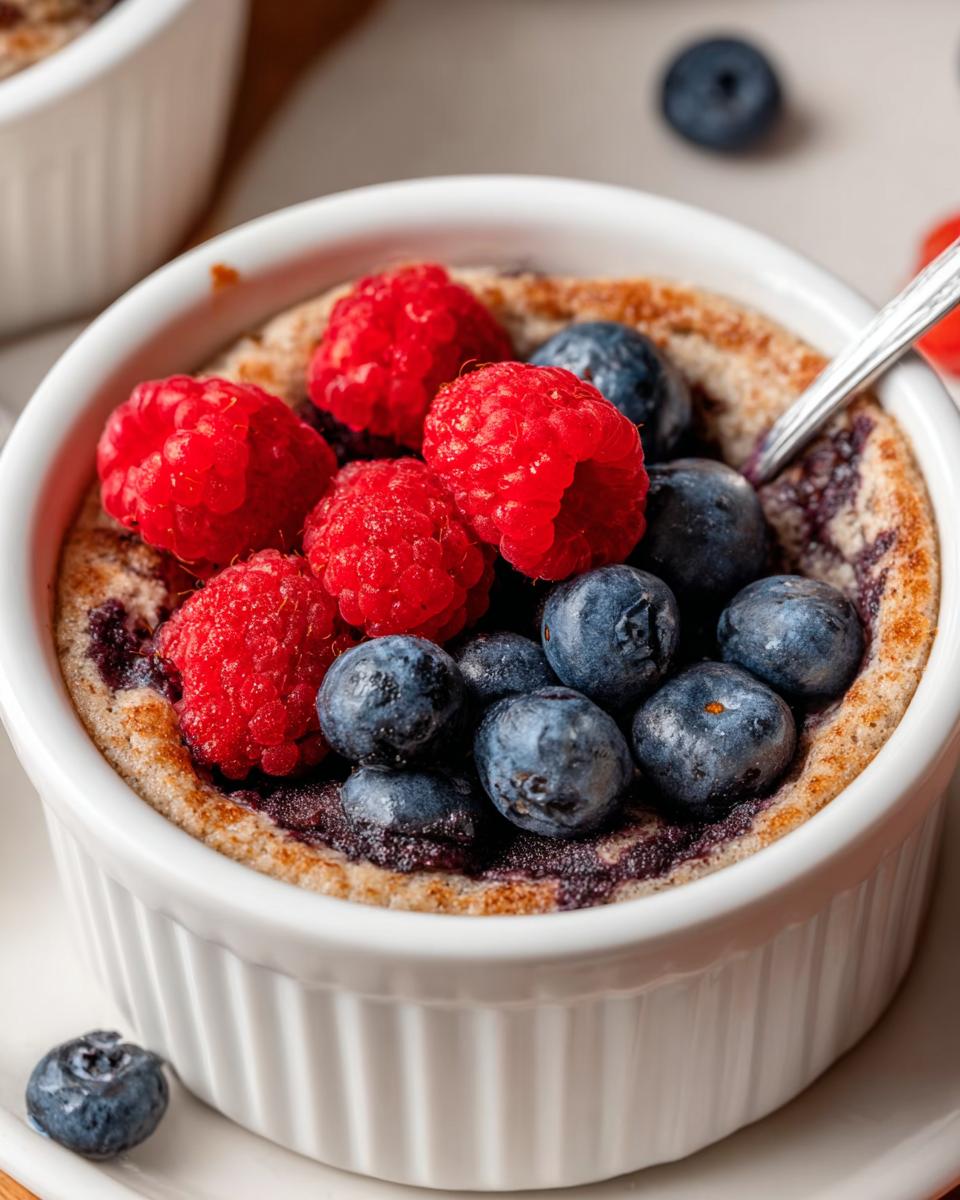
- After baking: Go wild with nut butter, a drizzle of syrup, more Greek yogurt, some yummy salted butter, or even a spoonful of chia jam.
Step-by-Step Guide to Making Fluffy Baked Protein Bowls
Alright, let’s make some magic happen! Getting these fluffy baked protein bowls from your counter to your belly is ridiculously easy. Seriously, you’ll be enjoying them in no time. Just follow these simple steps, and get ready for a breakfast (or dessert!) that’s both healthy and delightfully fluffy. Remember that feeling when my son and I discovered just how fluffy they could be? You’re about to have that moment too!
- Preheat and Prep: First things first, get that oven humming! Preheat it to 350°F (175°C). While it’s warming up, grab a 12-14 ounce glass dish or a cute ramekin. Give it a good spray with some nonstick spray so nothing sticks – we want all that fluffiness in the bowl, not stuck to the dish!
- Mix It All Up: Now for the fun part! Toss all your bowl ingredients into a mixing bowl. I’m talking the egg, yogurt, milk, flax meal, flour, protein powder, your sweetener, and that all-important baking powder. Give it a good whisk or stir until it’s all combined and looks like a nice, smooth batter. Don’t overmix, though! We just want everything incorporated.
- Add Your Toppings: This is where you can get creative! Arrange your chosen “before baking” toppings right on top of the batter. Think juicy berries, chocolate chips, or banana slices. They’ll bake right in and become even more delicious.
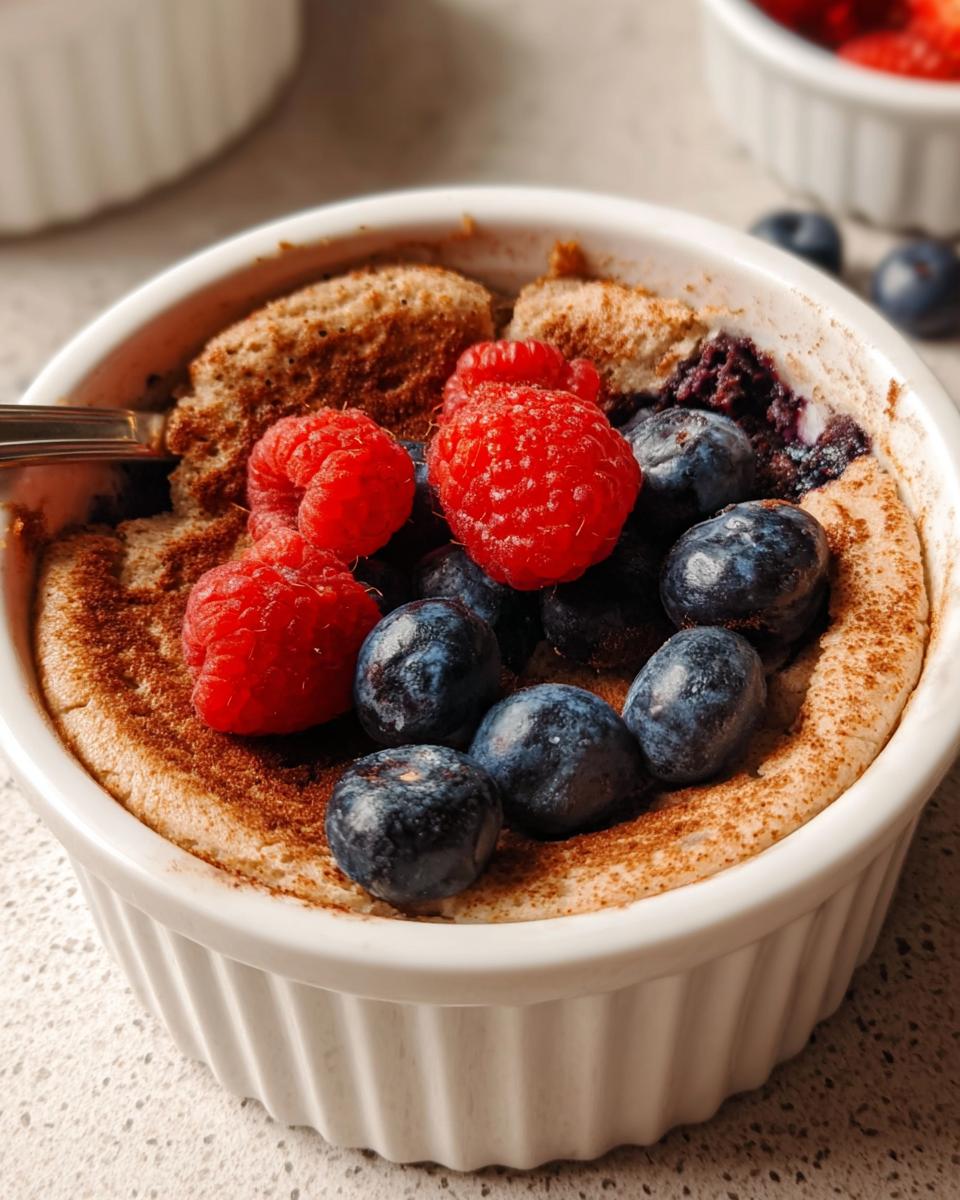
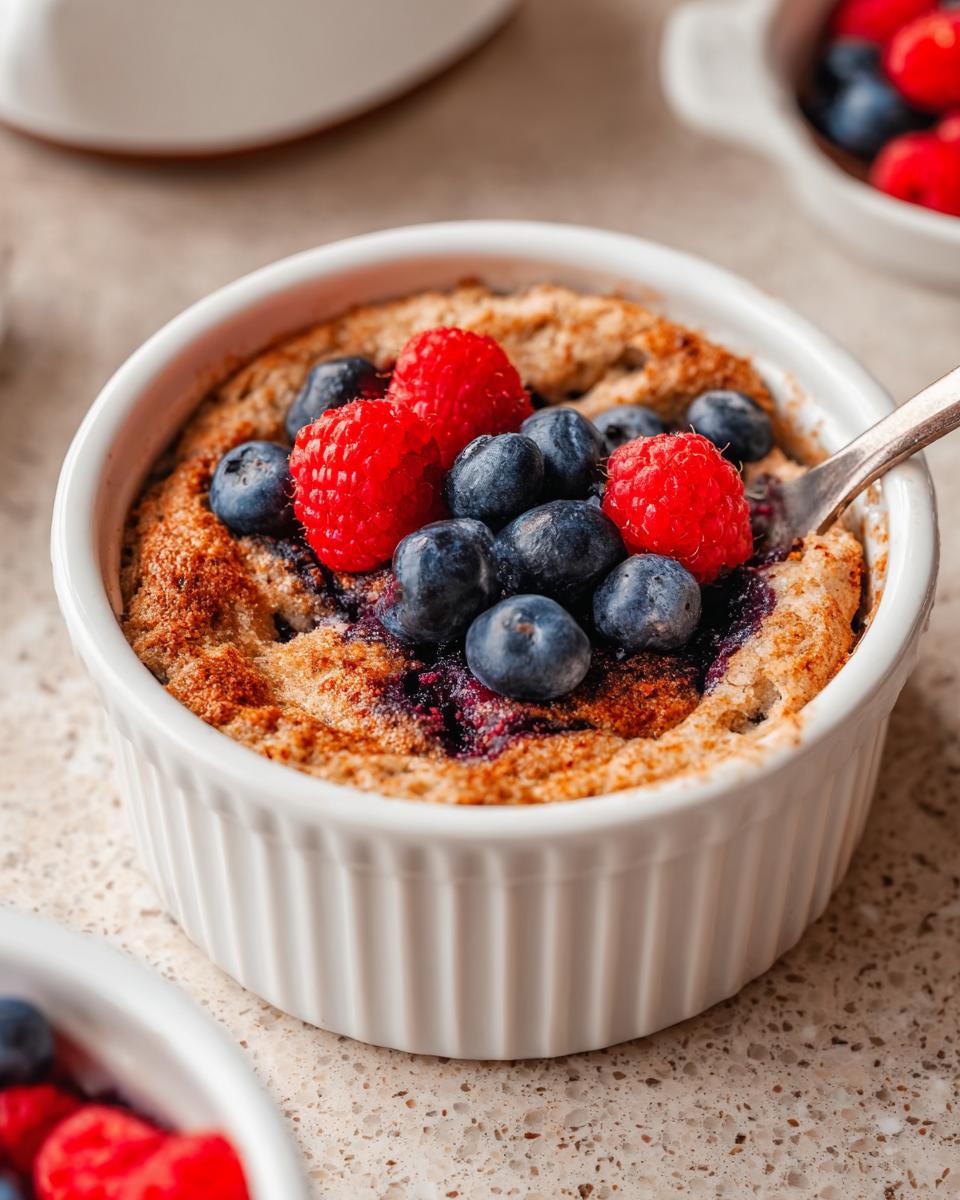
- Bake to Perfection: Pop that dish into your preheated oven. Let it bake for about 22-25 minutes. You’ll know they’re ready when the center looks set – no more jiggly bits! – and the edges are starting to get a lovely golden brown. That golden hue is your signal that they’re done and wonderfully fluffy inside.
- Cool and Enjoy: Take the dish out of the oven and let it cool for about 5-10 minutes. This helps the bowls set up just a little bit more. Then, dive in right from the dish! Add any of your “after baking” toppings like a dollop of nut butter or a drizzle of syrup and enjoy your incredibly fluffy creation. For more baked goodness ideas, check out this recipe for easy baked churro bites.
Tips for Perfect Fluffy Baked Protein Bowls Every Time
Okay, so you’ve got all your ingredients ready, and you’re about to dive in. Amazing! To make sure you get those super-fluffy baked protein bowls every single time, I’ve got a few little tricks up my sleeve. They’re simple things, but trust me, they make all the difference!
- Don’t Overmix the Batter: This is HUGE! Once you add your dry ingredients, just mix until everything is *just* combined. A few little lumps are totally fine. Overmixing wakes up the gluten (even in GF flour blends sometimes!) and can make your bowls dense instead of fluffy. We want light and airy, remember?
- Fresh Baking Powder is Your Friend: Baking powder can lose its oomph over time. If yours has been hanging out in the cupboard for ages, give it a little test. Drop a pinch into some hot water; it should bubble enthusiastically! If it just sits there sadly, it’s time for a new can. Fresh baking powder = fluffy bowls!
- Know Your Oven: Ovens can be quirky! Some run hot, some run cool. Keep an eye on your bowls during that last 5 minutes of baking. If they’re browning too fast on top but still look a bit wet in the center, you can loosely tent them with foil for the remaining time. This helps them cook through without burning. For more ideas on light and airy baking, check out these fluffy air fryer churro bites – same principle applies!
- Let Them Cool a Bit: I know, I know, the smell is torture, and you want to dig in *right now*. But letting them cool for those 5-10 minutes is important. It gives the structure a chance to set, making them easier to eat and ensuring that fluffy texture stays put.
Ingredient Notes and Substitutions for Your Baked Protein Bowls
So, you’ve got the steps down, but maybe you’re wondering about a specific ingredient or how to tweak things for your own kitchen. Totally normal! I love that about this recipe – it’s so adaptable. Let’s chat about some of the key players and how you can make them work for you. For a similar creamy, adaptable recipe, you should totally check out this lemon cream chia pudding; it’s a masterclass in ingredient versatility!
Flour Power: I usually reach for a good gluten-free 1:1 baking flour blend, like Bob’s Red Mill. It’s fantastic because it works like regular flour but makes these bowls accessible for my gluten-sensitive friends. If you don’t have gluten issues, regular all-purpose flour is absolutely fine too!
Yogurt Swap: Plain Greek yogurt is my go-to for a nice tang and protein boost. But if you need to keep it dairy-free, no sweat! A good unsweetened dairy-free yogurt – think coconut, almond, or soy-based – works like a charm. Just make sure it’s plain so you can control the sweetness yourself.
Sweetener Smarts: Maple syrup gives a lovely warmth, but if you’re watching sugar intake, a few drops of stevia or your favorite sugar-free sweetener are perfect. You really only need a touch to balance the flavors, so play around and see what you prefer.
Flax Meal Magic: This might seem a little unusual, but flax meal is a secret weapon here! It acts as a binder, sort of like an egg, and adds a nice boost of fiber and healthy fats. It doesn’t really affect the flavor, so you get all the benefits without really tasting it. If you don’t have flax meal, you could try a tablespoon of chia seeds, or maybe a tiny bit more of your chosen flour, though the binding power might change slightly.
Making Ahead and Storing Your Fluffy Baked Protein Bowls
Okay, so these bowls are amazing fresh out of the oven, but guess what? They’re also fantastic for meal prep! Since we all have those crazy busy mornings, or maybe you just want a quick healthy snack ready to go, making these ahead is a total lifesaver. I love that banana bread brownie recipe because you can prep it too, and these bowls follow that same brilliant idea! Just let your baked protein bowls cool down completely first. Then, pop them into an airtight container and tuck them away in the fridge. They’ll stay good for about 5 days, which means you’ve got breakfast or a wholesome snack sorted for most of the week. When you need one, just pop it in the microwave for about 30-60 seconds, or until warmed through. Easy peasy!
Frequently Asked Questions About Fluffy Baked Protein Bowls
Got burning questions about these fluffy little wonders? I’ve got you covered! It’s totally normal to wonder about substitutions or how to get that extra fluff factor. For a peek at more delicious treats that are easy to adapt, check out these chocolate strawberry yogurt clusters!
Can I use a different type of protein powder?
Absolutely! Vanilla is great, but feel free to try plant-based or even unflavored protein powders. Just be aware that different types can absorb liquid a bit differently, so you might need to tweak the milk amount slightly. It’s all about experimenting to find what works best for you!
What if I don’t have Greek yogurt?
No worries! If you need a dairy-free option, any unsweetened plant-based yogurt (like coconut, almond, or soy) works wonderfully. Just make sure it’s plain so you have control over the sweetness. For those who can have dairy, regular plain yogurt would also work, though Greek yogurt gives it a nice richness.
Can these be made gluten-free and dairy-free?
Yes, indeed! That’s one of the things I love most about this recipe. Use a good quality gluten-free 1:1 baking flour blend like Bob’s Red Mill, and swap the Greek yogurt for a dairy-free alternative. It’s that simple! You’ll still get that lovely fluffy texture.
How do I ensure they are fluffy and not dense?
The keys to fluffiness are using fresh baking powder and not overmixing the batter. Seriously, just mix until everything is *barely* combined. A few lumps are okay! Also, make sure your baking powder is active – give it the hot water test if you’re unsure. Proper measurement of ingredients and avoiding overmixing are crucial for that light, airy texture we’re after!
Nutritional Information
Alright, let’s talk about what’s inside these yummy bowls! Keep in mind that these numbers are just an estimate, okay? They can totally change depending on the exact protein powder you use, the type of milk or yogurt, and especially all those delicious toppings you add. But as a general idea, one bowl (without extra toppings) is roughly:
- Calories: Around 476
- Protein: About 40g
- Carbohydrates: Roughly 48g
- Fat: Around 13g
- Sugar: About 5g
It’s a pretty great balance for a healthy meal or snack, right?
Are These Baked Protein Bowls Really That Fluffy?
Ingredients
Equipment
Method
- Preheat your oven to 350°F. Spray a 12-14 ounce glass dish or ramekin with nonstick spray.
- Add all of the bowl ingredients to a mixing bowl and mix well until combined. Arrange your desired toppings on top.
- Bake in the preheated oven for 22-25 minutes, or until the bowls are set in the middle and slightly golden brown. Cool for 5-10 minutes then serve in the dish with any additional toppings.